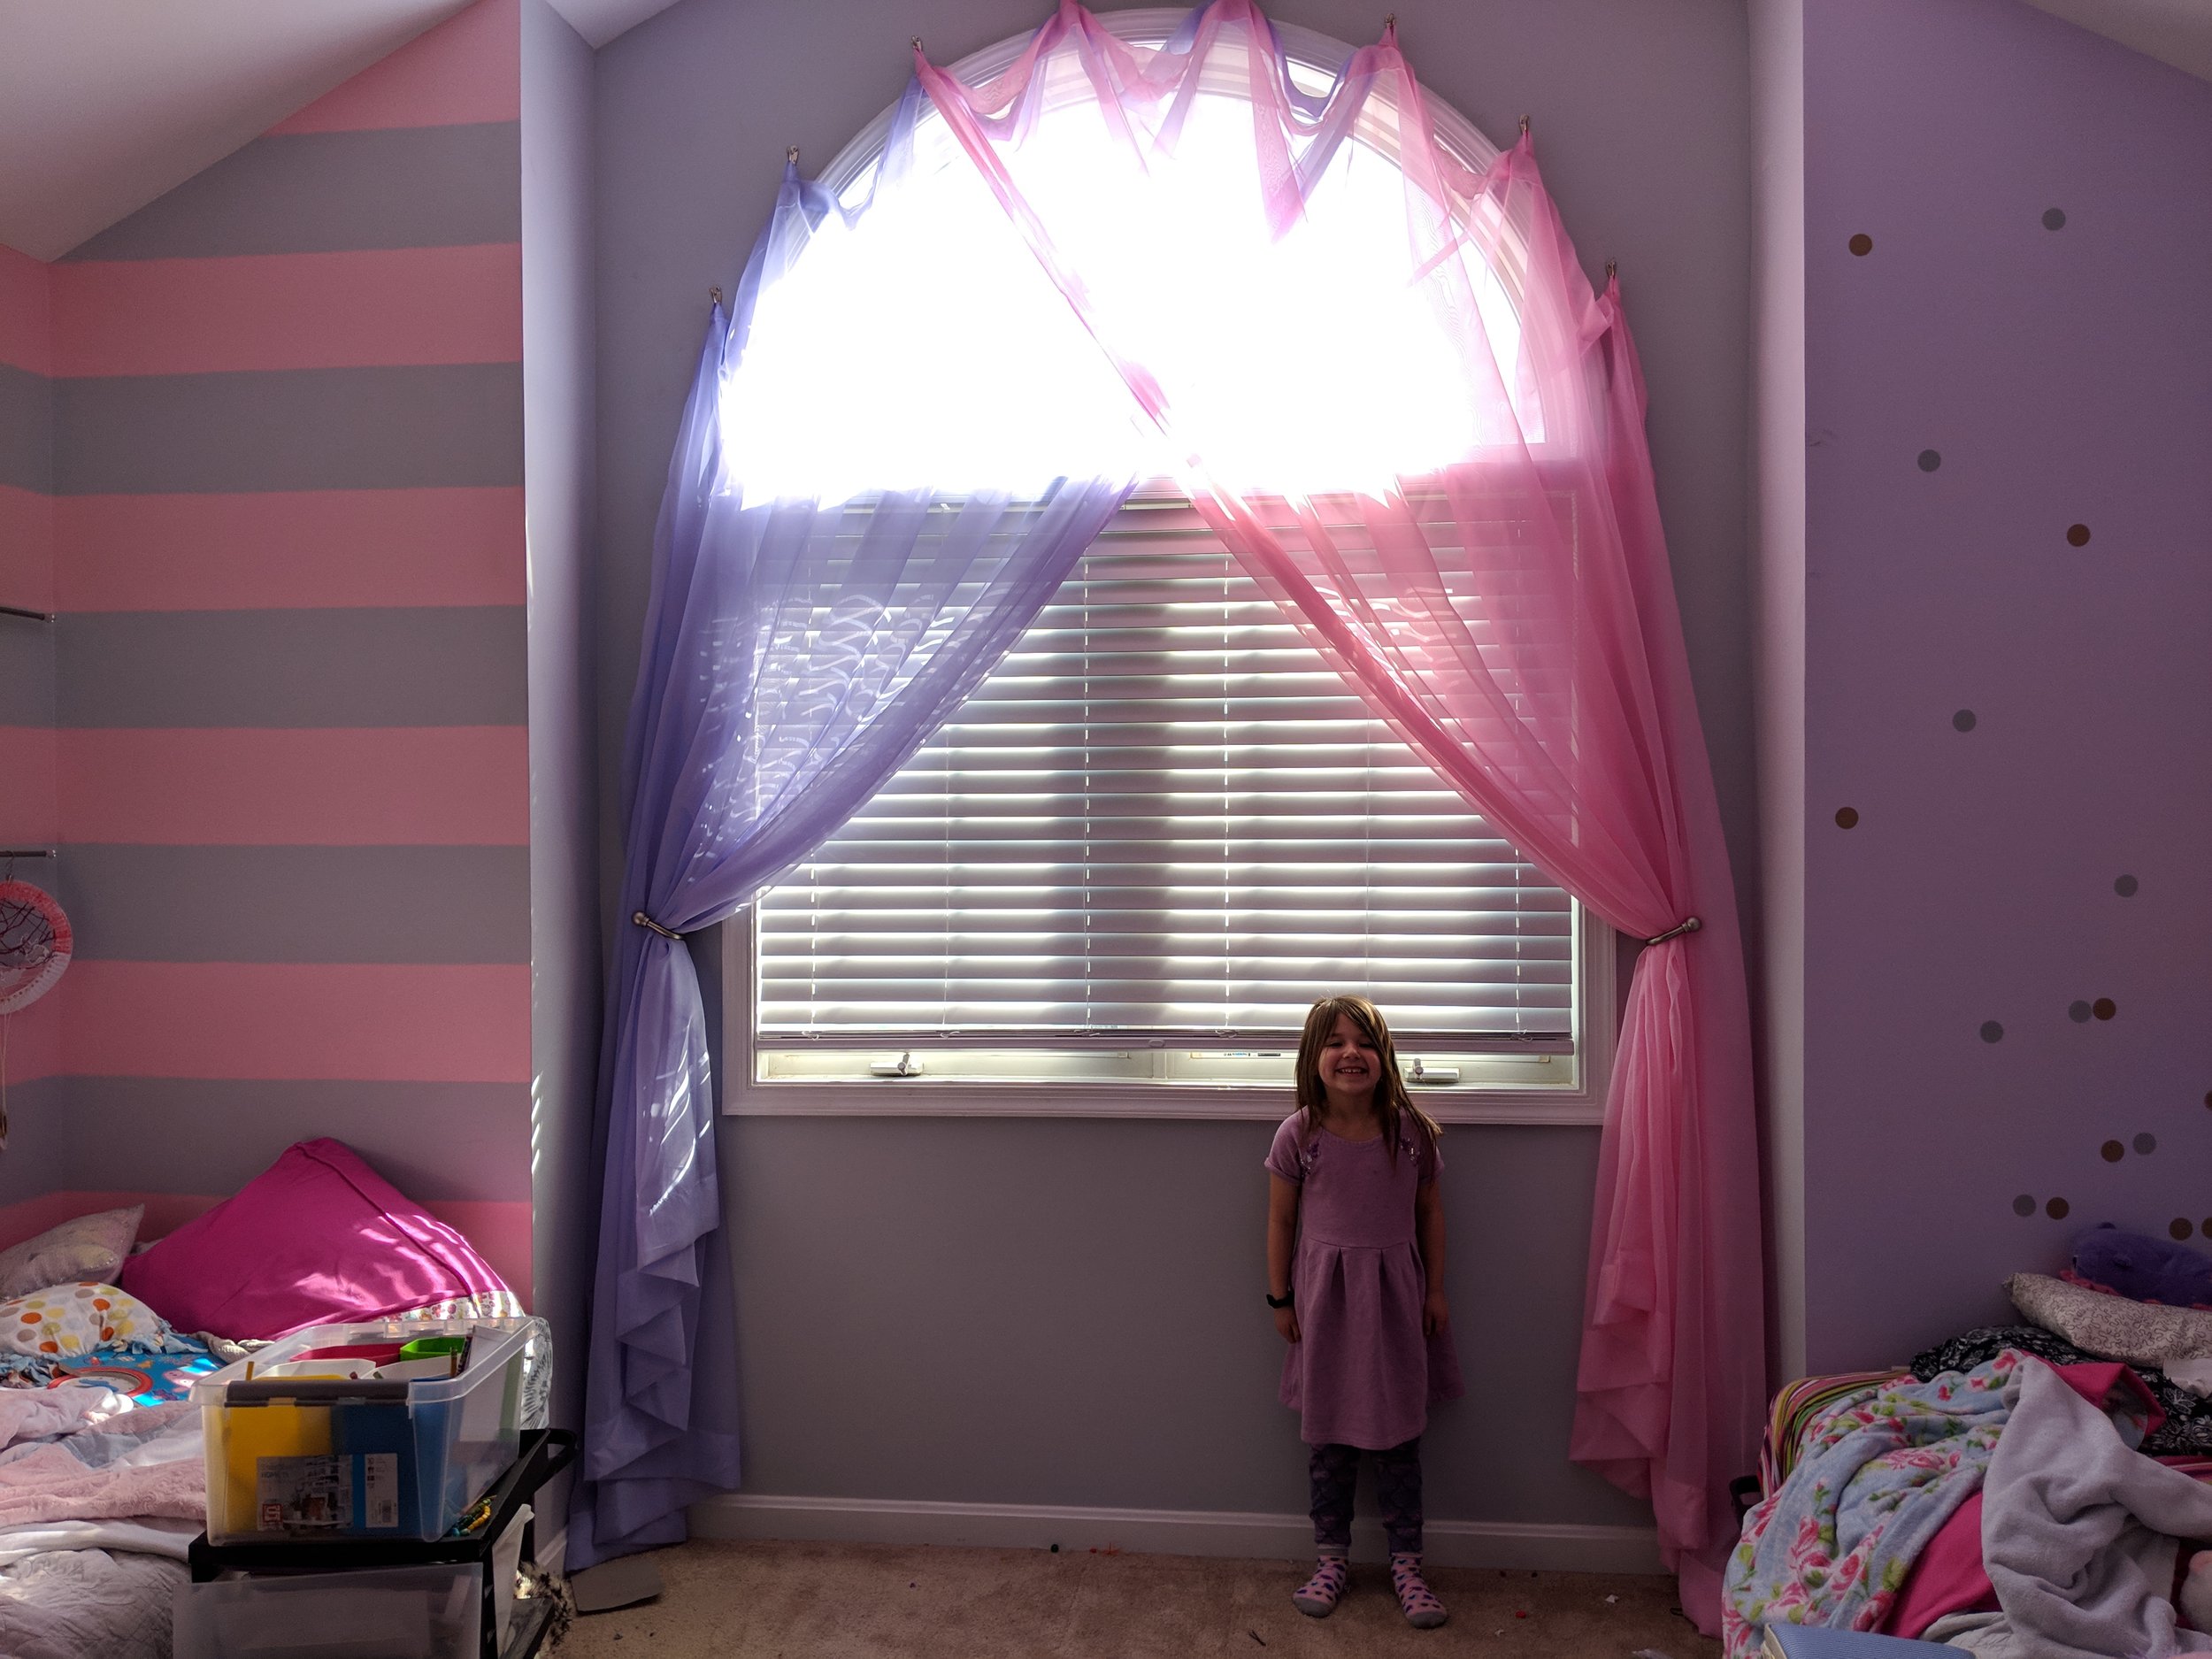
New duvet and new curtains
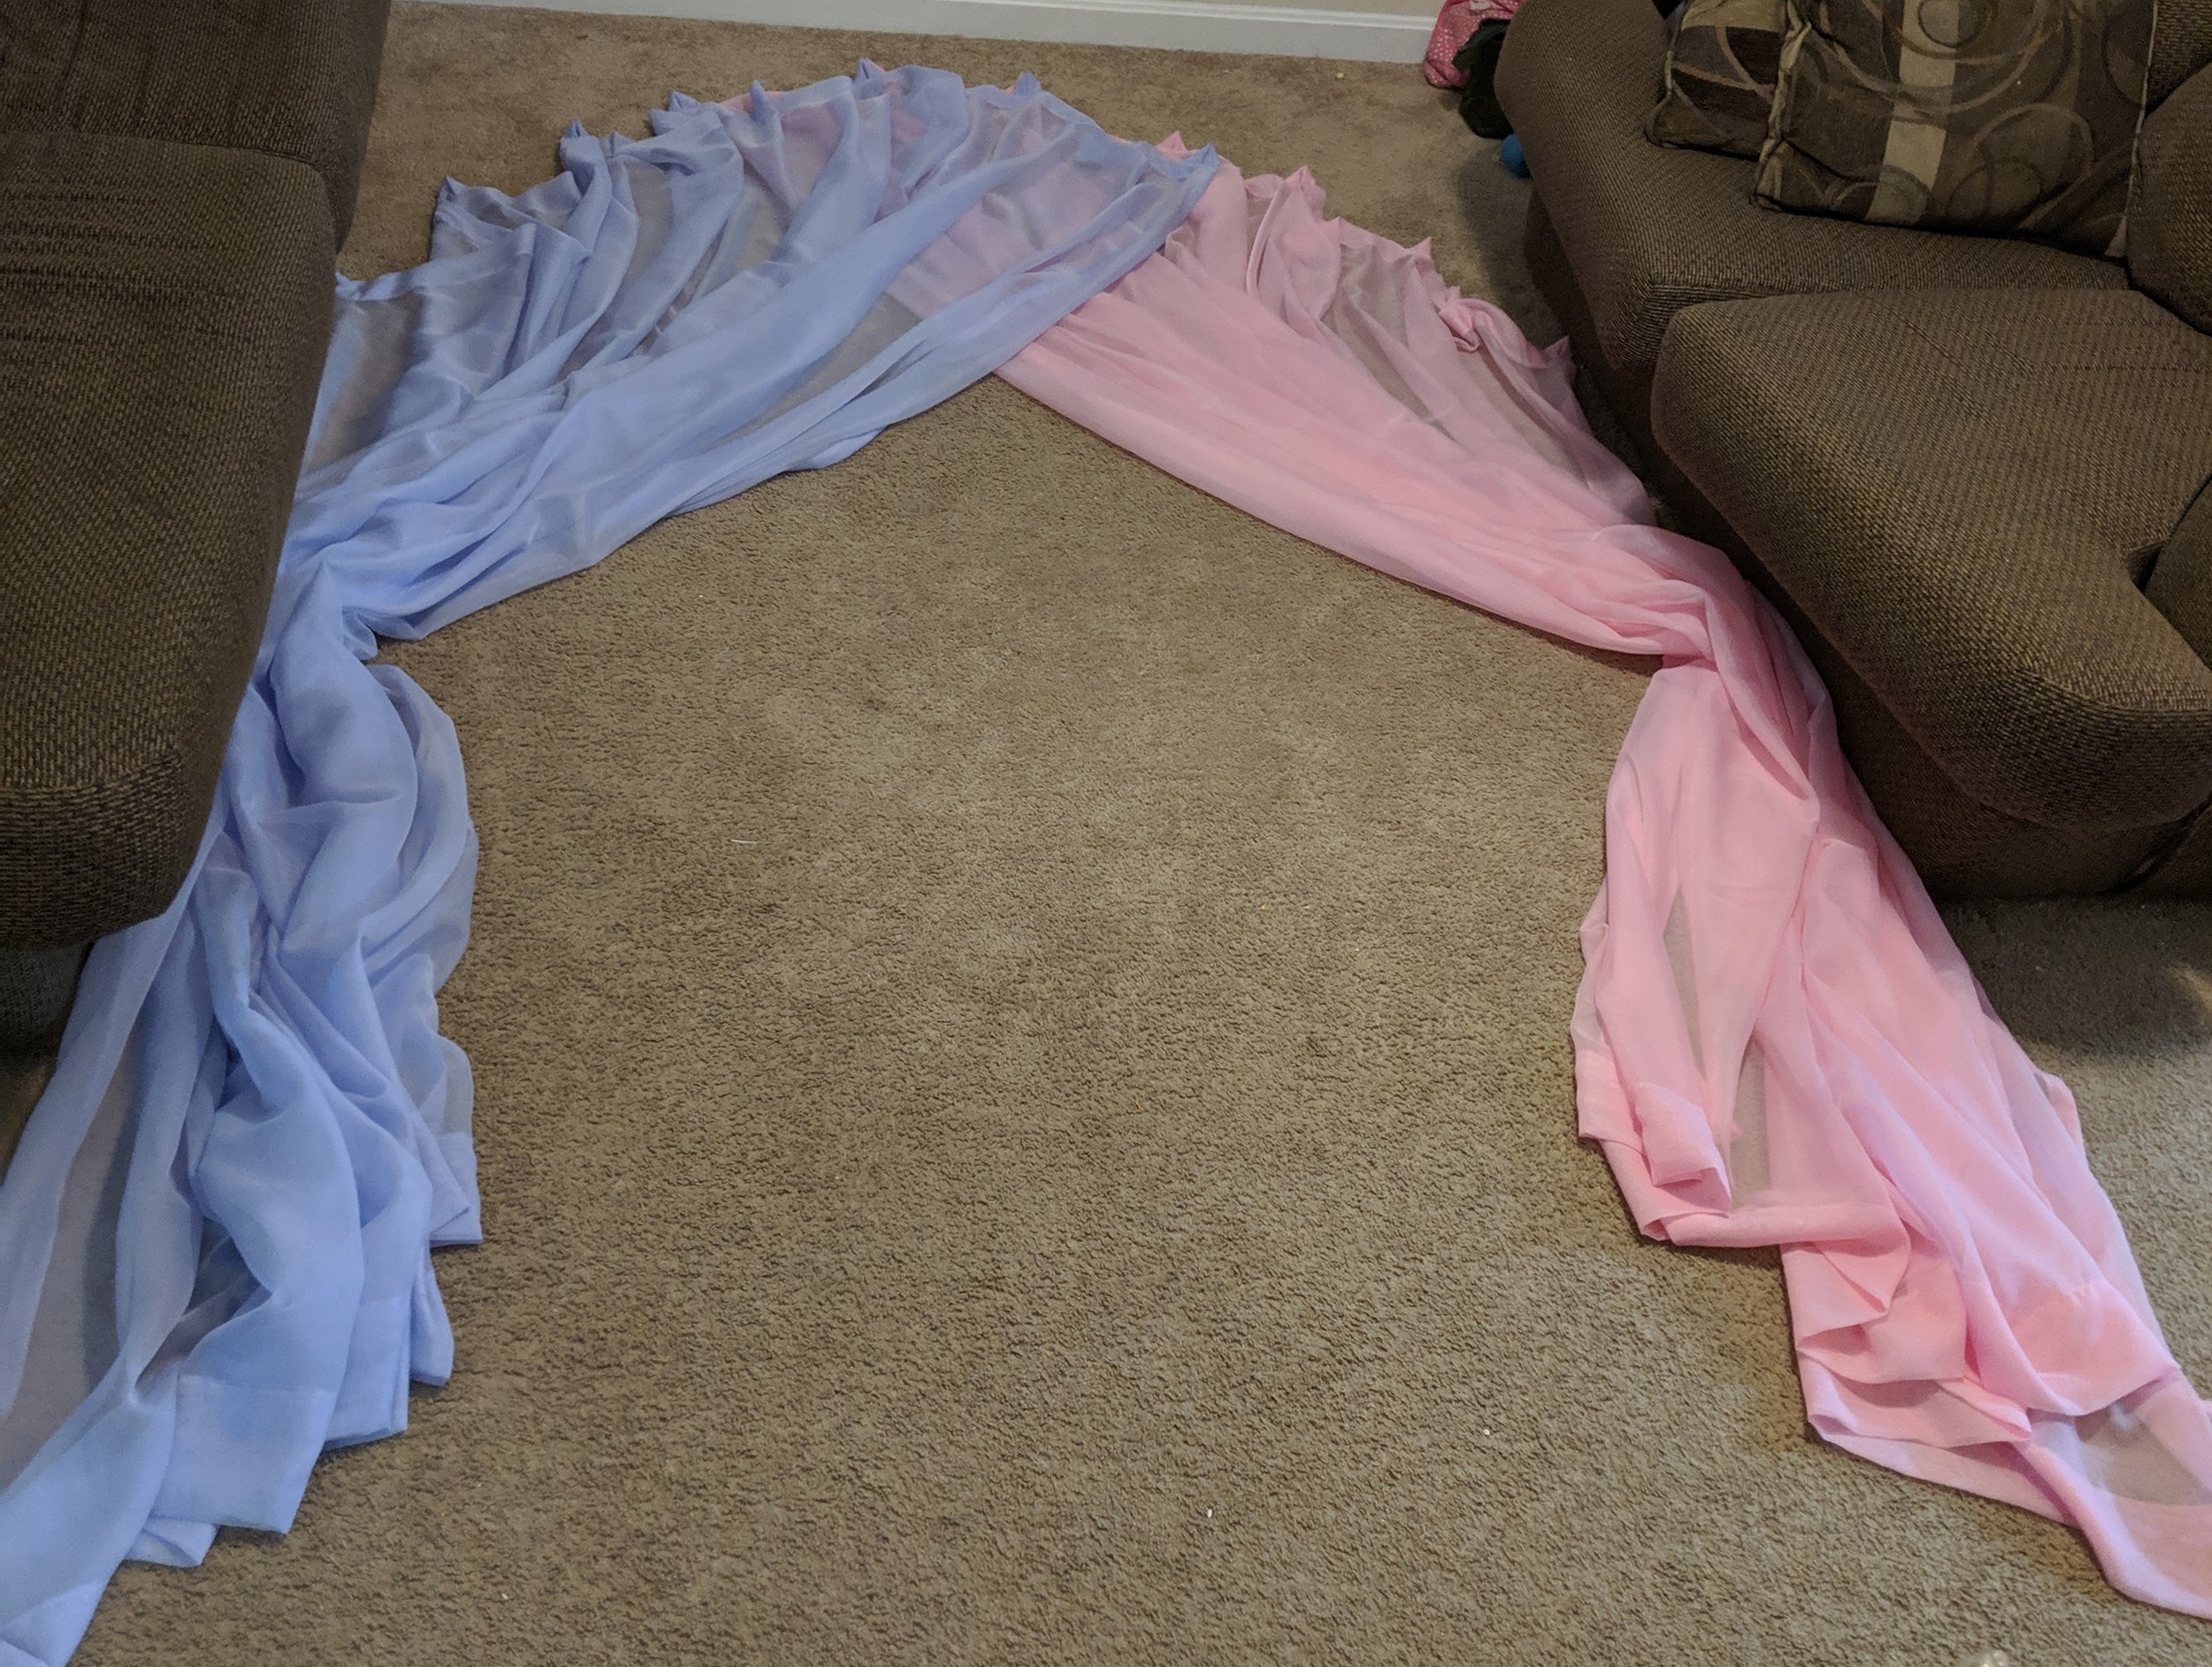
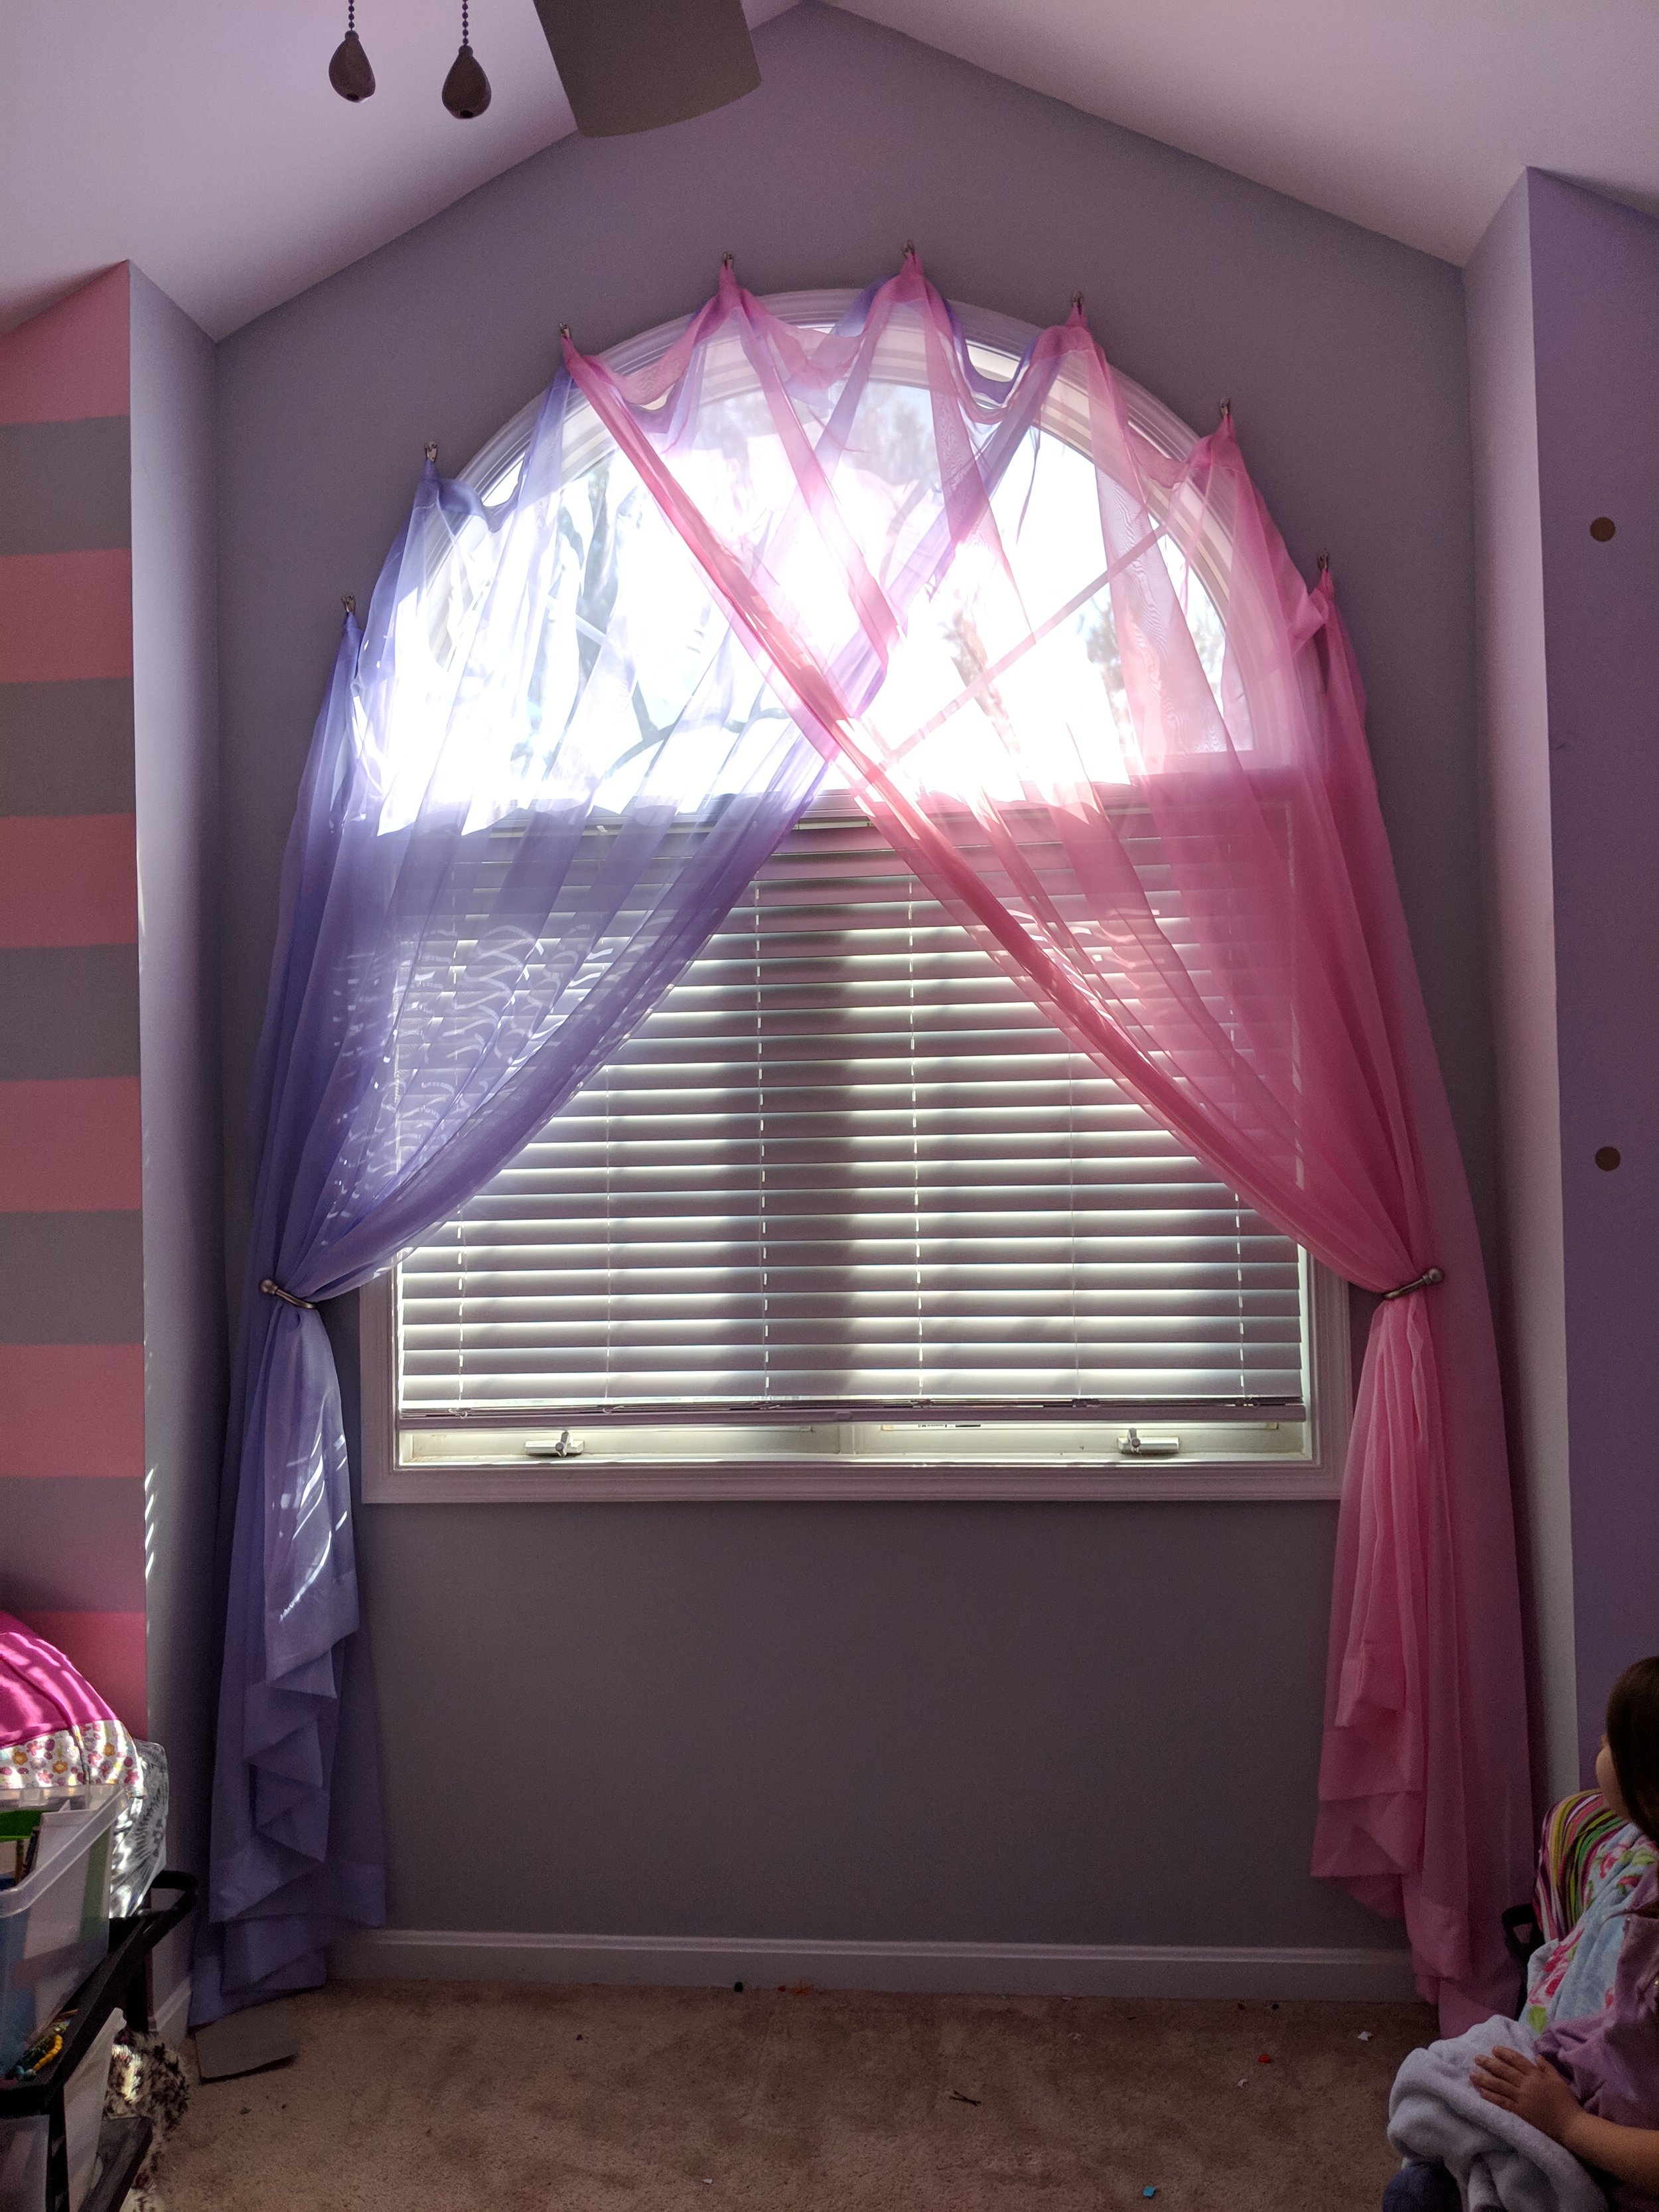
We are slowly decorating our house. It’s a long process because of the expense and plus we are wishy-washy about what we really want. However, I have known for over a year what I wanted to do for the curtains in my daughters’ room. I found an example on Pinterest and wanted to replicate it. They have a large window with a big arch and I wanted to drape two different curtains from each side, crossing over the middle. I decided on fabric from Fabric Wholesale Direct. I bought their sheer voile, which comes in 118” width. Four yards was enough for each curtain, and since they are less than $3 a yard, this was not an expensive project.
After I made the curtains, it took my husband a few weeks to have time to hang them. That was a frustrating project for him, but I love the final result. It’s perfect. Their room looks finished now. I have a similar, but narrower window and arch in my room, and I’m considering doing something similar.
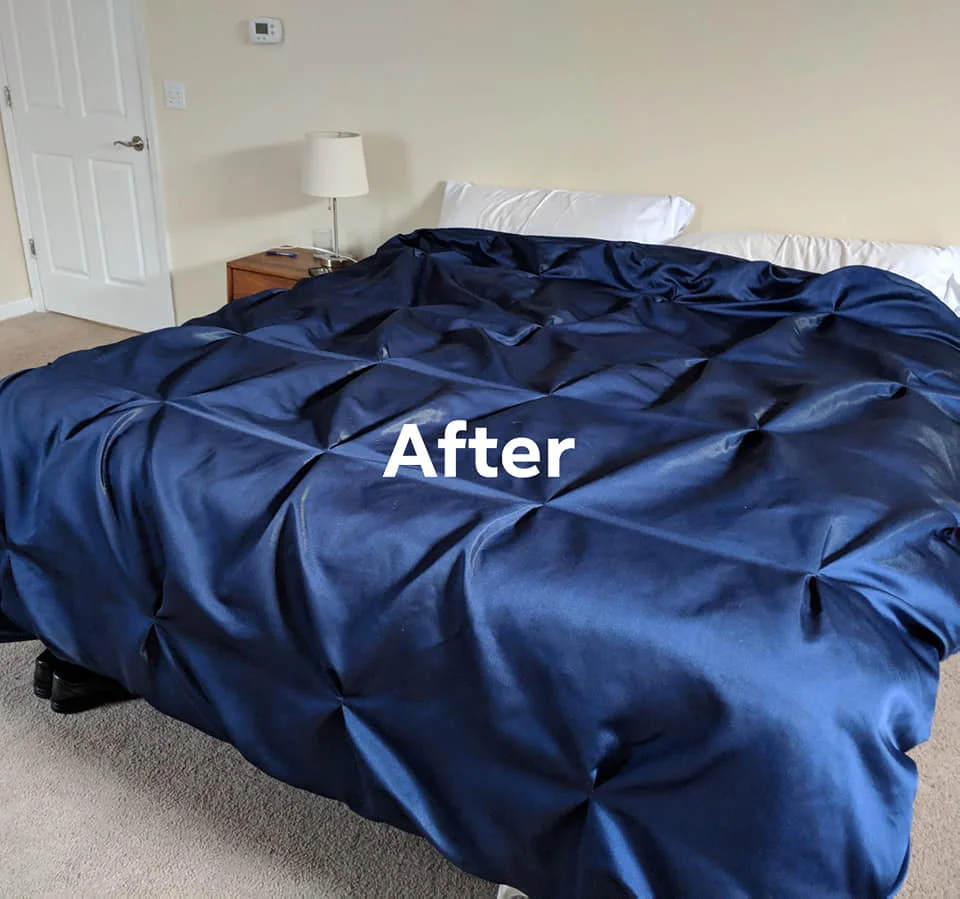
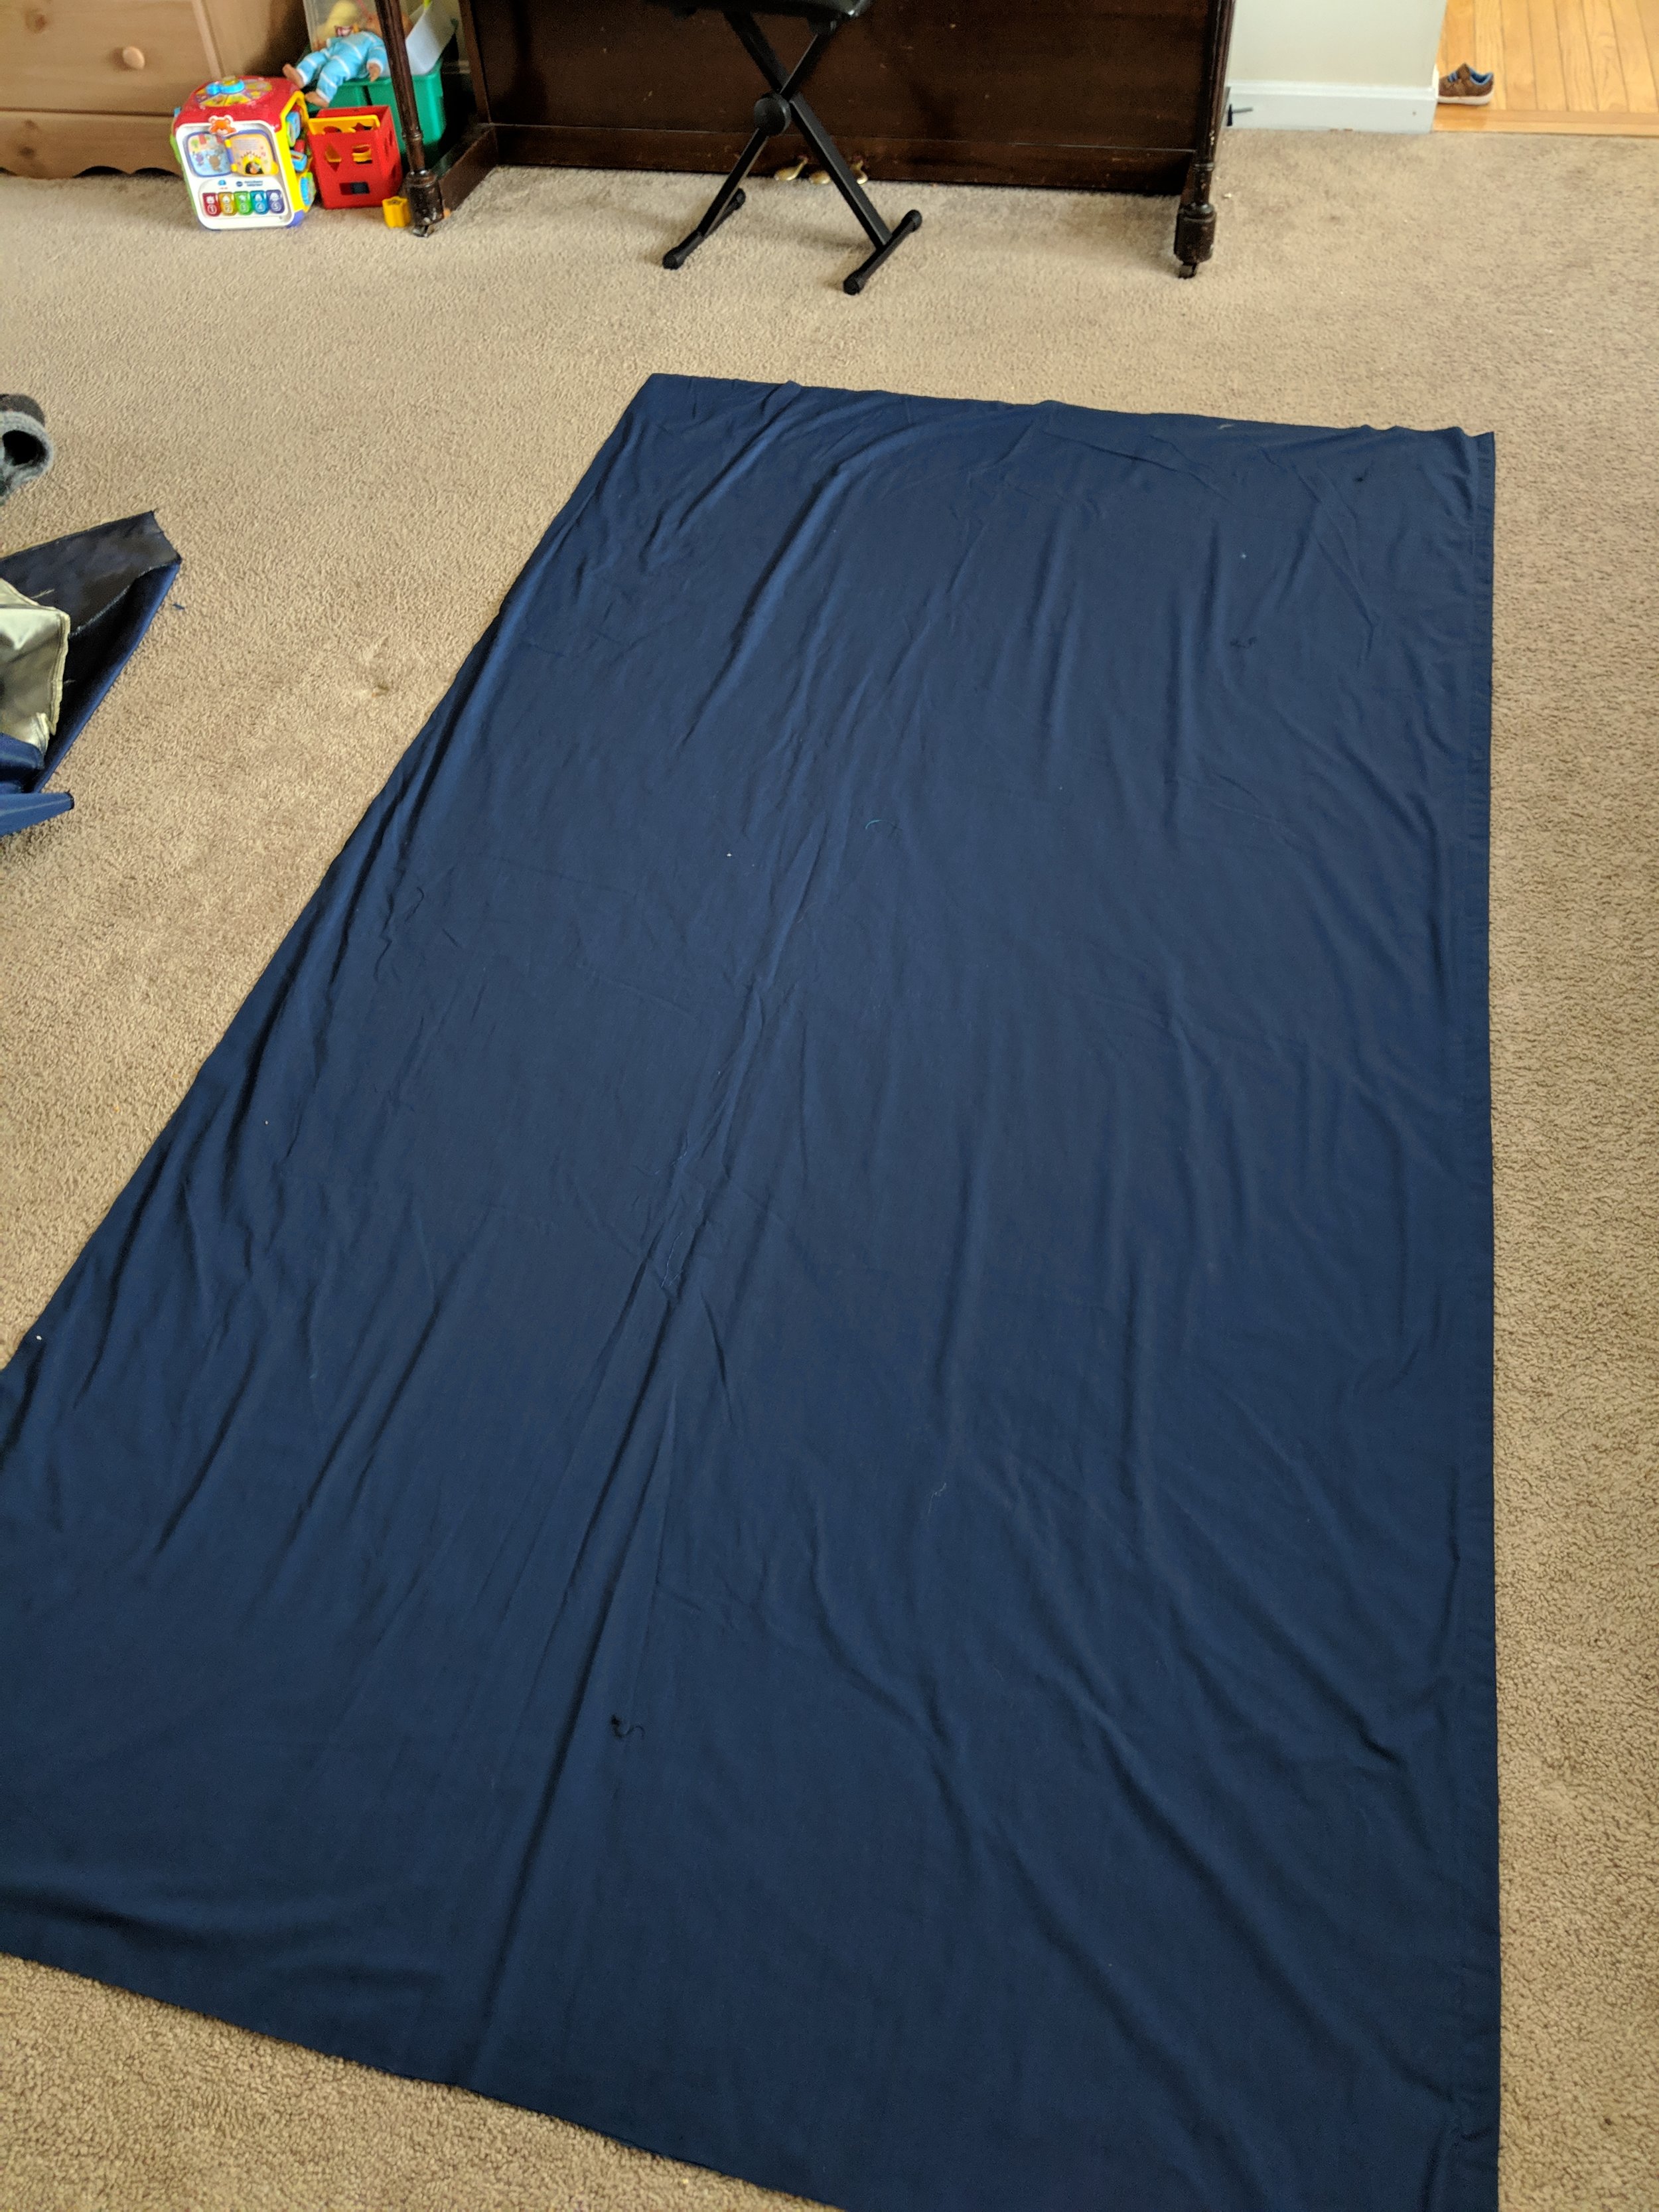
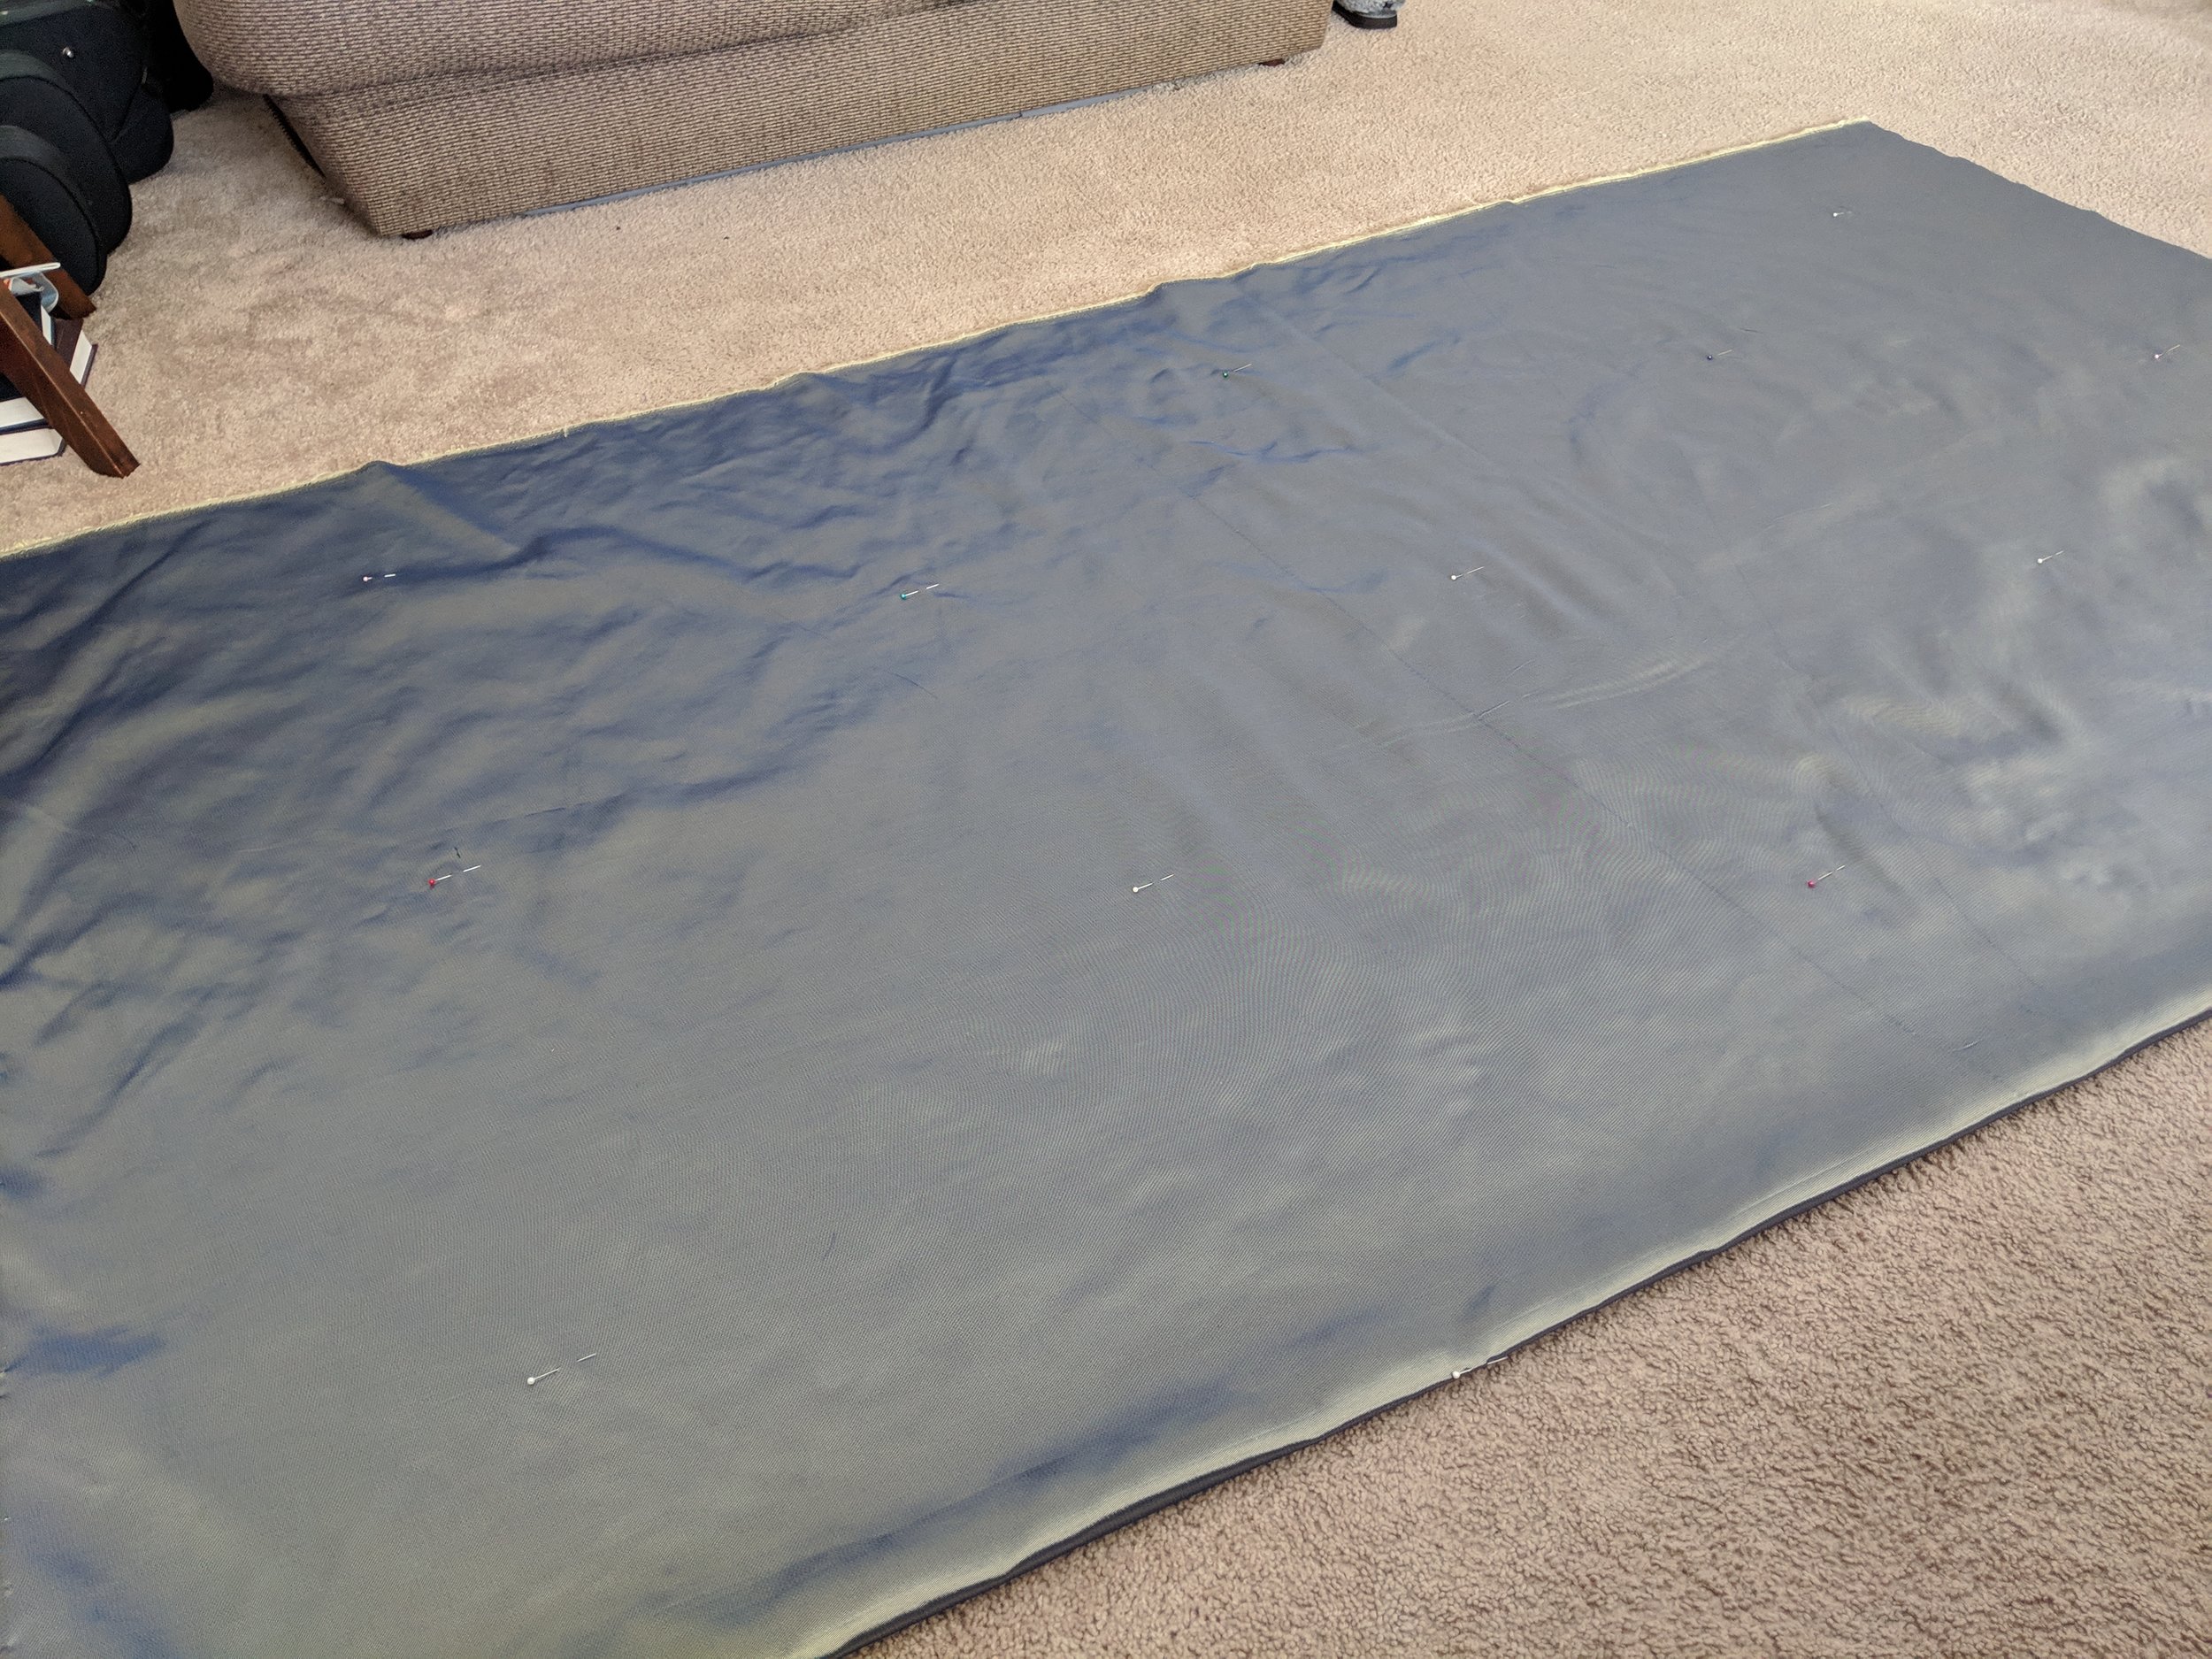
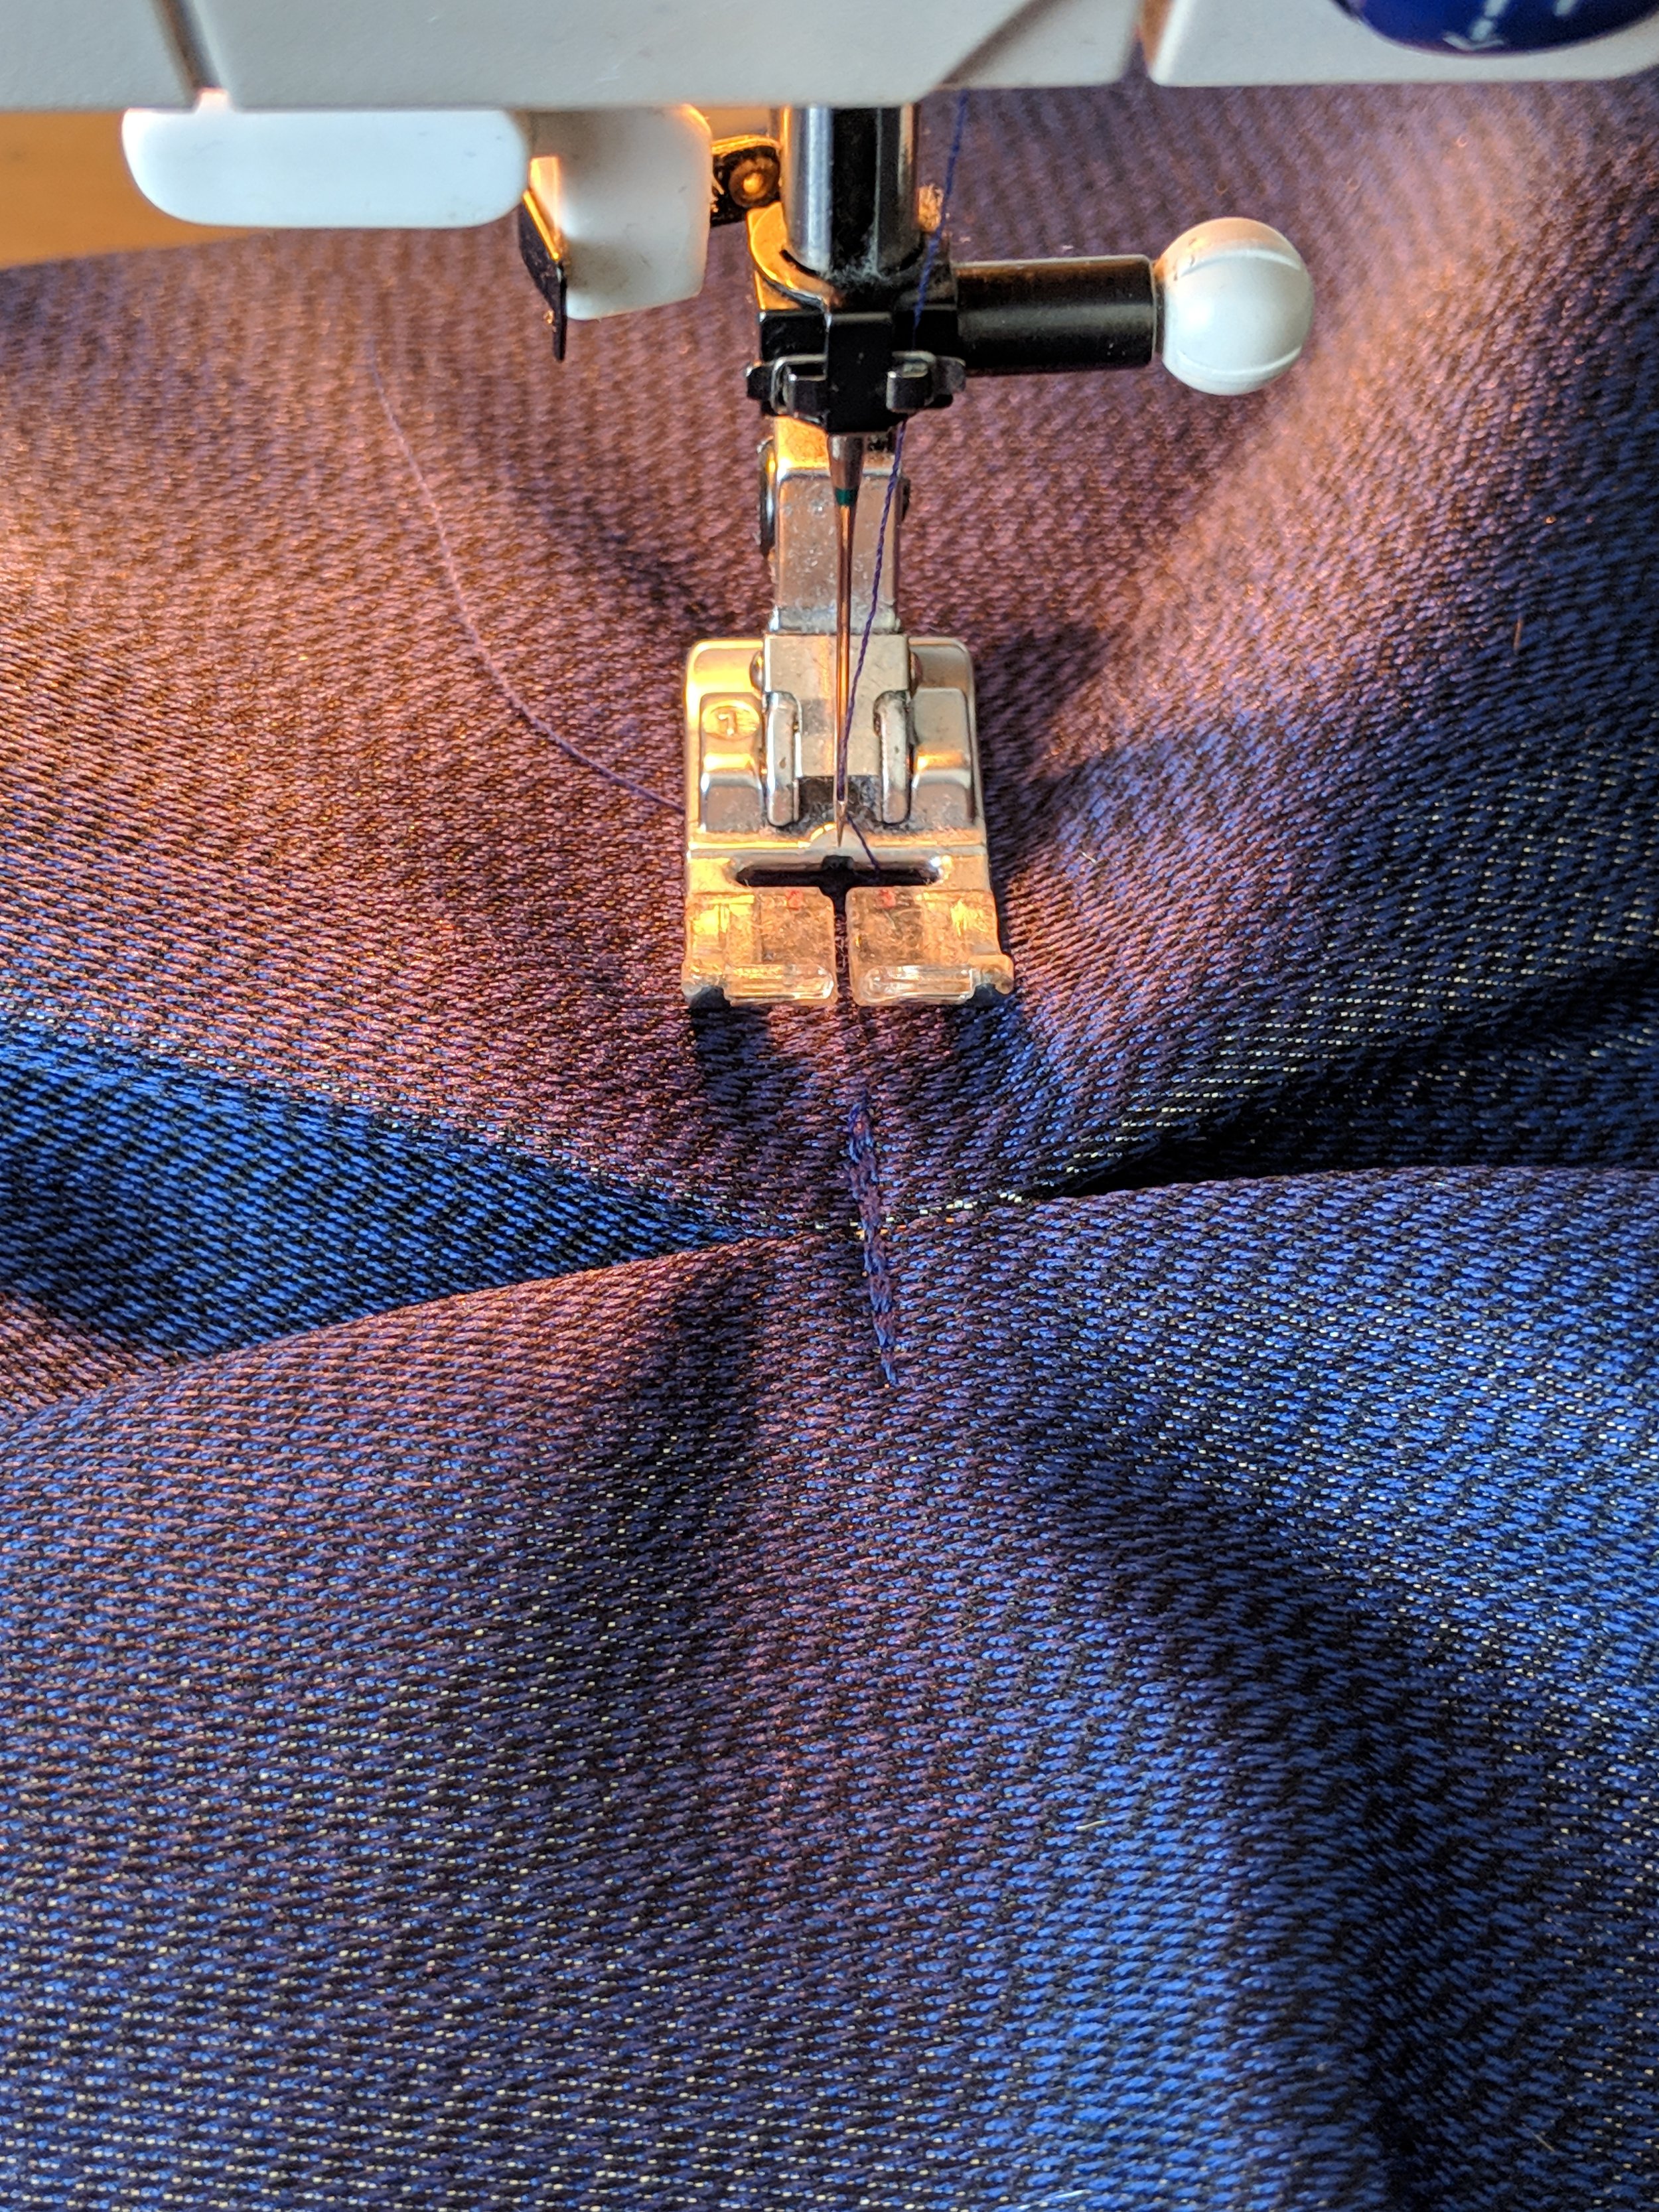
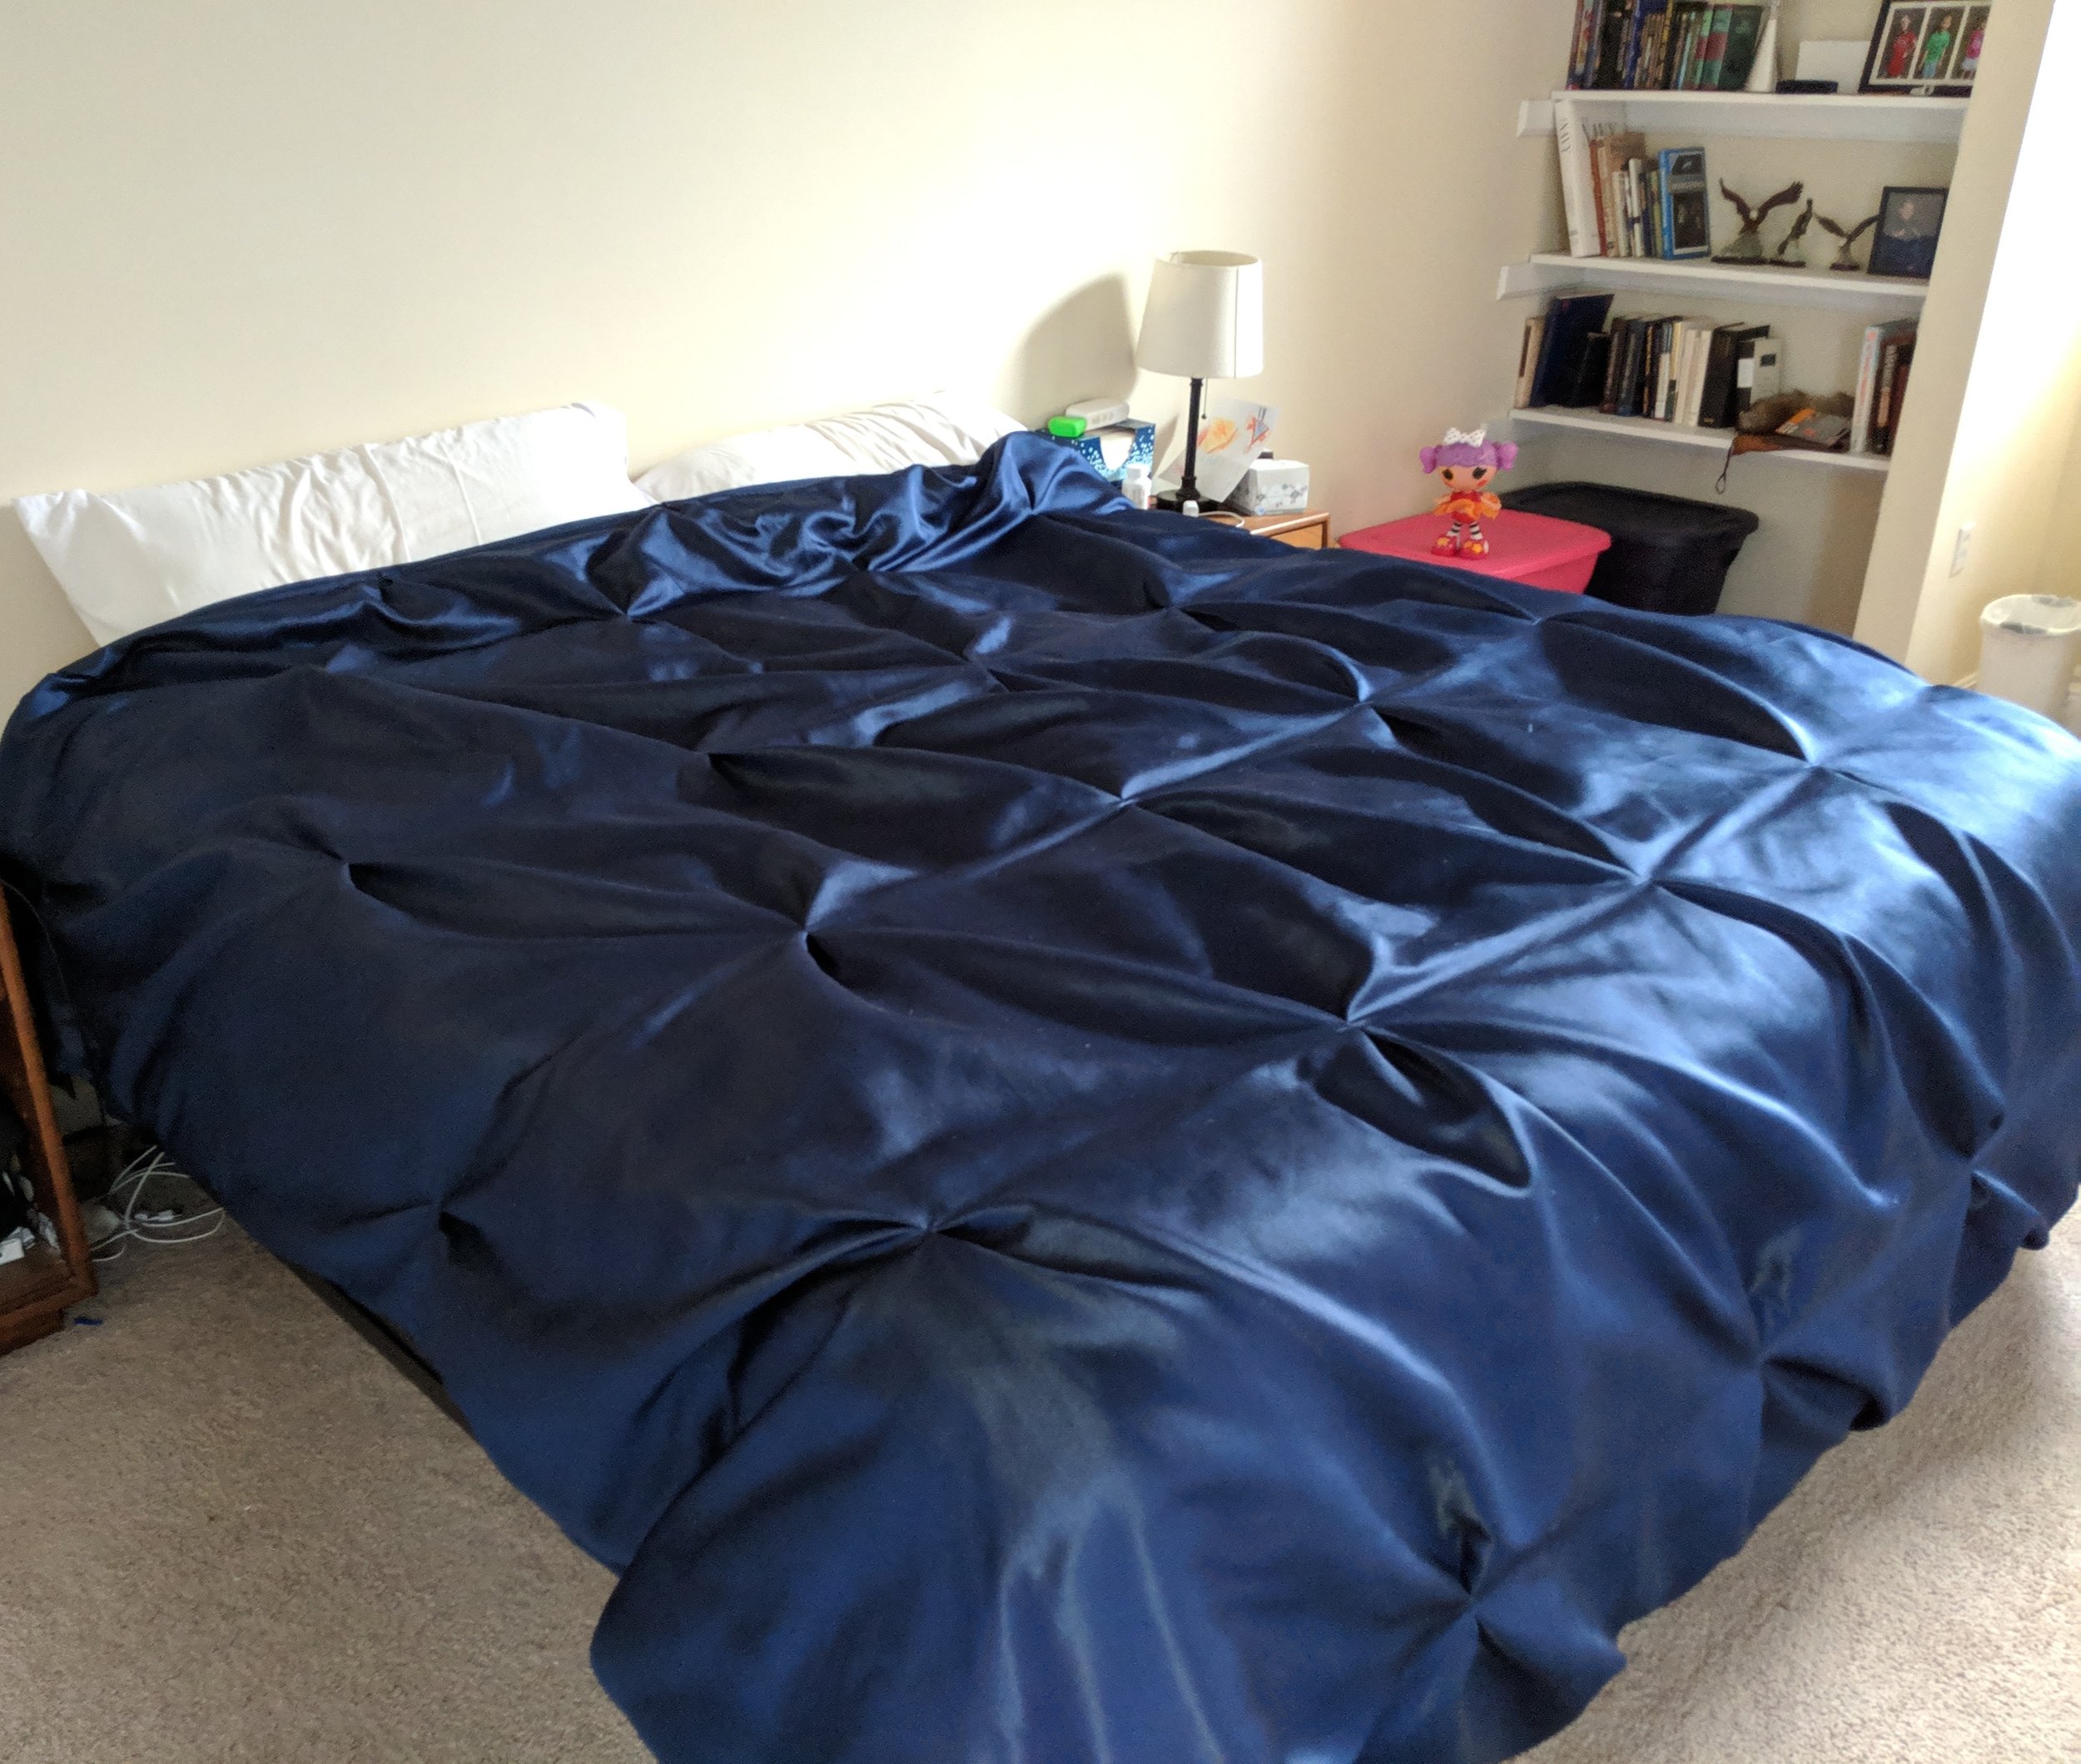
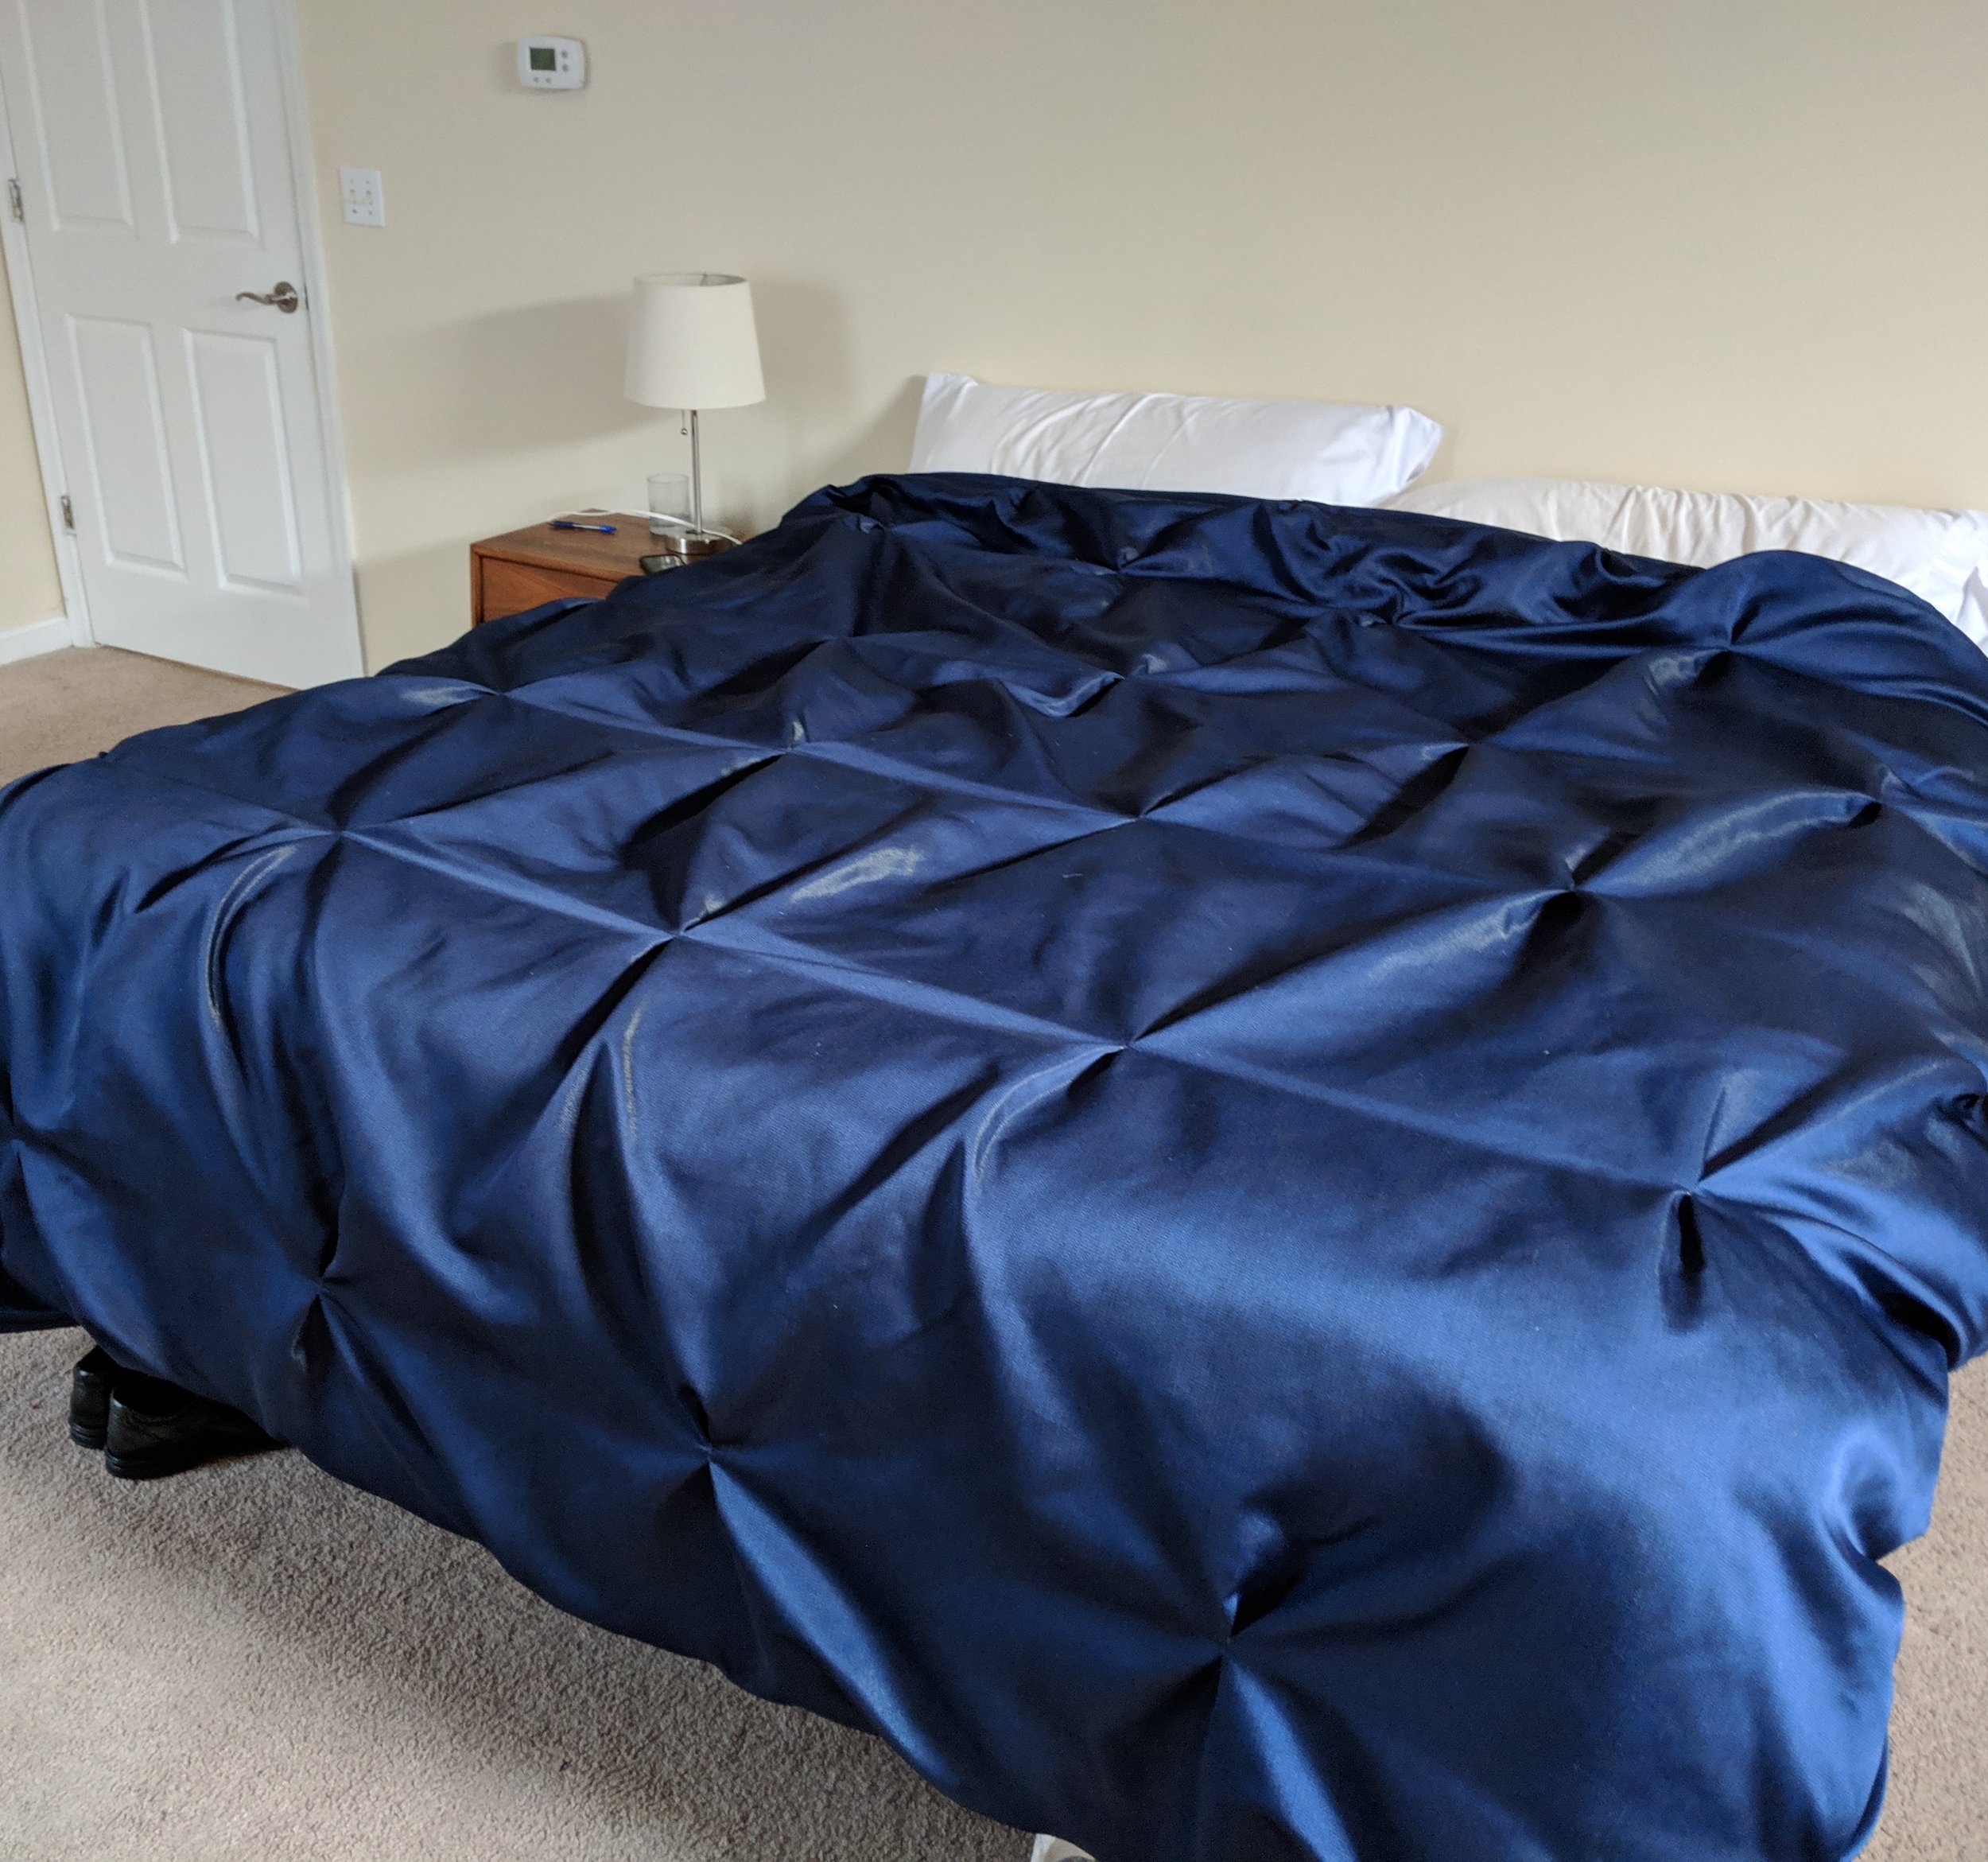
Speaking of my bedroom, I have had no idea where to start. I know that I want to have a peacock theme. But it has to be very subtly peacock, because otherwise my husband won’t really be happy. We decided to start with a plain navy duvet cover. I’ve had a duvet from my in-laws for awhile, but took awhile to decide on what to do for a cover. When I decided on a pintuck version, I realized it was around $120 on Amazon, but if I bought extra wide jacquard fabric from Fabric Wholesale Direct, I could make it for half the cost! I bought three yards of plain blue jacquard (but it has a nice golden undertone that gives it a pretty sheen) and six yards of 60” broadcloth for the backside. You can kind of see in the picture on the right how I used pins to indicate where a pintuck would be.
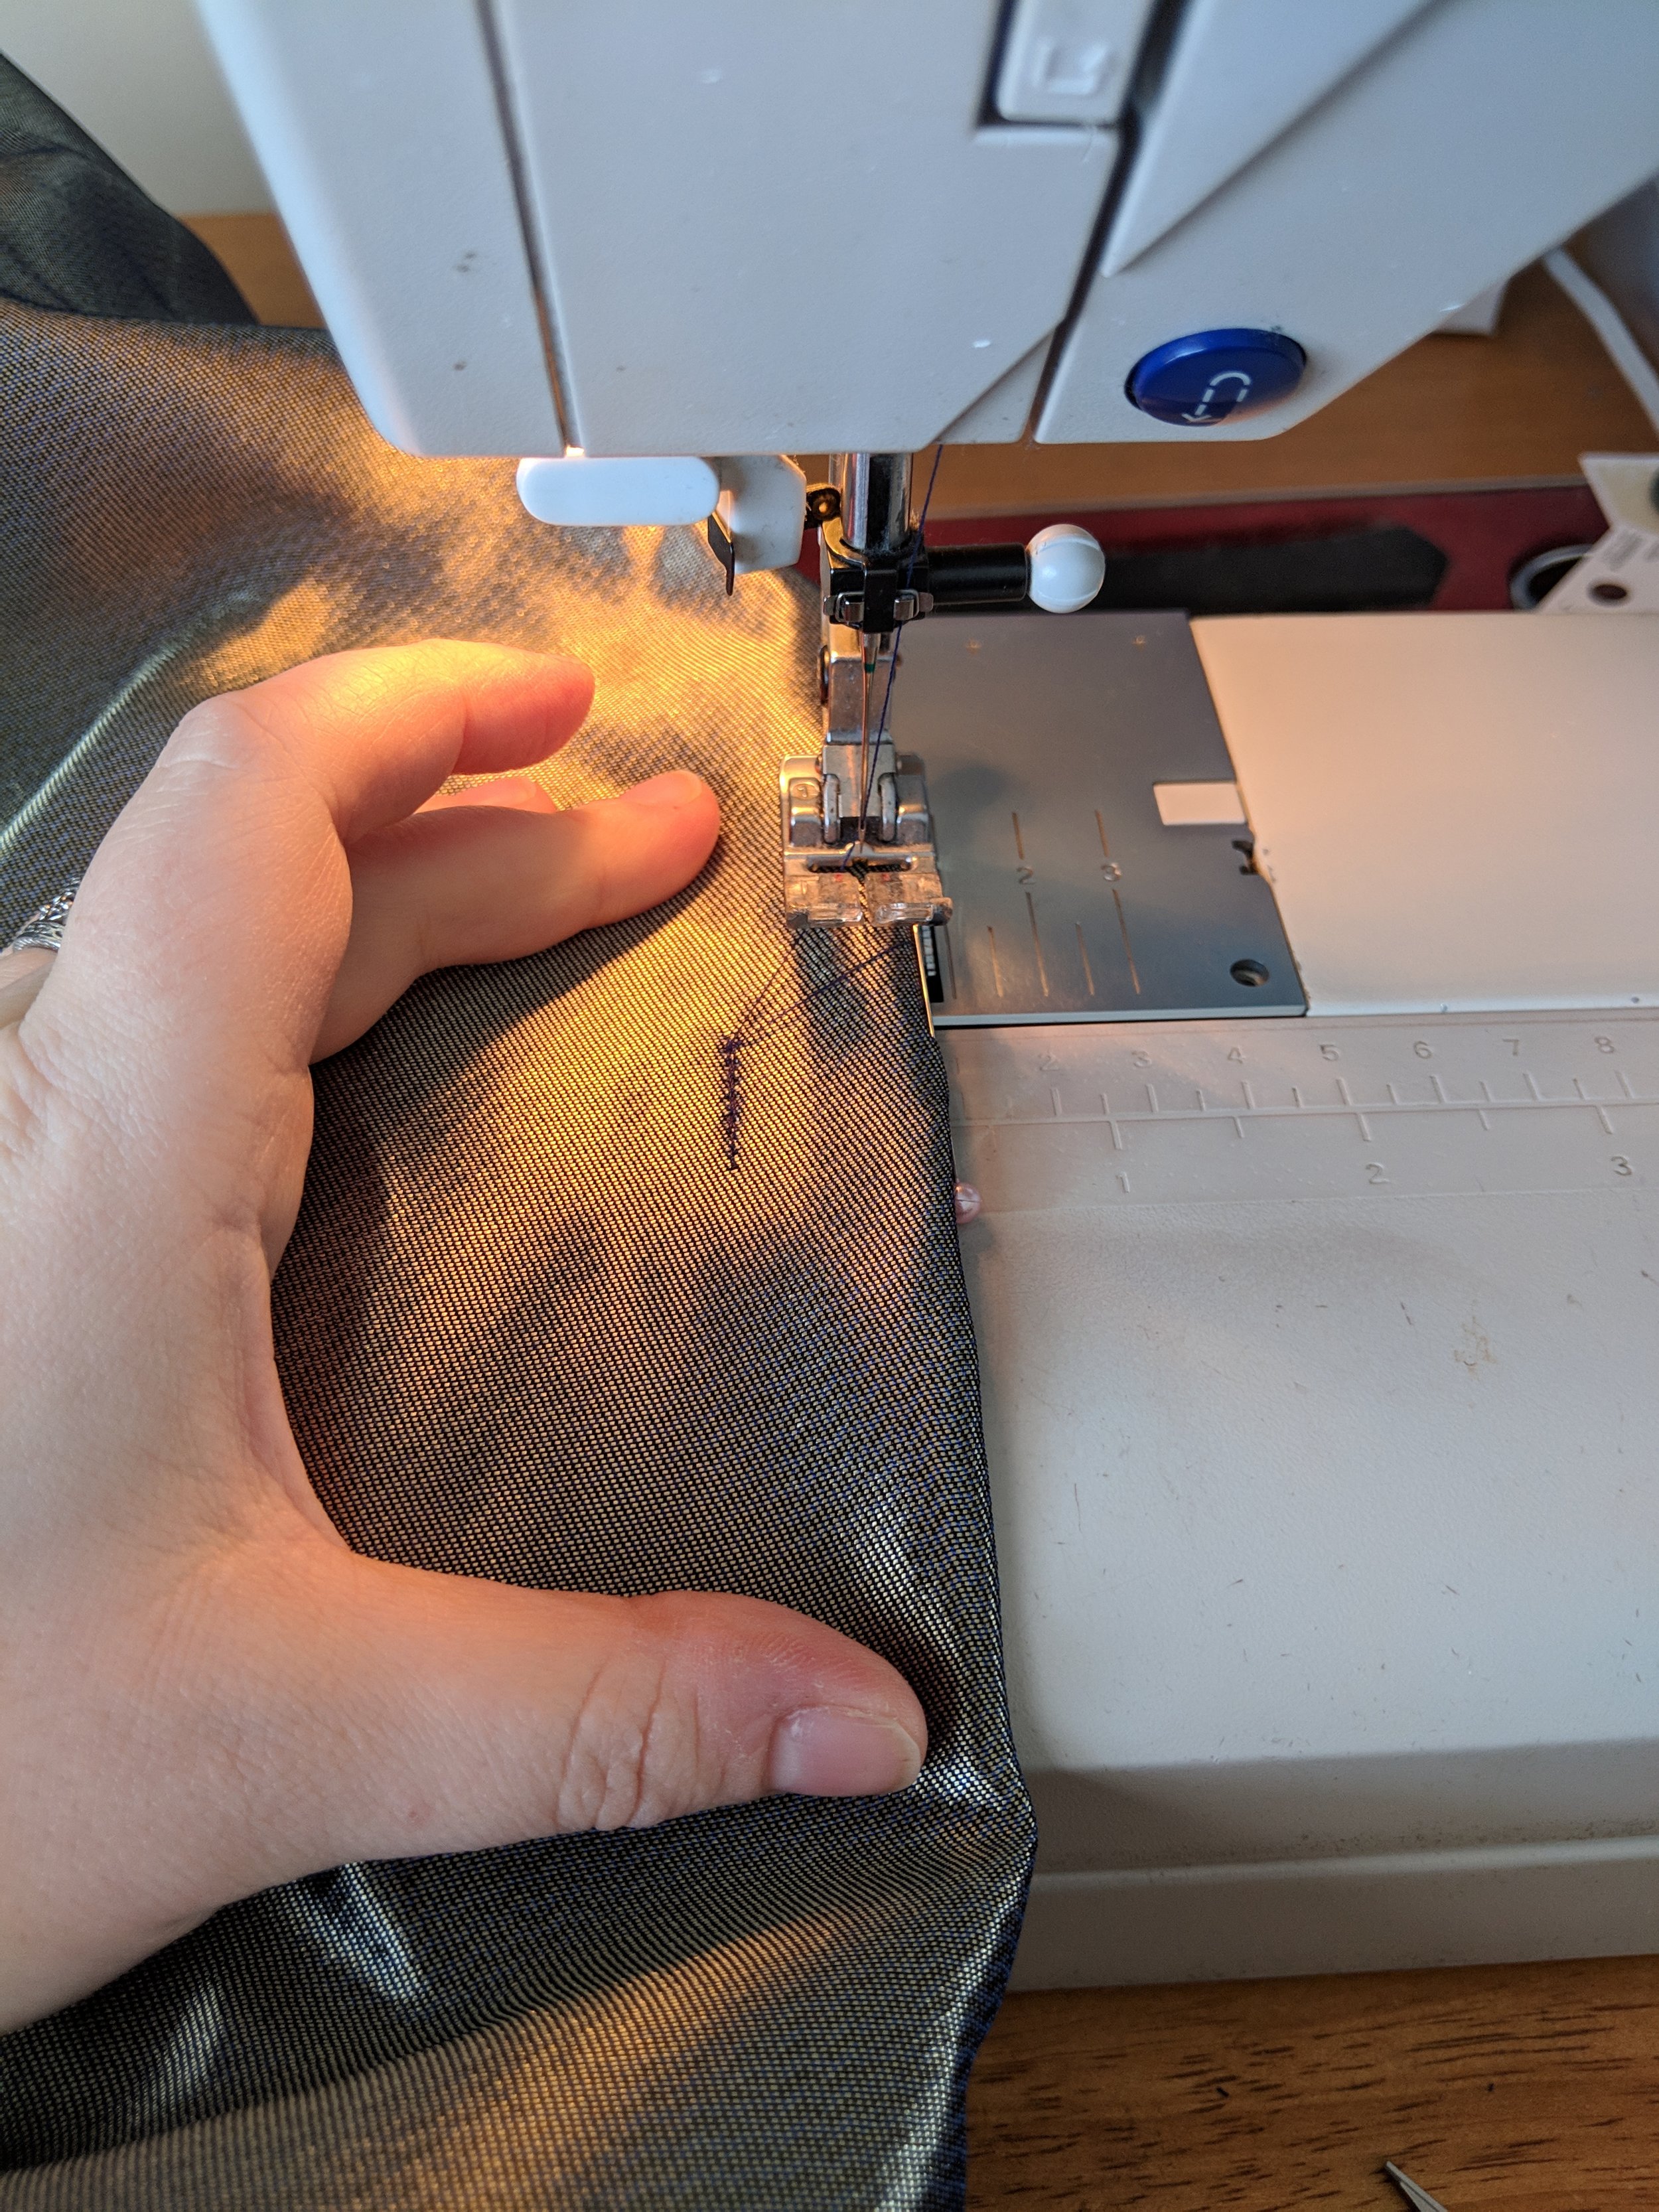
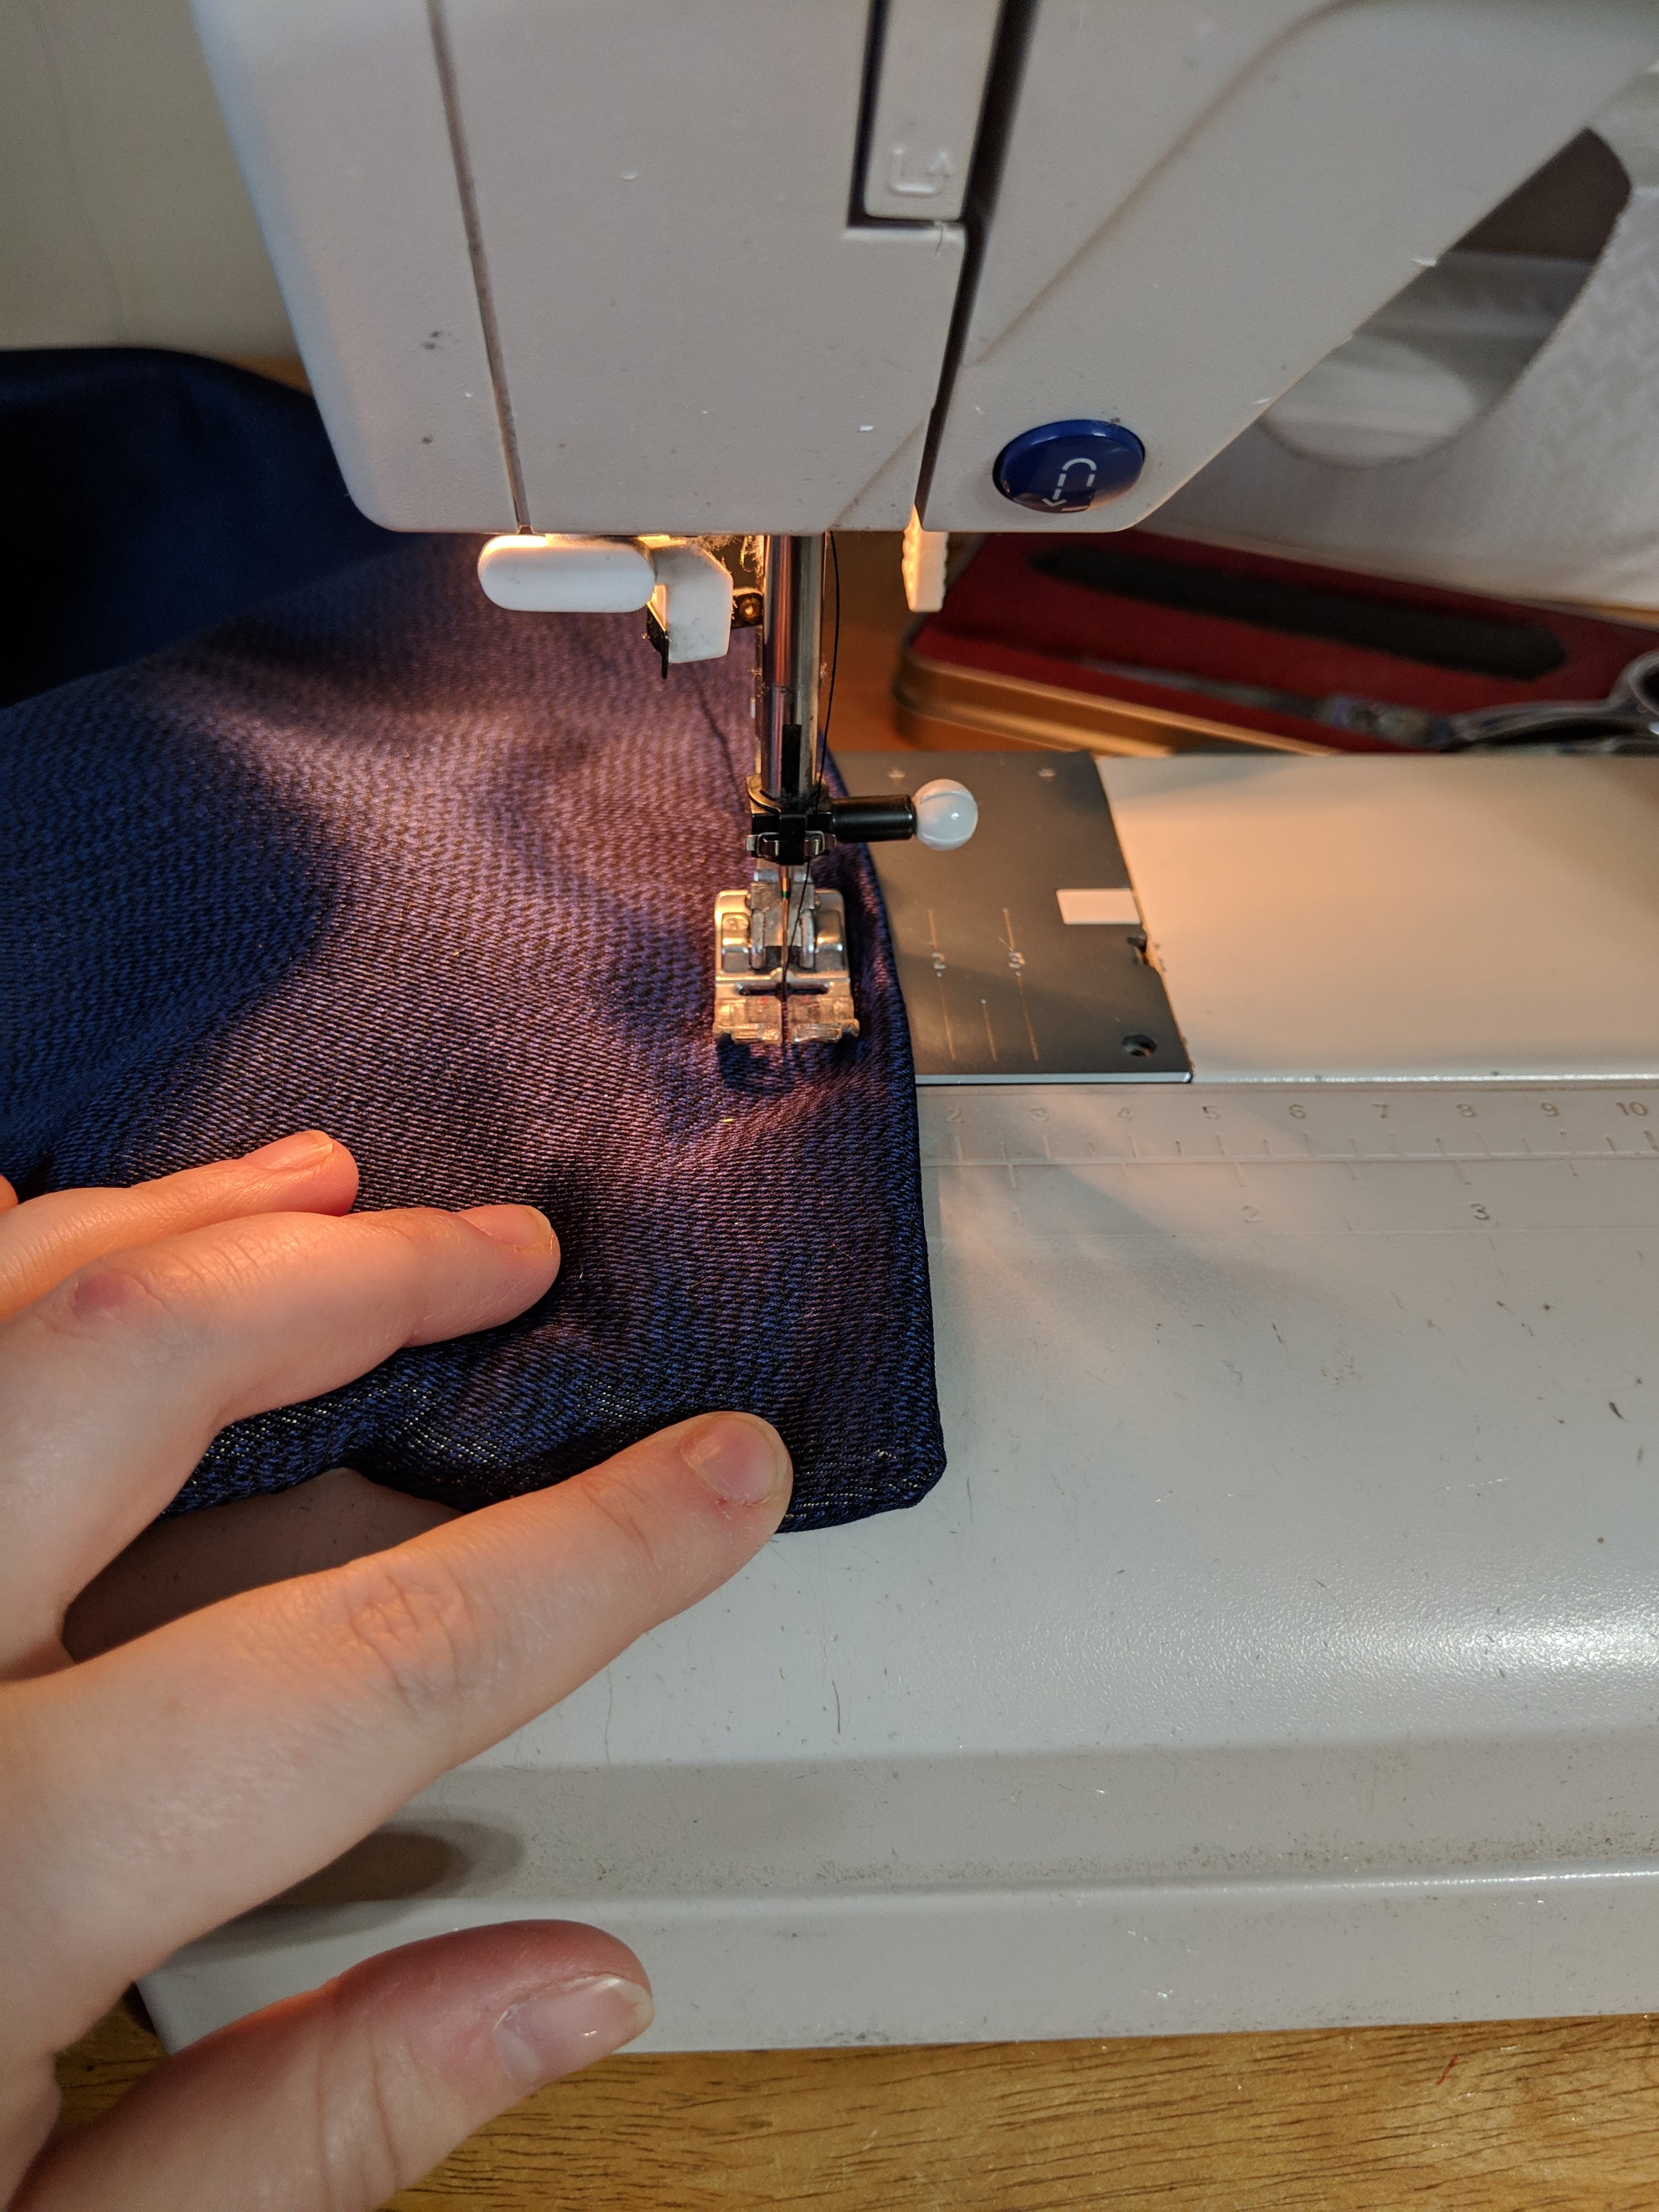
At each pin, I sewed a short line 1” from the edge of the fabric on the back side. I made sure to sew forward and back a few times for extra stability. Then I turned it right side up and sewed across those pintucks perpendicularly. I’m hoping this will help the stitches to not come out over time. After that, I put the duvet top and bottom right sides together and sewed it up. I believe I sewed a 3/8” seam allowance. Then I turned it right sides out and sewed around the entire thing again at 5/8”. This is just the opposite of what you would do for a normal french seam but I wanted the edge to be extra defined. I like it. It makes it easier to find the edge in the middle of the night and pull it over to my side! I did do an envelope closure on the back, but I still need to add buttons to secure it closed. Currently it closes with safety pins.
The final product is great! At first I wished I had added more pintucks, but as I’ve used it, I really like it. Next for this room will be making some pillow covers, but I’m waiting on some fabric that was back ordered. Then I’ll worry about the windows. Painting may take awhile because we have three downstairs rooms to do first, but I can at least have a nice color scheme.
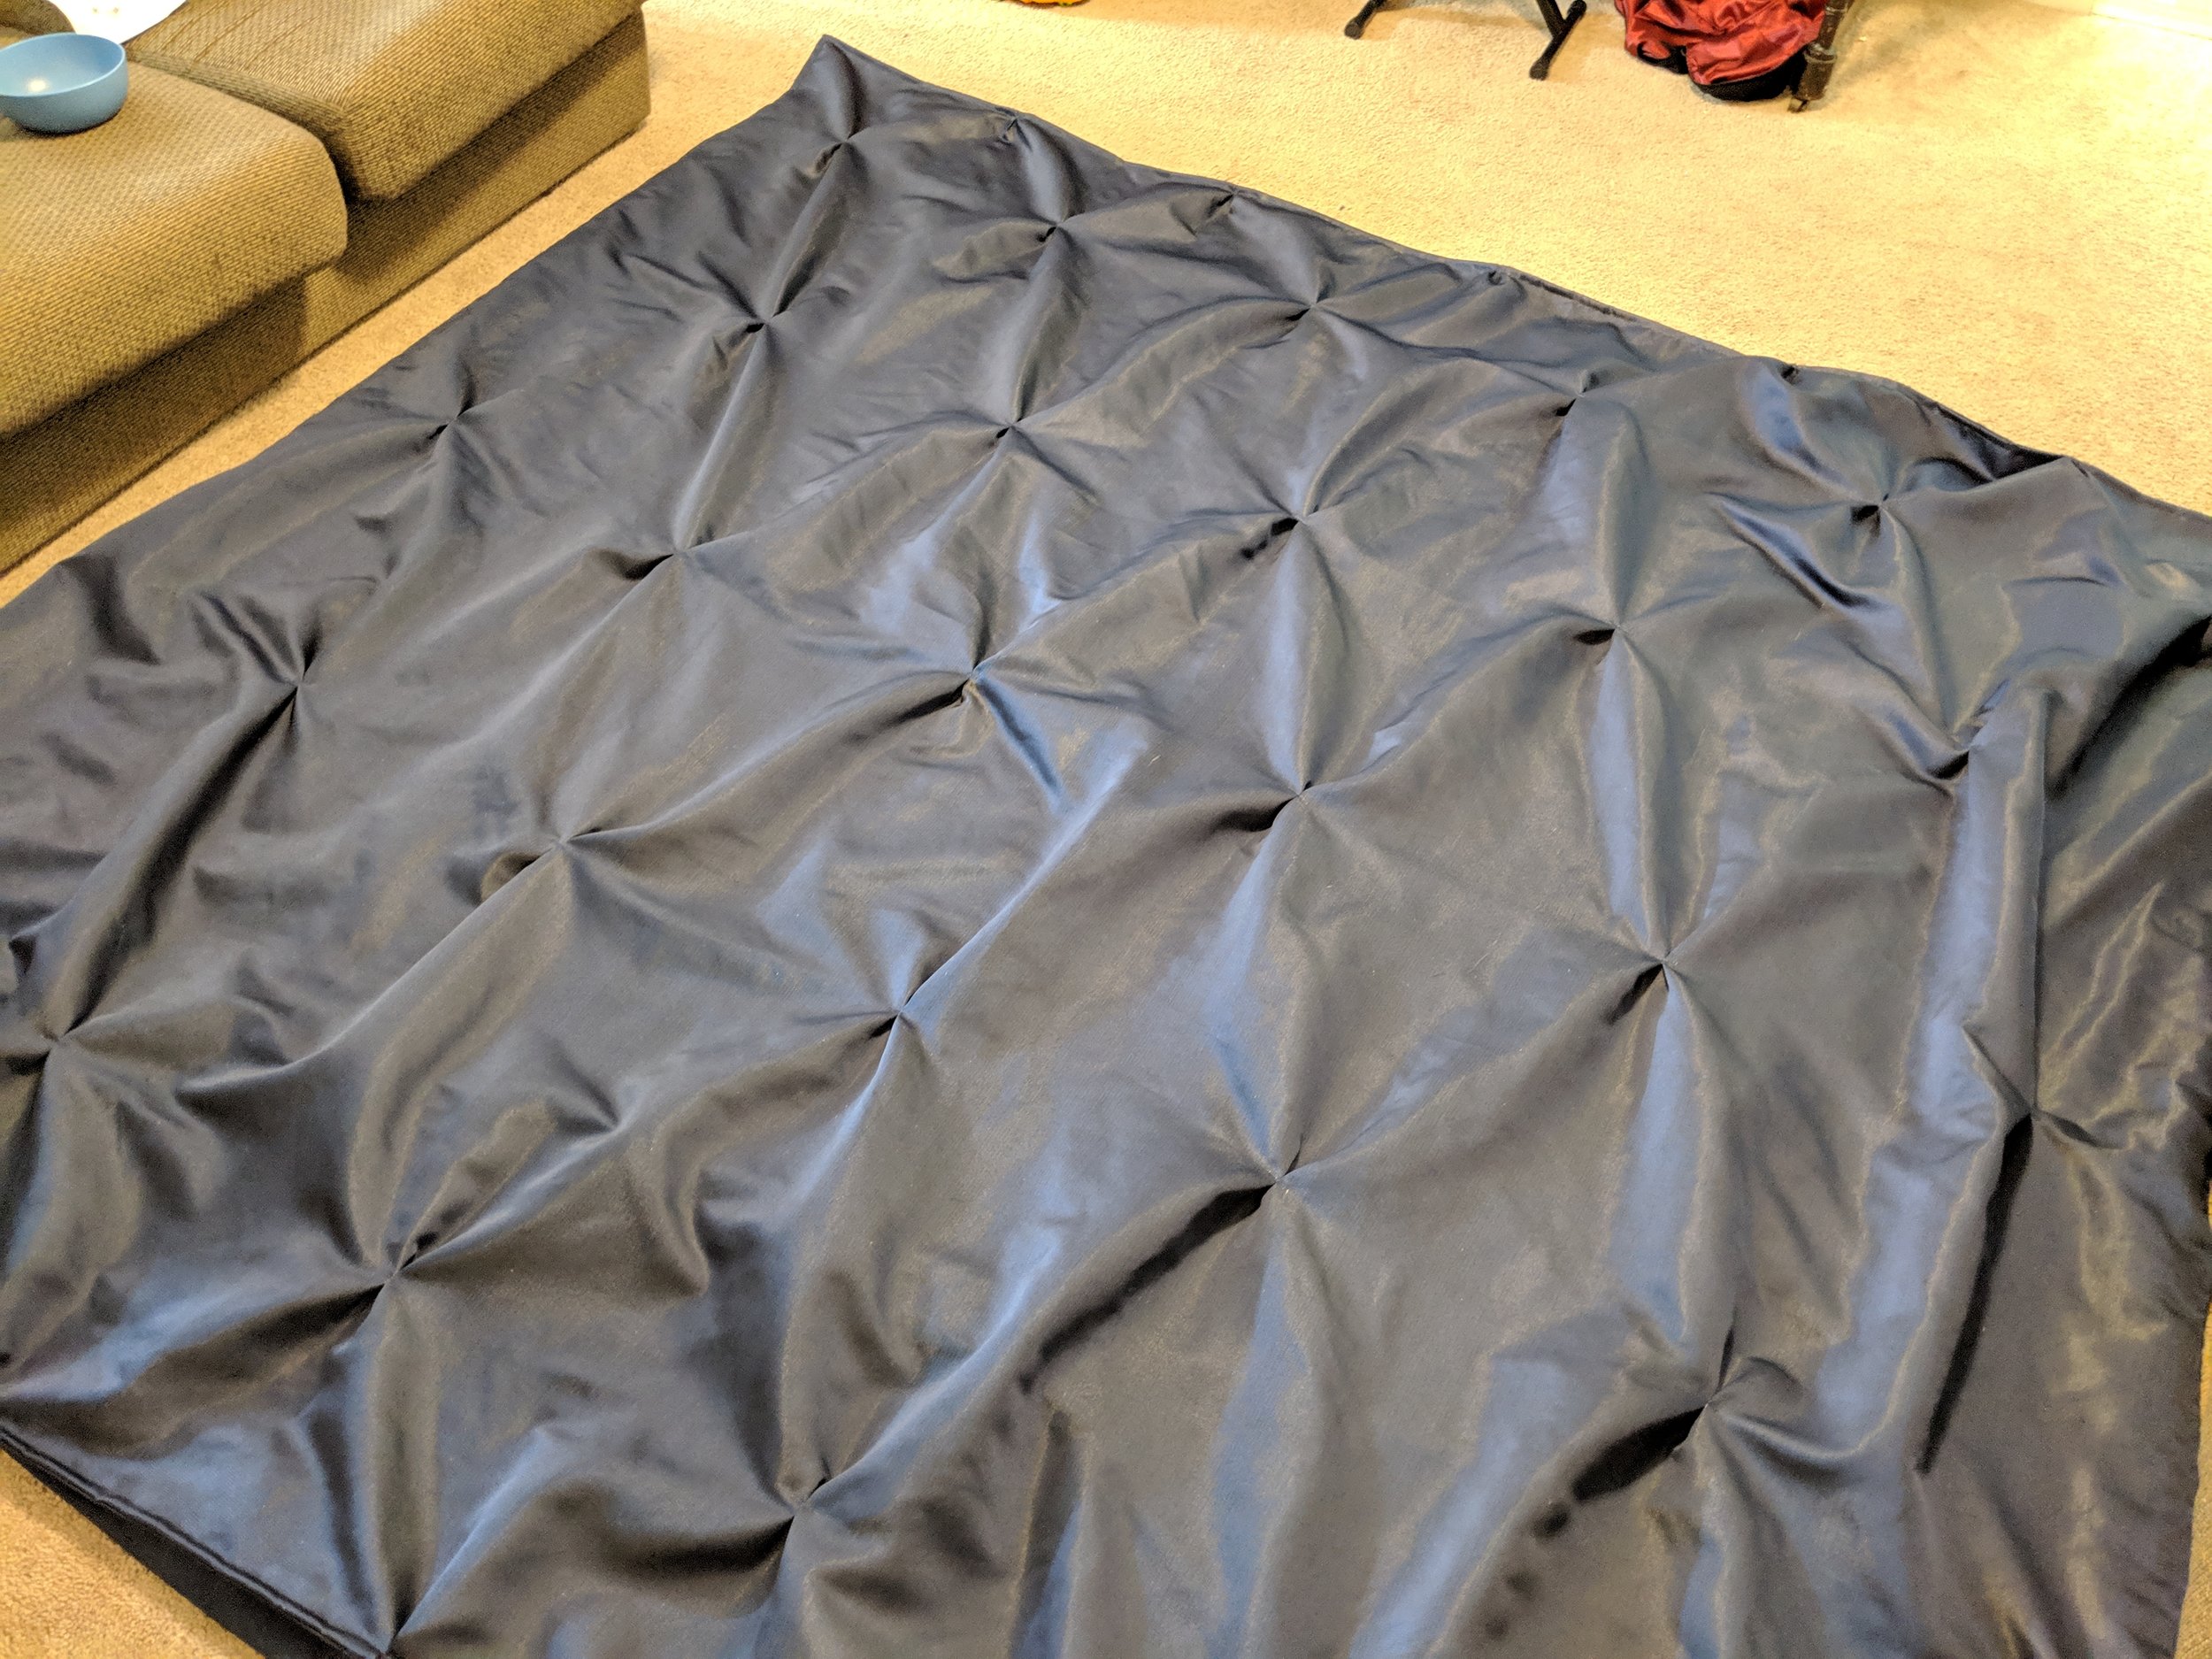
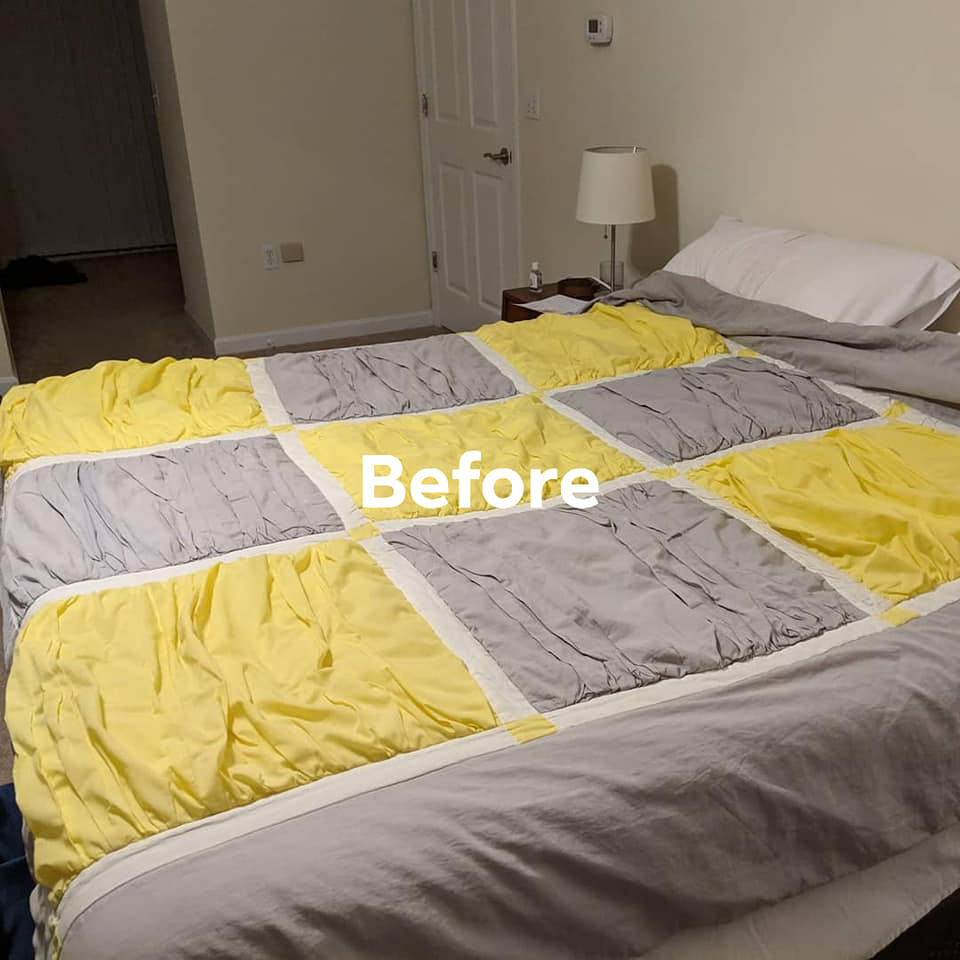
Just as a comparison, here is the before vs the after. I made that quilt maybe seven years ago and it’s been great, but the discount fabric is ripping on the back and I never quite loved that shade of yellow in person. I didn’t want to make a king-sized quilt again, but a duvet cover was much more manageable.