Projector Sewing: What is it?

Have you heard about using projectors for sewing? I have been hearing about this trend for years, but since I usually do a lot of fit adjustments for myself, and I didn’t really want to mount something on my ceiling, I decided it wasn’t for me. But about six months ago I joined a group on Facebook called Projectors for Sewing. I wanted to start making projector-friendly patterns for my own sewing patterns, and everyone said that that group was the source of all projector knowledge.
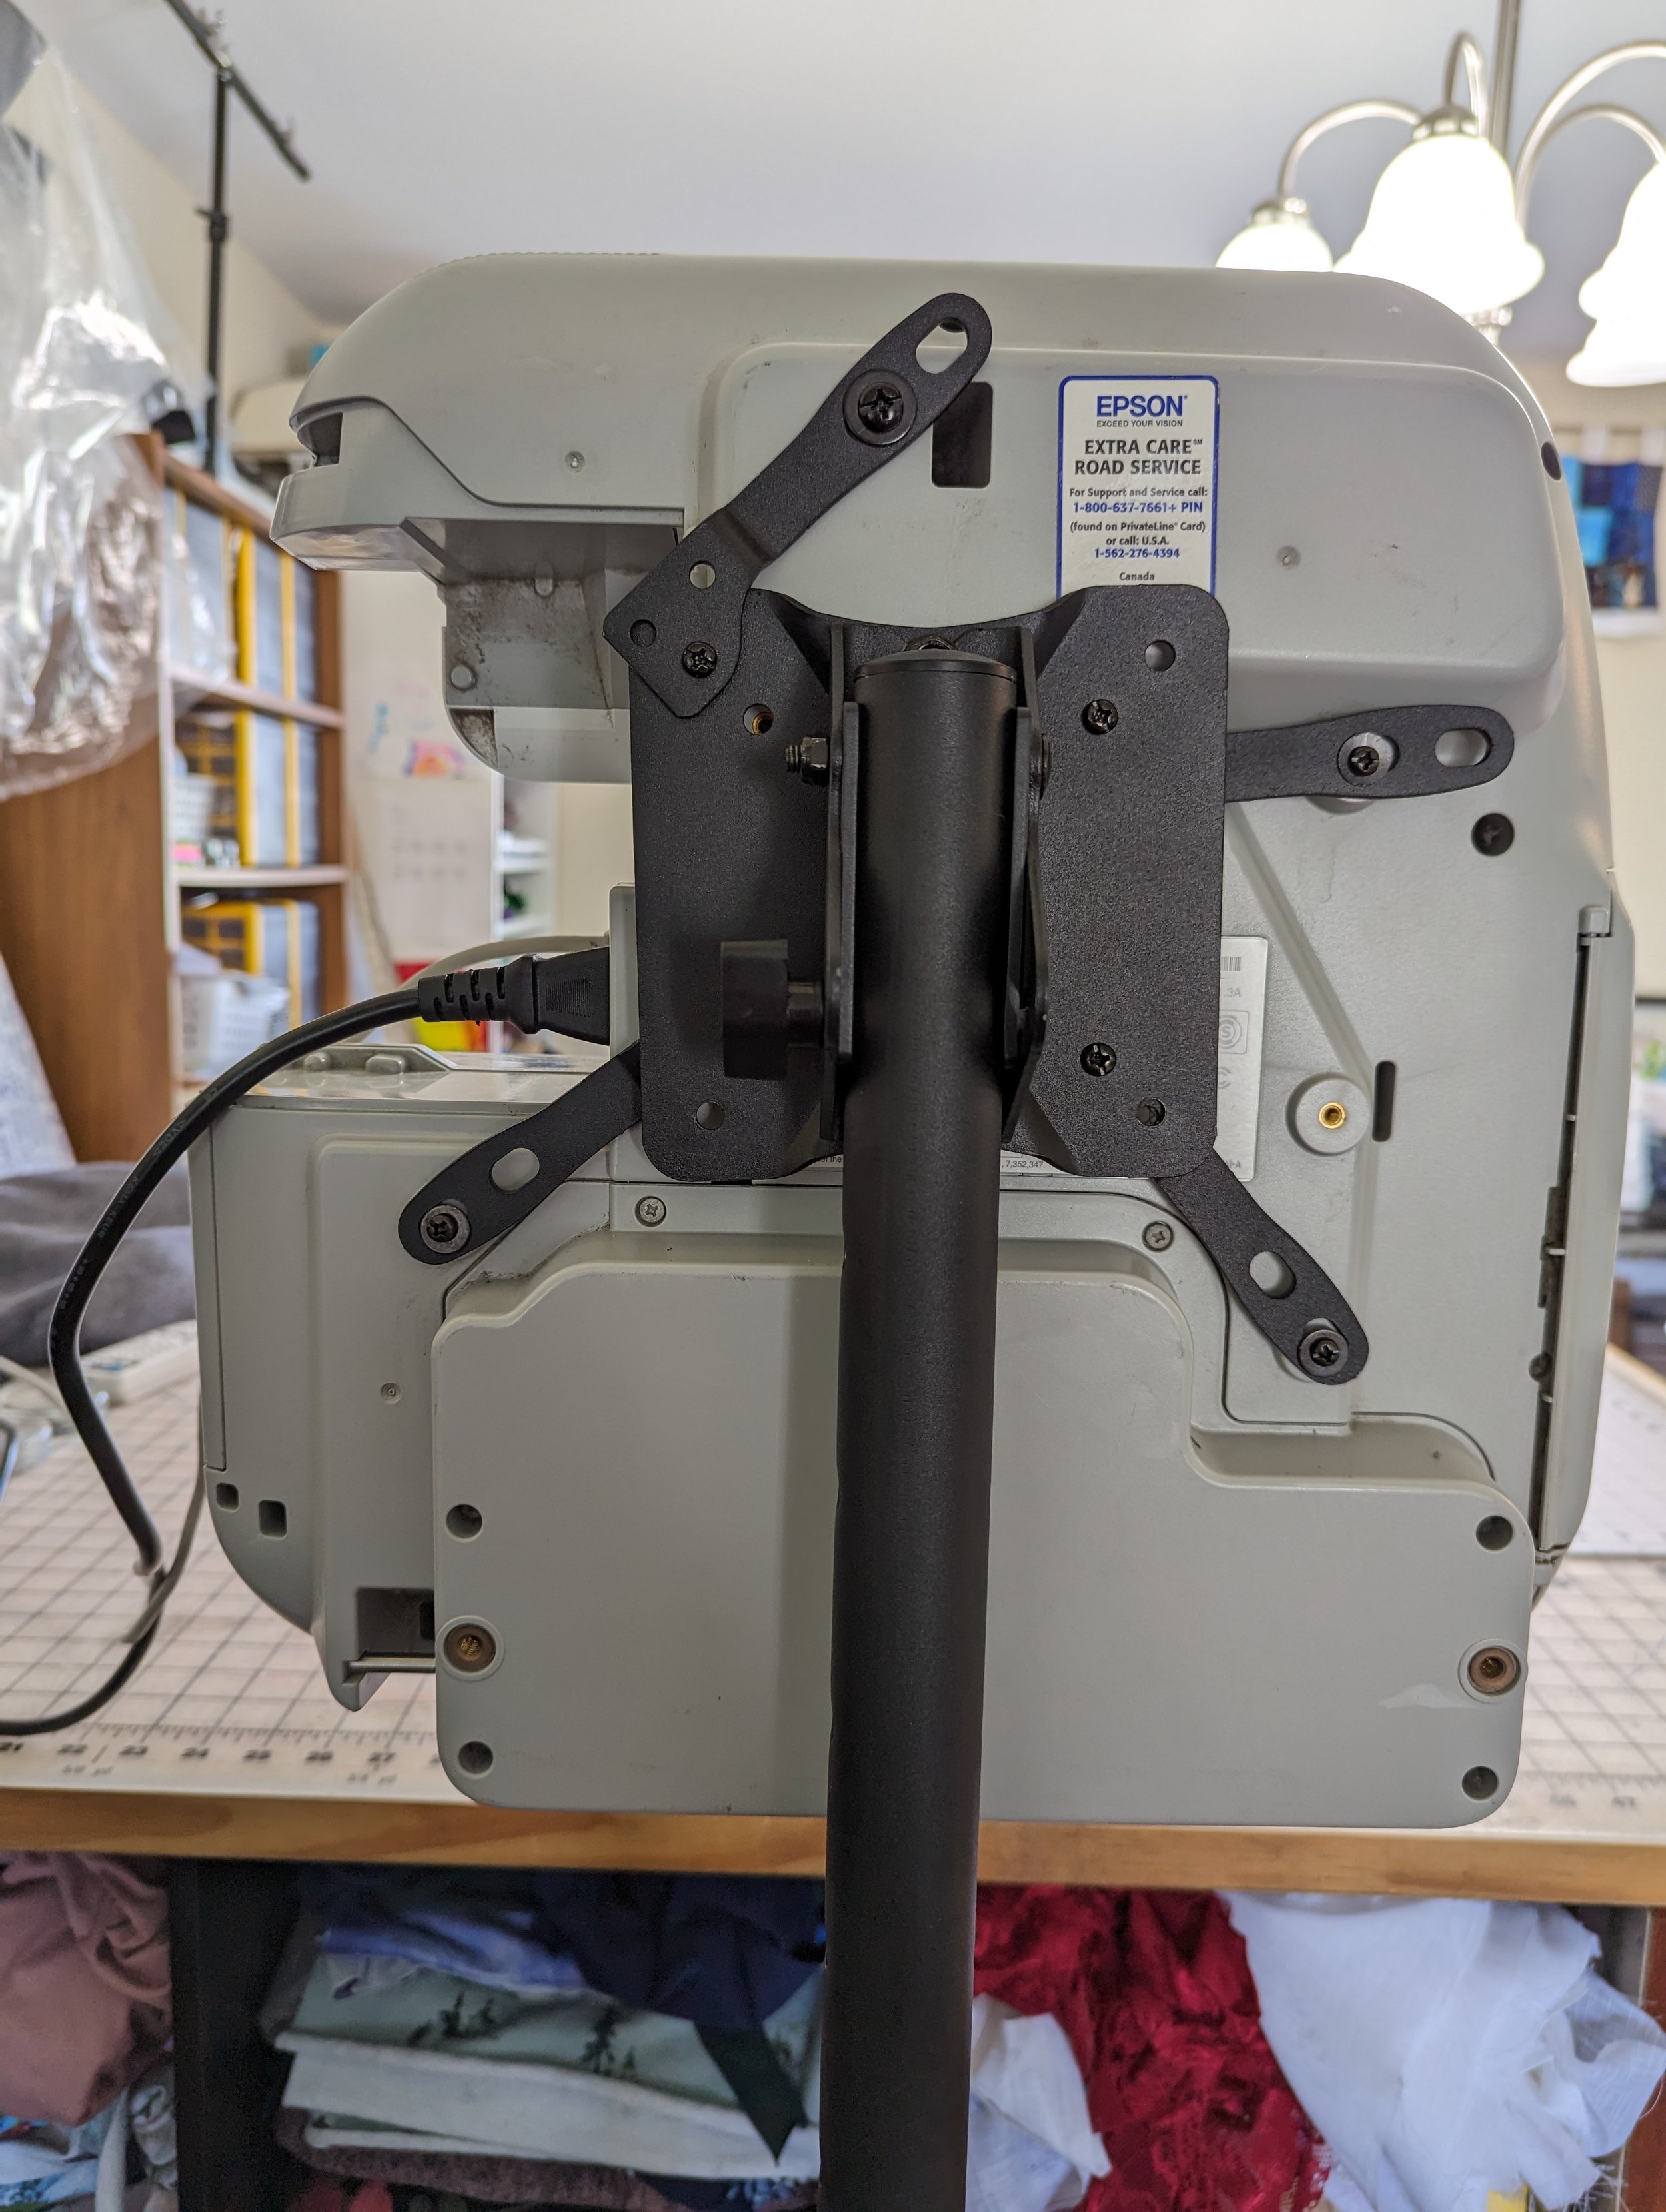
The funny thing was, after several months, I learned some new things. For one thing, there are three different types of projectors, and not all require being mounted on the ceiling. In fact, because my ceiling is not very high and my cutting table is counter height, I actually don’t have enough space between the ceiling and cutting mat for a projector. There is a type called a short throw projector that would likely work, but they are expensive. Instead, I could use an UST, an Ultra Short Throw projector, and place it on a shelf or stand. These are extremely expensive new, but I found an Ebay seller who takes them out of schools when they aren’t needed, replaces the bulb, and sells them. I bought an Epson 475W for $100 including shipping.

I don’t have have space for a shelf, which would be nice because it would have a permanent spot, but I did buy a tv stand on Amazon. It takes us some space on the floor behind my table, and I’m always telling my kids to stay away from it so they won’t bump it and cause me to have to recalibrate. But so far it’s working well! The stand was $60.
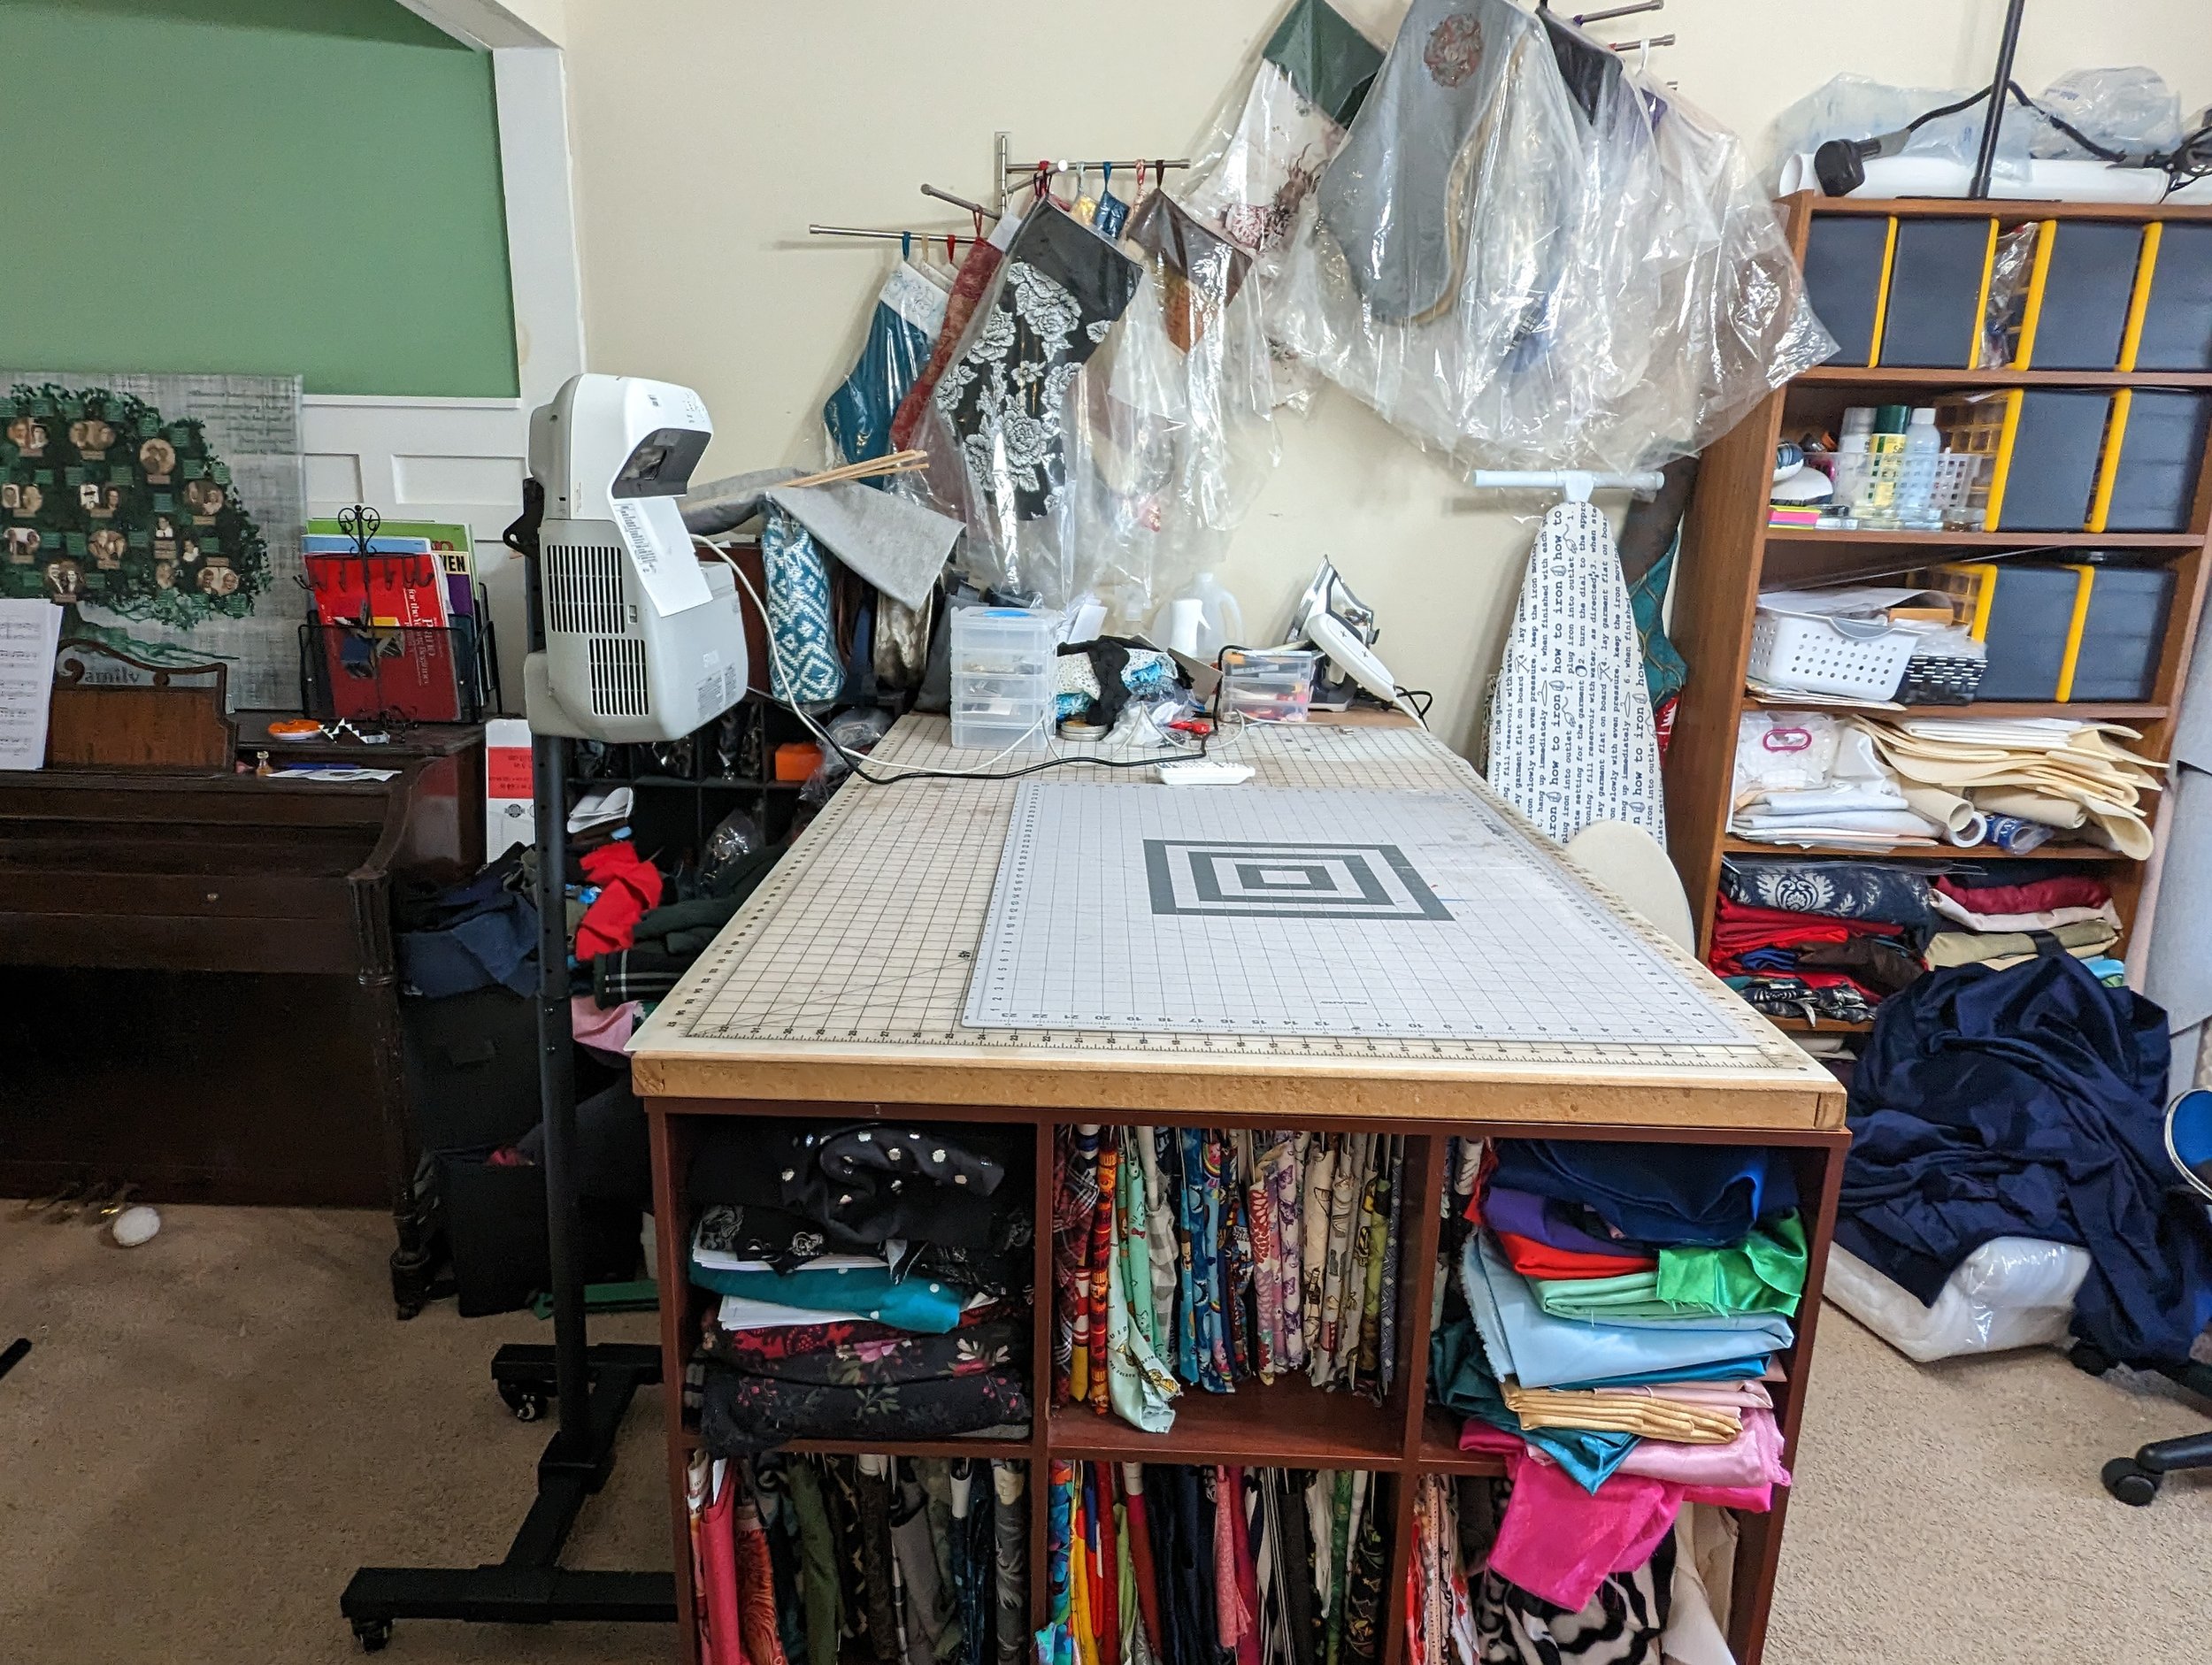
Projectors are a lot of work to set up. However, the people in that Facebook group have done an incredible amount of work setting up resource guides. I absolutely wouldn’t have been successful without reading through this post and the guides there. (You have to join the group to see the post.) However, once I got the projector on the stand (that alone took me awhile) and the correct drivers installed and everything reset and ready, I was able to calibrate the projector in around 20 minutes or so. I have a place on my mat that isn’t flat, so it’s not perfect on the bottom, but does correct itself when I push down there. It counts as “good enough,” and I’ve successfully sewn three clothing items with it like this.

Here are the pants I made my son. Making kids clothes was one of my main motivations for buying this. I’m so tired of cutting out the next size of a pattern I use over and over. I hate storing them just in case I need them again, when I usually forget I have it and recut it, or save it so long that it’s useless unless I remember I have it when the next kid reaches that size! It was so fast and easy to cut using the projector.
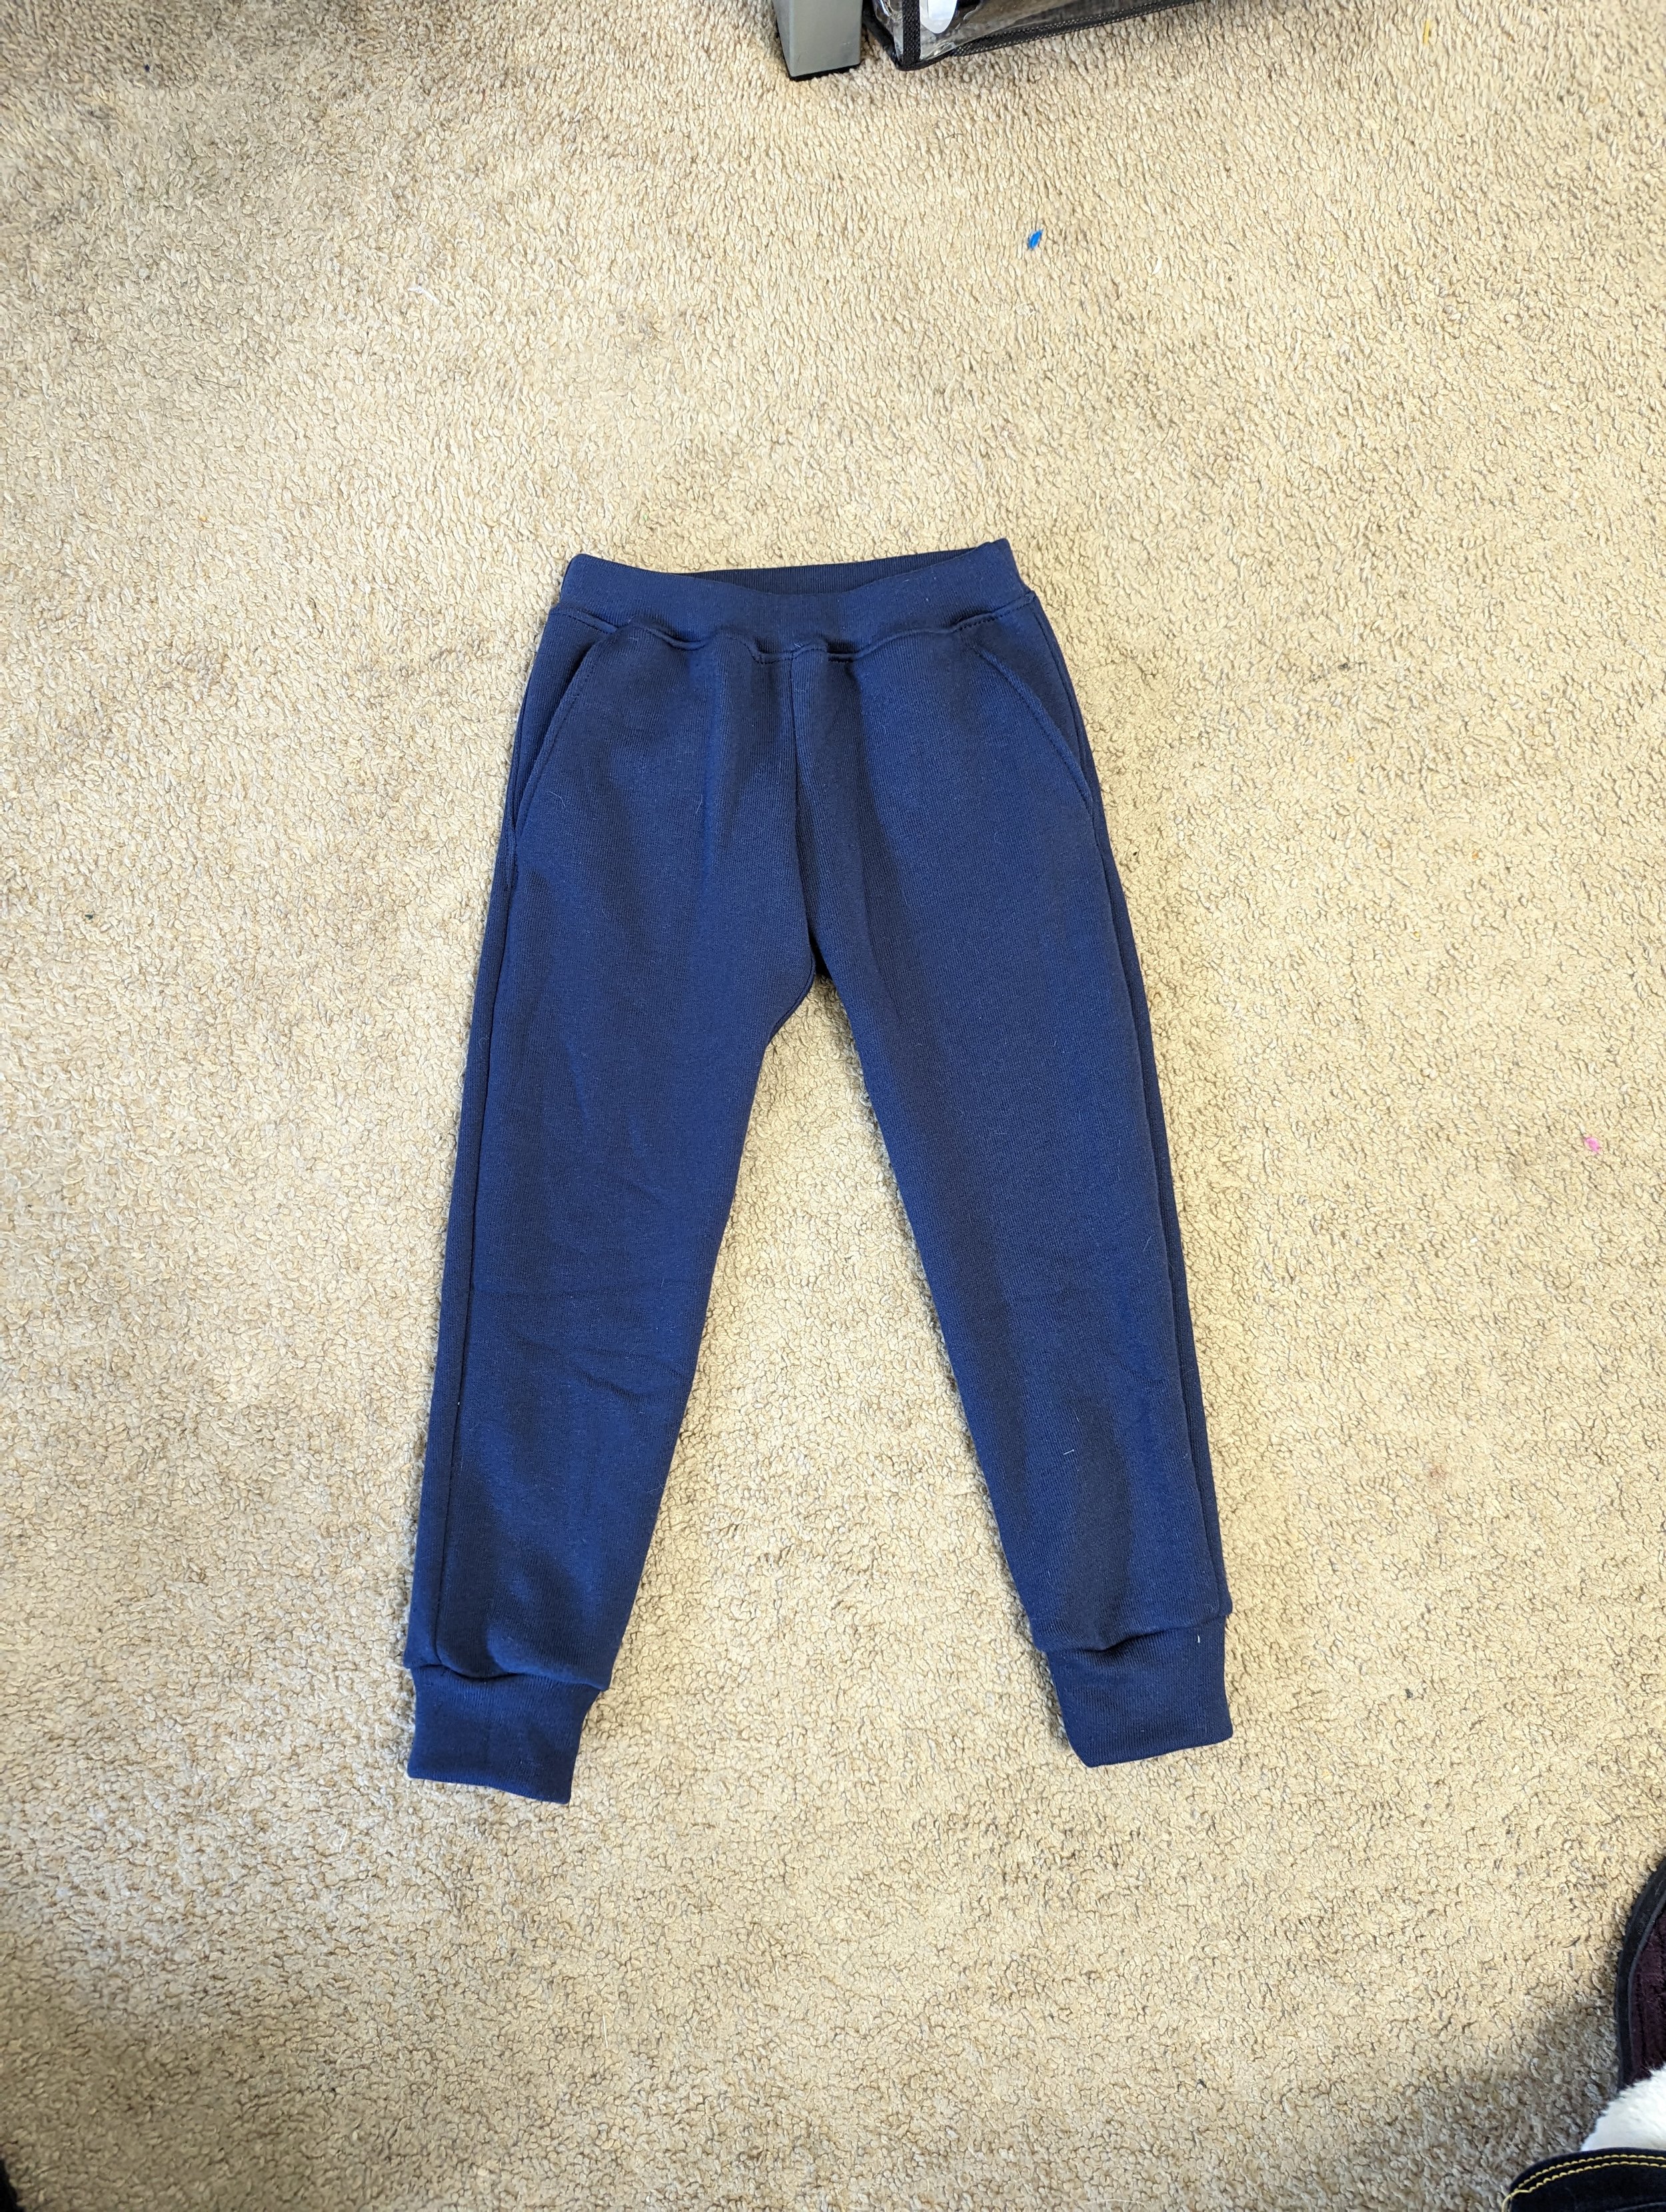
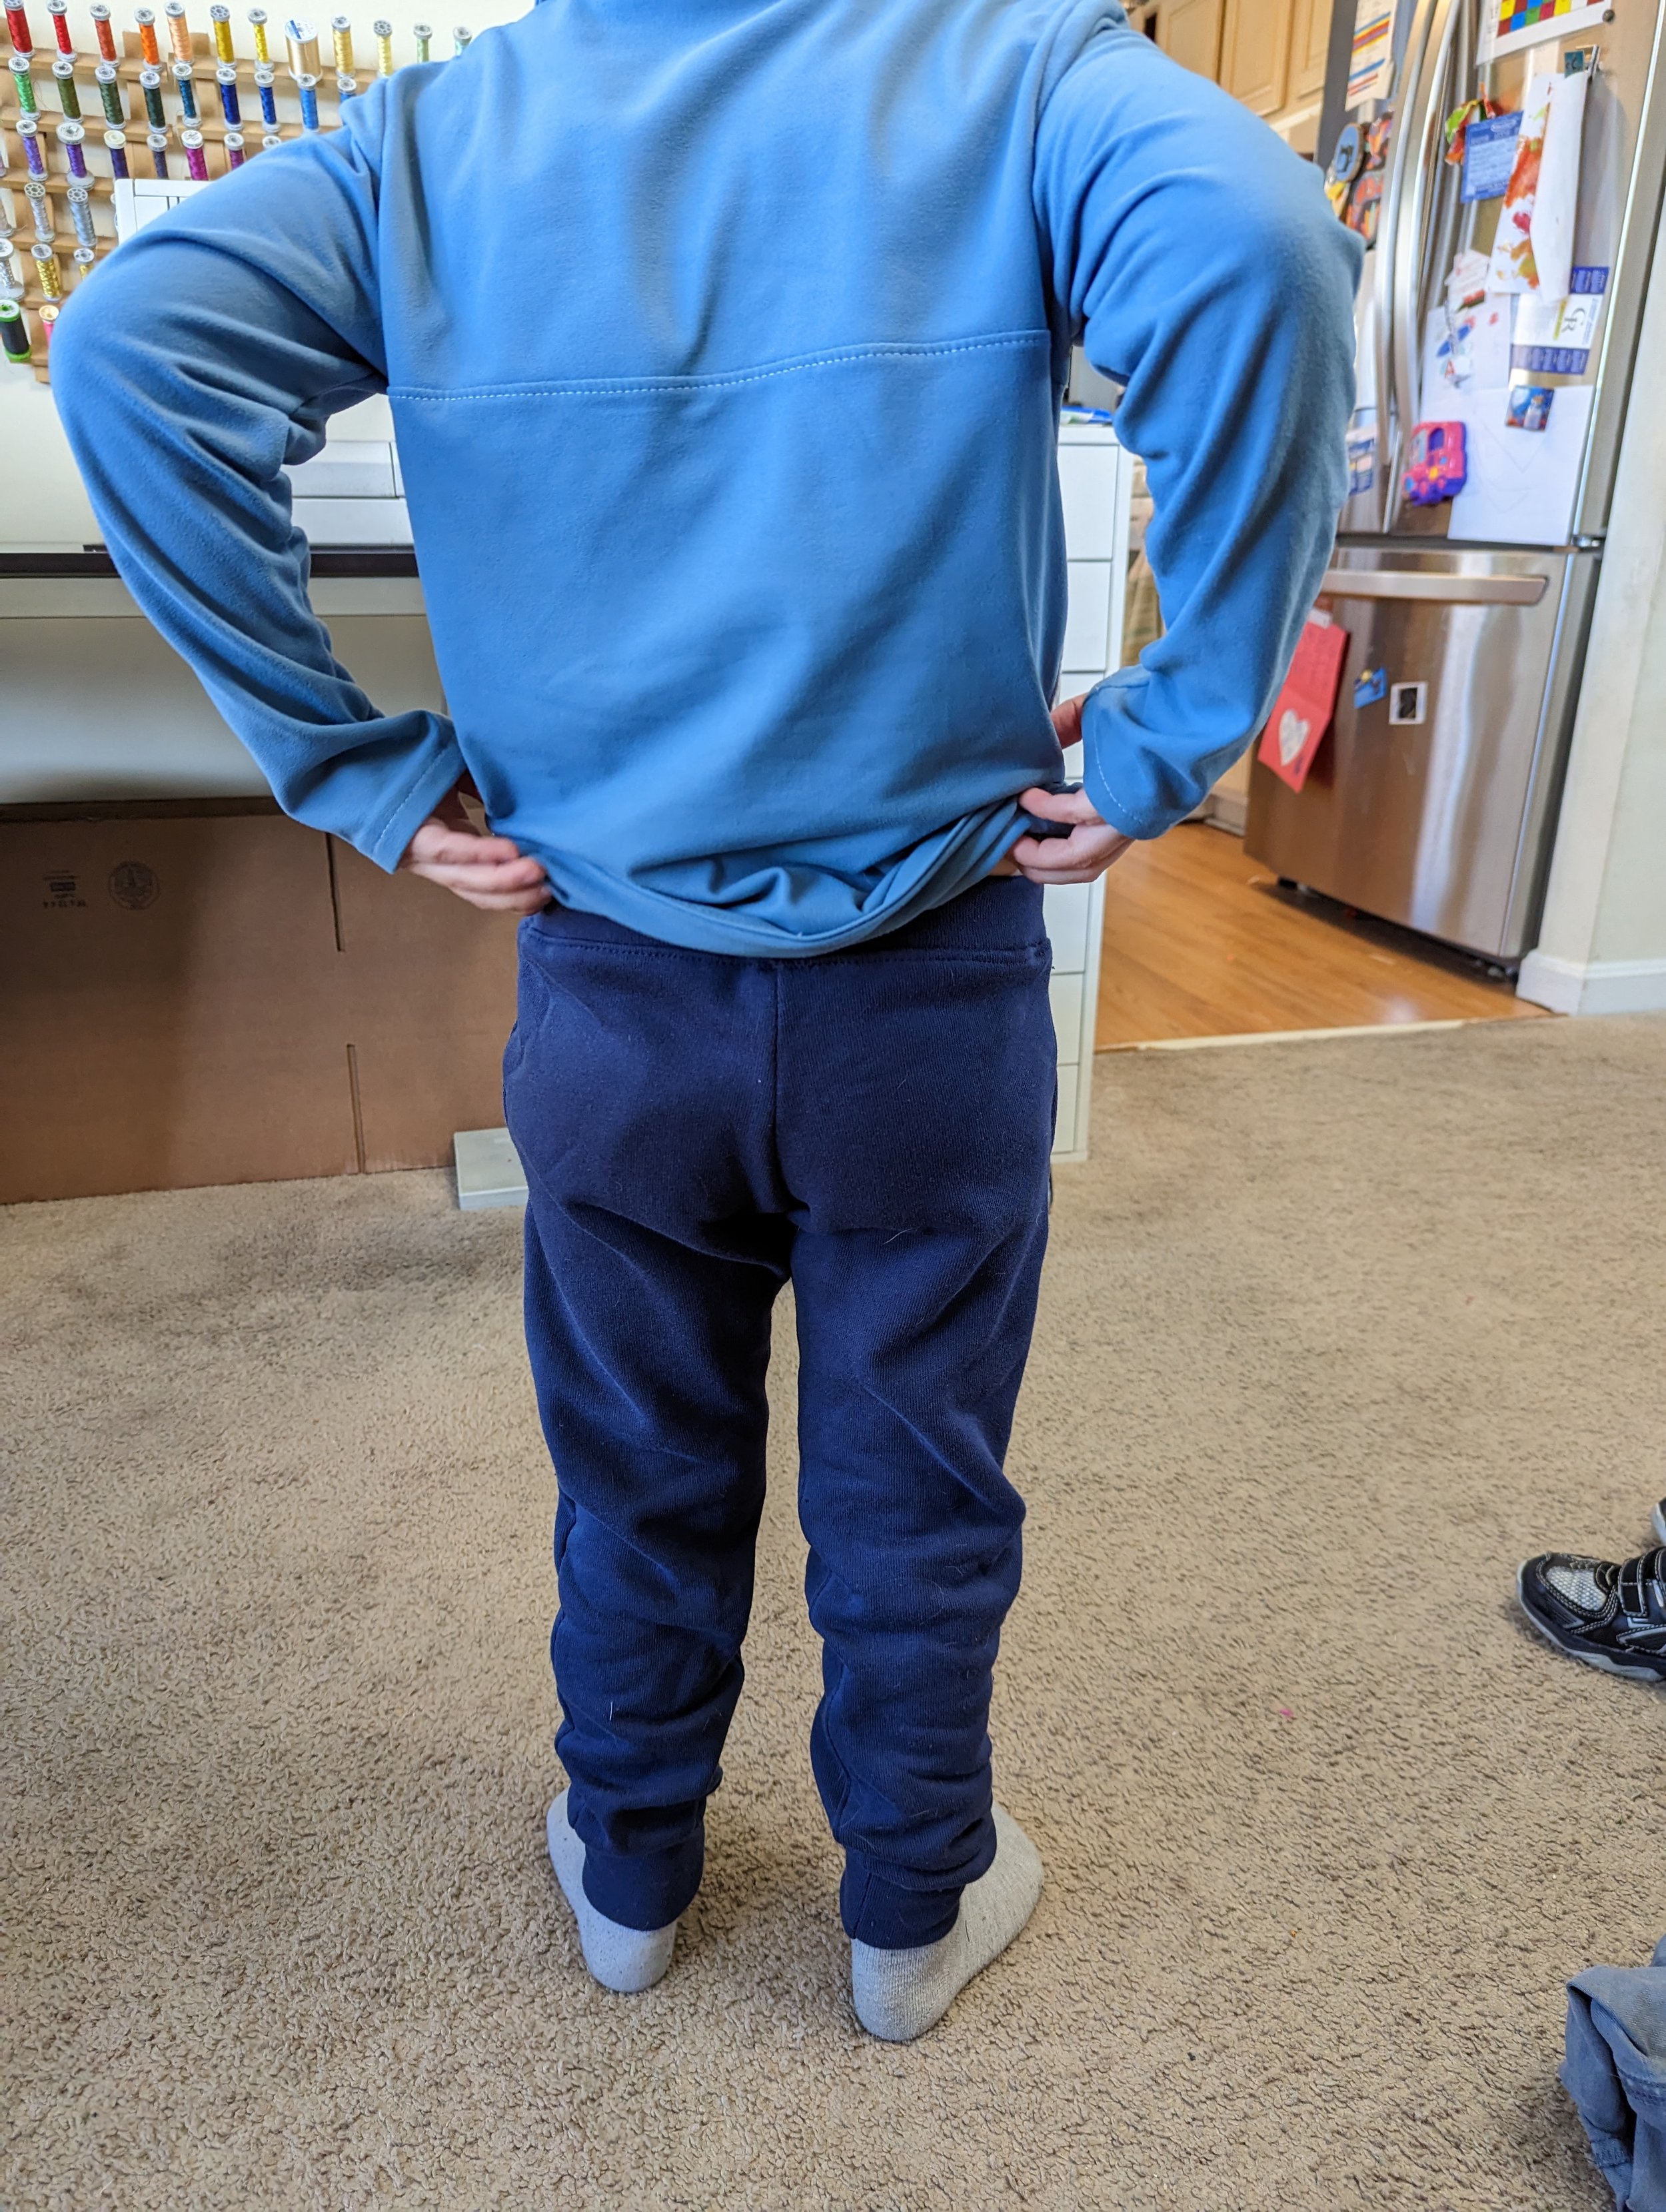

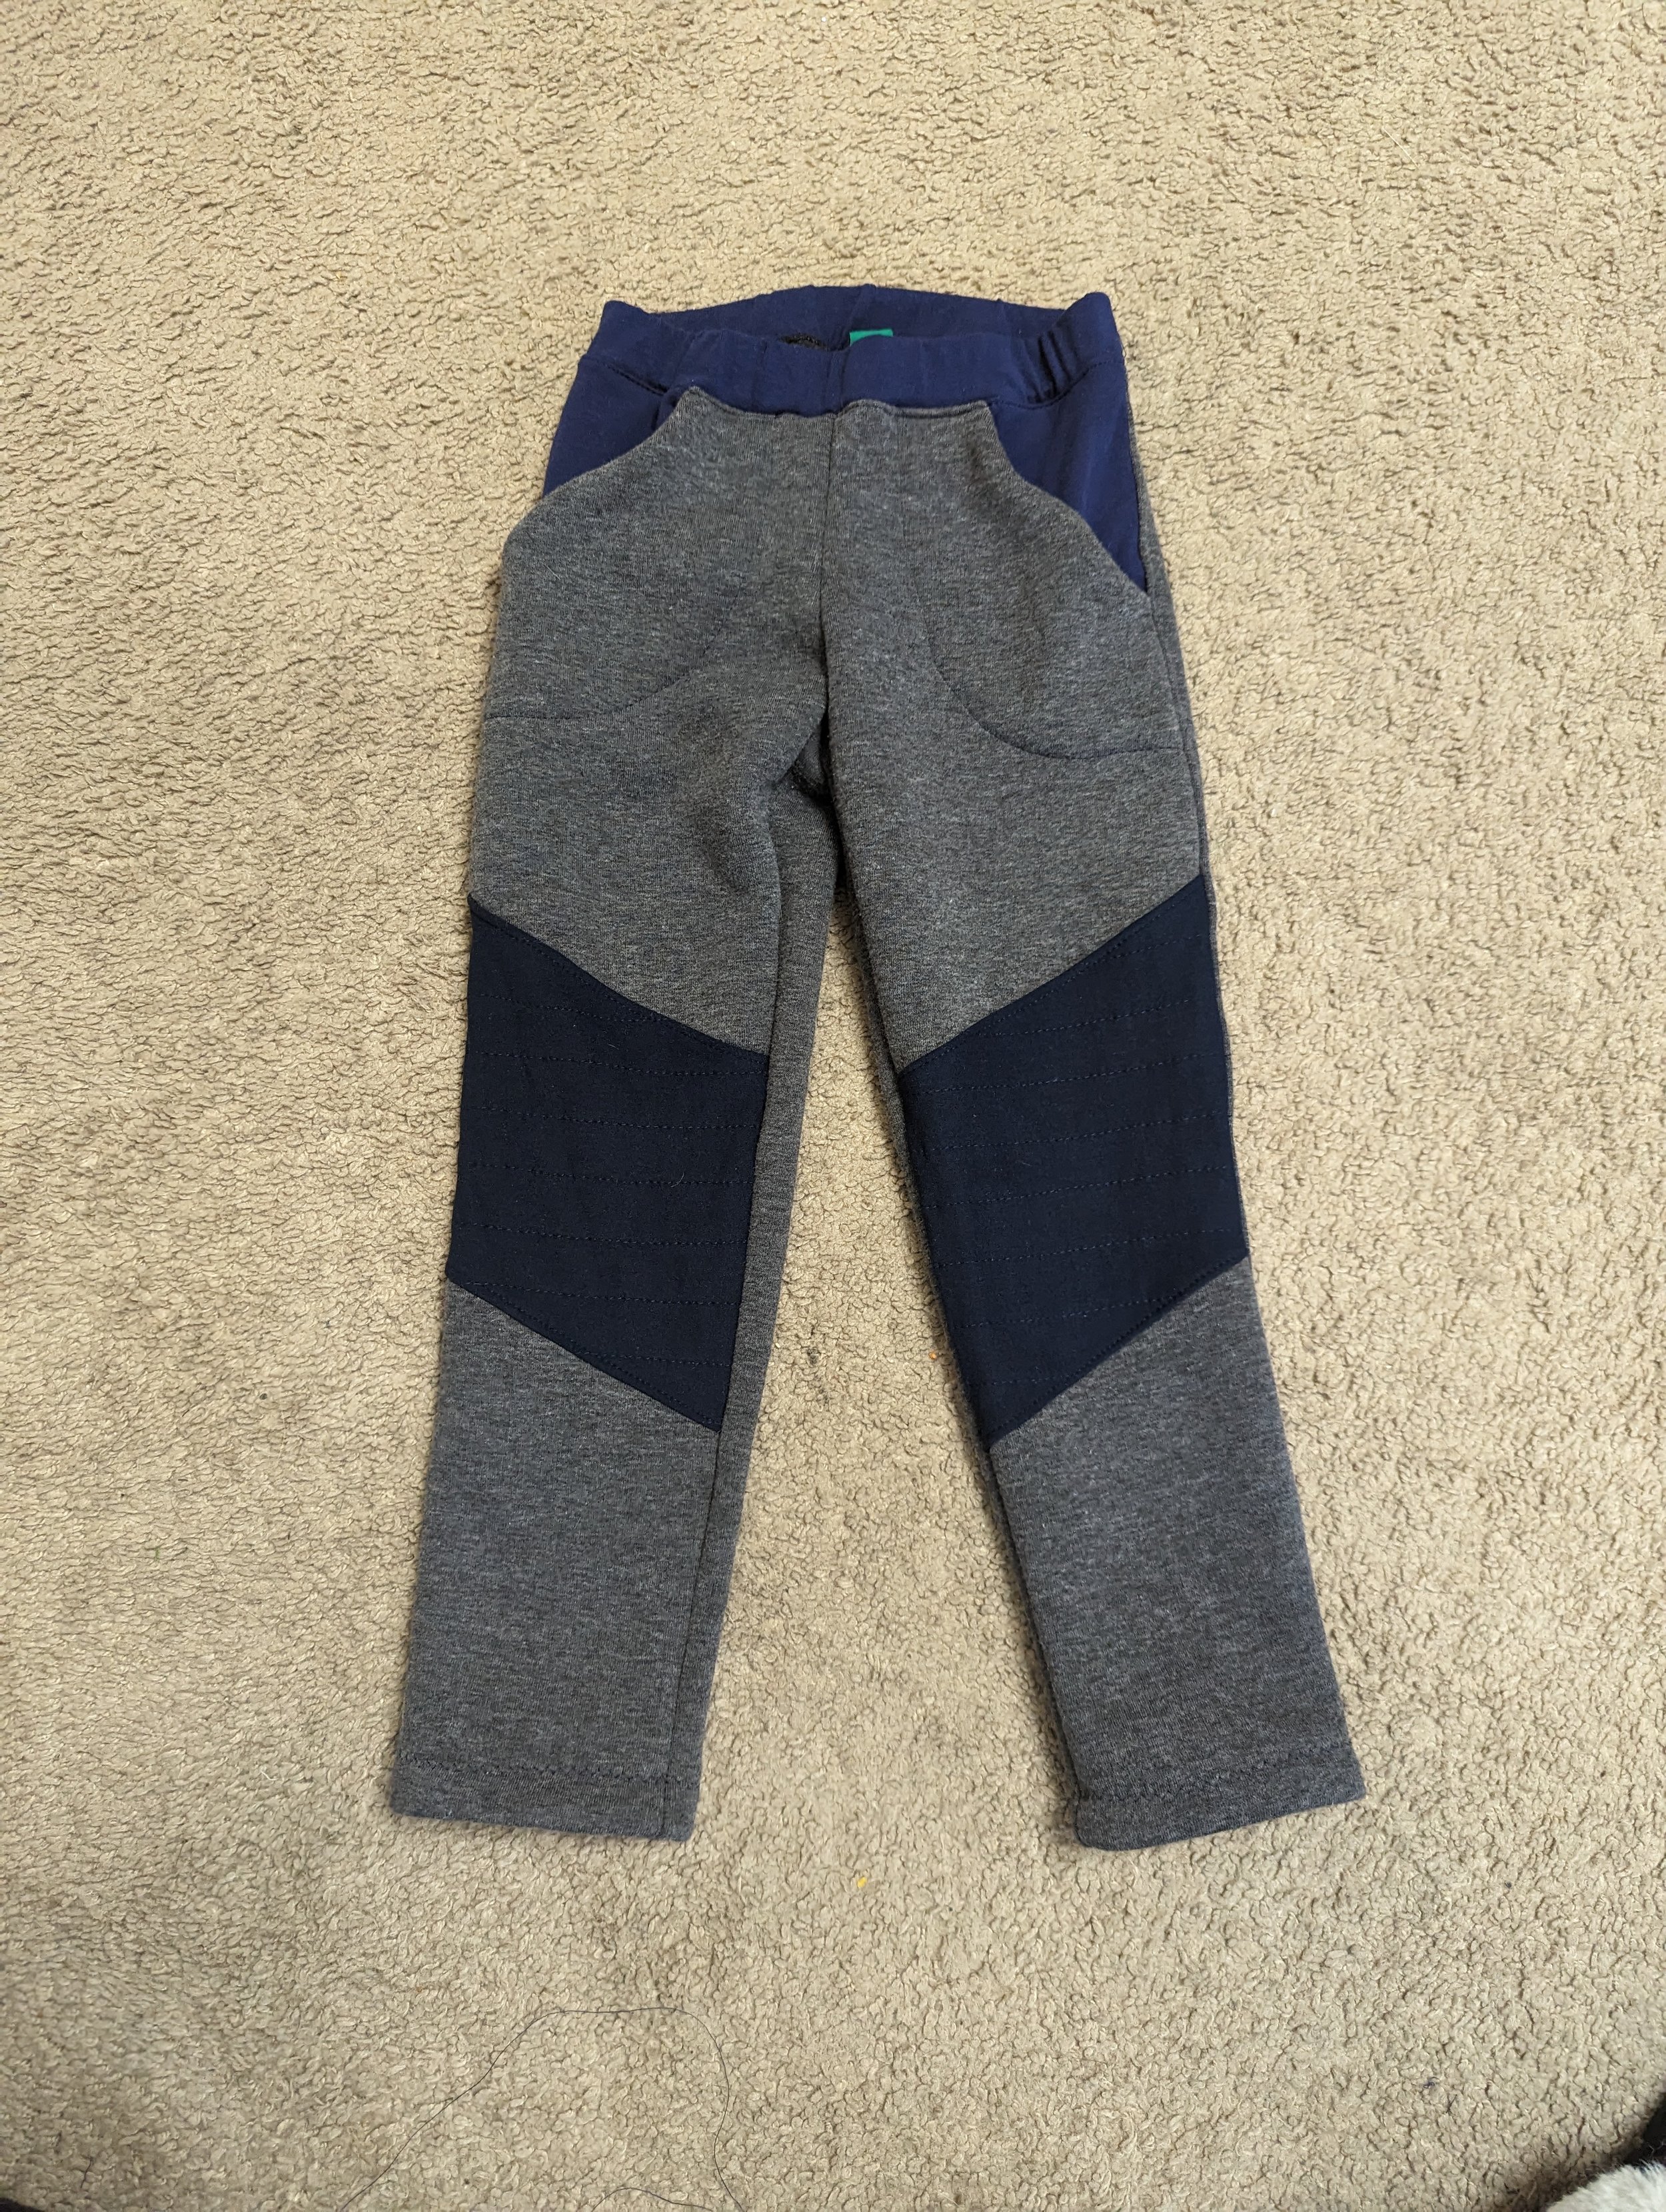
My projector is awesome so far, but there is definitely limitations and a learning curve. I was cutting thick fabric for these pants, and because my projector is to the side, it’s not as accurate with thick fabrics. So I used pattern weights and my clear ruler to press down the fabric for more accuracy. Also, I often use scraps of fabric for sewing, and having all the pieces cut out makes it easier to play fabric tetris. When making kids clothes with few alterations, this will be fast and easy, but for myself, I may need to draw on paper and make adjustments there, or try to do things like height adjustments by carefully moving the projection while cutting. When I considered my most recent clothing projects, many of the patterns I made were from Sinclair Patterns, who has Petite, Regular, and Tall patterns, which has eliminated many of my fit adjustments.

I am very excited to use my projector with my bag patterns. When I’m developing a pattern, I end up going through so much paper and tape as I try out different variations. I’m super excited about using my projector instead. Here is my most recent pattern, the Scotia Satchel. After getting my projector, I saw how useful large font size is, so I made all my fonts much larger. (The image is blurred here). I also made different pages that have the Exterior, Lining, and Interfacing as separate pieces. That makes it much easier to use, and I don’t have to worry about having too many pieces and annoying people by making them print more! I also made an inverted color option, which is shown above. Some fabric colors work better with the colors inverted. I plan on going back and adjusting all my previous patterns to have Projector and A0 files. SVG is most likely next! I have had requests for those files and I think it makes sense for a few of my smaller patterns. I just don’t know how to do that yet, so yet another thing for me to learn! I’m currently working on updating the projector file I made for the Slimline Sling, as I found lots of area for improvement after having my own projector.
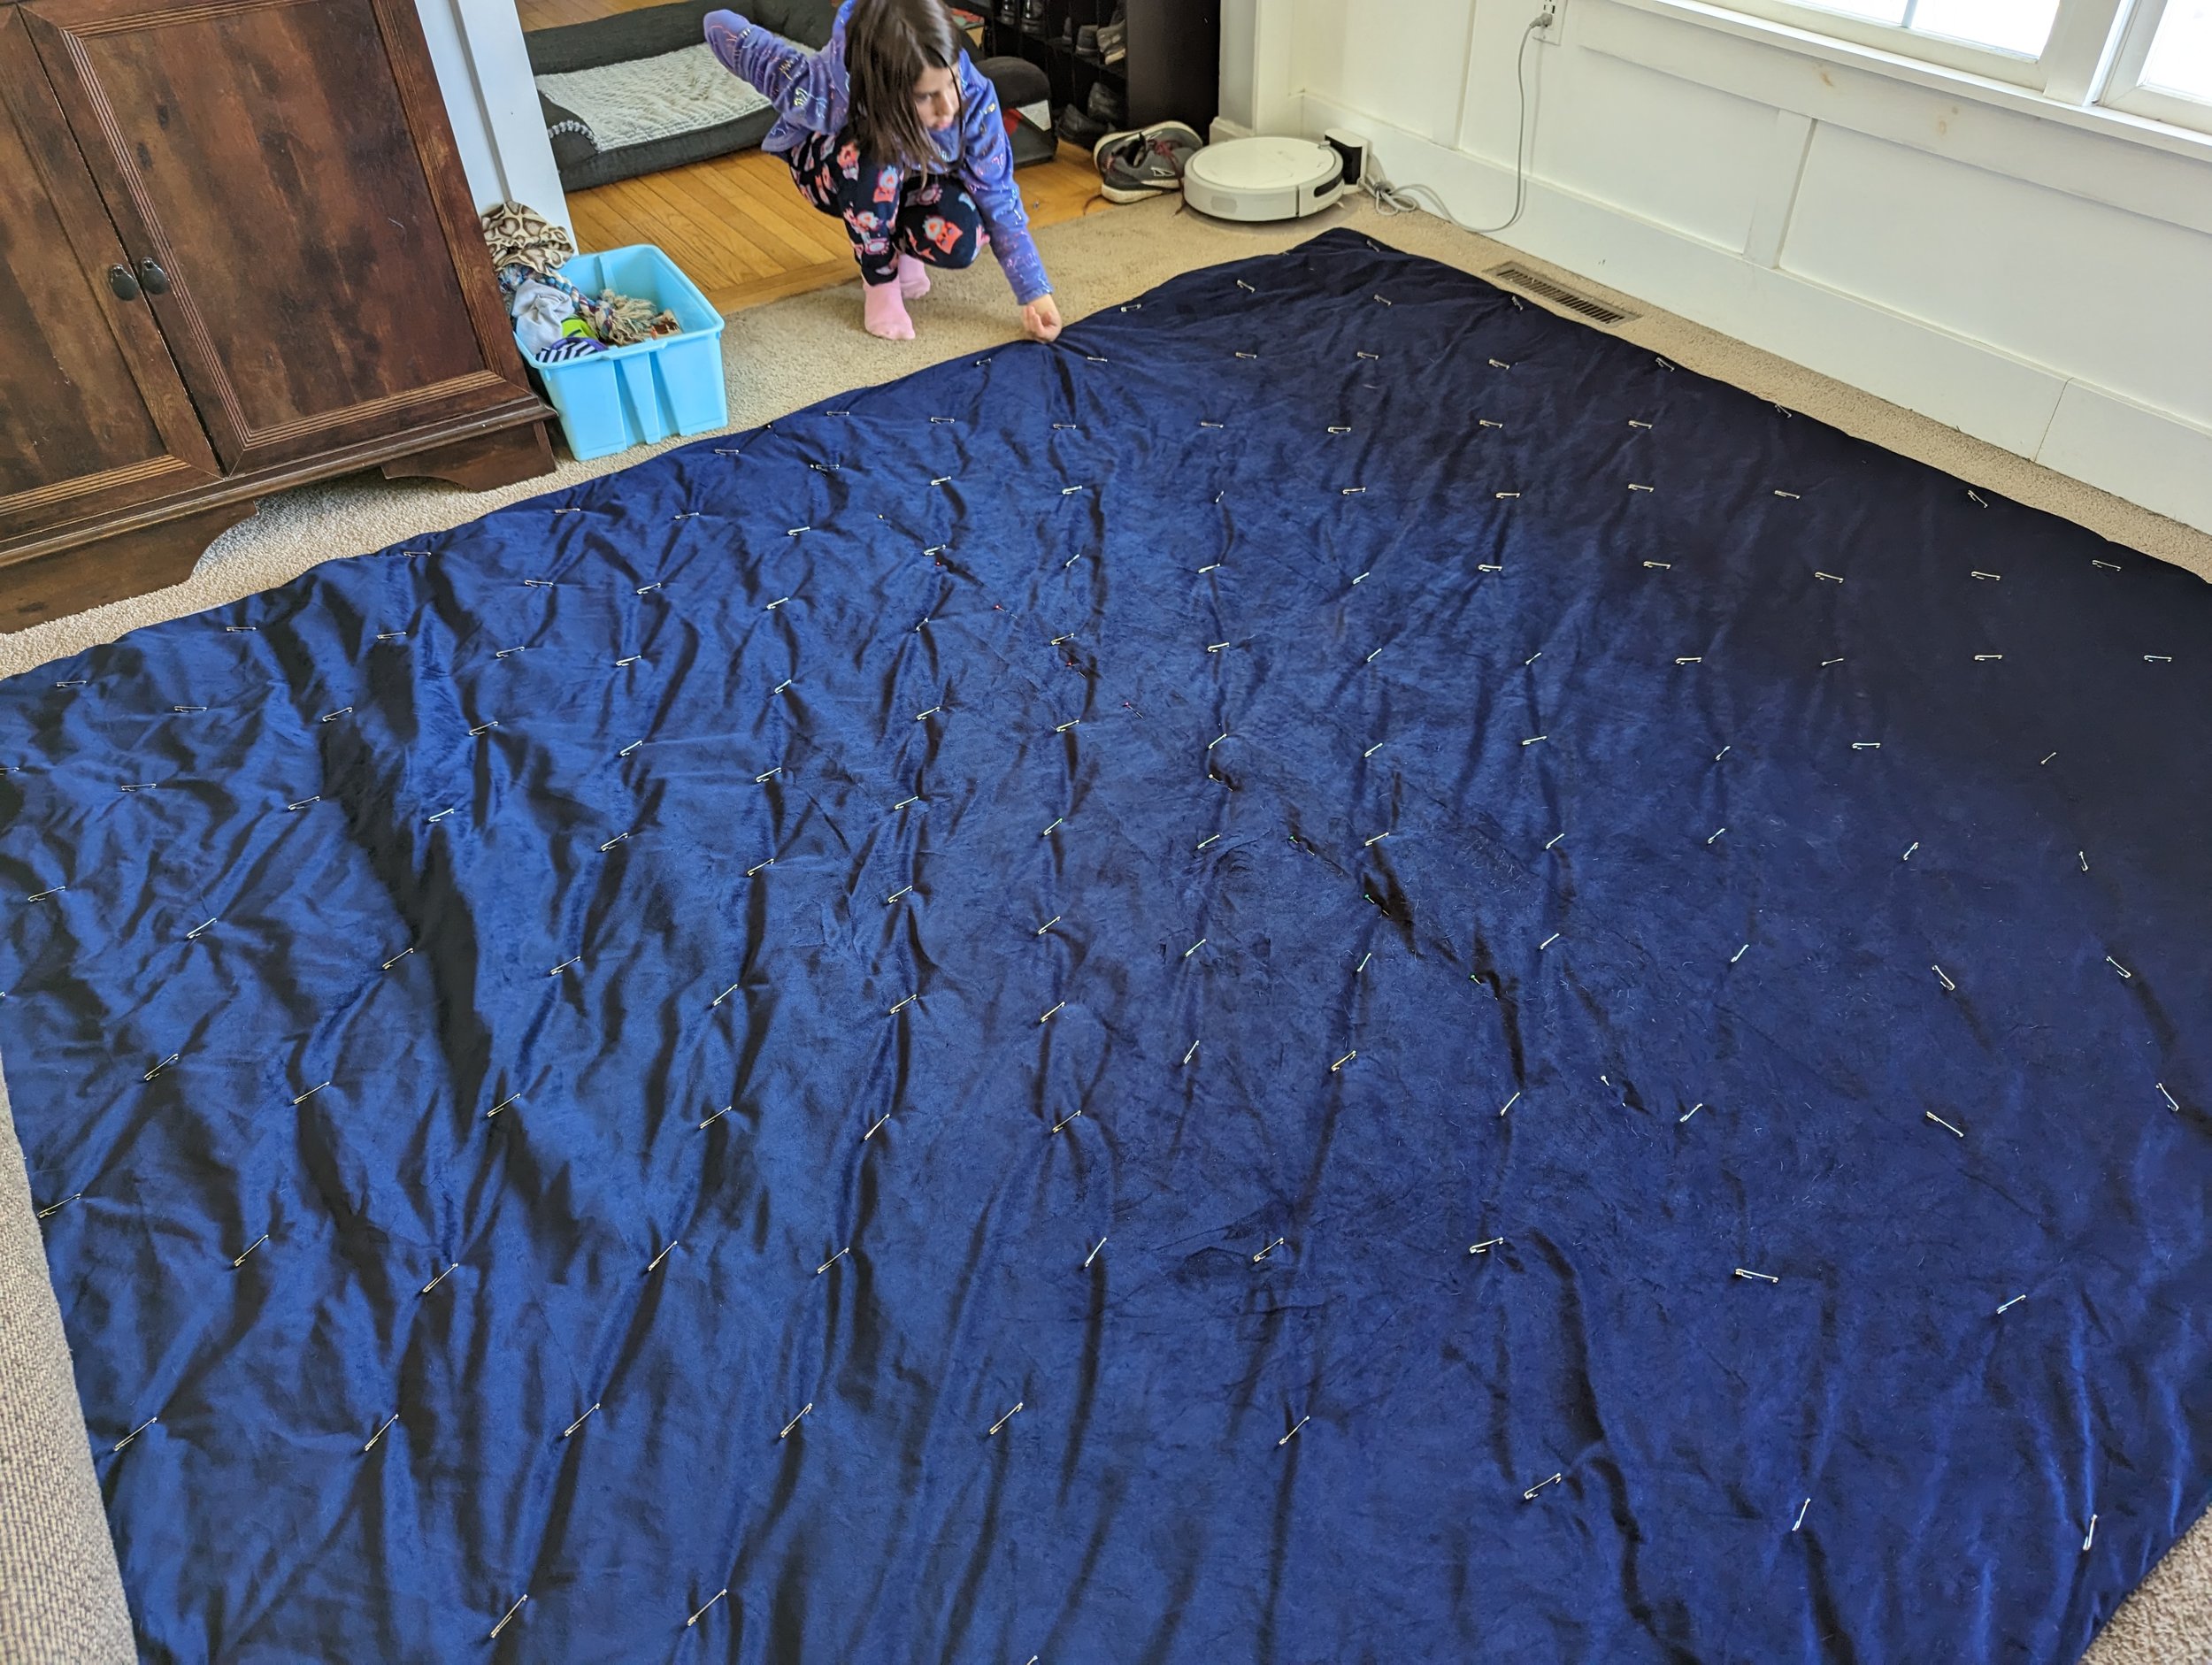
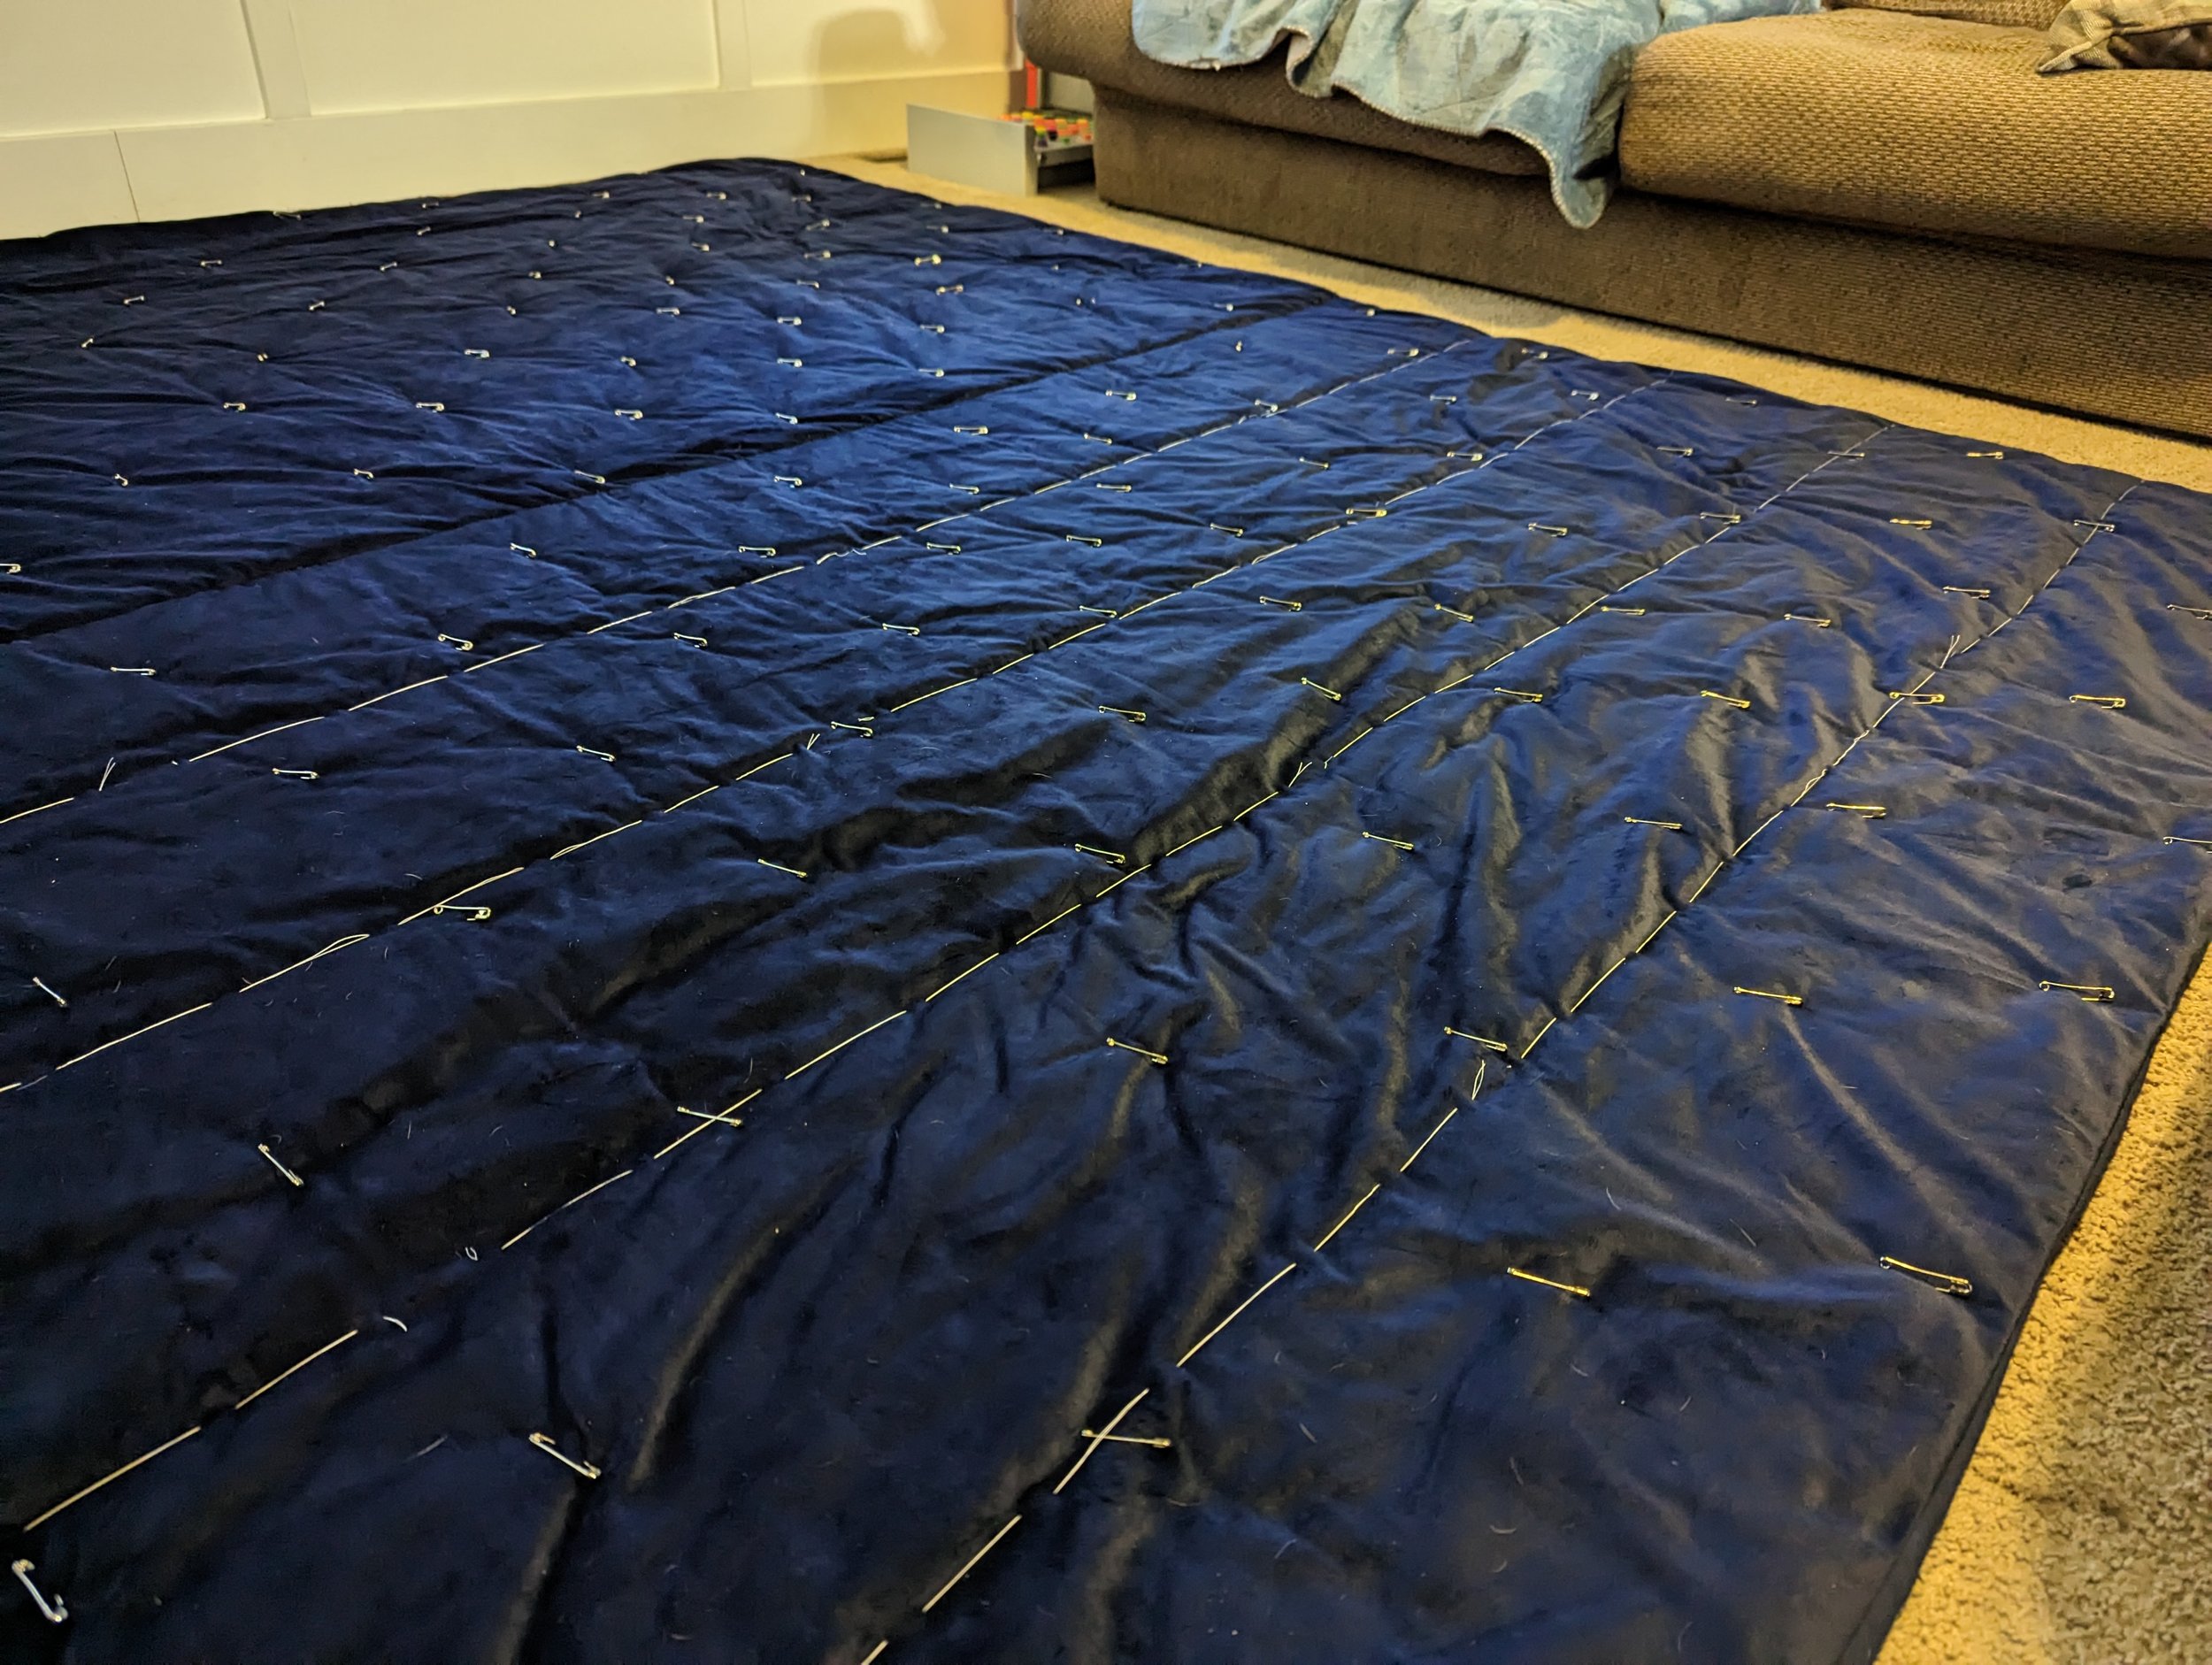
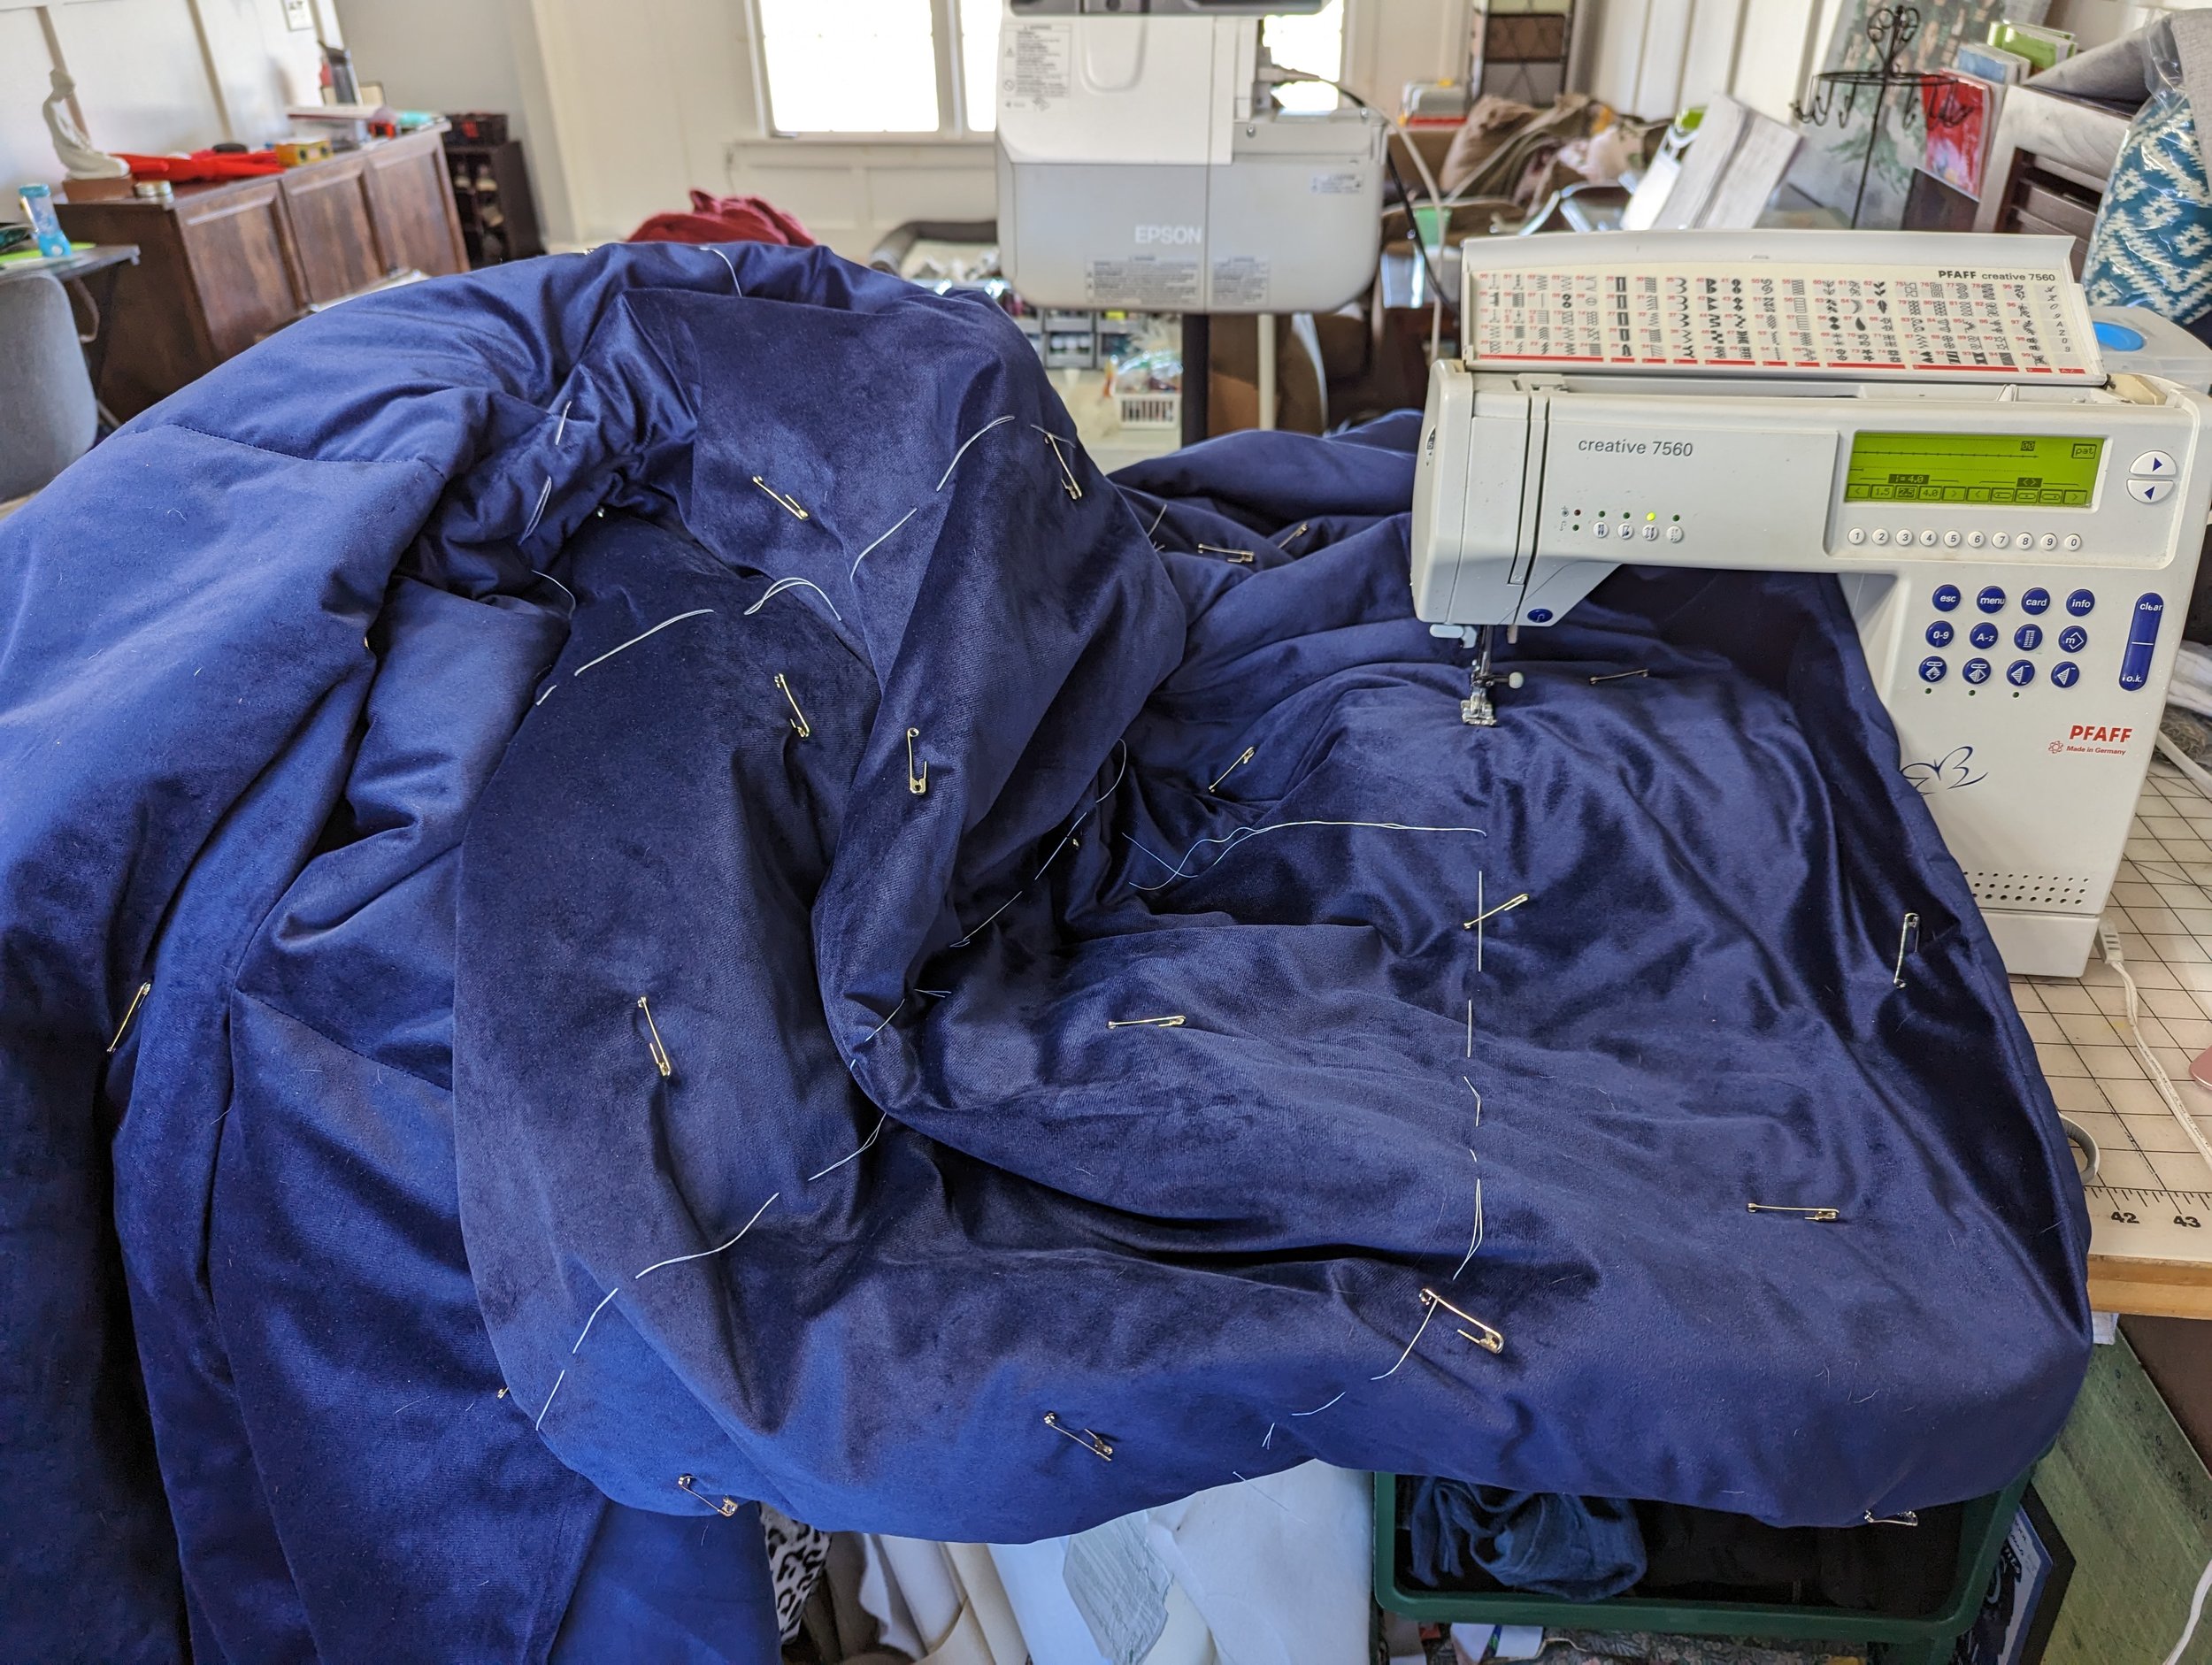
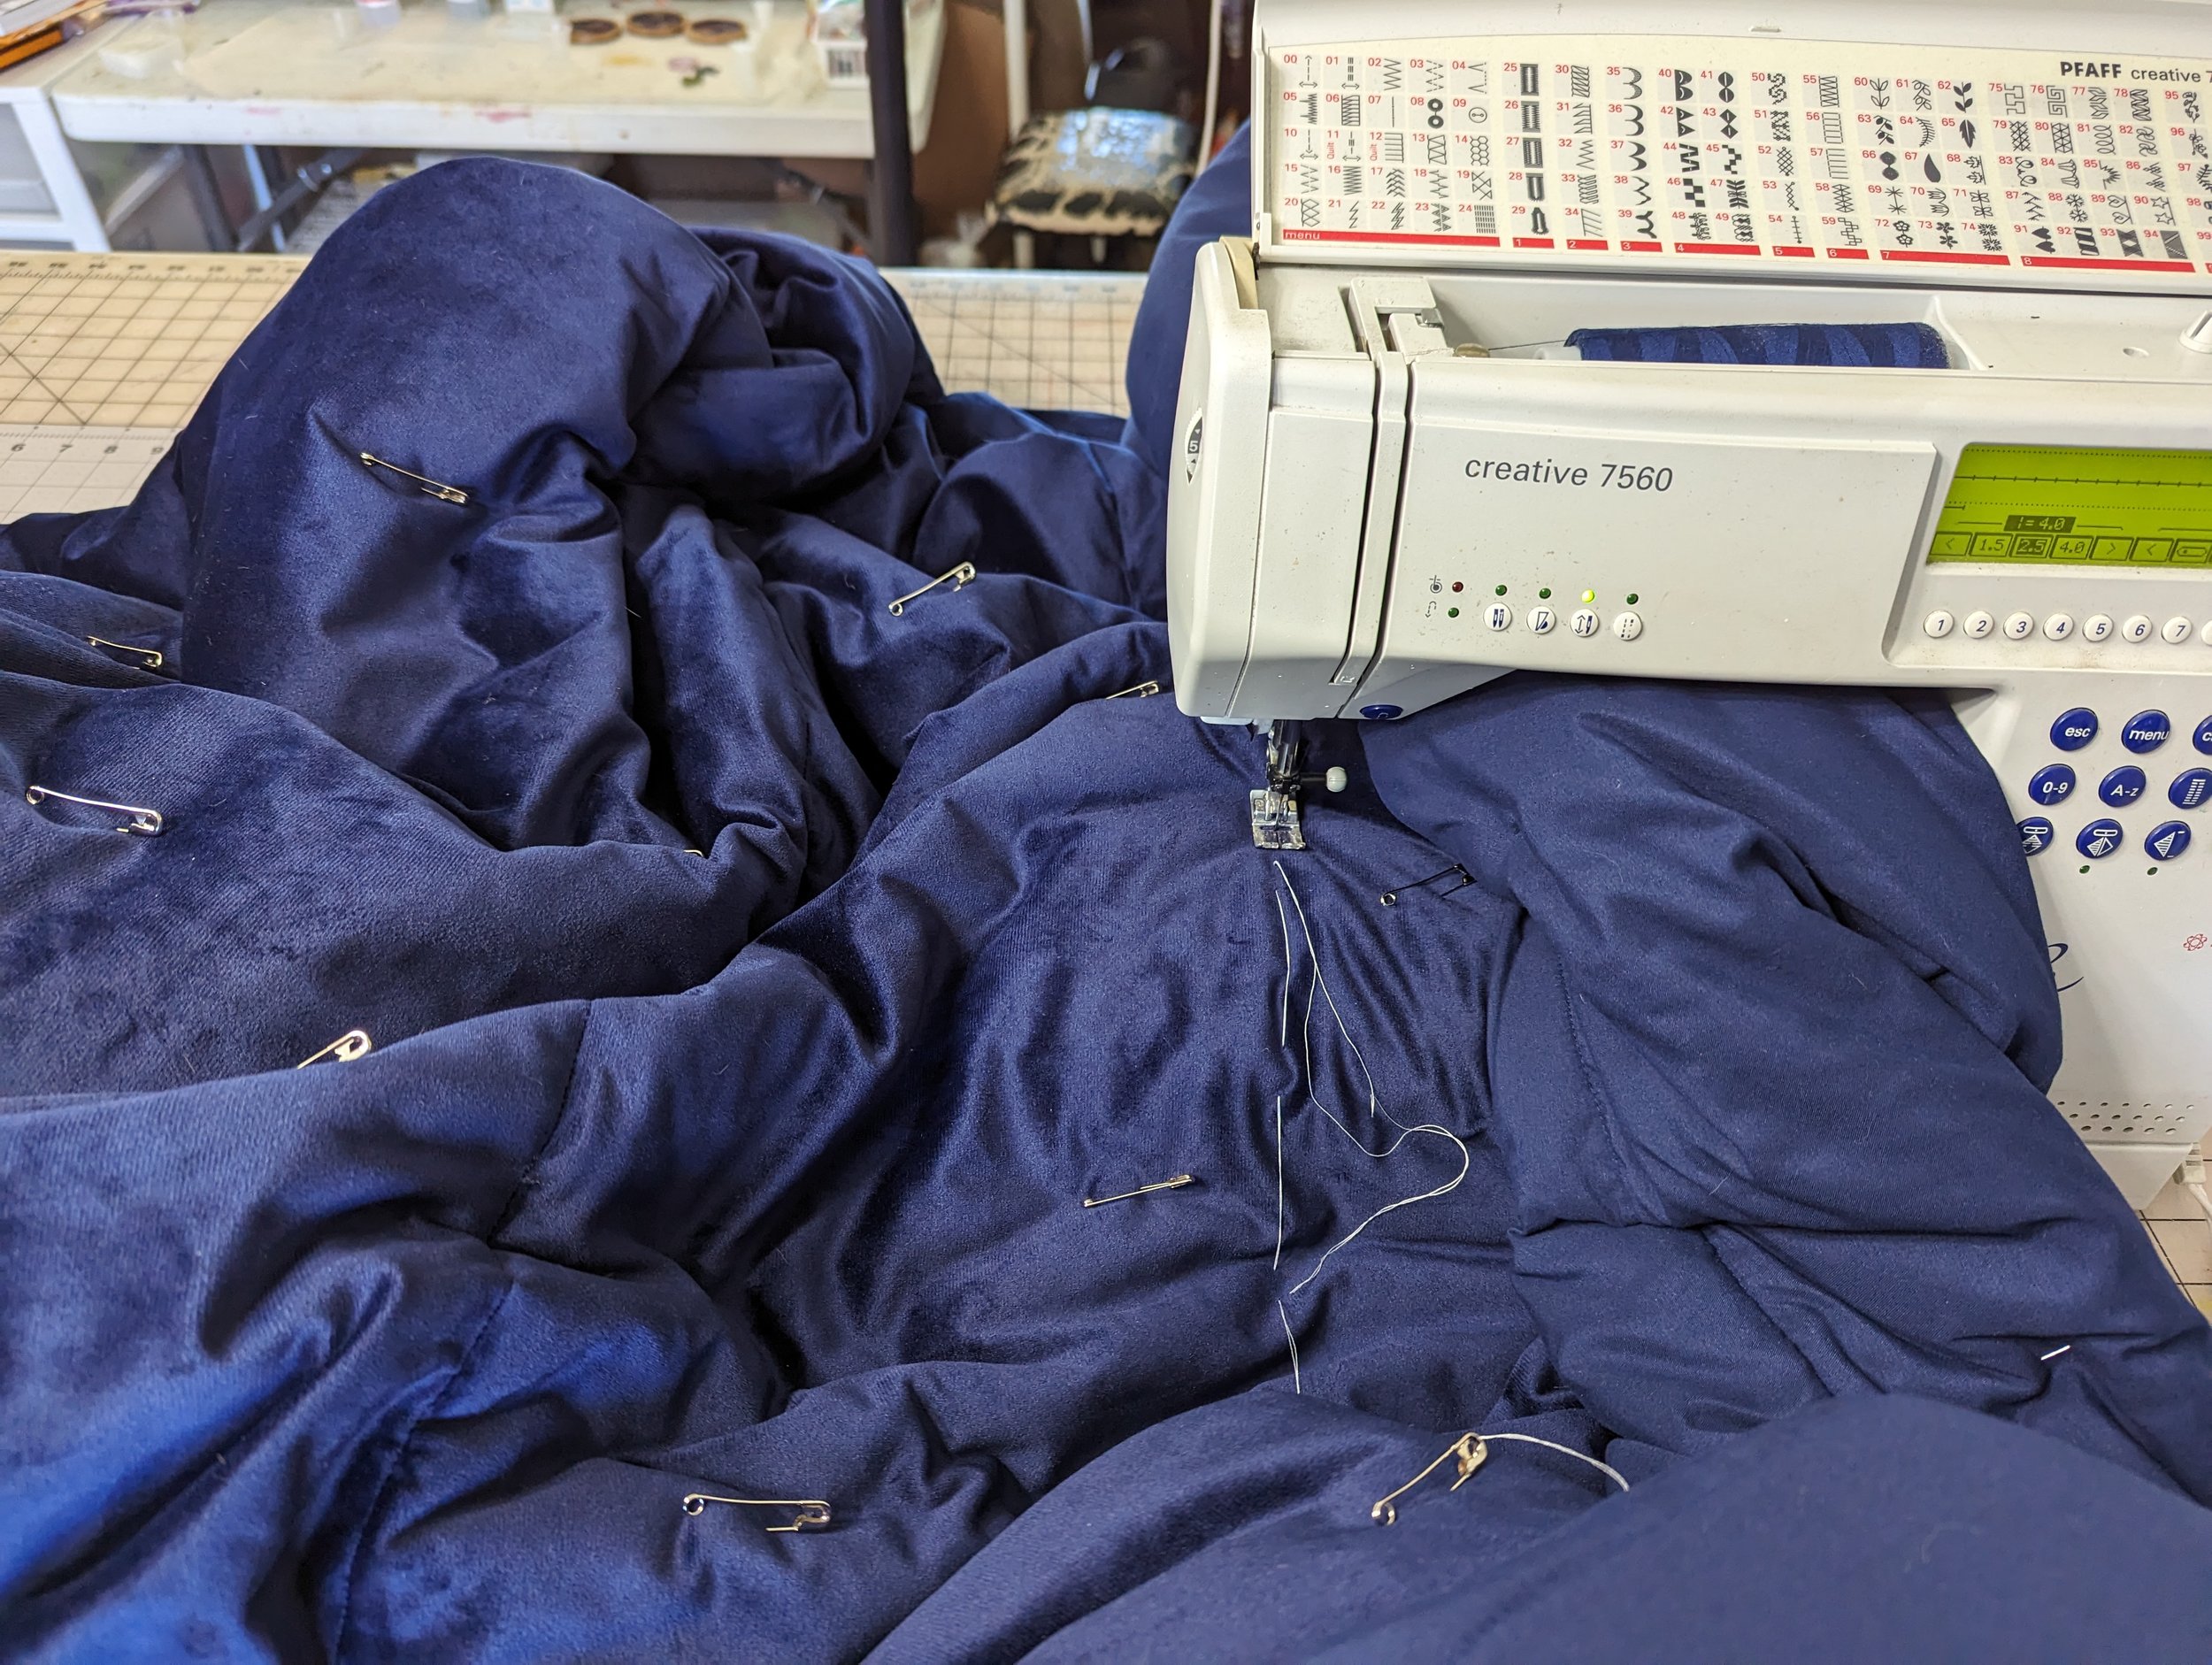
Before I can really delve into trying out sewing patterns on my projector, I have a different project to finish. My husband was complaining about his foot poking through the quilt we currently use. We have been wanting a much wider blanket, so I recently bought an oversized velvet duvet cover and batting to go inside. I spent a couple hours last weekend working on it. I found that basting the quilting lines was the best way, so that’s what the lines are in the pictures. But I have only quilted five lines so far and still have four left vertically, then seven horizontal ones. It’s really tough to quilt. I have it on my cutting table and just have been muscling it around. Last time I quilted a King-sized quilt, I had my husband help me maneuver it. He may be called on again to help me with this one!