
Face mask pattern with pocket for filter and fitted nose

Update a year later: Crazy to believe this was a year ago! I still am making masks, but mostly for family, though I did sell a bunch this past year and donate a bunch too. I found that this pattern without the third layer was my favorite, though I do still make the pleated masks for those who requested. Once elastic became available I switched to elastic. So this tutorial is still basically how I make the pleated masks, but I do sew a binding/casing on the edges instead of ties and then slip the ties or elastic into that casing.
Note a few months after this post: Since first writing this, I have mostly switched to just two-layer masks in order to be able to make them faster. I cut out two pieces 9” wide by 7.5” tall from different fabrics (so that there is a visible right side and wrong side) and sew them together that way. I still follow the steps in this tutorial, but taking out the third layer for the filter pocket speeds the process up quite a bit. If the facility is requesting a filter pocket, then I still follow this process.
In the sewing world right now, there are tons of sewing mask patterns going around right now. Crafters are eager to help out somehow while we are under stay-at-home orders, and lots of facilities are requesting fabric masks because they are running out of N95 masks. I wanted to help out, but also didn’t want to start churning out masks if they weren’t needed. I reached out to some nursing homes in my area and to a friend who is a nurse at the local hospital, and they all said, “no, thank you.” Another friend connected me with a Facebook group (Help for Healthcare Workers Delaware) and thankfully, someone else has done the work to create a place where facilities can request masks and sewers can provide them!
I’m definitely not re-inventing the wheel with this pattern, but after looking at lots of different patterns, I came up with this one that combines things I liked from various patterns. I did try a more fitted mask pattern that was free, but it squished my nose and had way too much fabric under the chin, and it fit my husband better but really squished his nose. I also wanted to avoid a center seam (someone brought up a concern about all those little holes directly in front of your mouth).
All that being said, I’m a sewer, not a healthcare professional, and I have no idea if these will work! I don’t know if they fit well. I just know that I’m a darn good seamstress and they are going to be good quality and hopefully will hold up well under the stress of getting washed.
First, let’s talk fabric. I read several articles and blogs and the consensus is that cotton woven (also known as quilting cotton) is best because it’s tightly woven. These masks end up being three layers. As I have been making them, I did start making them with two layers of cotton woven and one layer of cotton lycra. Since it is just the outer layer, and there are still two layers of the tightly woven cotton, I decided it would be okay. Make sure your fabric is prewashed! Washing often shrinks cotton, plus it gets rid of the nasty chemicals that they use to keep fabric stiff (called sizing), and the dust of sitting for years in your fabric stash!

I used a 9” x 15” template. Cut your exterior using that. Then, fold the paper template in half to cut out one layer of lining. (9” x 7.5”). If you don’t have pieces large enough for 9 x 15, or you want to use cotton lycra on the outer part like I tried, cut two pieces that are 9 x 8 and sew together with 1/2” seam allowance to make a piece that is 9” x 15”. Cut two strips for the ties that are about 36”-40” long and 1.5” wide. This will make ties that are about 3/8” wide. You can cut out 2” strips if you prefer slightly wider ties. In summary:
Cut (1) 9”x15” exterior piece [or (2) 9” x 8” pieces]
Cut (1) 9”x7.5” lining piece
Cut (2) 36”-40” x 1.5” strips for ties (or use pre-made double fold bias tape)

Take your lining piece and along one of the longer 9” edges, fold the fabric under 1/4” and then another 1/4”. Sew. Remember these will be getting washed a lot, so leave no raw edges where the fabric can fray.
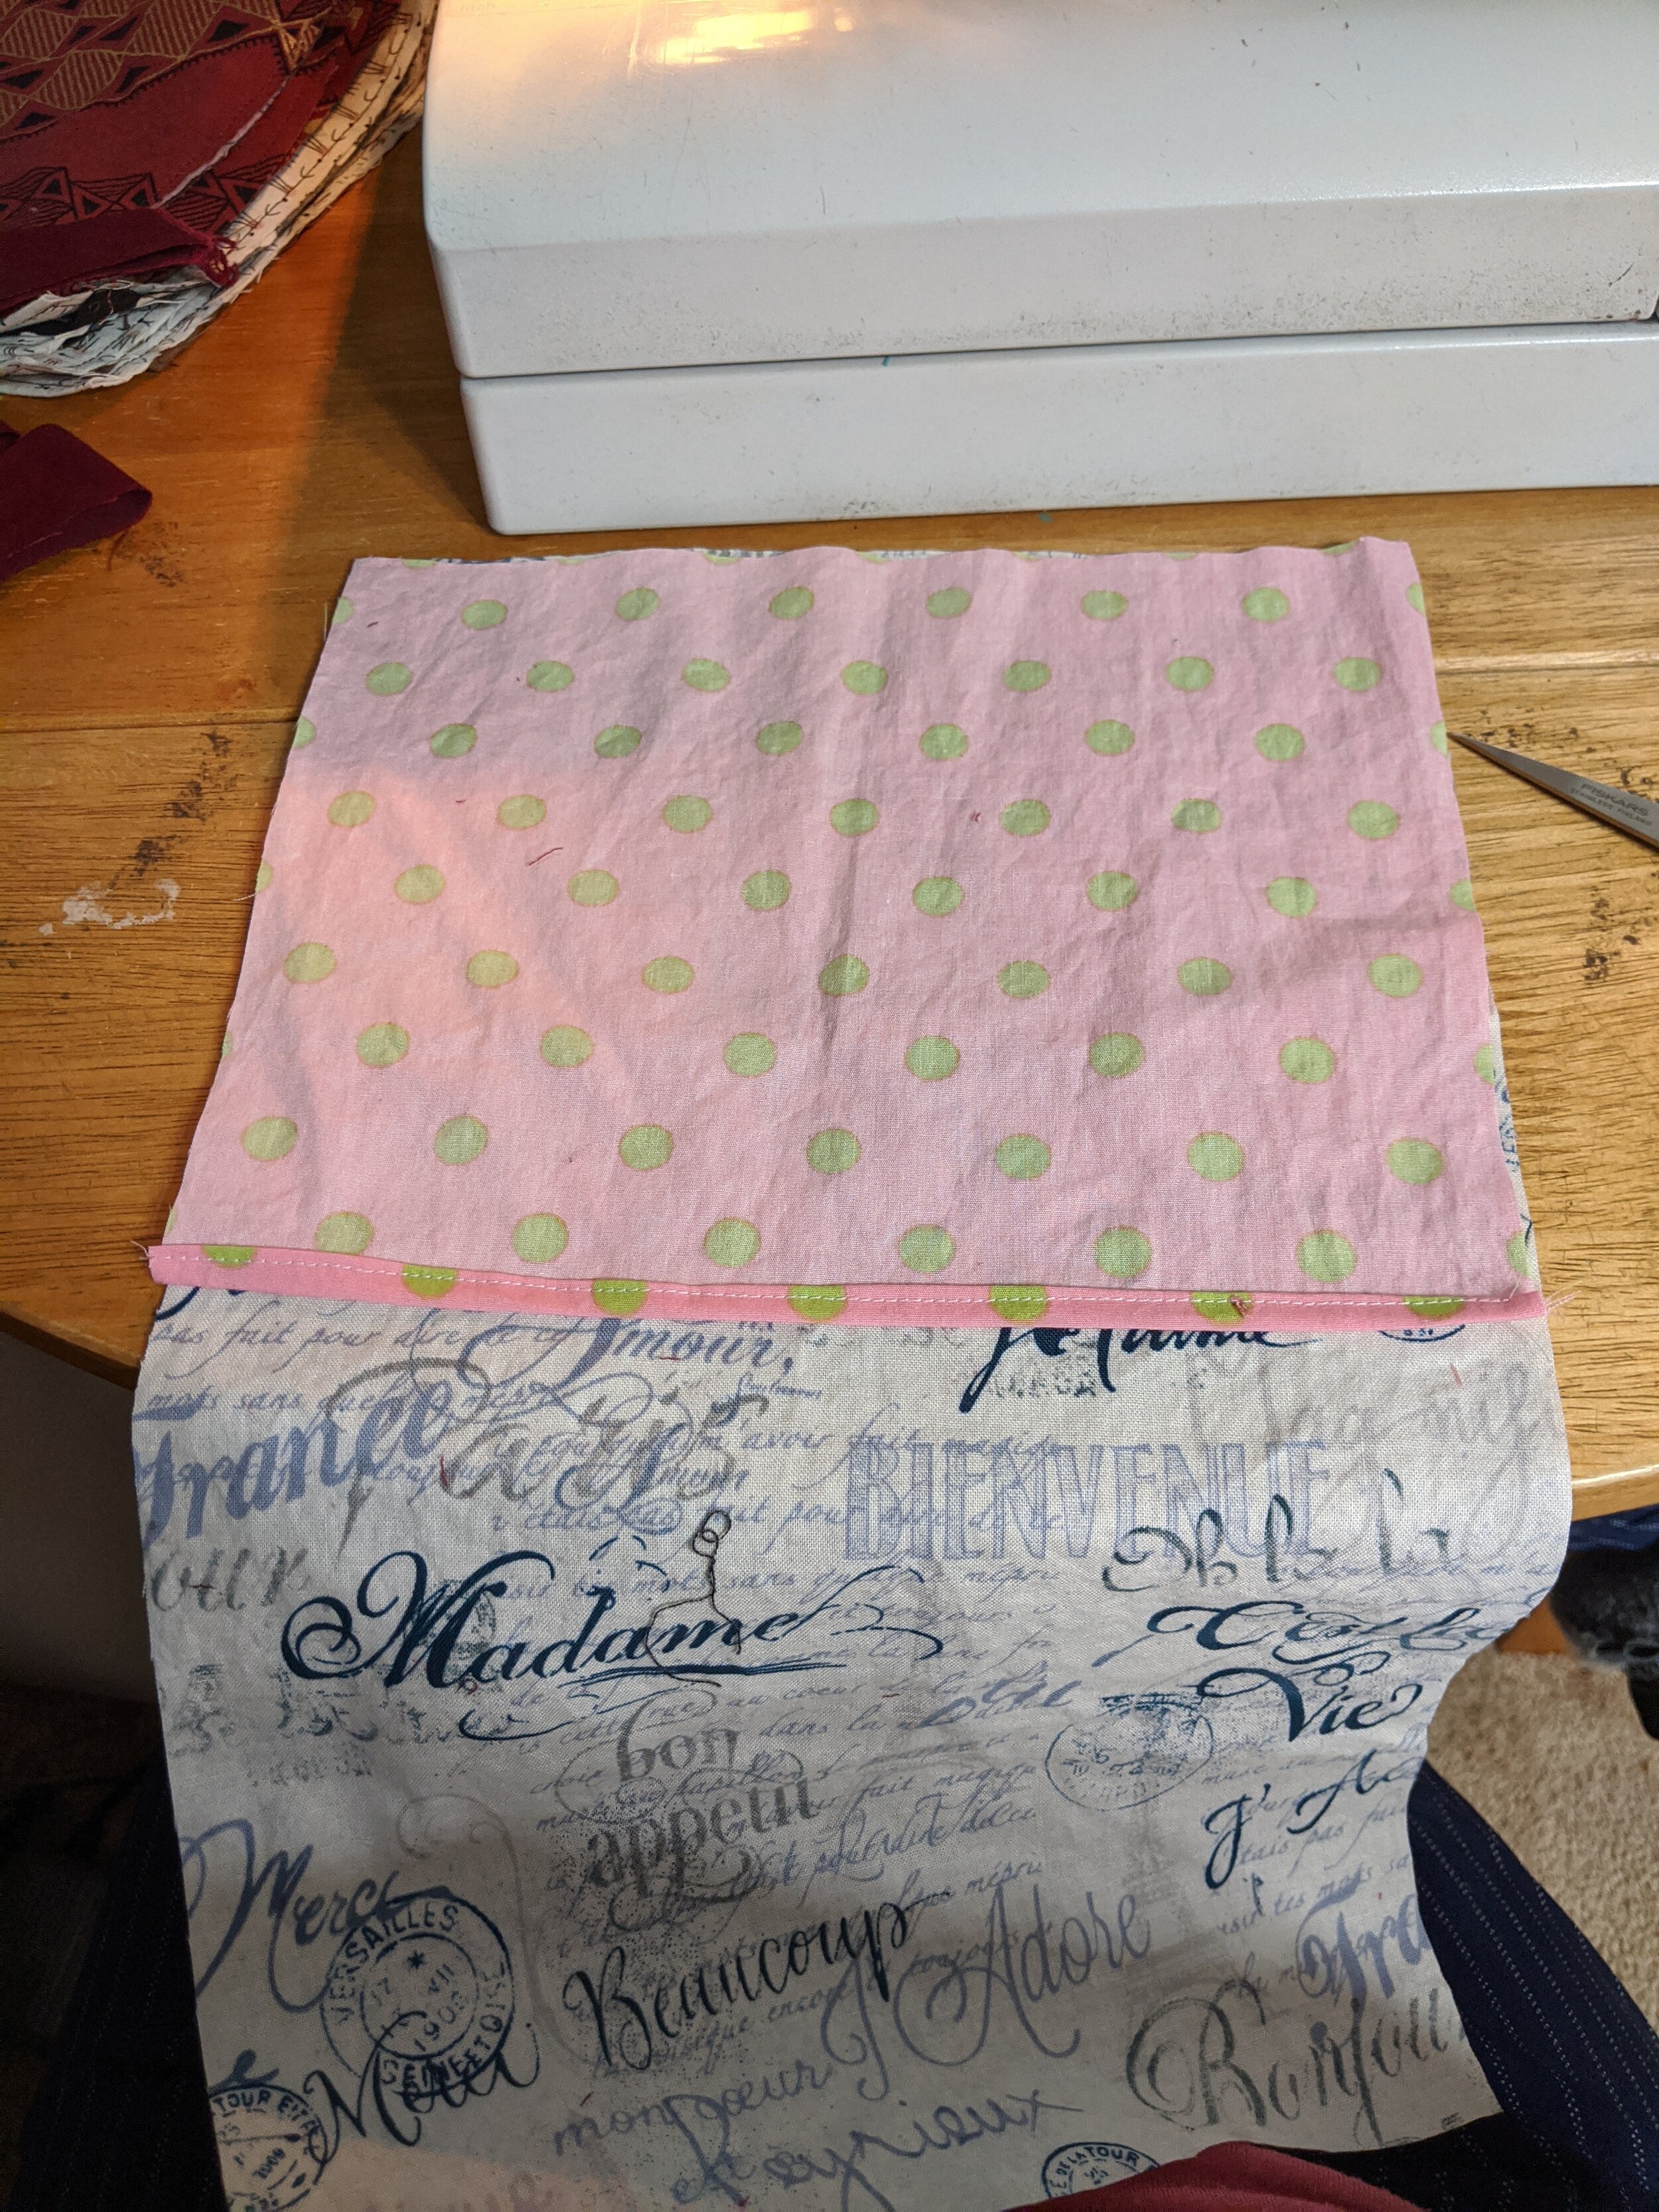
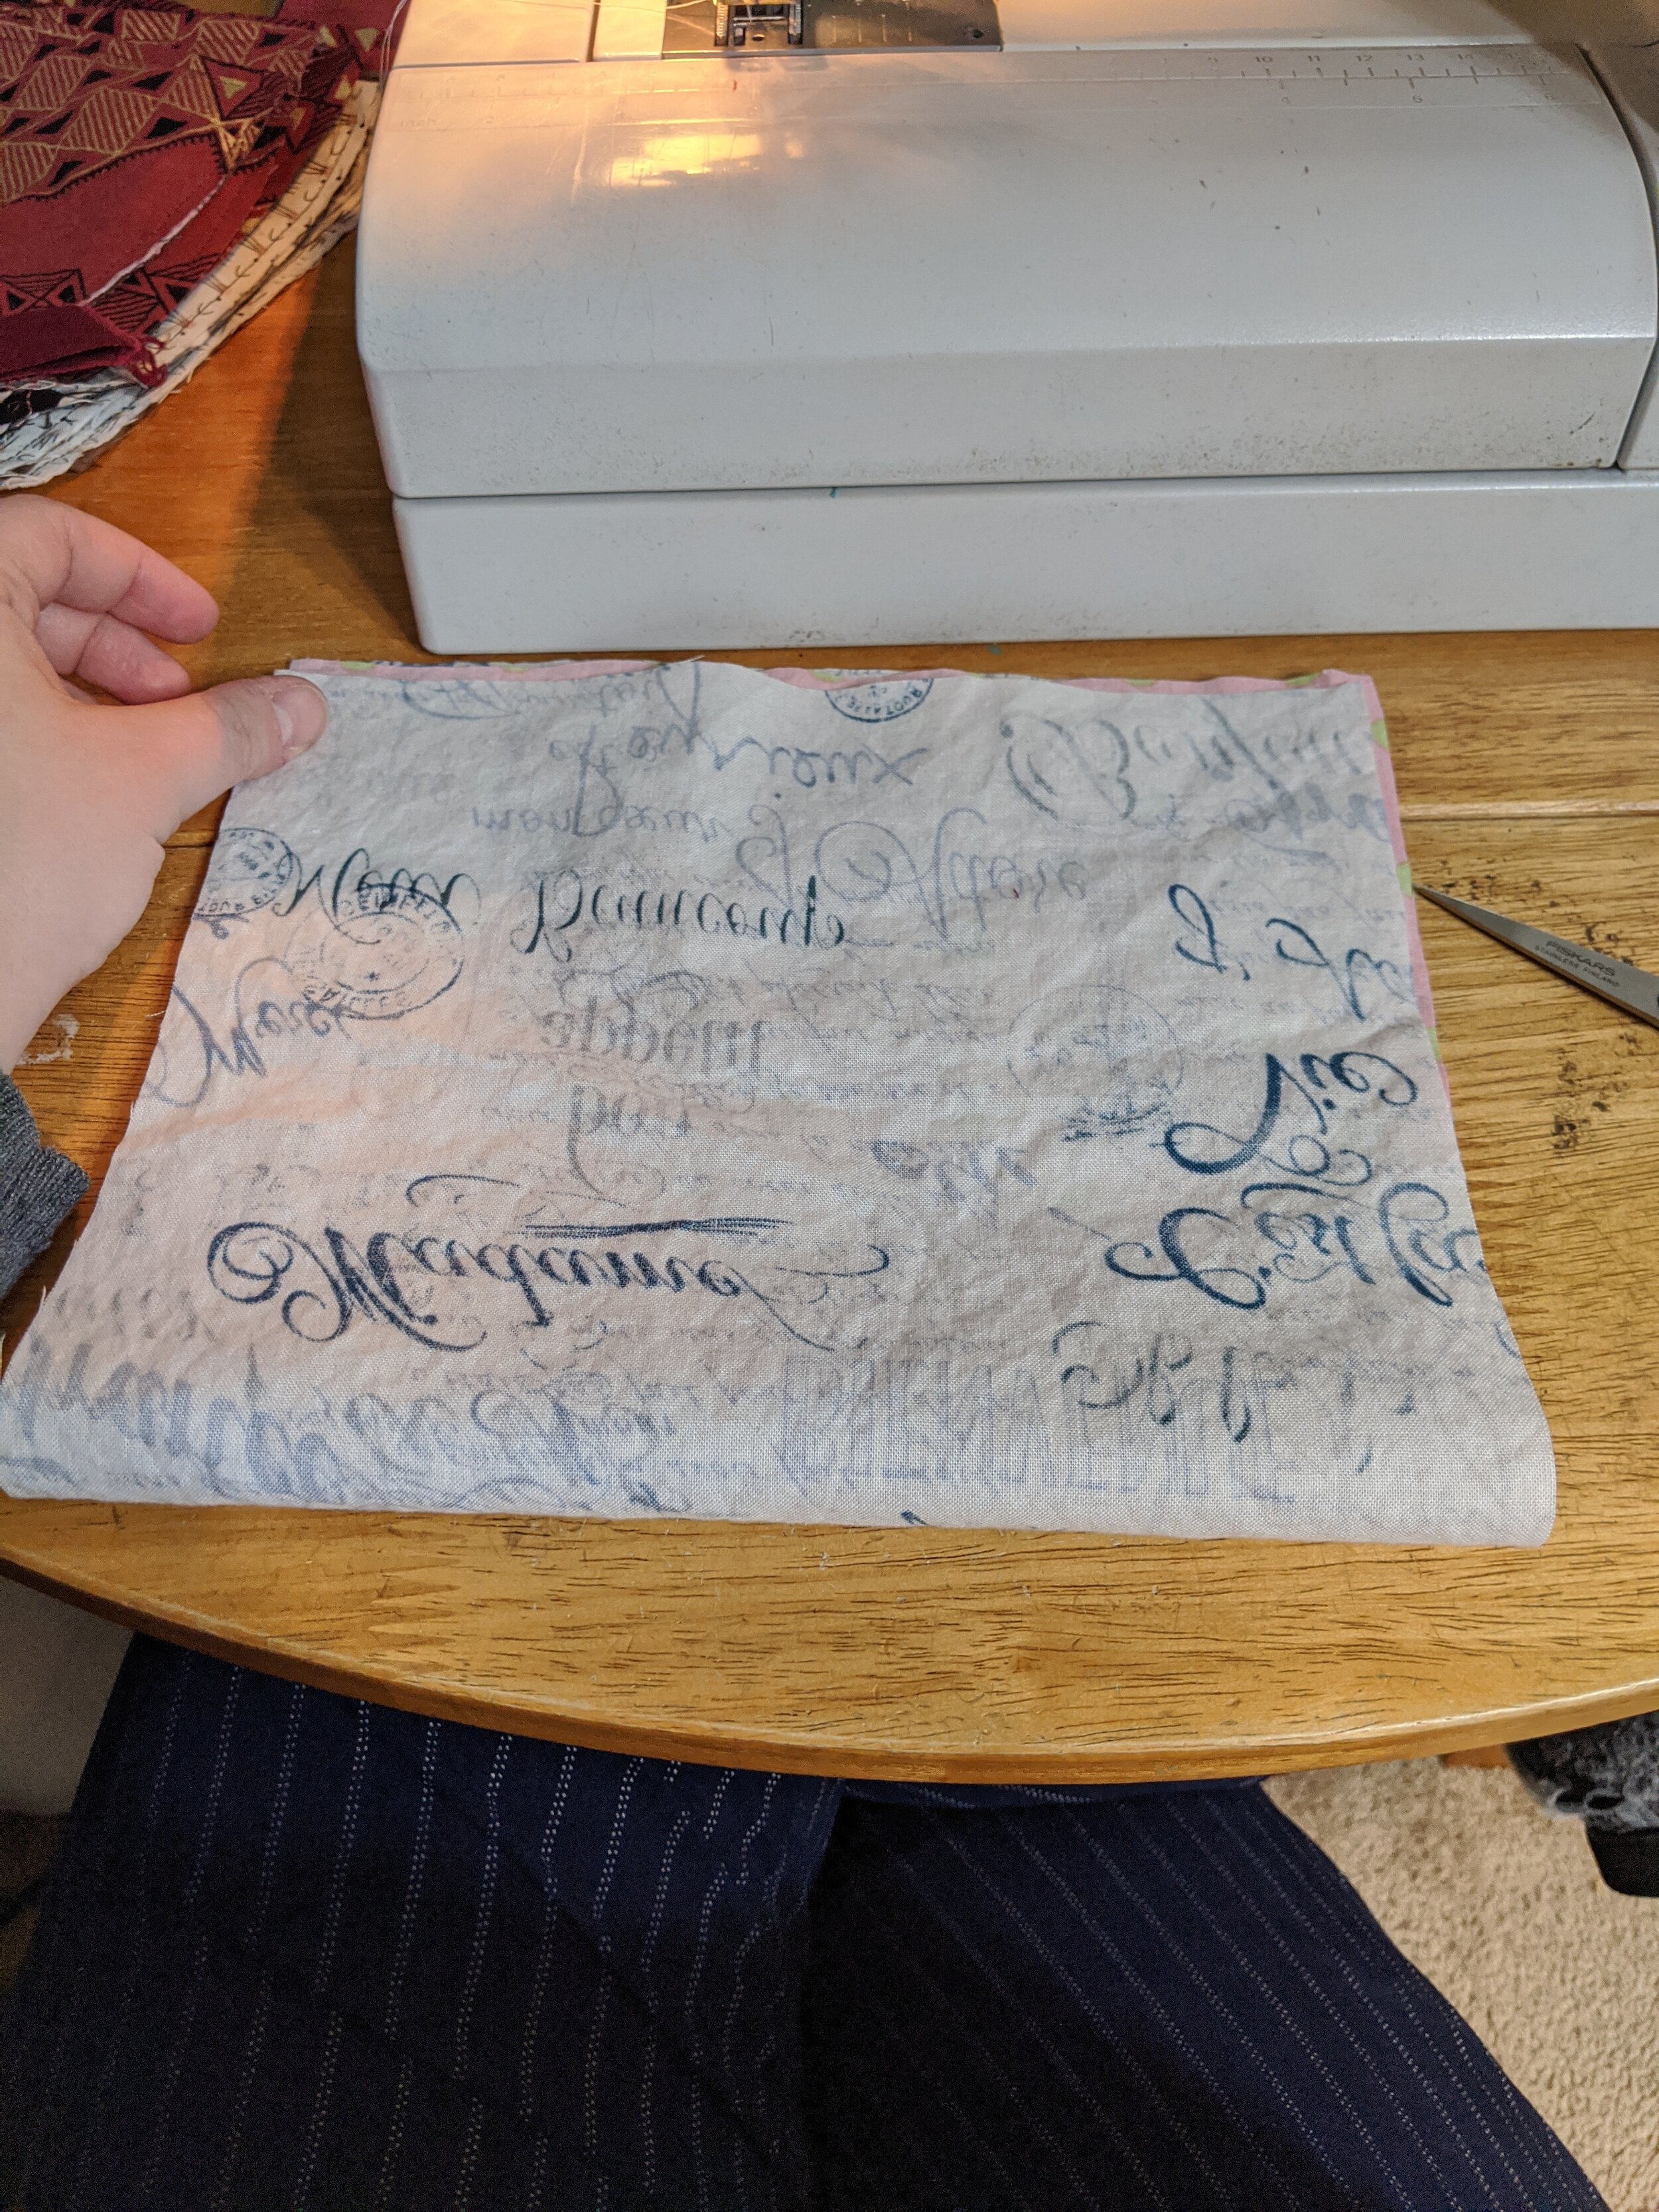
Place the other 9” edge of the lining flush with one of the 9” edges of the exterior. I placed them right sides together, which really only matters if the fabric is directional. This fabric is, so I made sure to orient the design up at this step. Fold the other edge of the exterior up to sandwich the lining in between the two exterior layers. Sew across the top edge. I used a 3/8” seam allowance but this really doesn’t matter much in this pattern. Use your favorite seam allowance! Turn the fabric right side out. I showed the back so you can see what the back should look like. The right side of the lining should be showing, so make sure you turn it correctly.
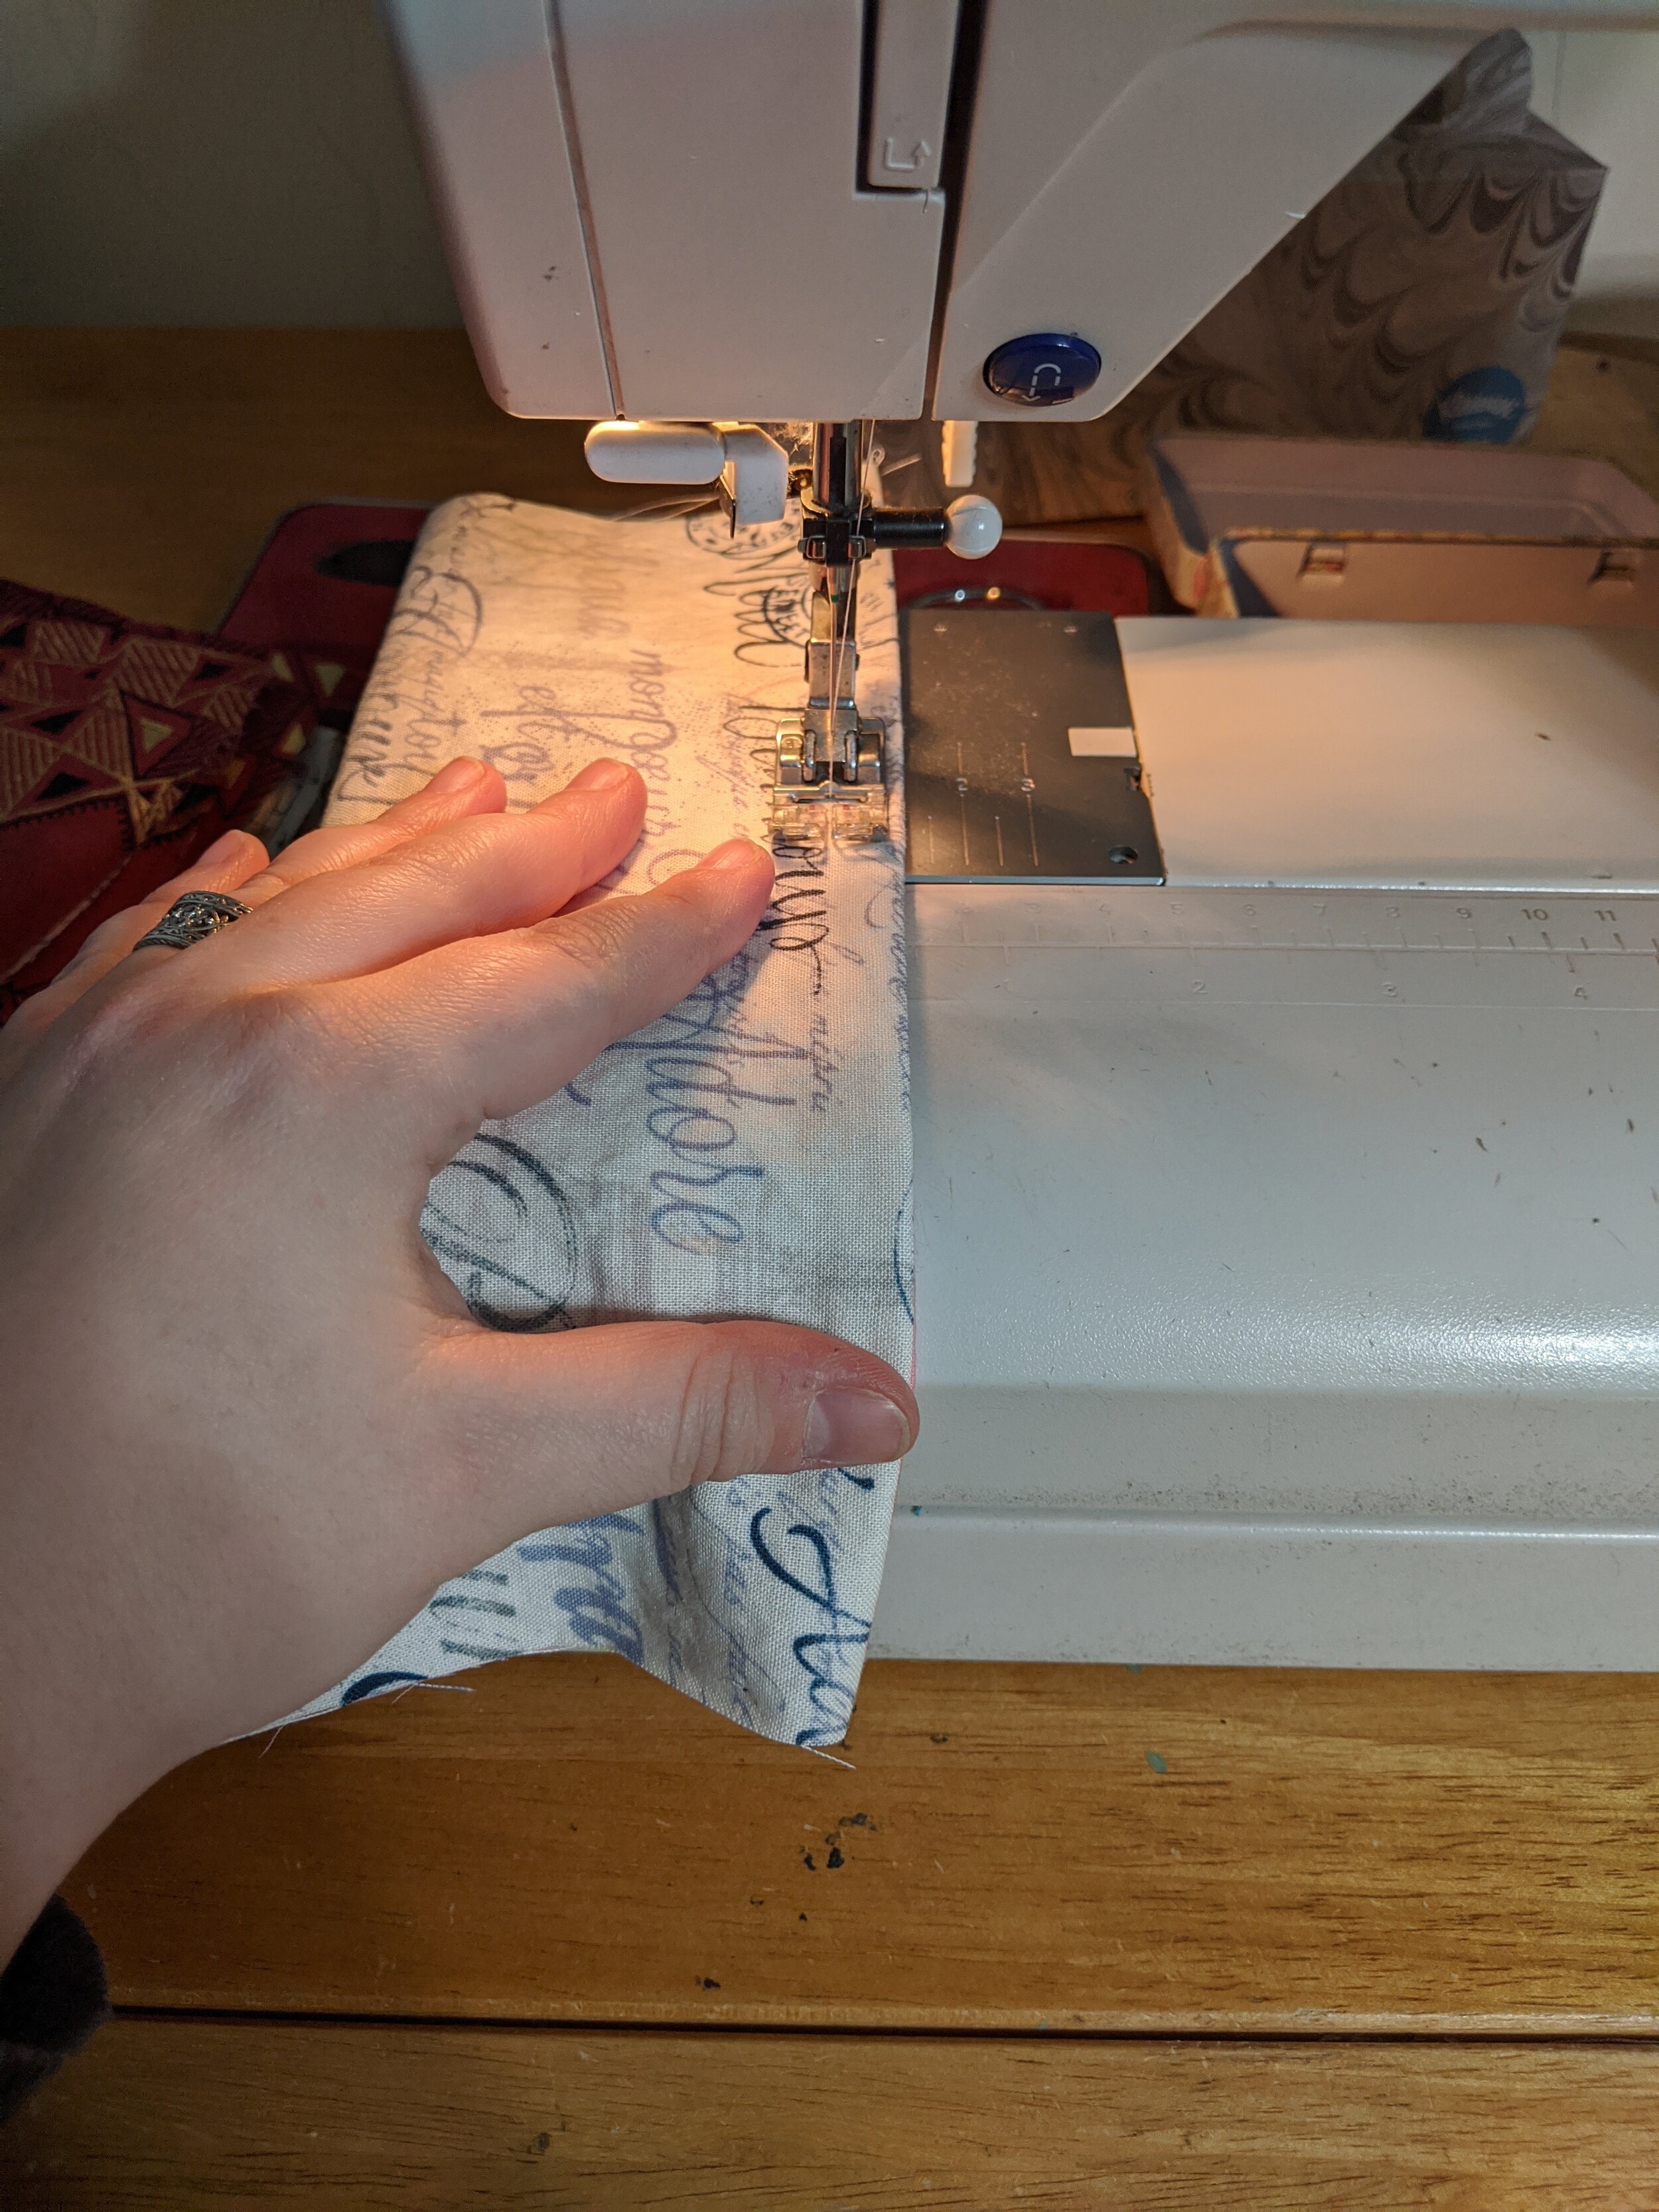
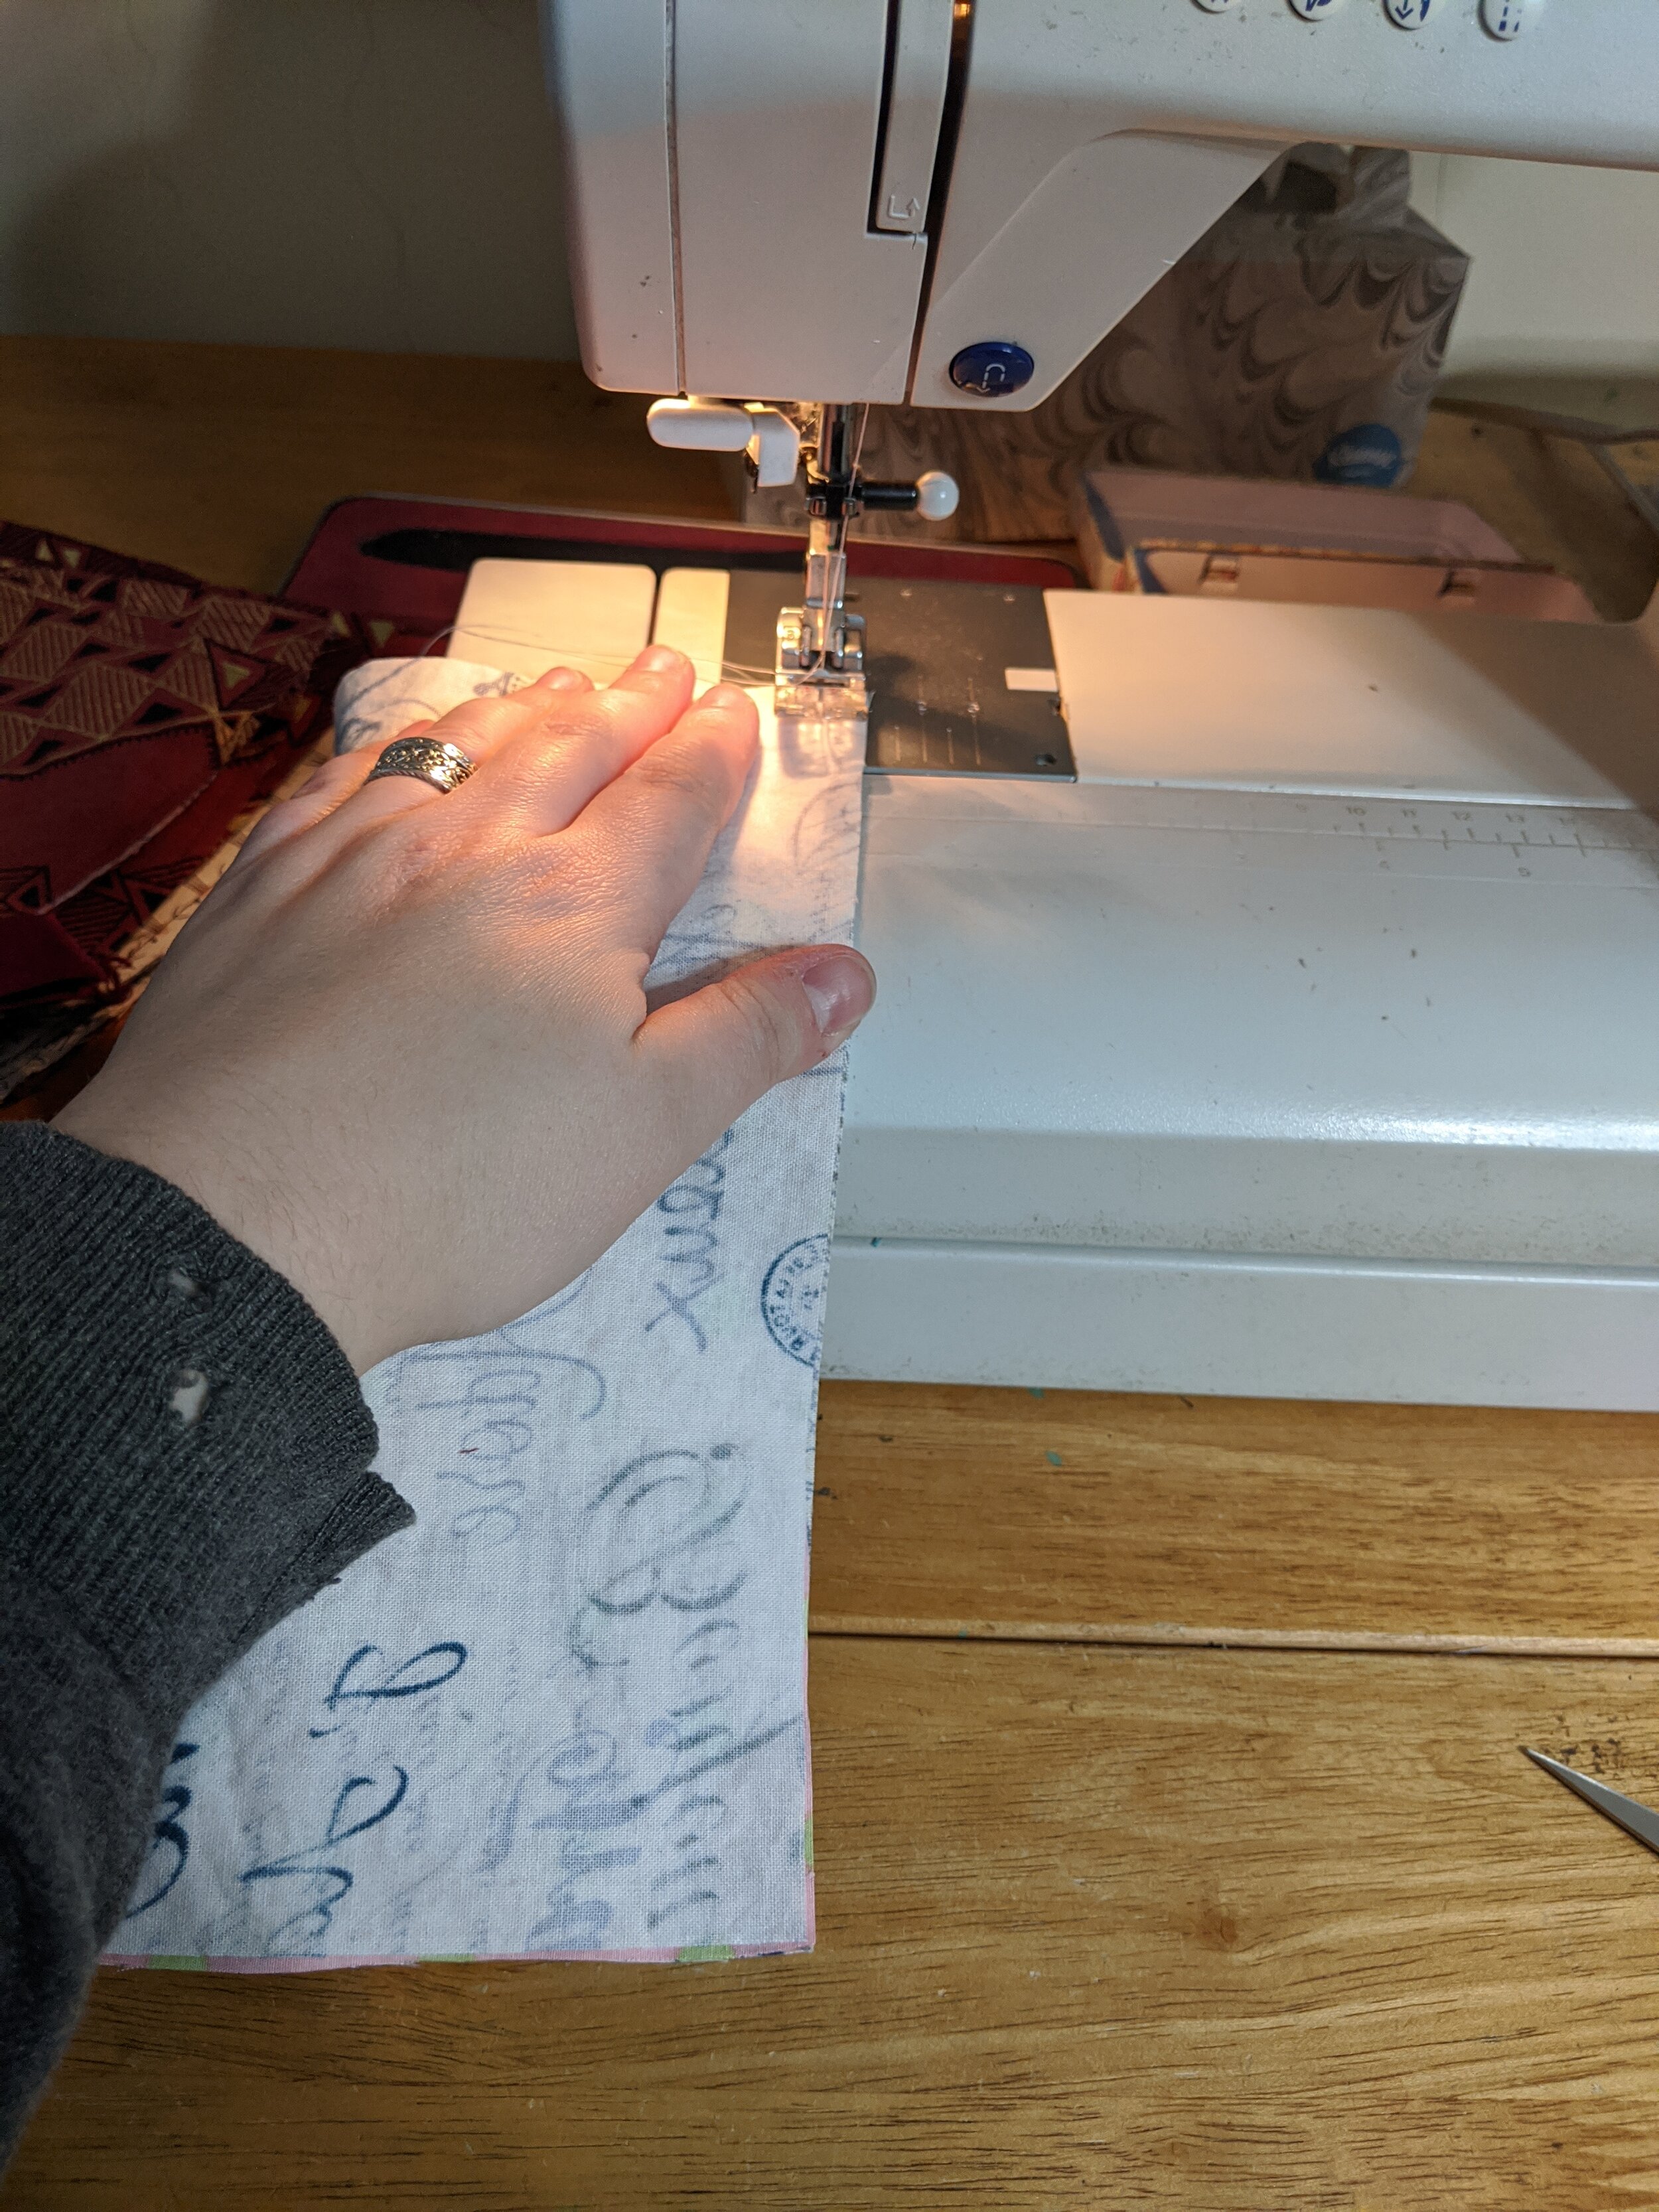
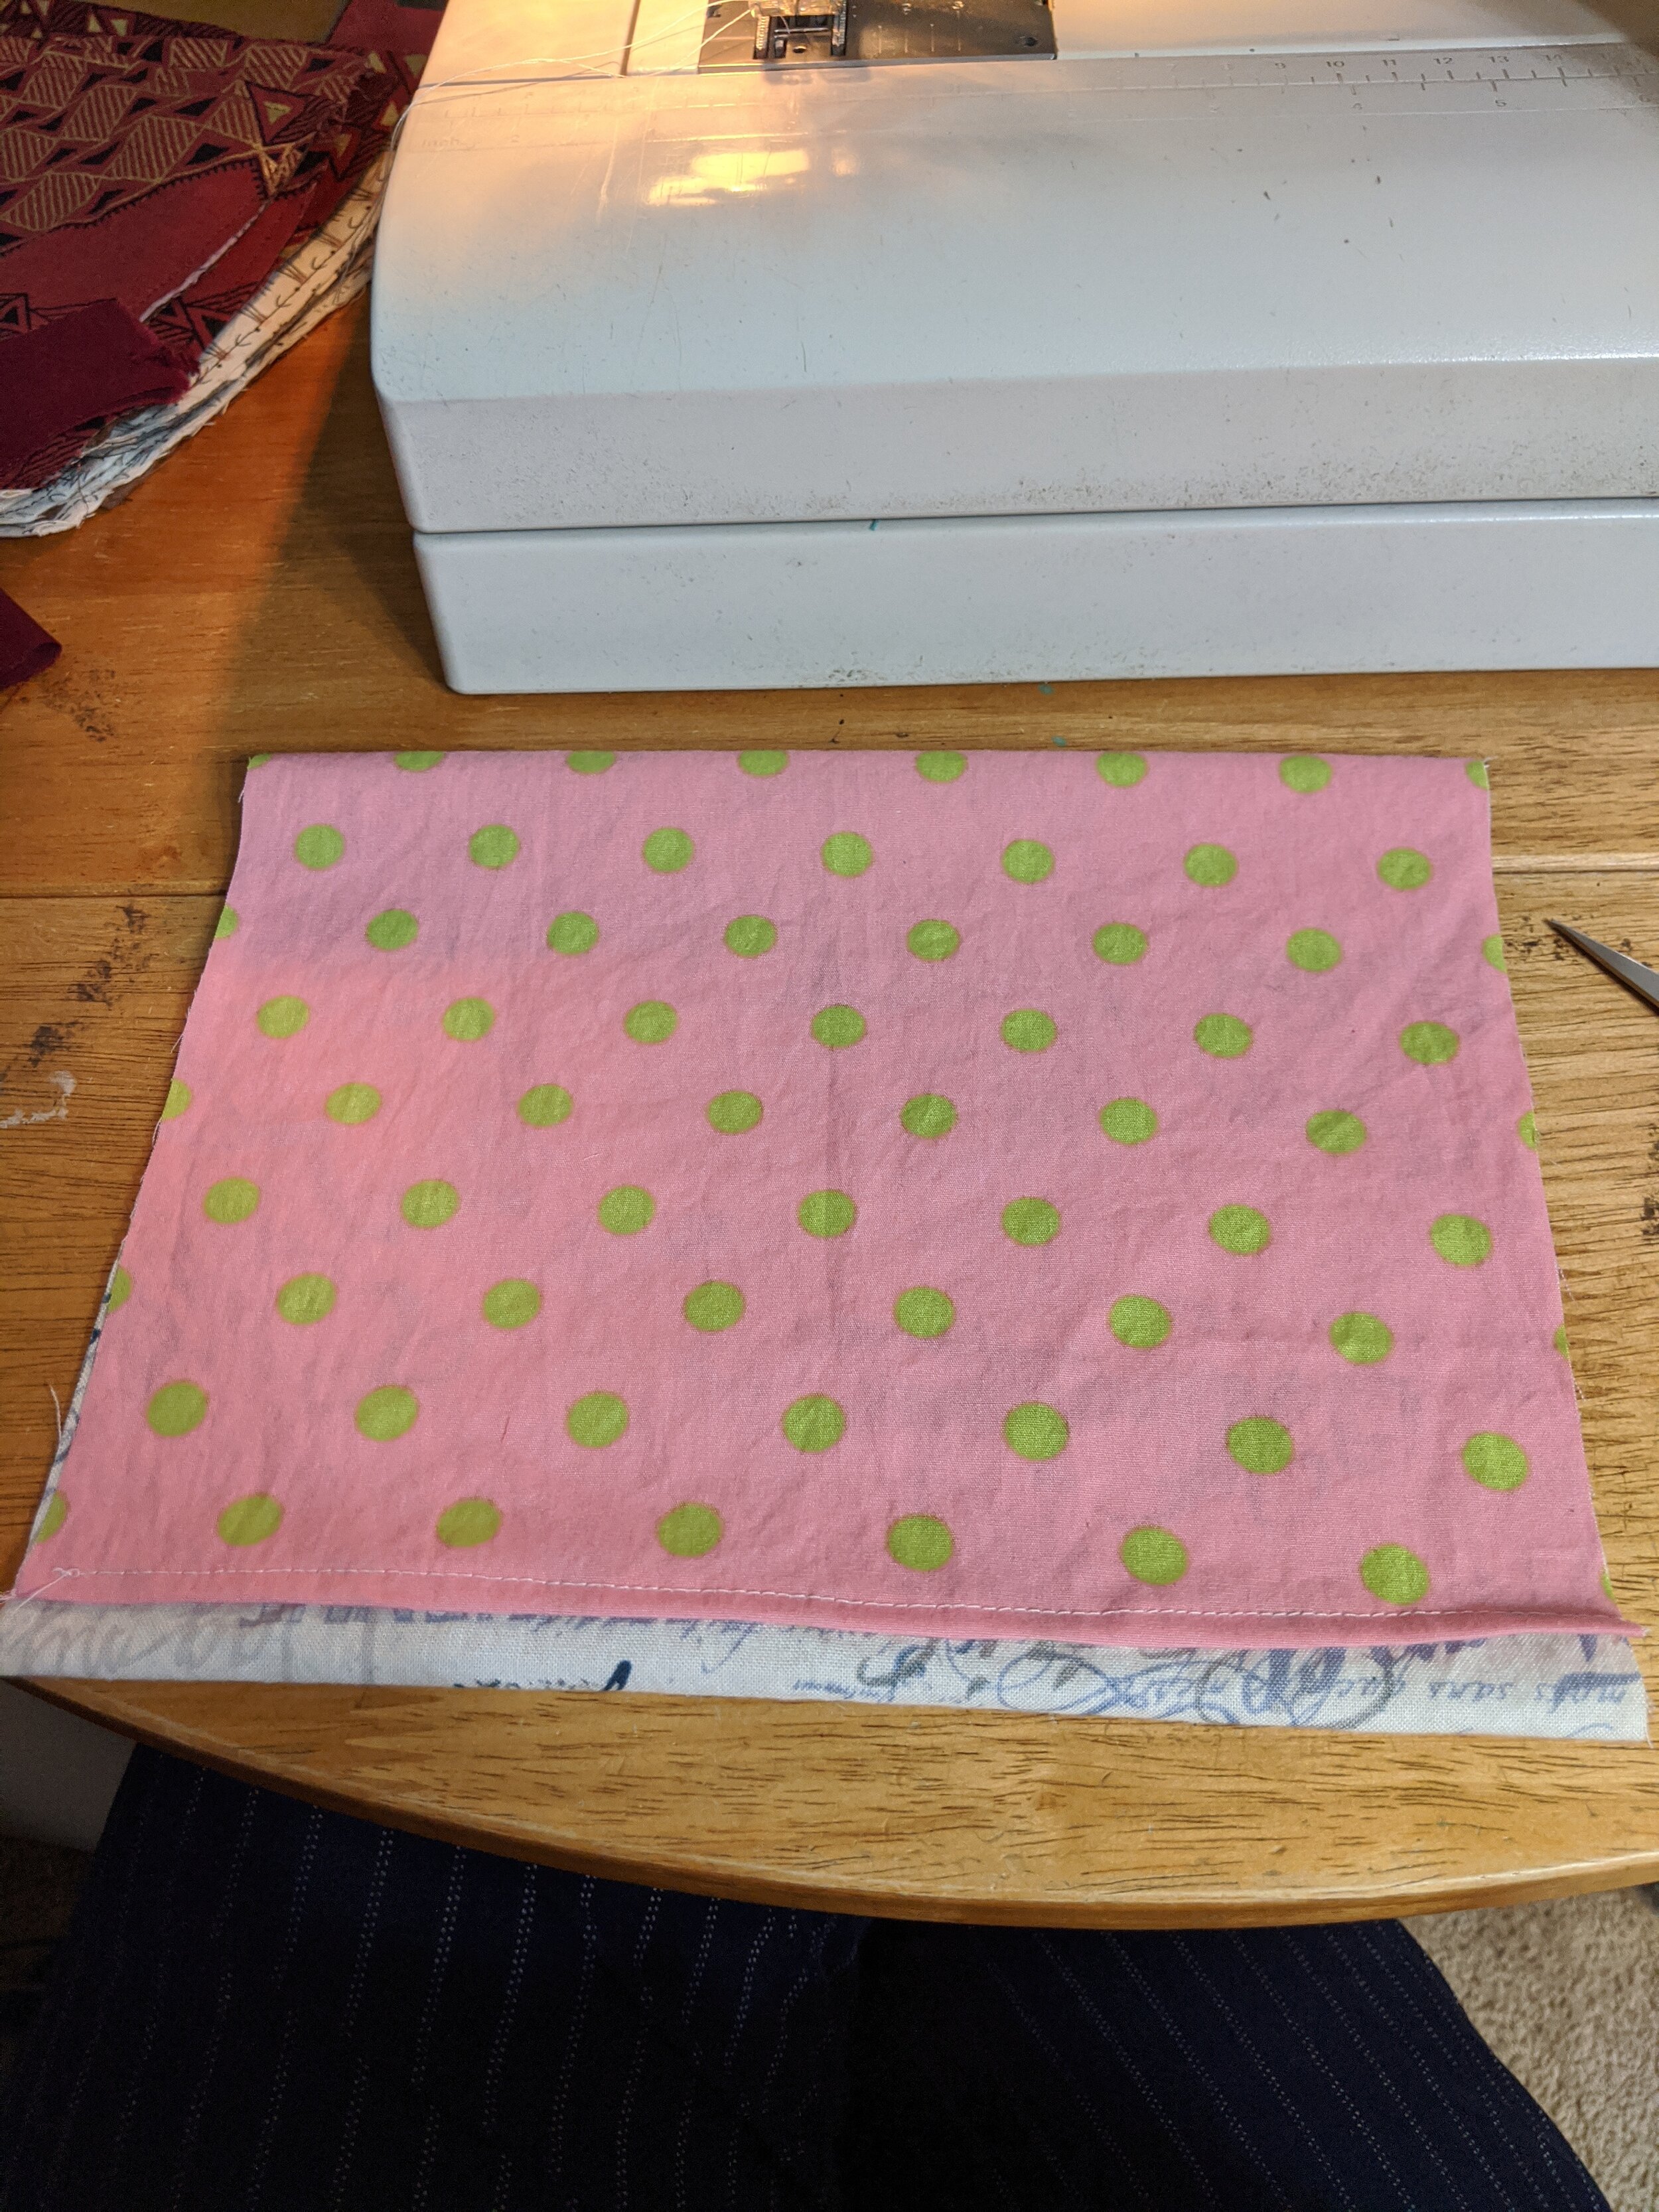
Topstitch across the top of the mask. If you will be adding nose wire, this is the casing, so make sure to leave enough room. I topstitched 3/8” from the edge. When you get to the end of the seam, pivot, and sew around the other three sides, sewing close to the edges. This keeps all the layers together and also topstitches the bottom edge, all in one. If you are adding wire, make sure you didn’t sew up the right side where you will be slipping in the wire!
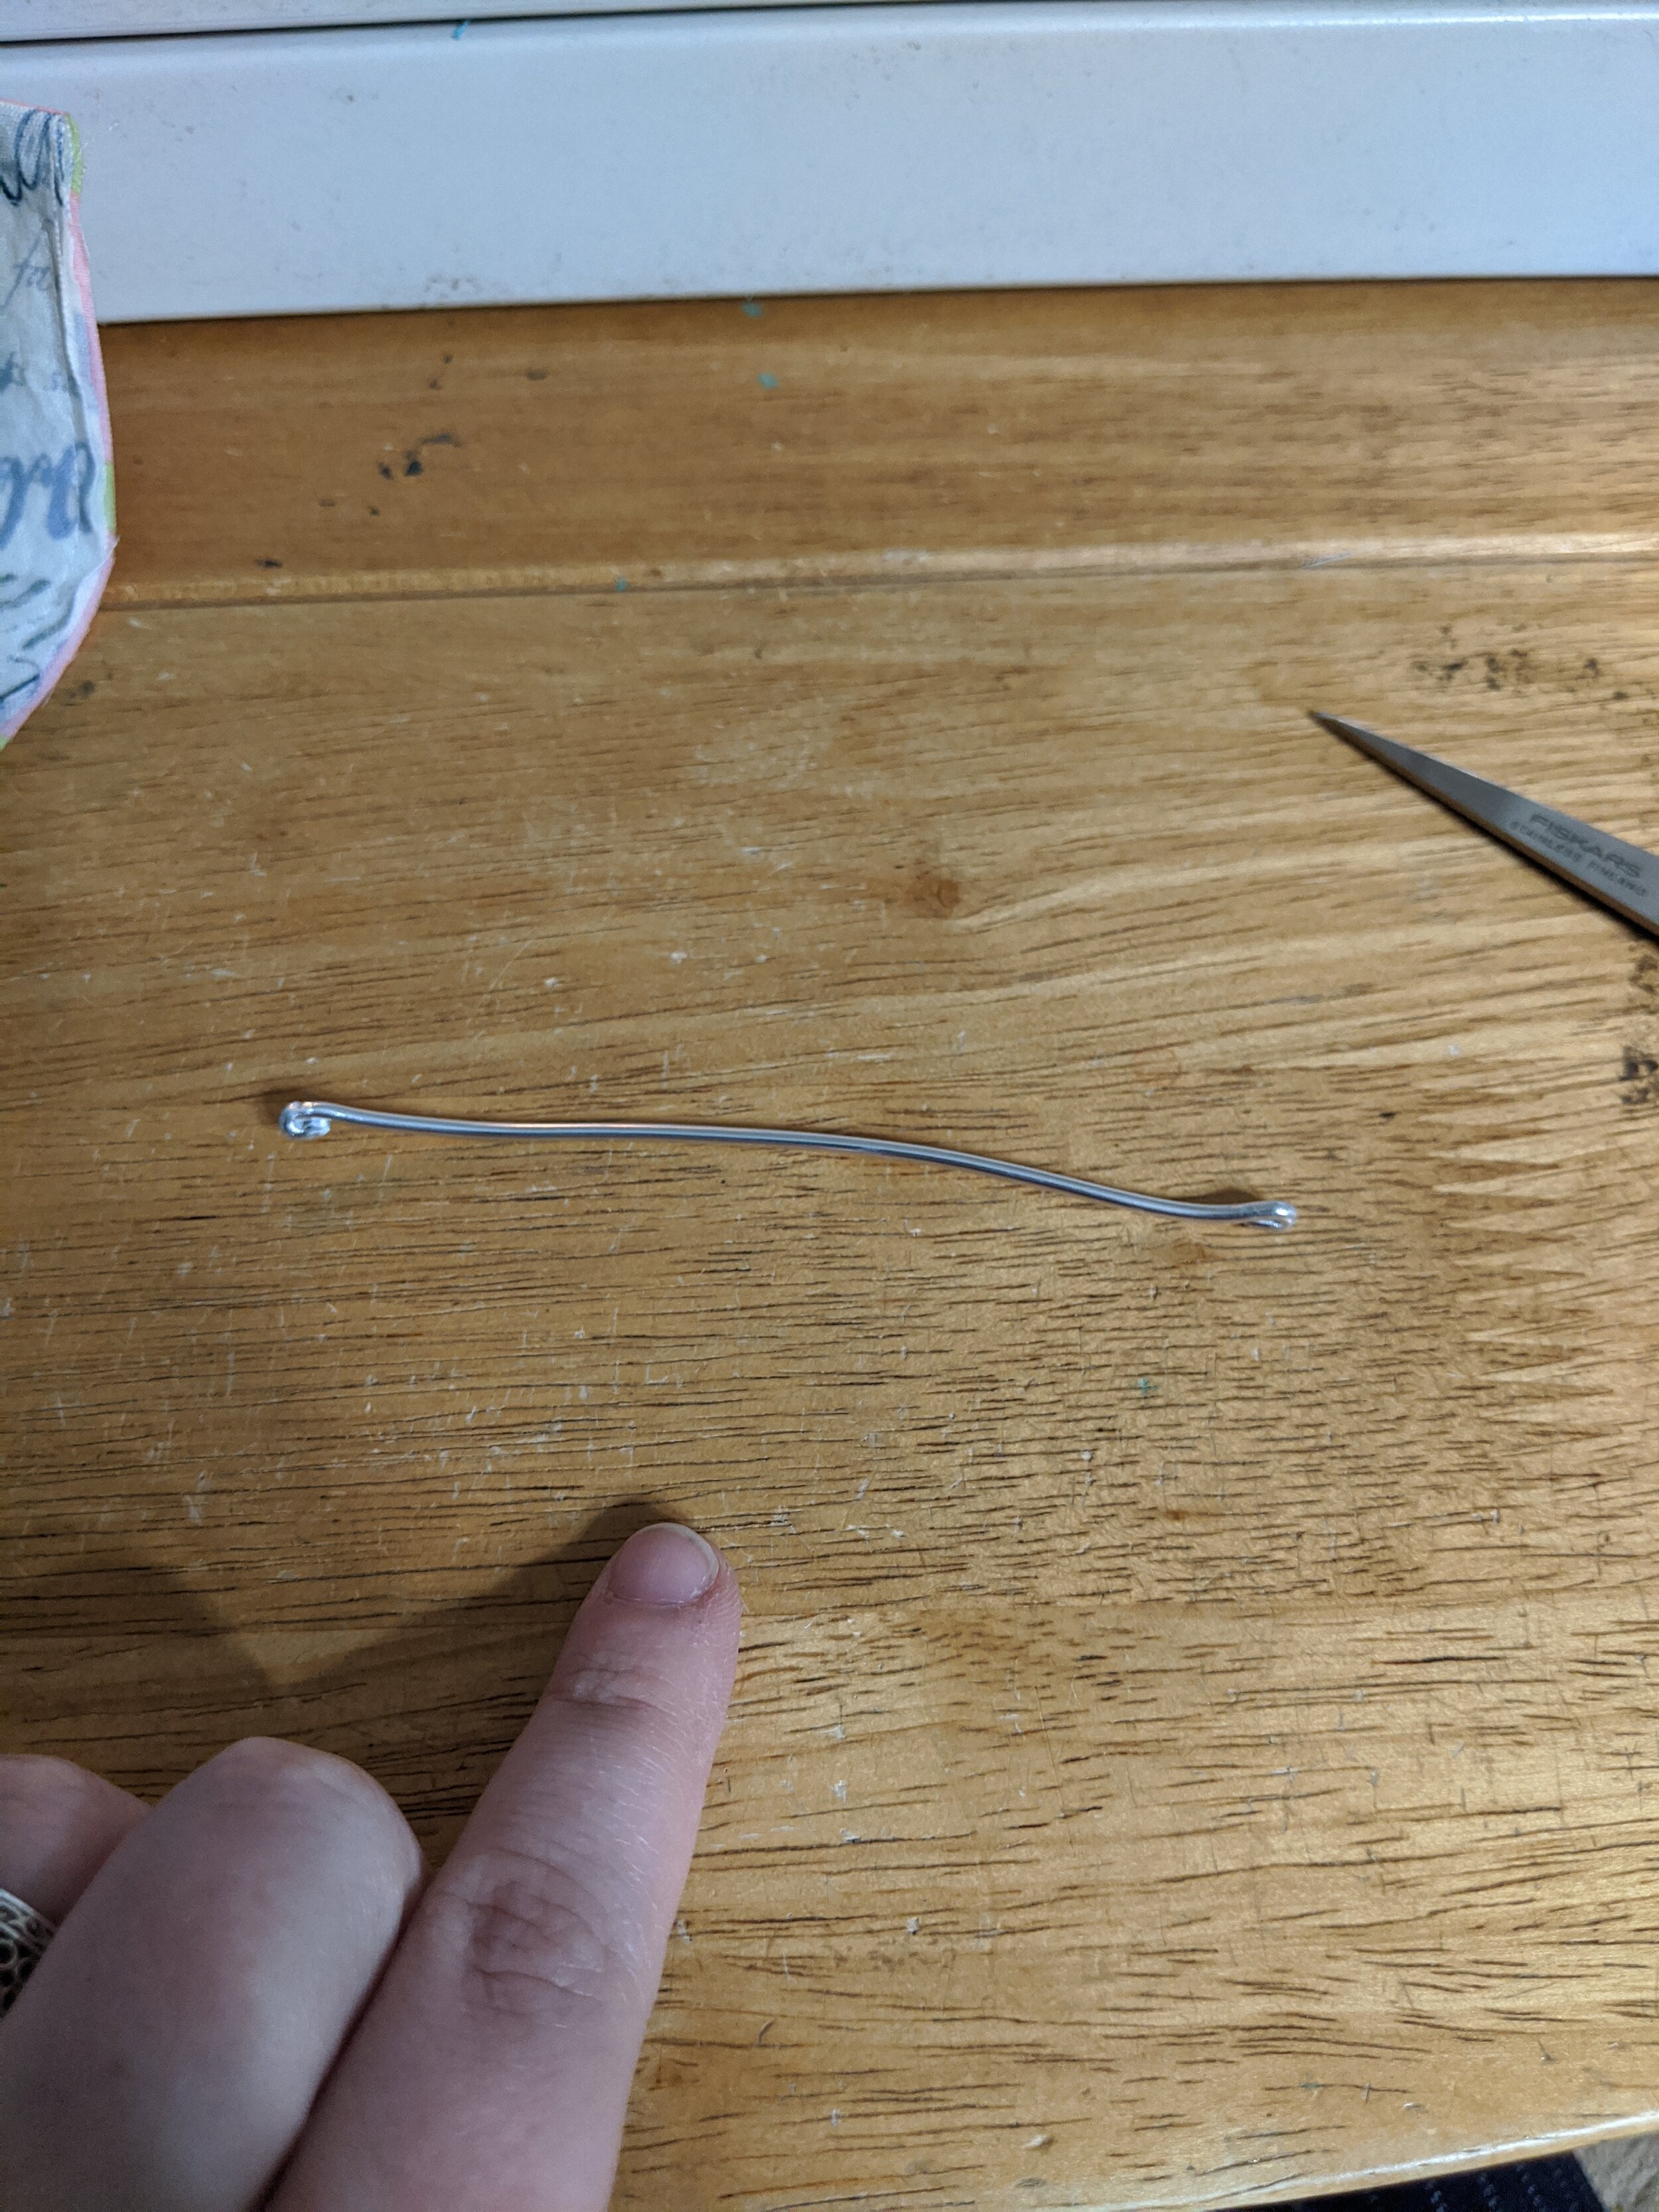
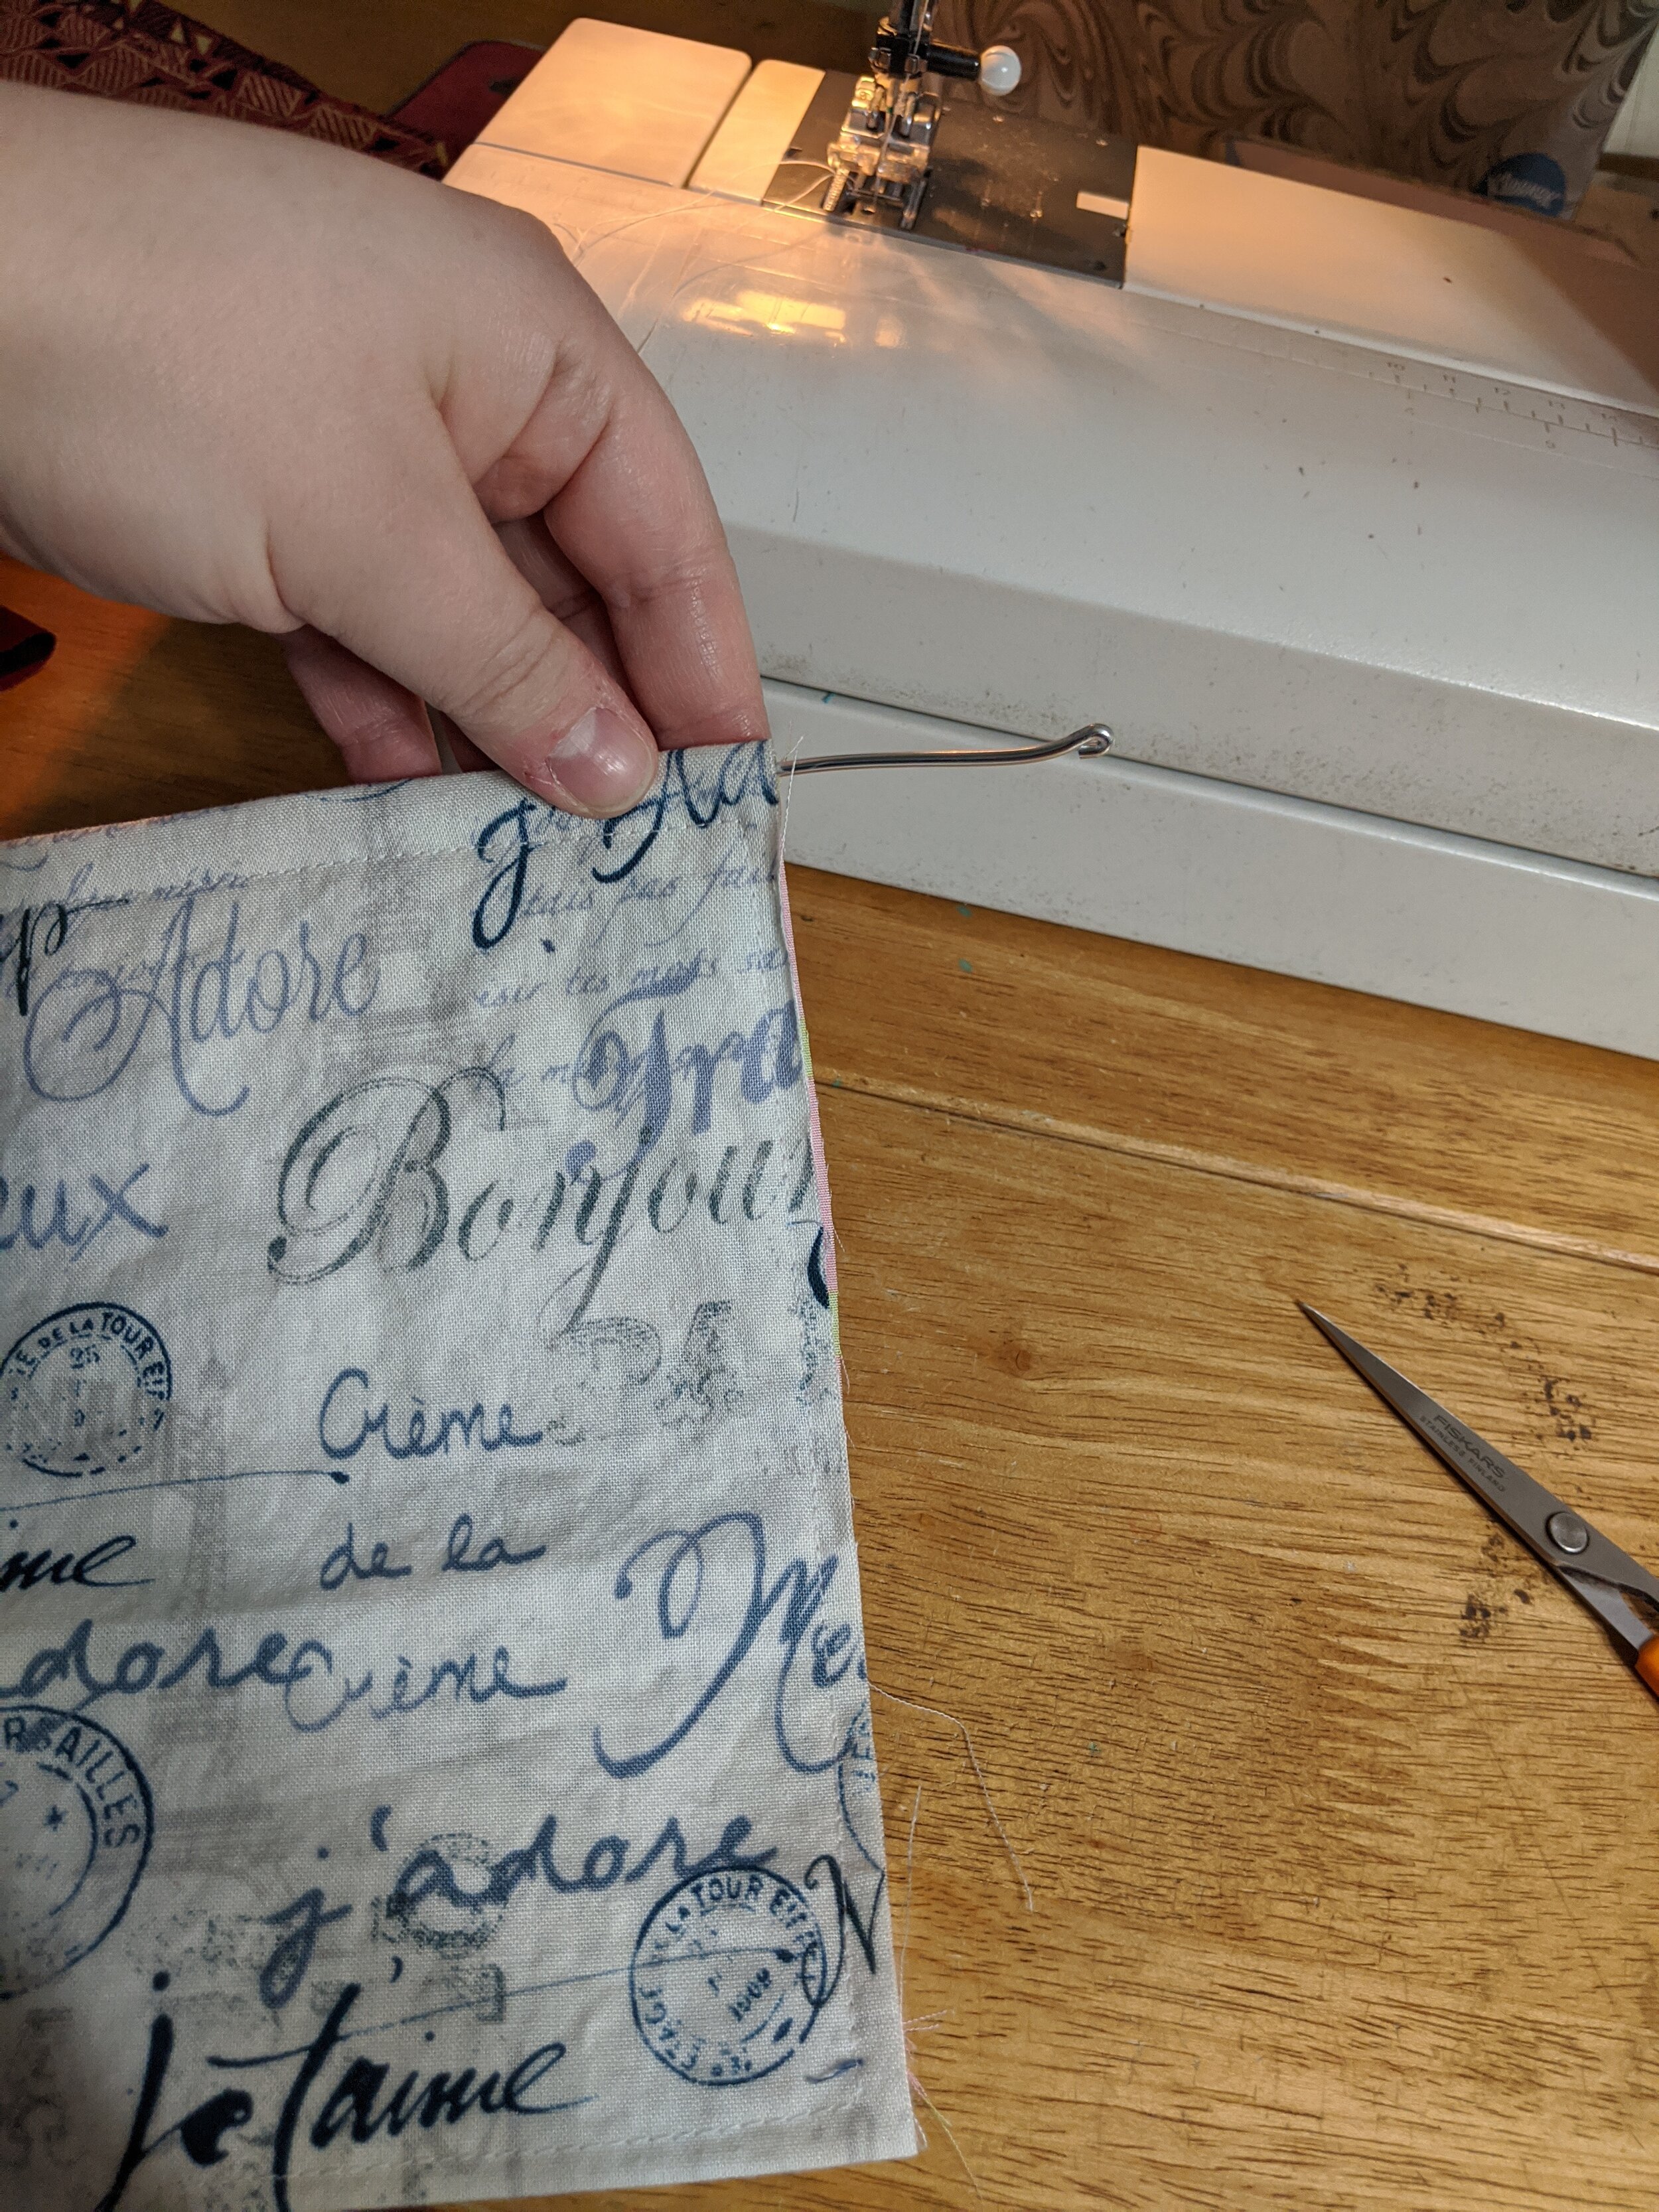

I cut about a 4” length of wire. I think I read somewhere that 22 gauge wire works well. I had 16 gauge, I believe, which is quite a bit thicker, but it’s what I have a big spool of from making Edward Tulane. It seems to work okay in the masks I have made. I’ve seen people recommend twist ties? I’m not sure I’d recommend that, but people have used those. Fold in the ends of the wire, and slip it into your casing. Center in the middle, and sew a little line at each end (I sewed several times back and forth). I left a small amount of space between the wire end and the seam so that the wire has enough room to flex, but not move around much. The picture shows what the stitches look like on the back because the stitches blend into the front.

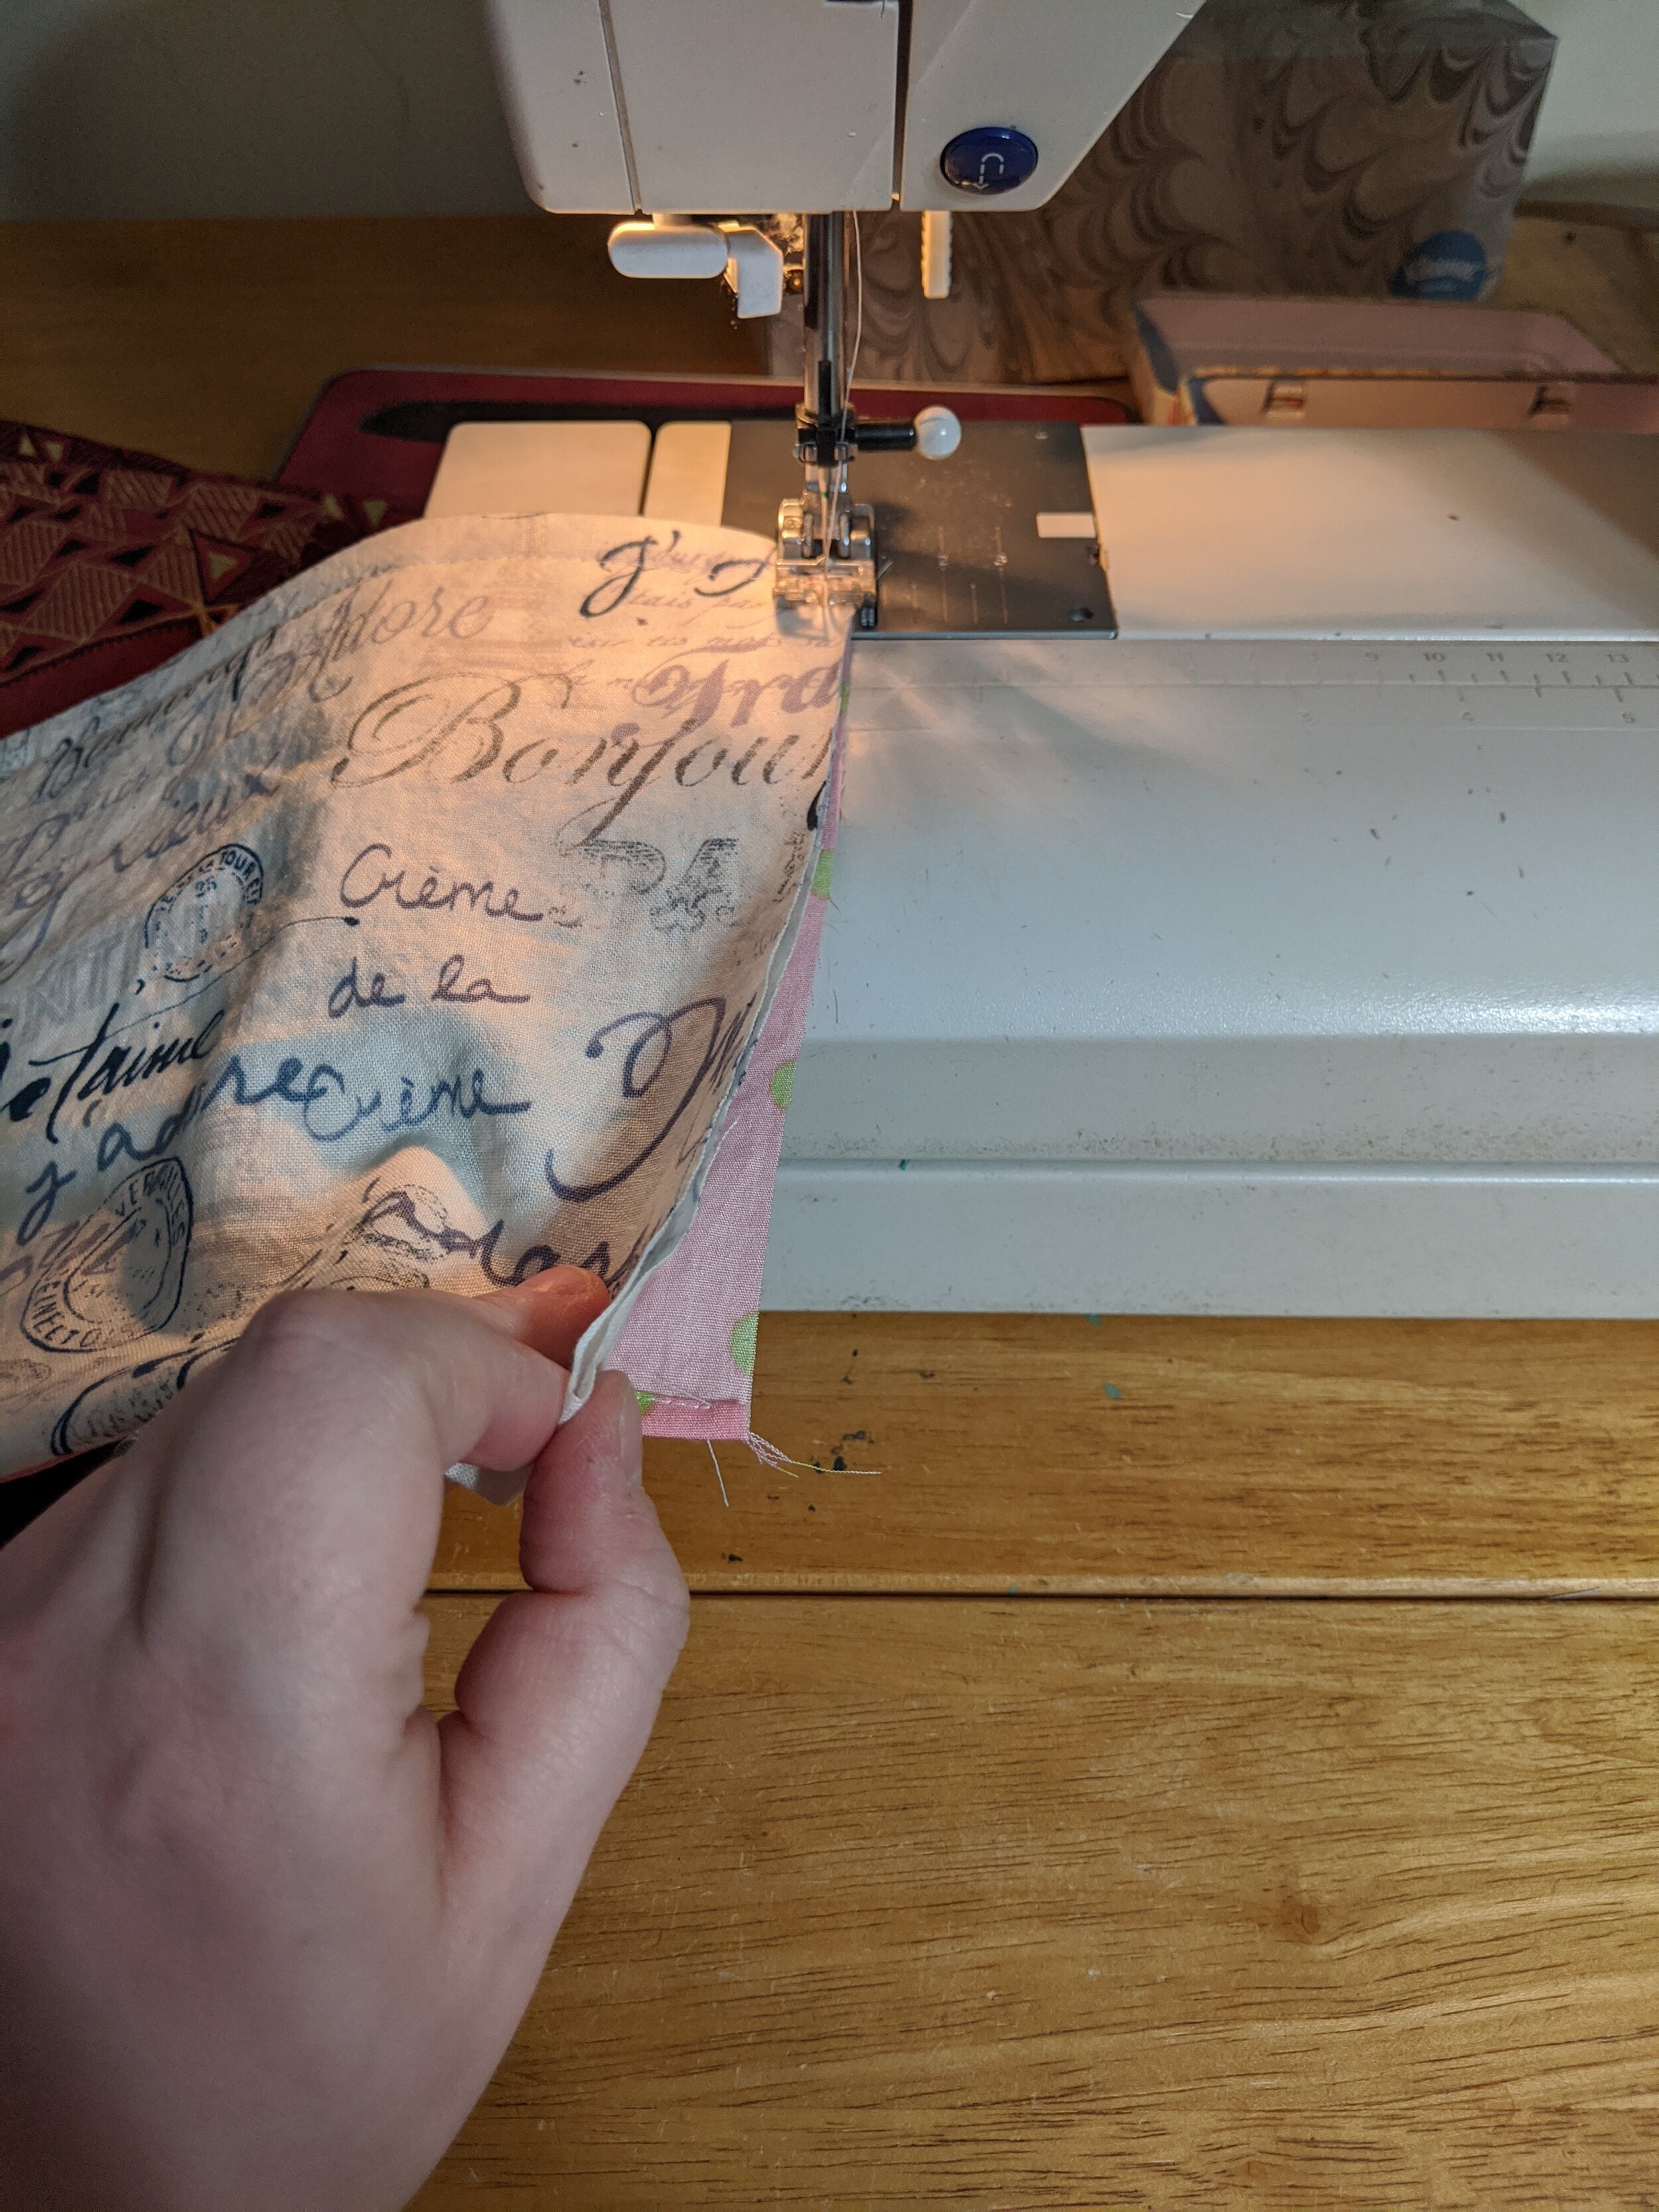
So this picture is of the end of the mask, because I forgot to do this next step until I had finished! It works better to do it here, though. Turn your mask so the lining side is up. Right now the whole bottom is open for a pocket for a liner, so you’ll want to make that opening smaller so that a filter doesn’t just fall out. I sewed a few inches on either side, making sure to backstitch.
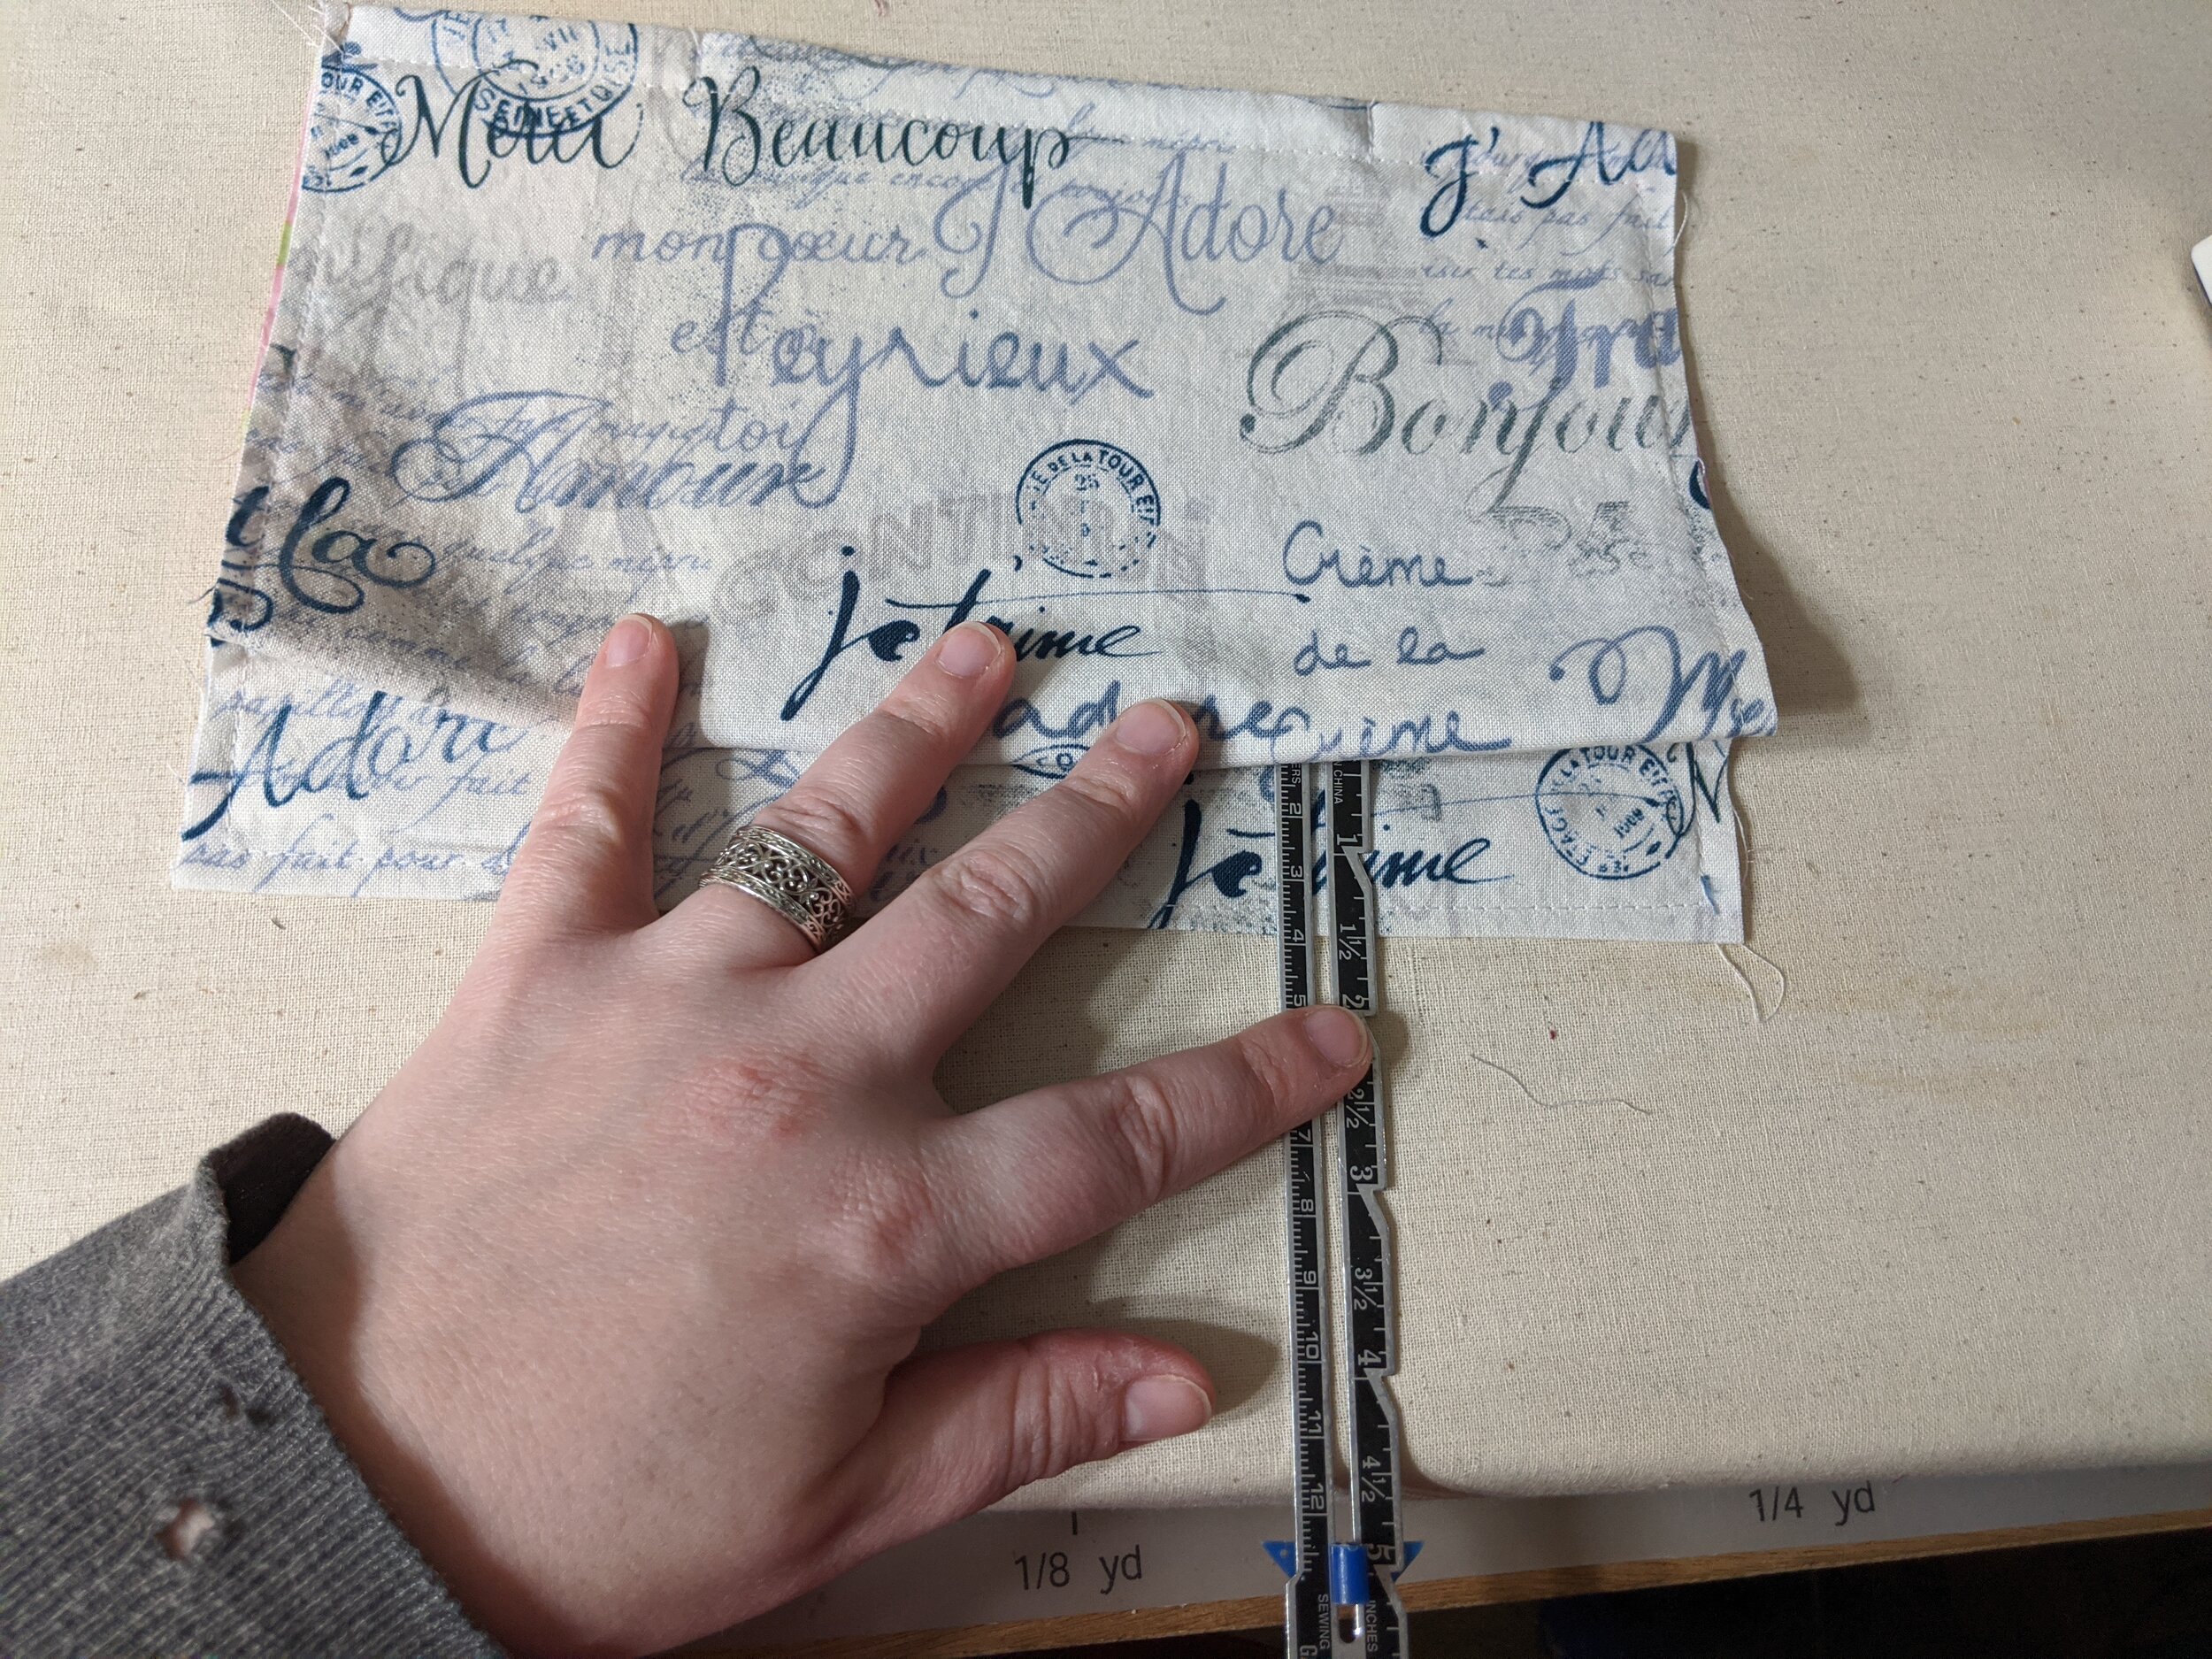
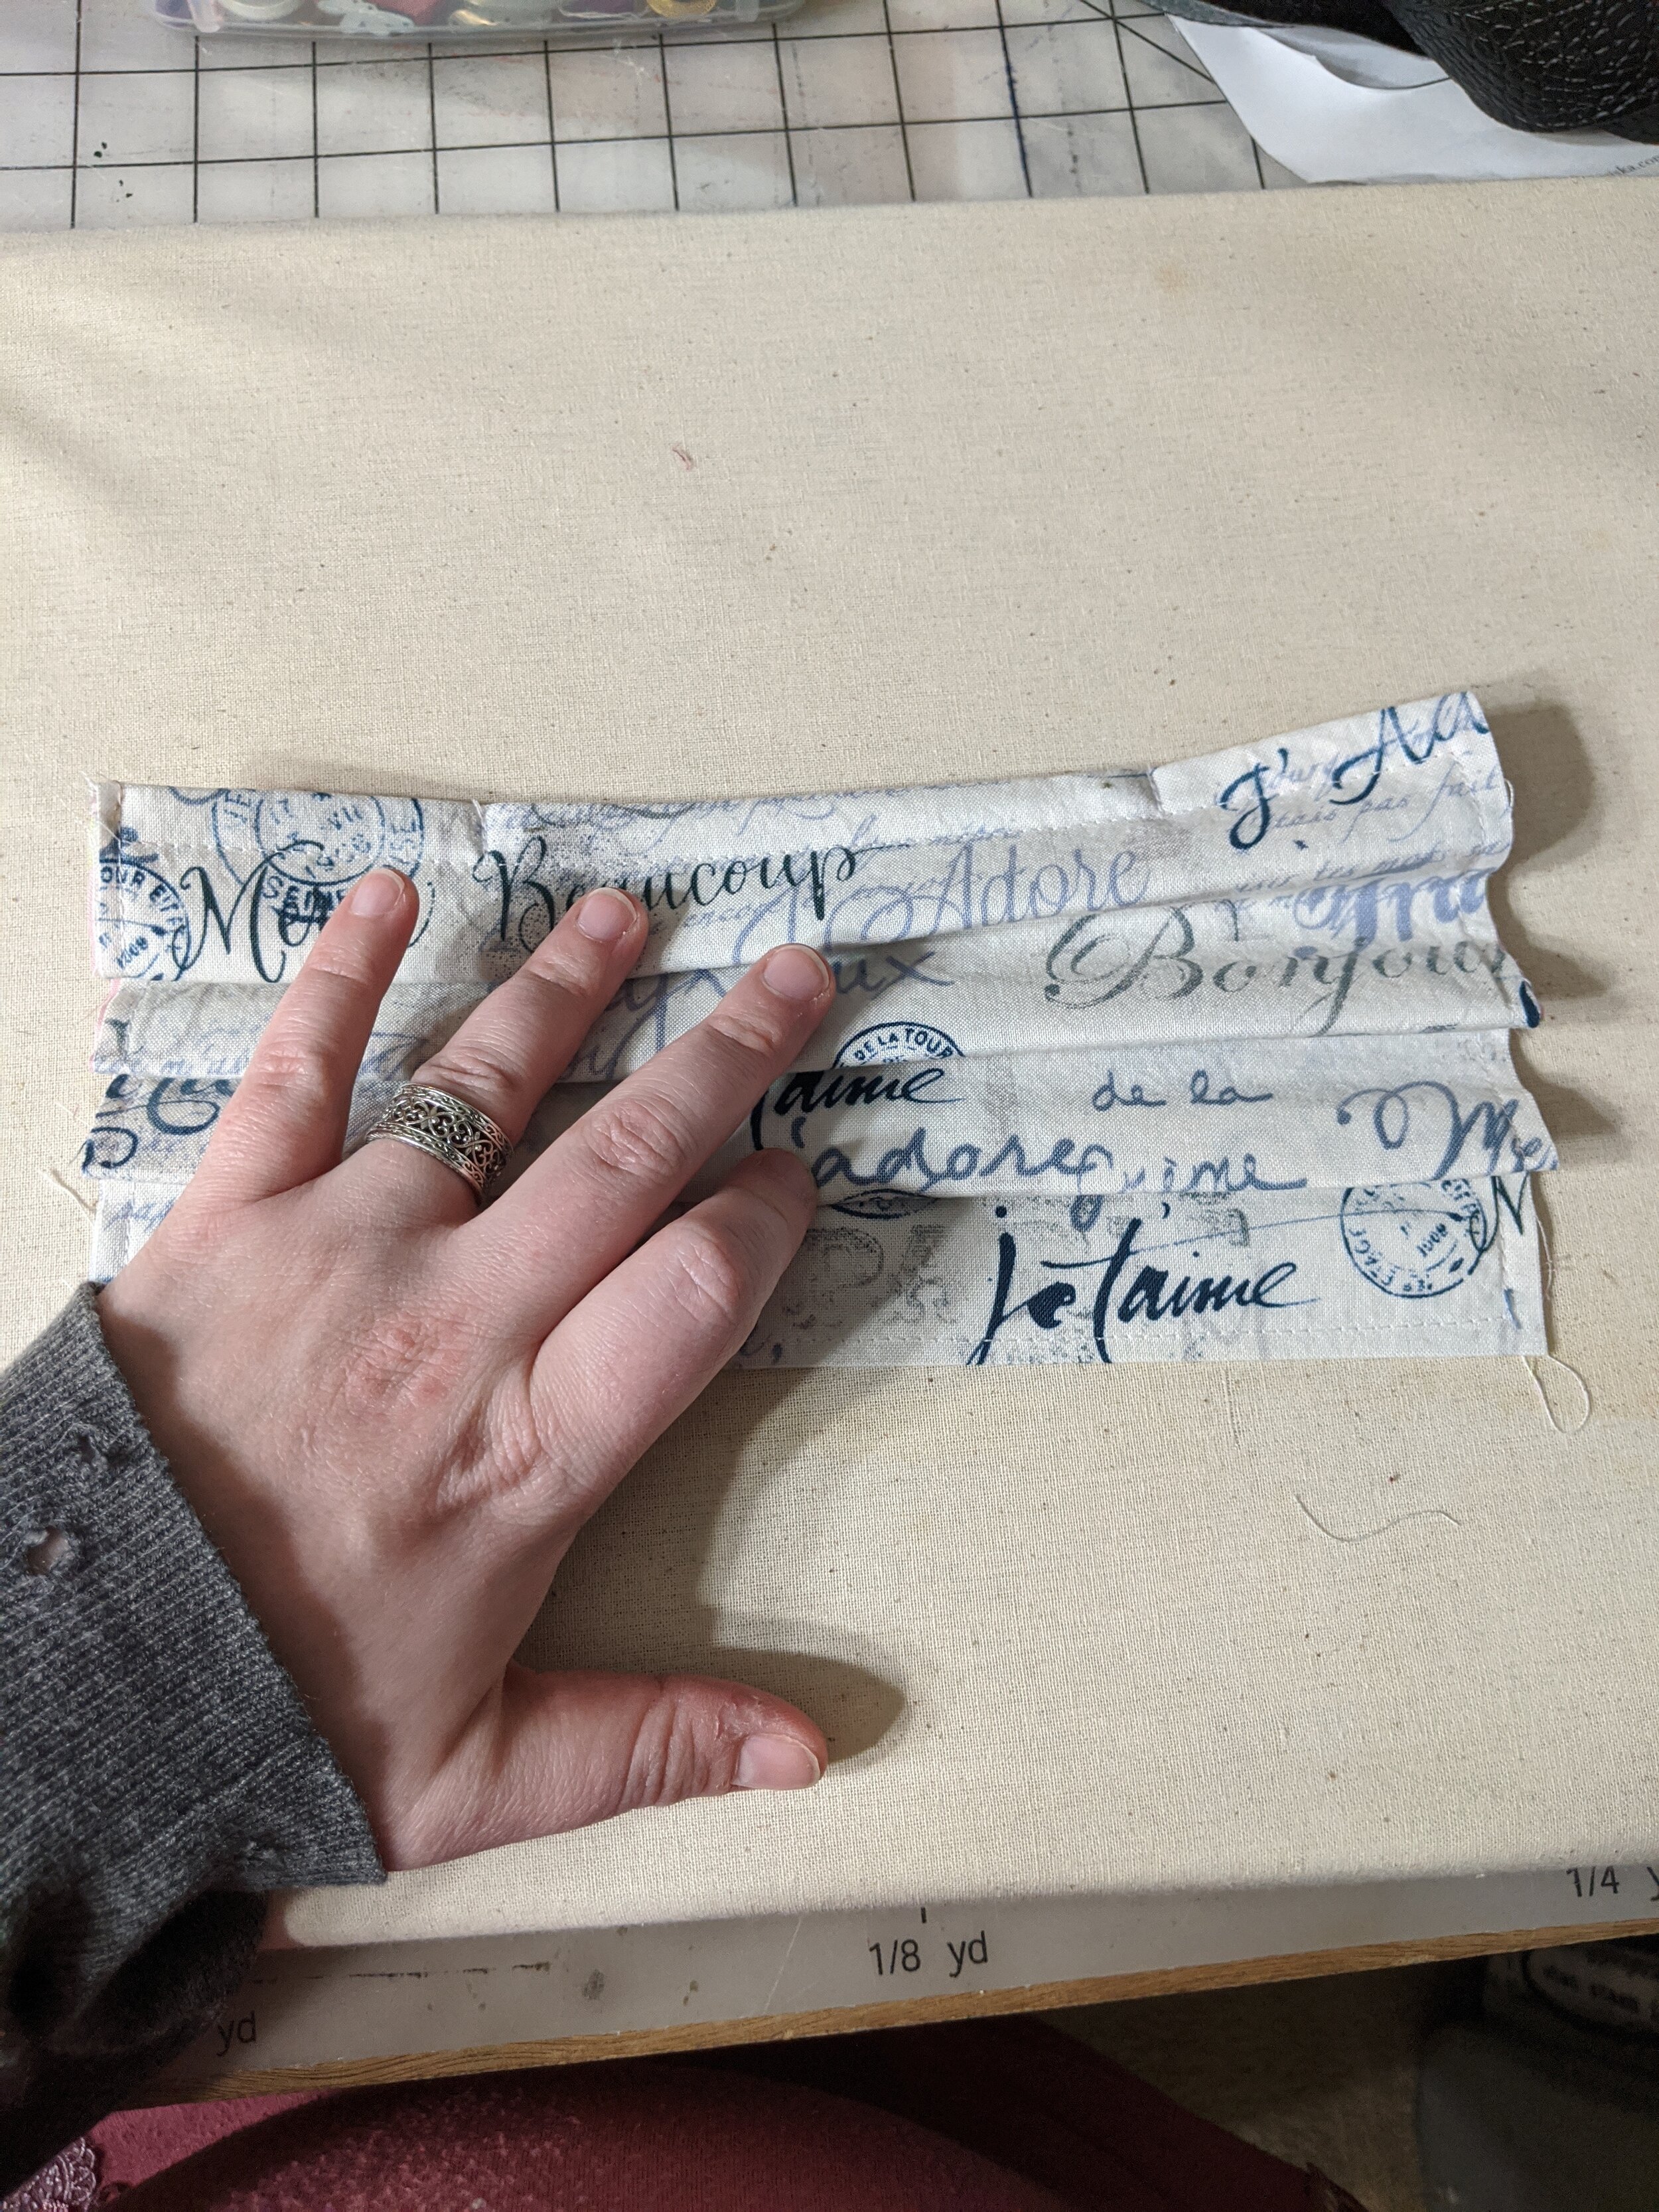
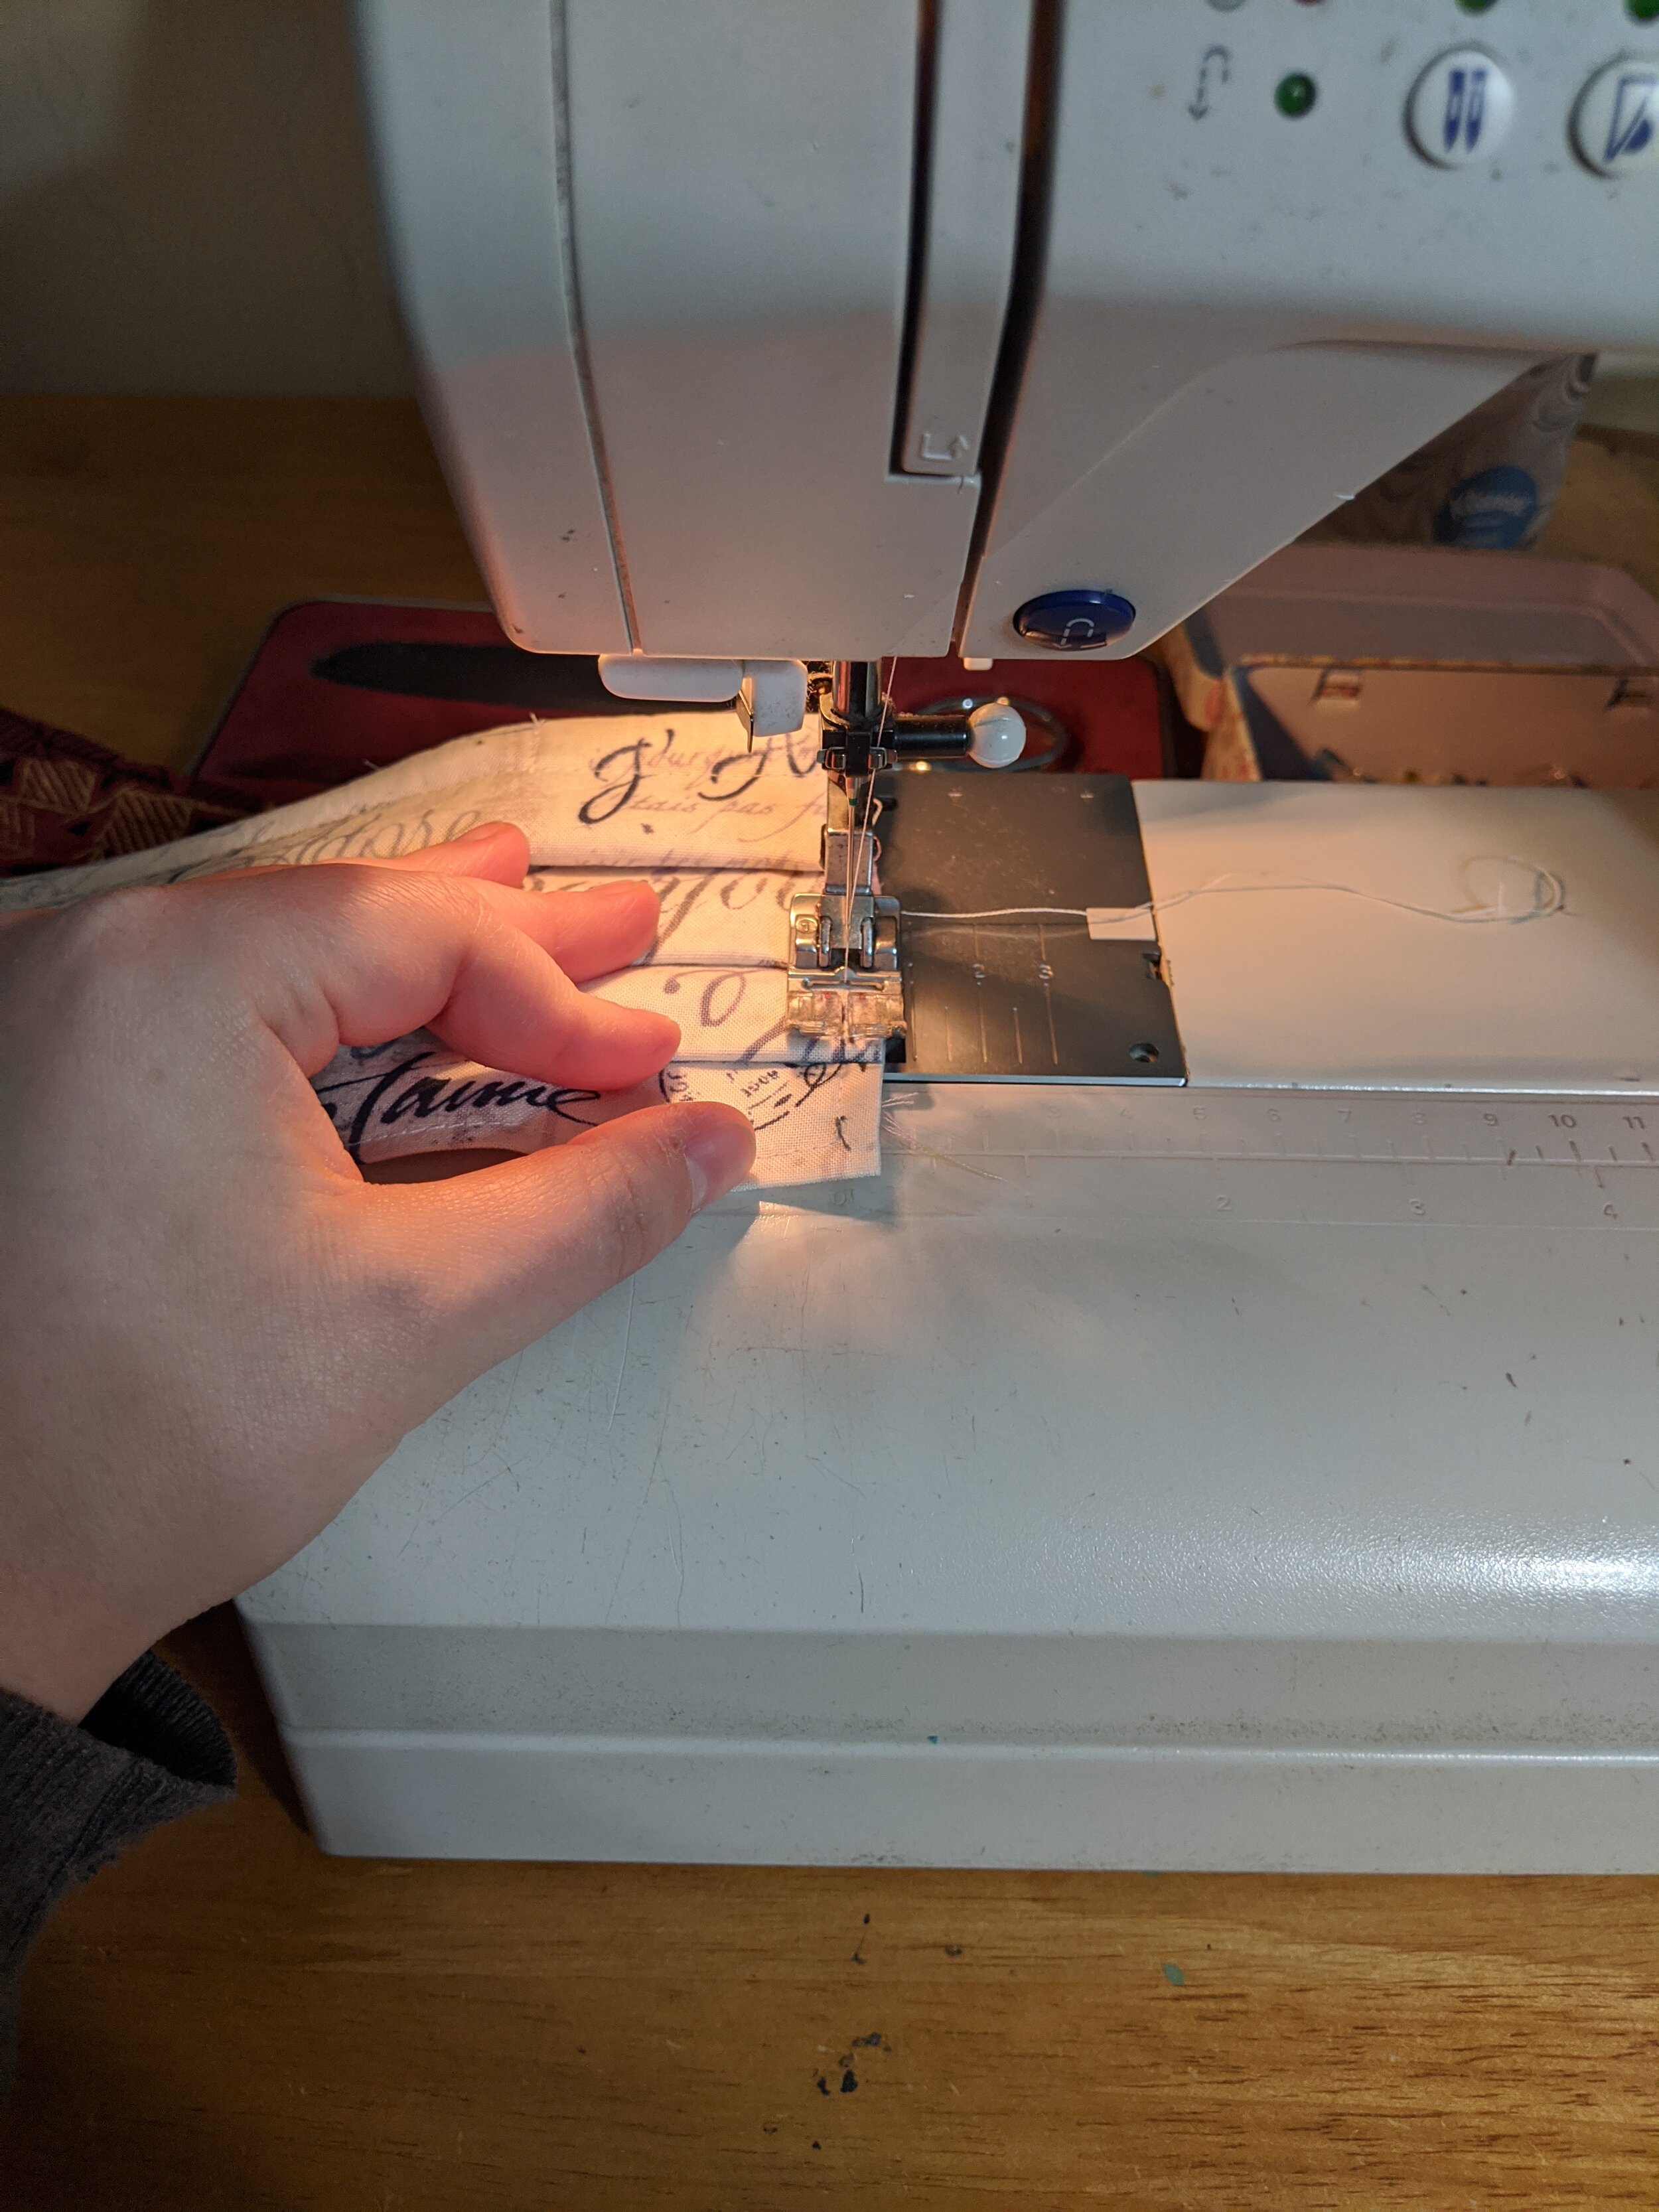
Take your mask to your ironing board. I honestly just eyeball these pleats. Each pleat takes about 1” of fabric, making 1/2” pleats. I ironed the pleats down. Does that matter? I have no clue. You’ll want the pleats pretty tight right next to each other. My first mask the final product was wider and I didn’t feel like it fit as well on my face. I like to stitch down the edges after this to baste everything in place.

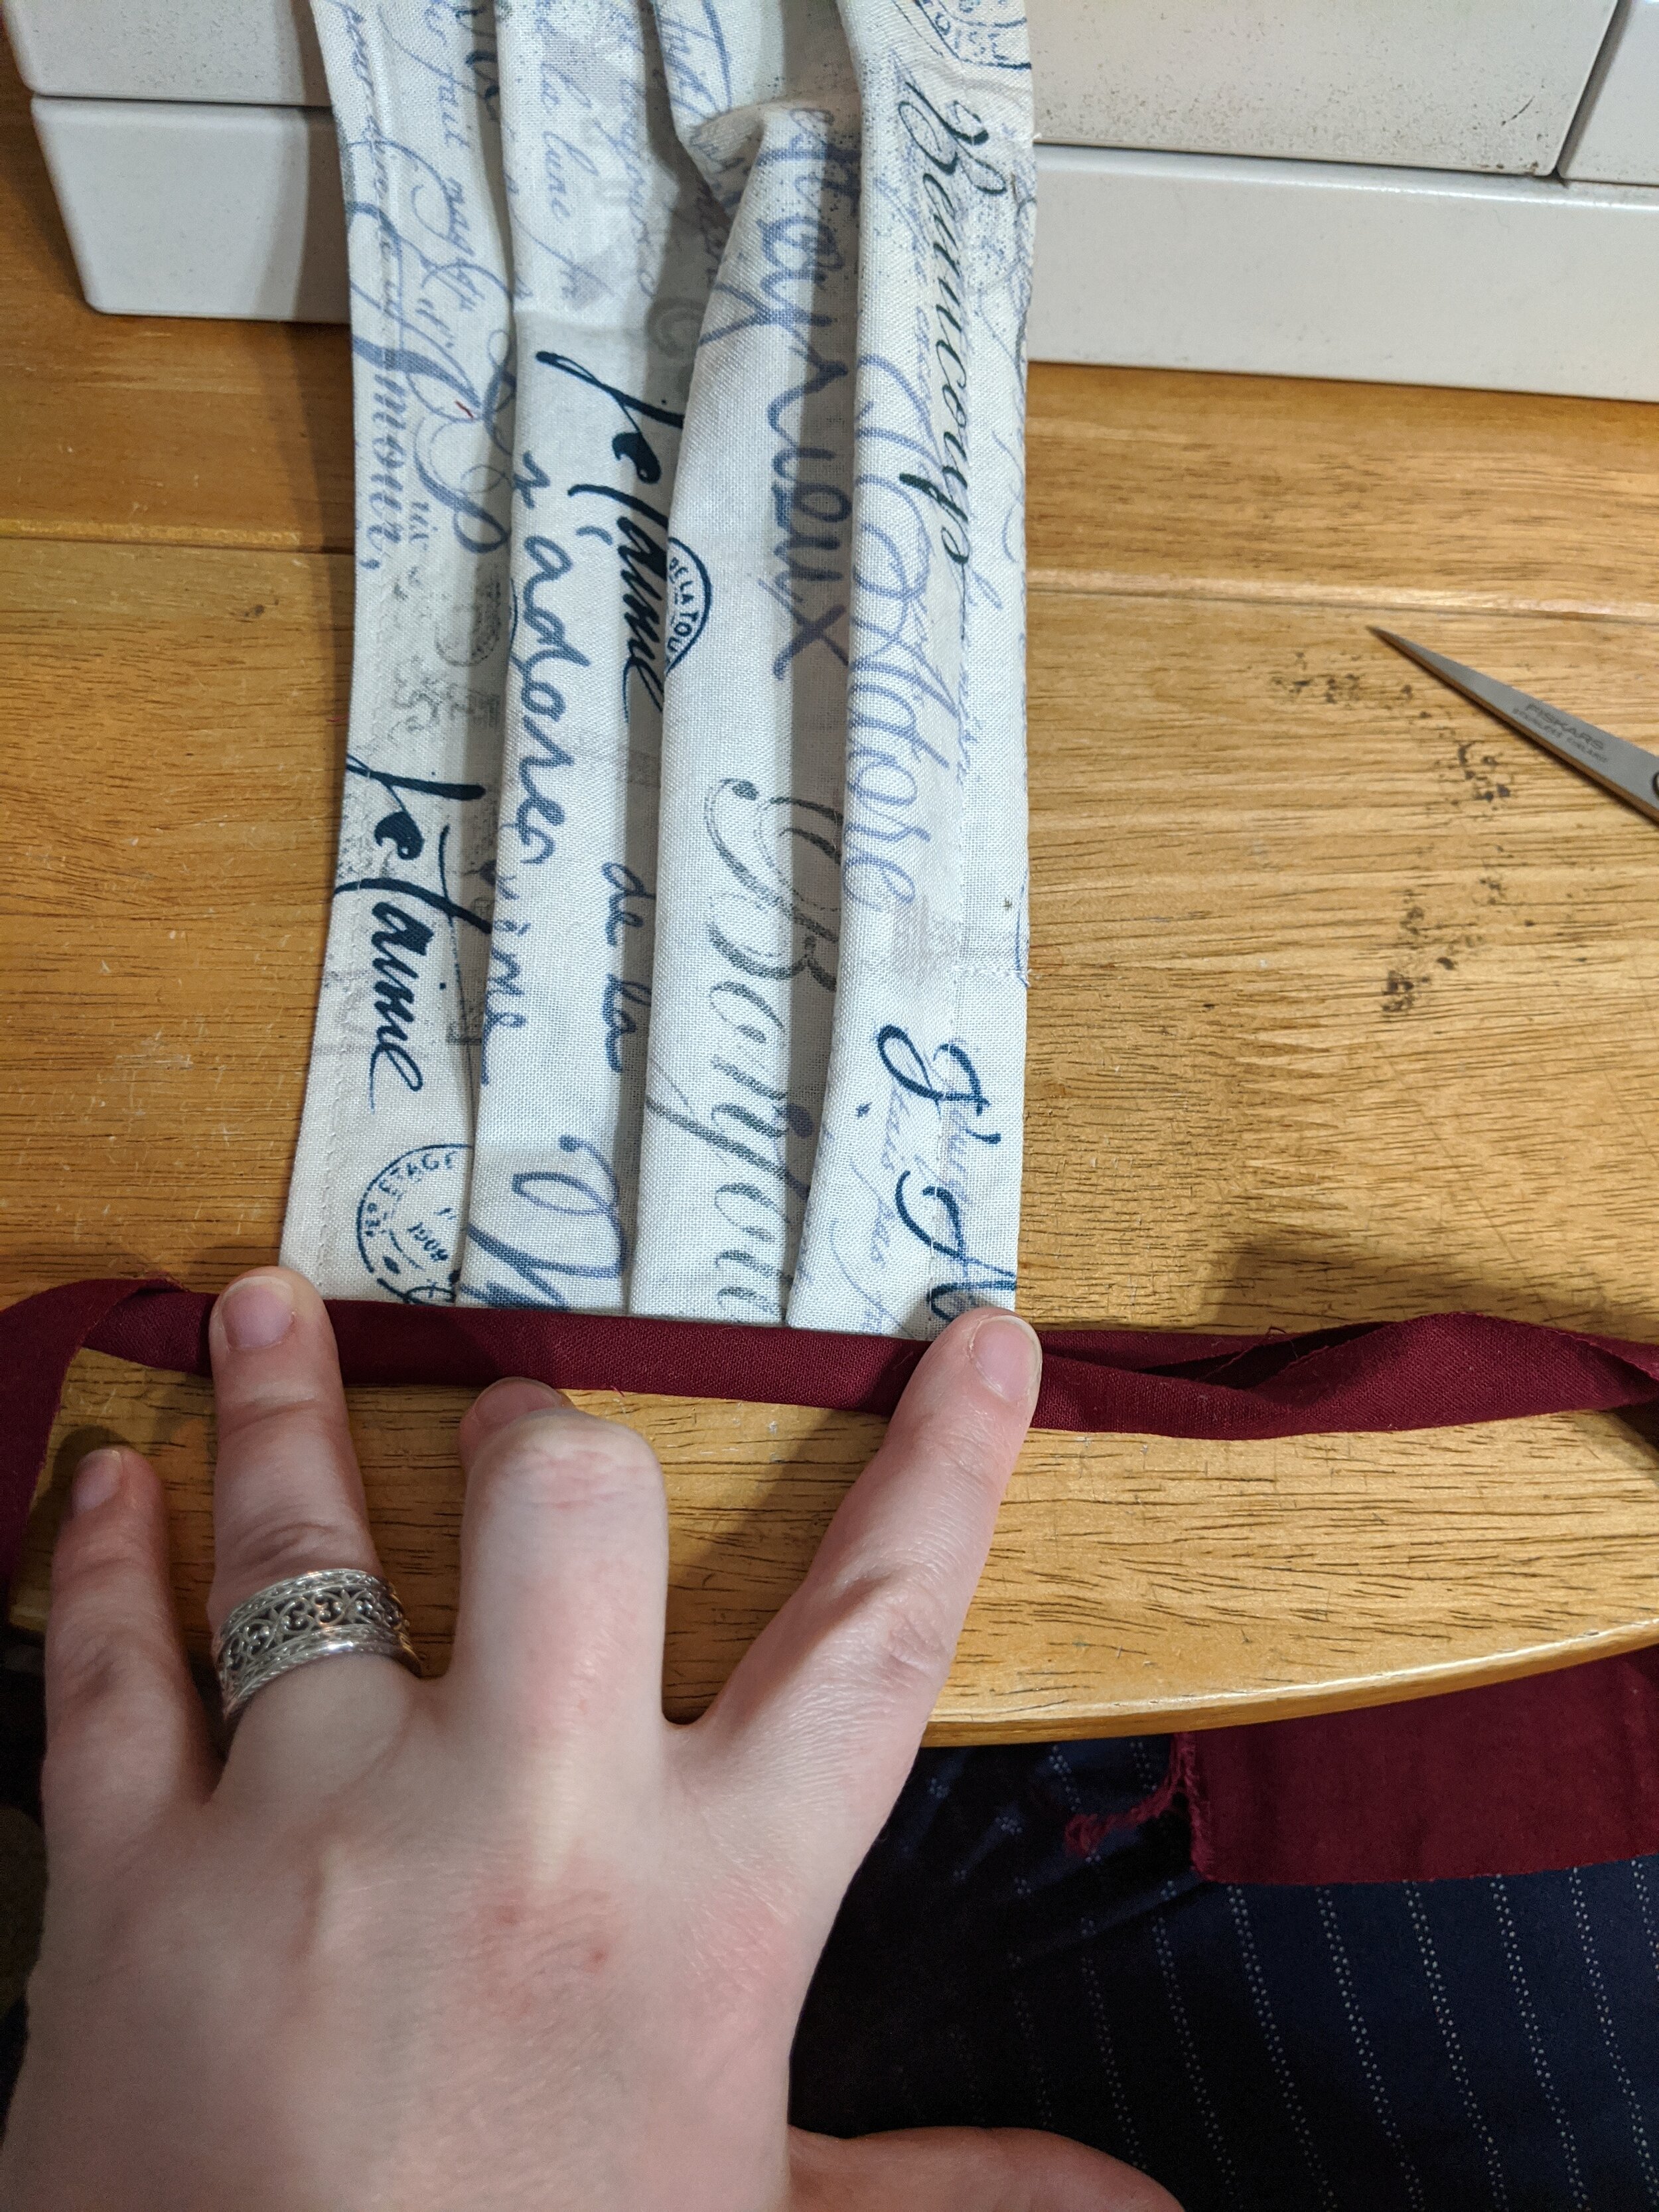
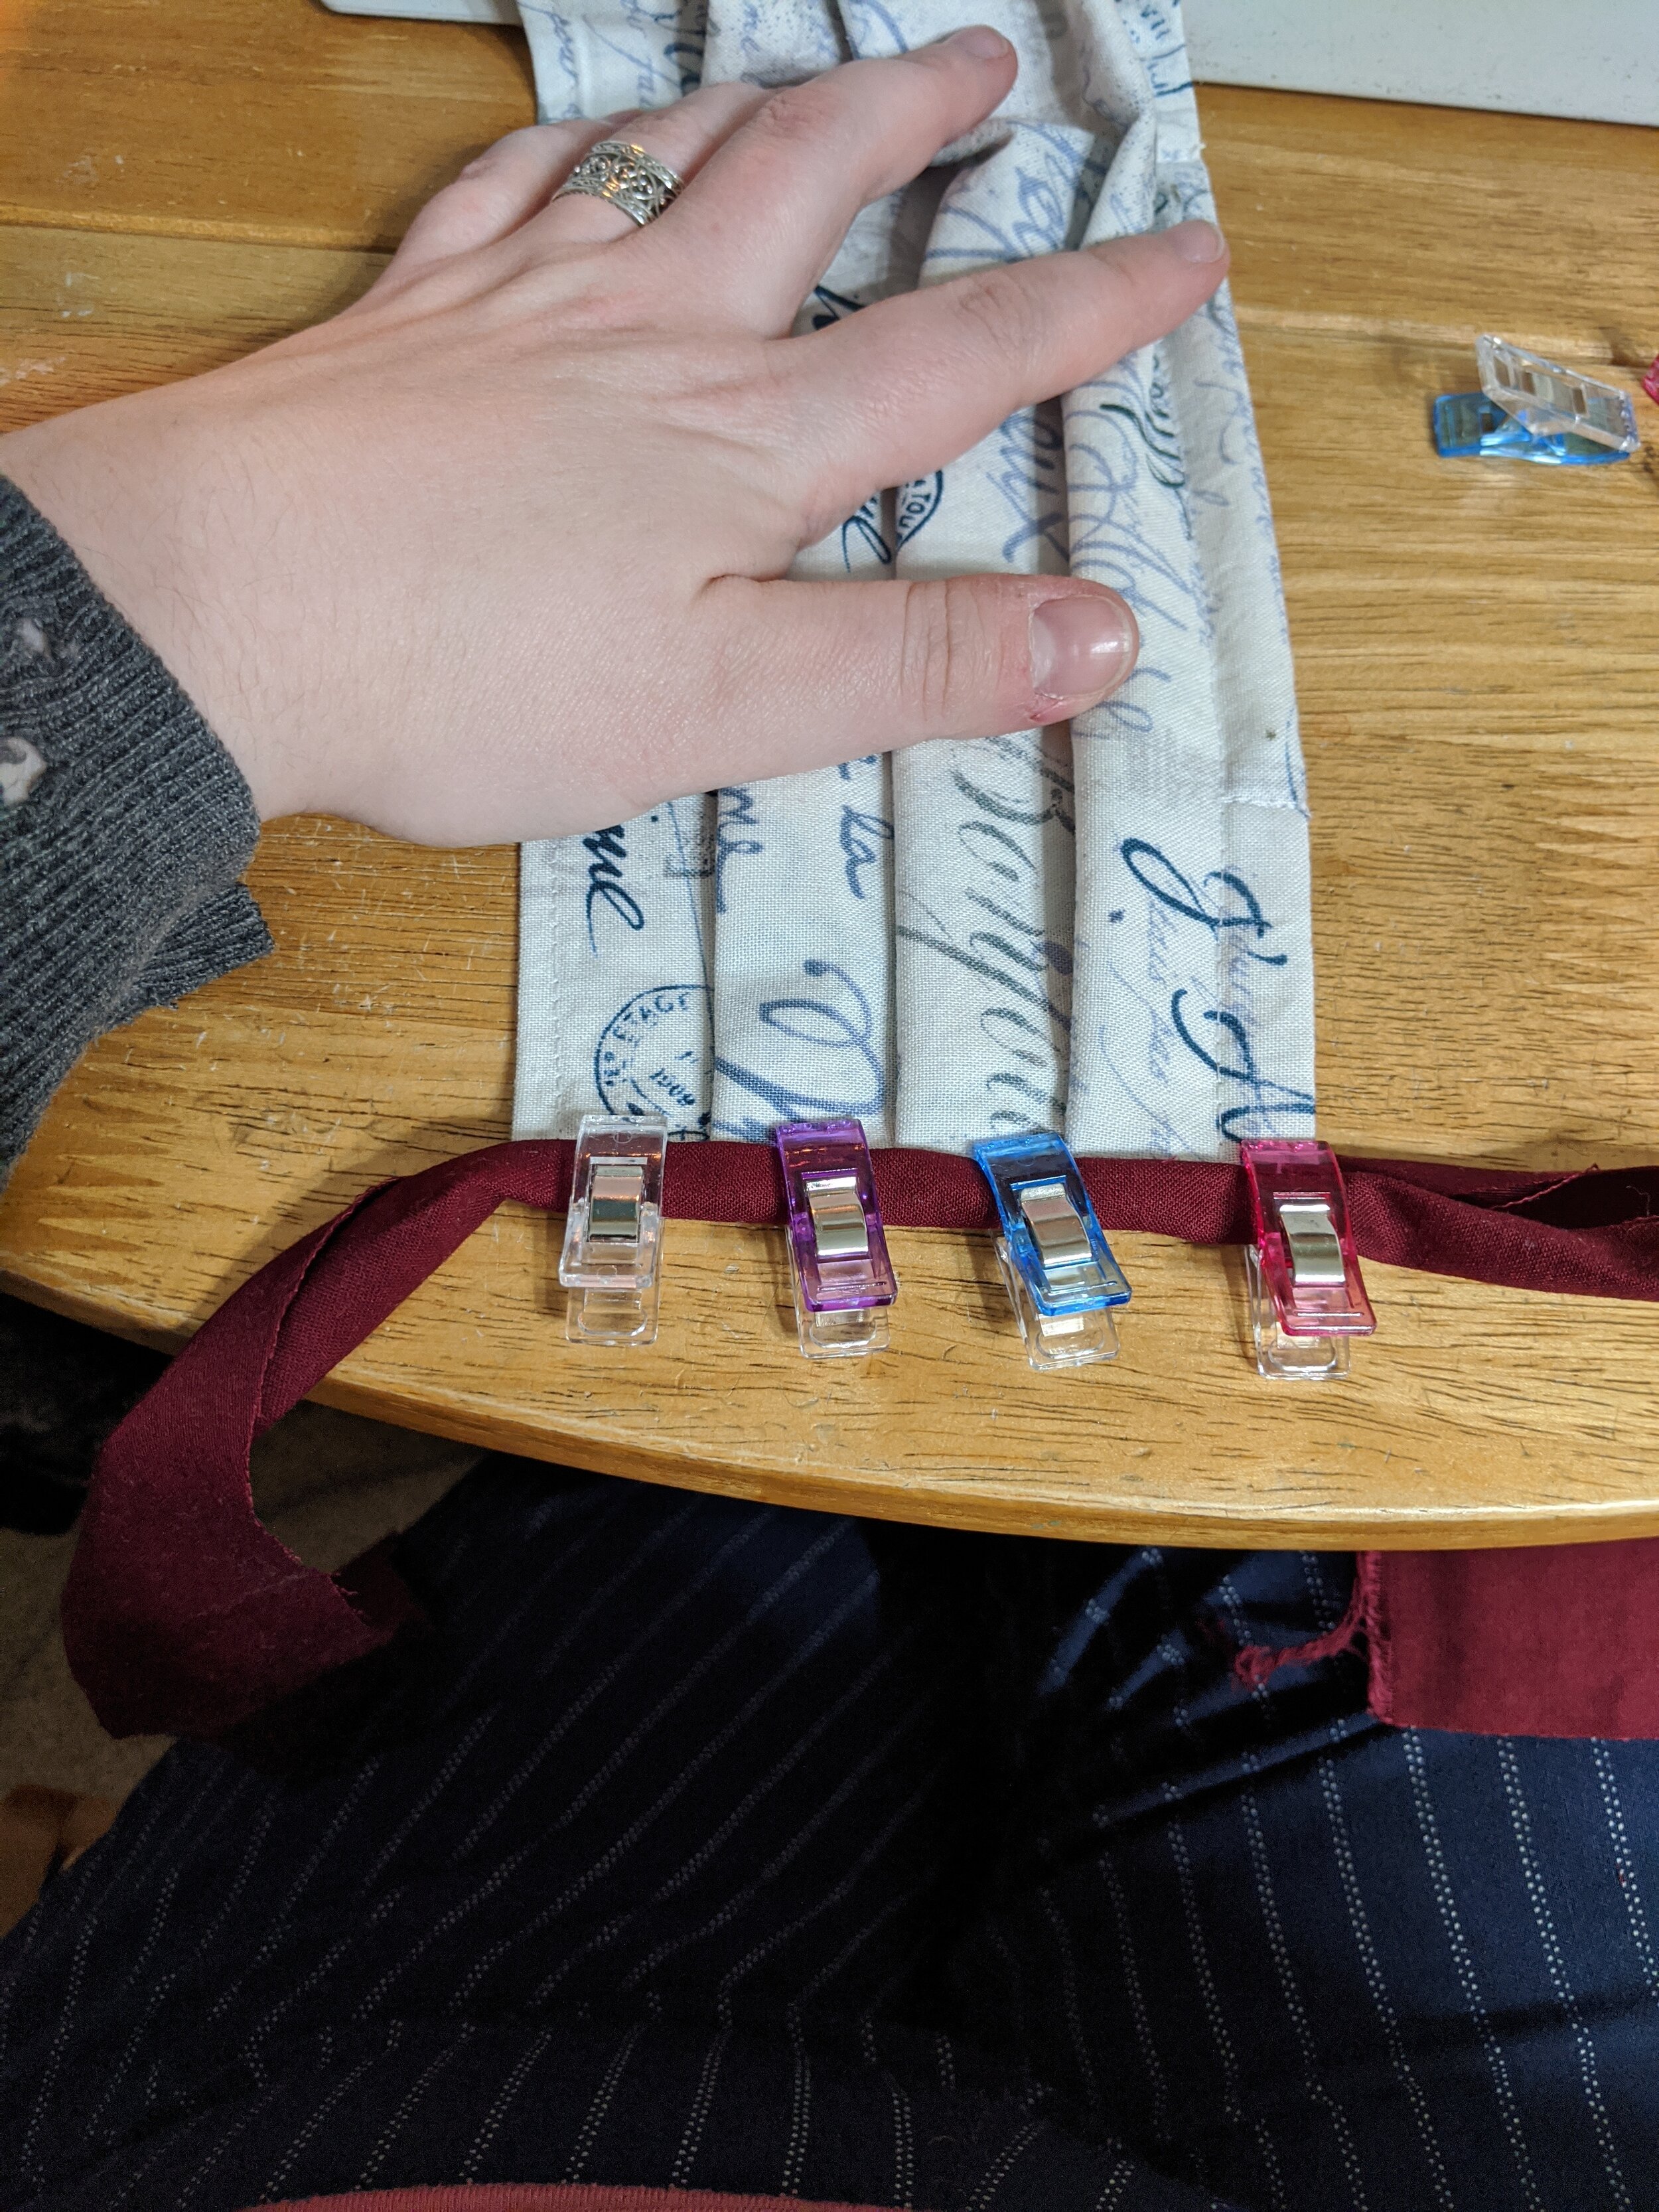
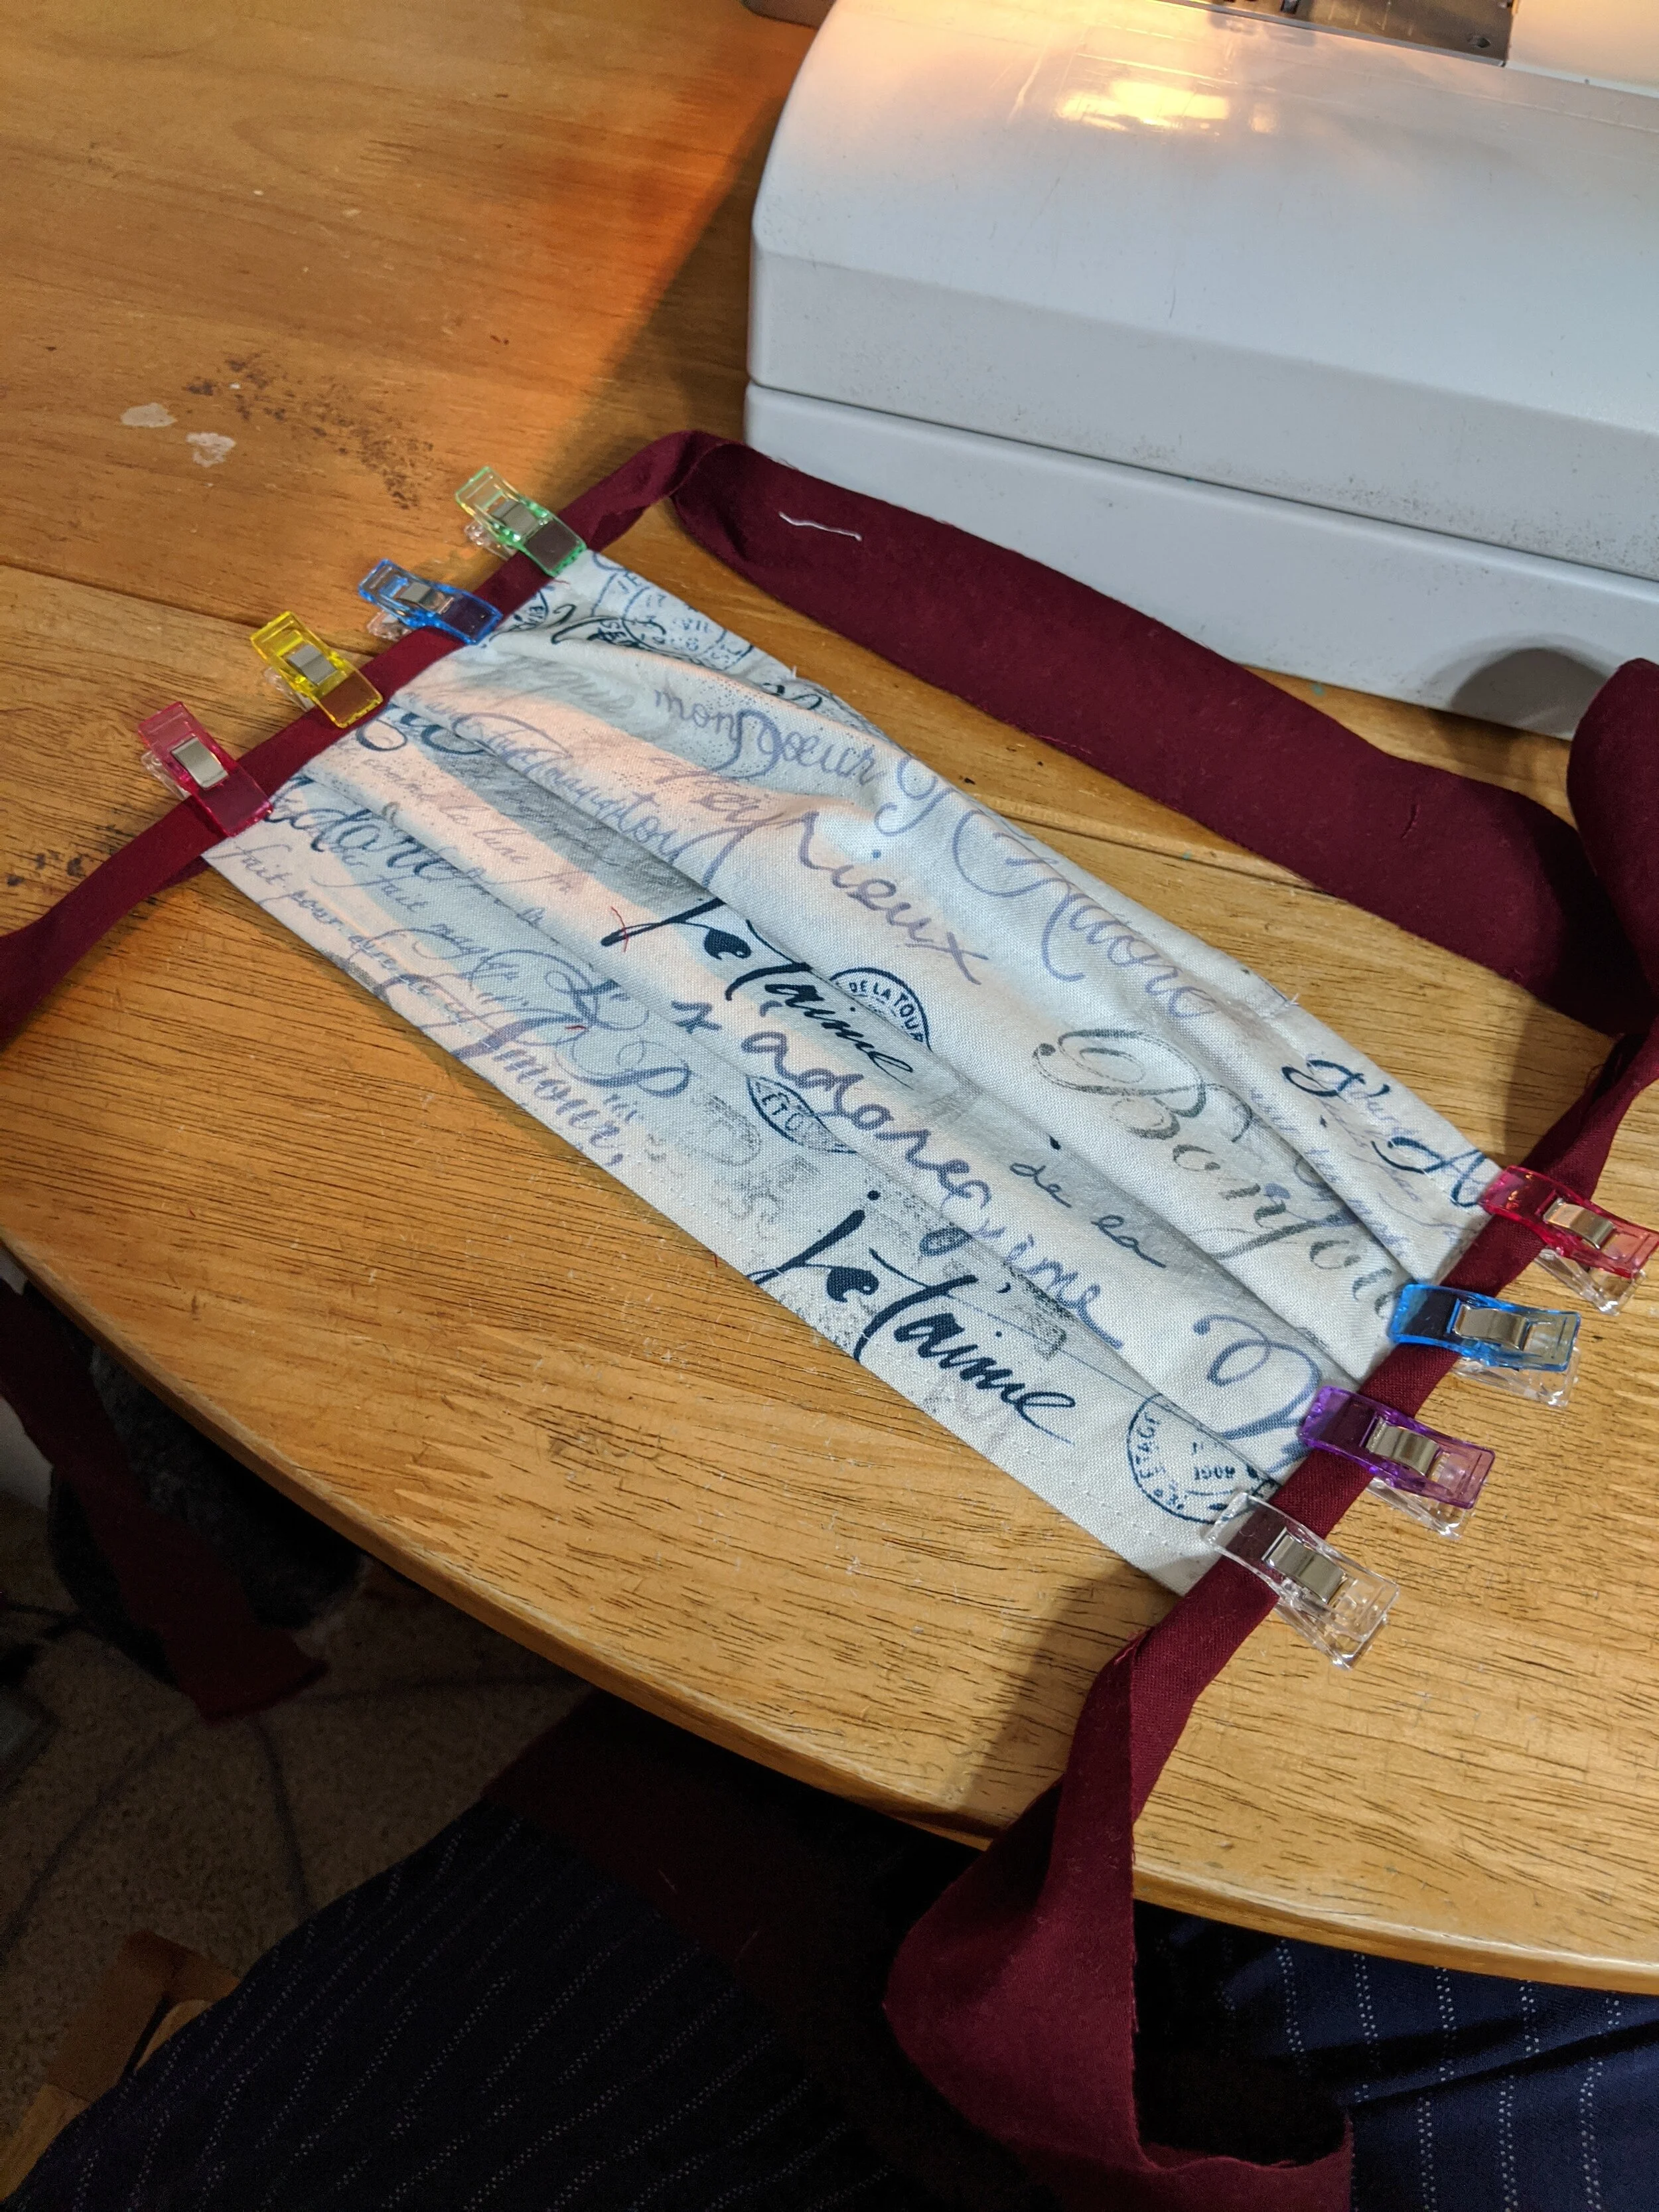
Next, the ties! I chose to make ties instead of elastic because the loops over my ears weren’t comfortable, and then the elastic I bought online got cancelled, so I went with ties. Some people use elastic around the back of the head, which seems like a good plan, but elastic can degrade quickly when washed, according to some health facilities. If using bias tape, this is easy. Find the middle of the tie and the middle of the mask, sandwich the mask between the bias tape, and attach it with pins or sewing clips. If using fabric strips, find the middle of one of the strips. Fold the long edges of the fabric to the center of the strap, then fold in half again, sandwiching the raw edge of the mask in between. Pin or clip in place.
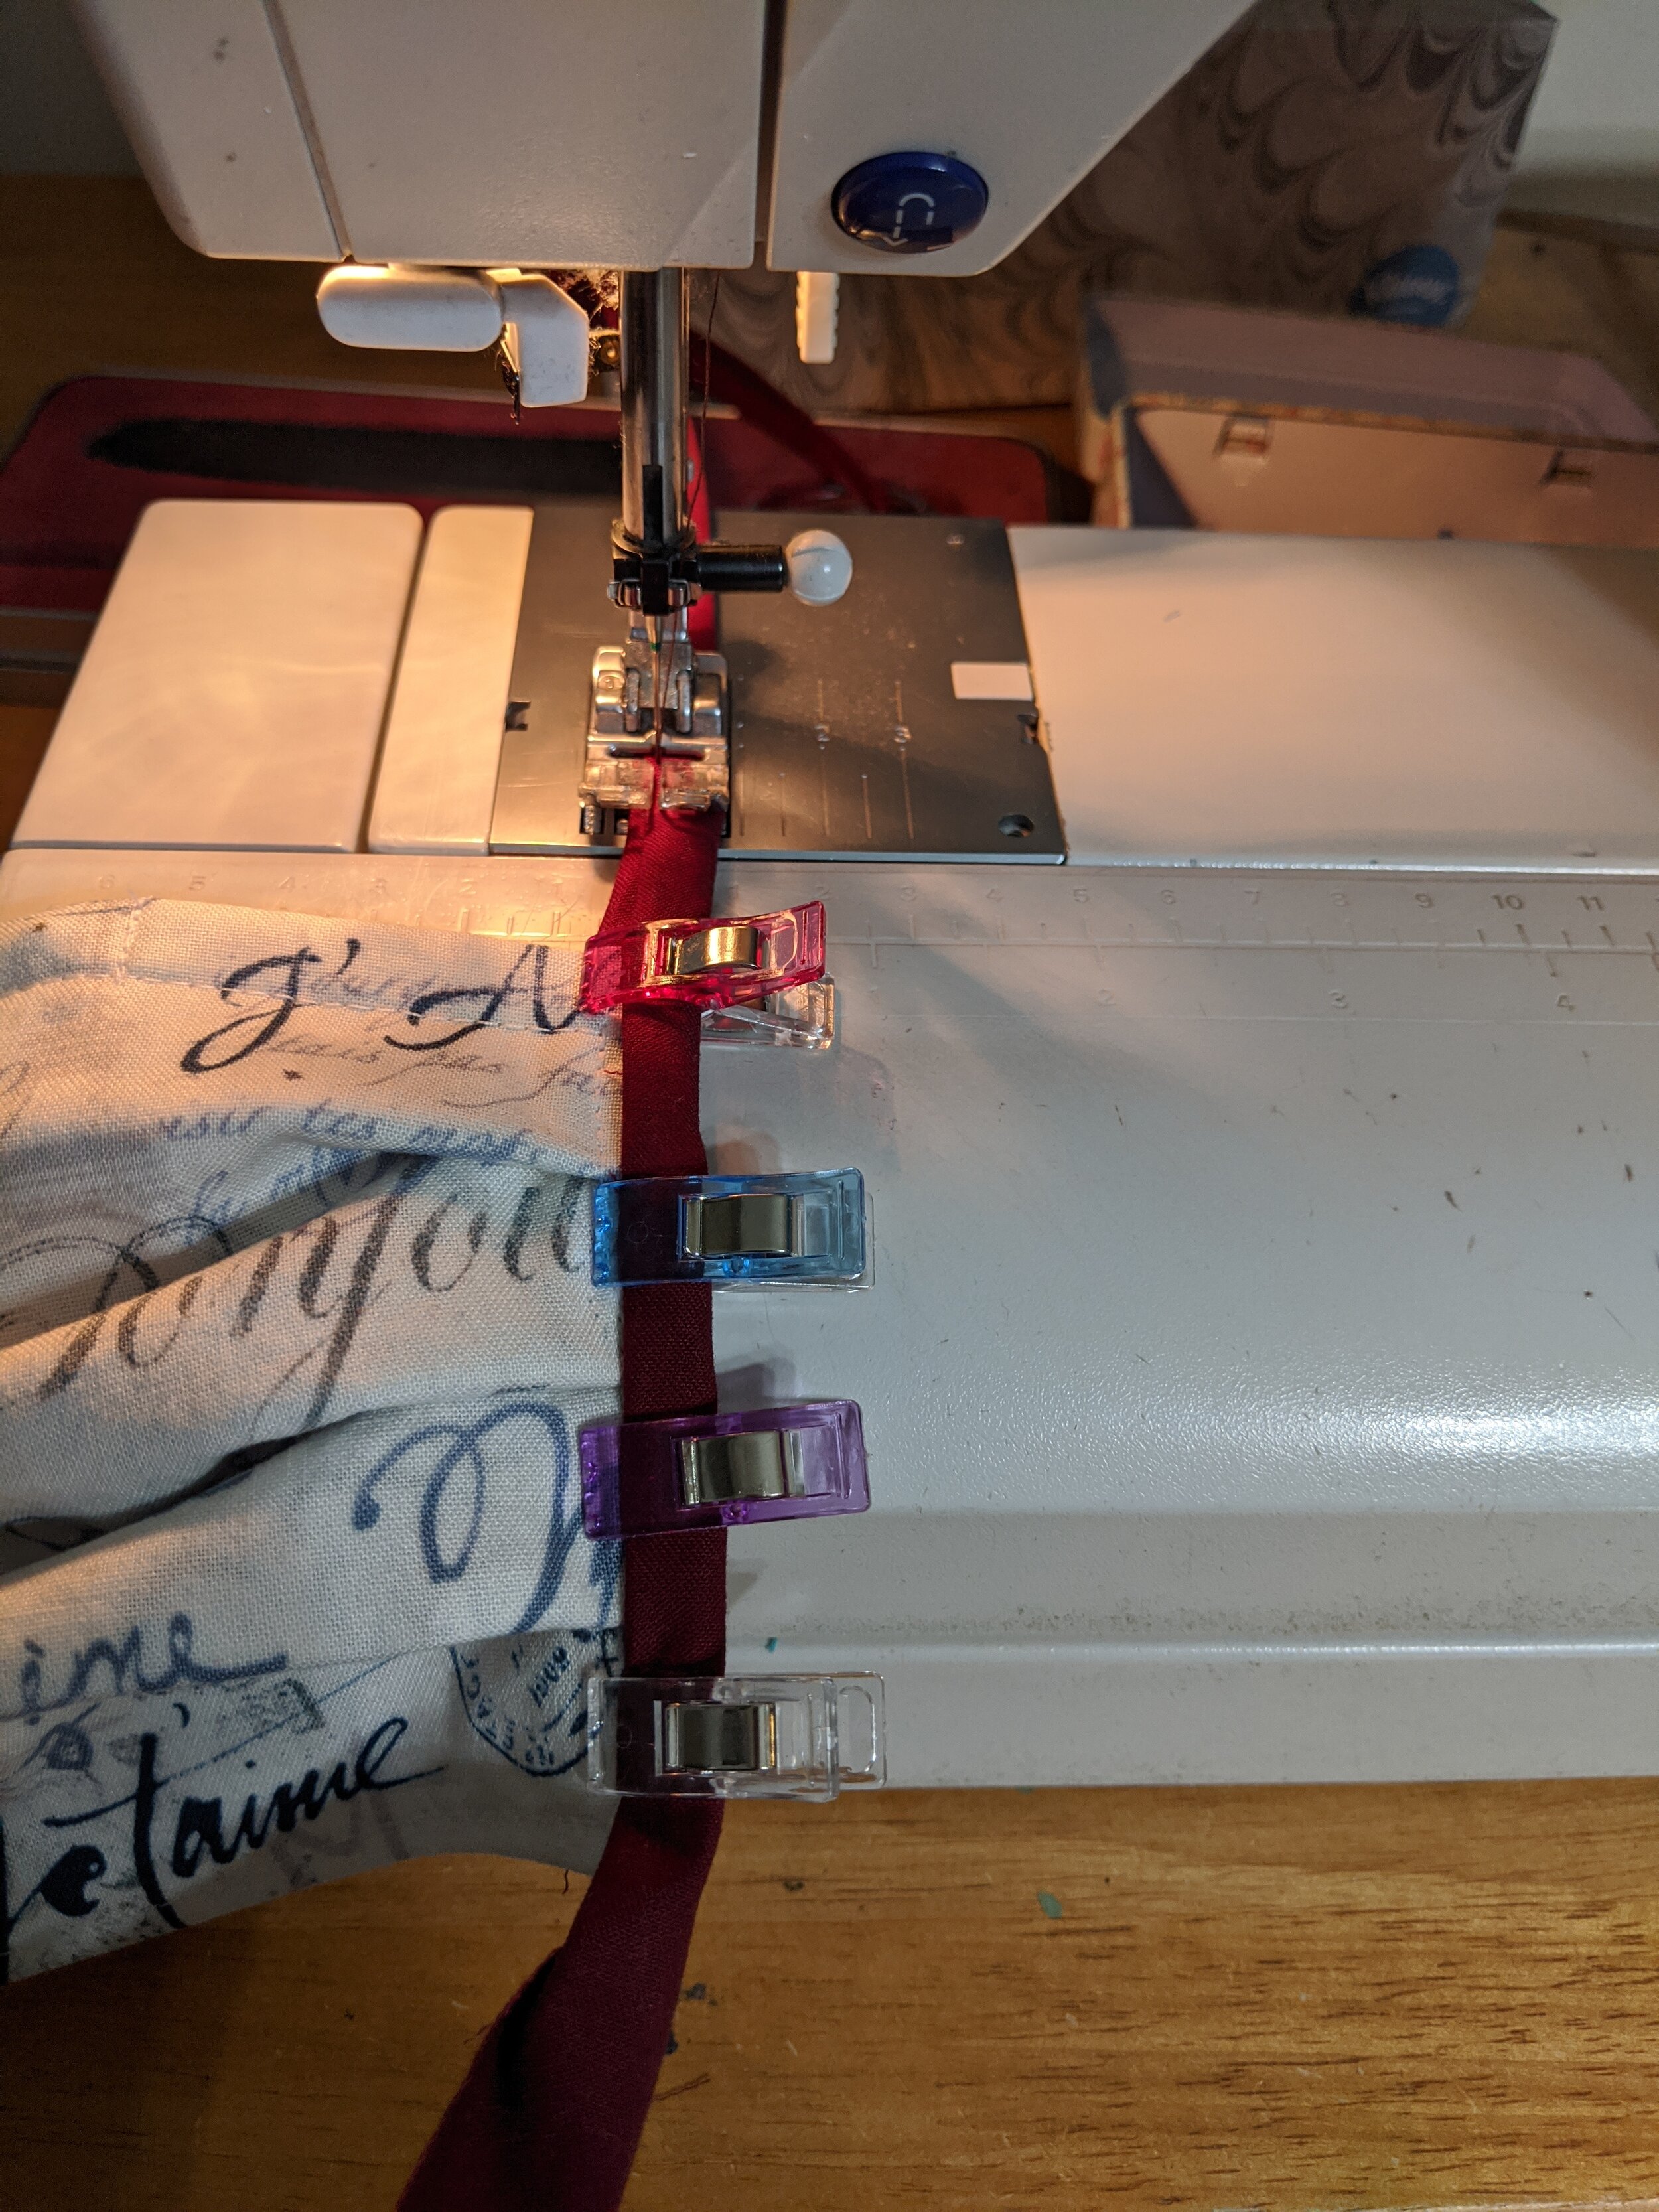

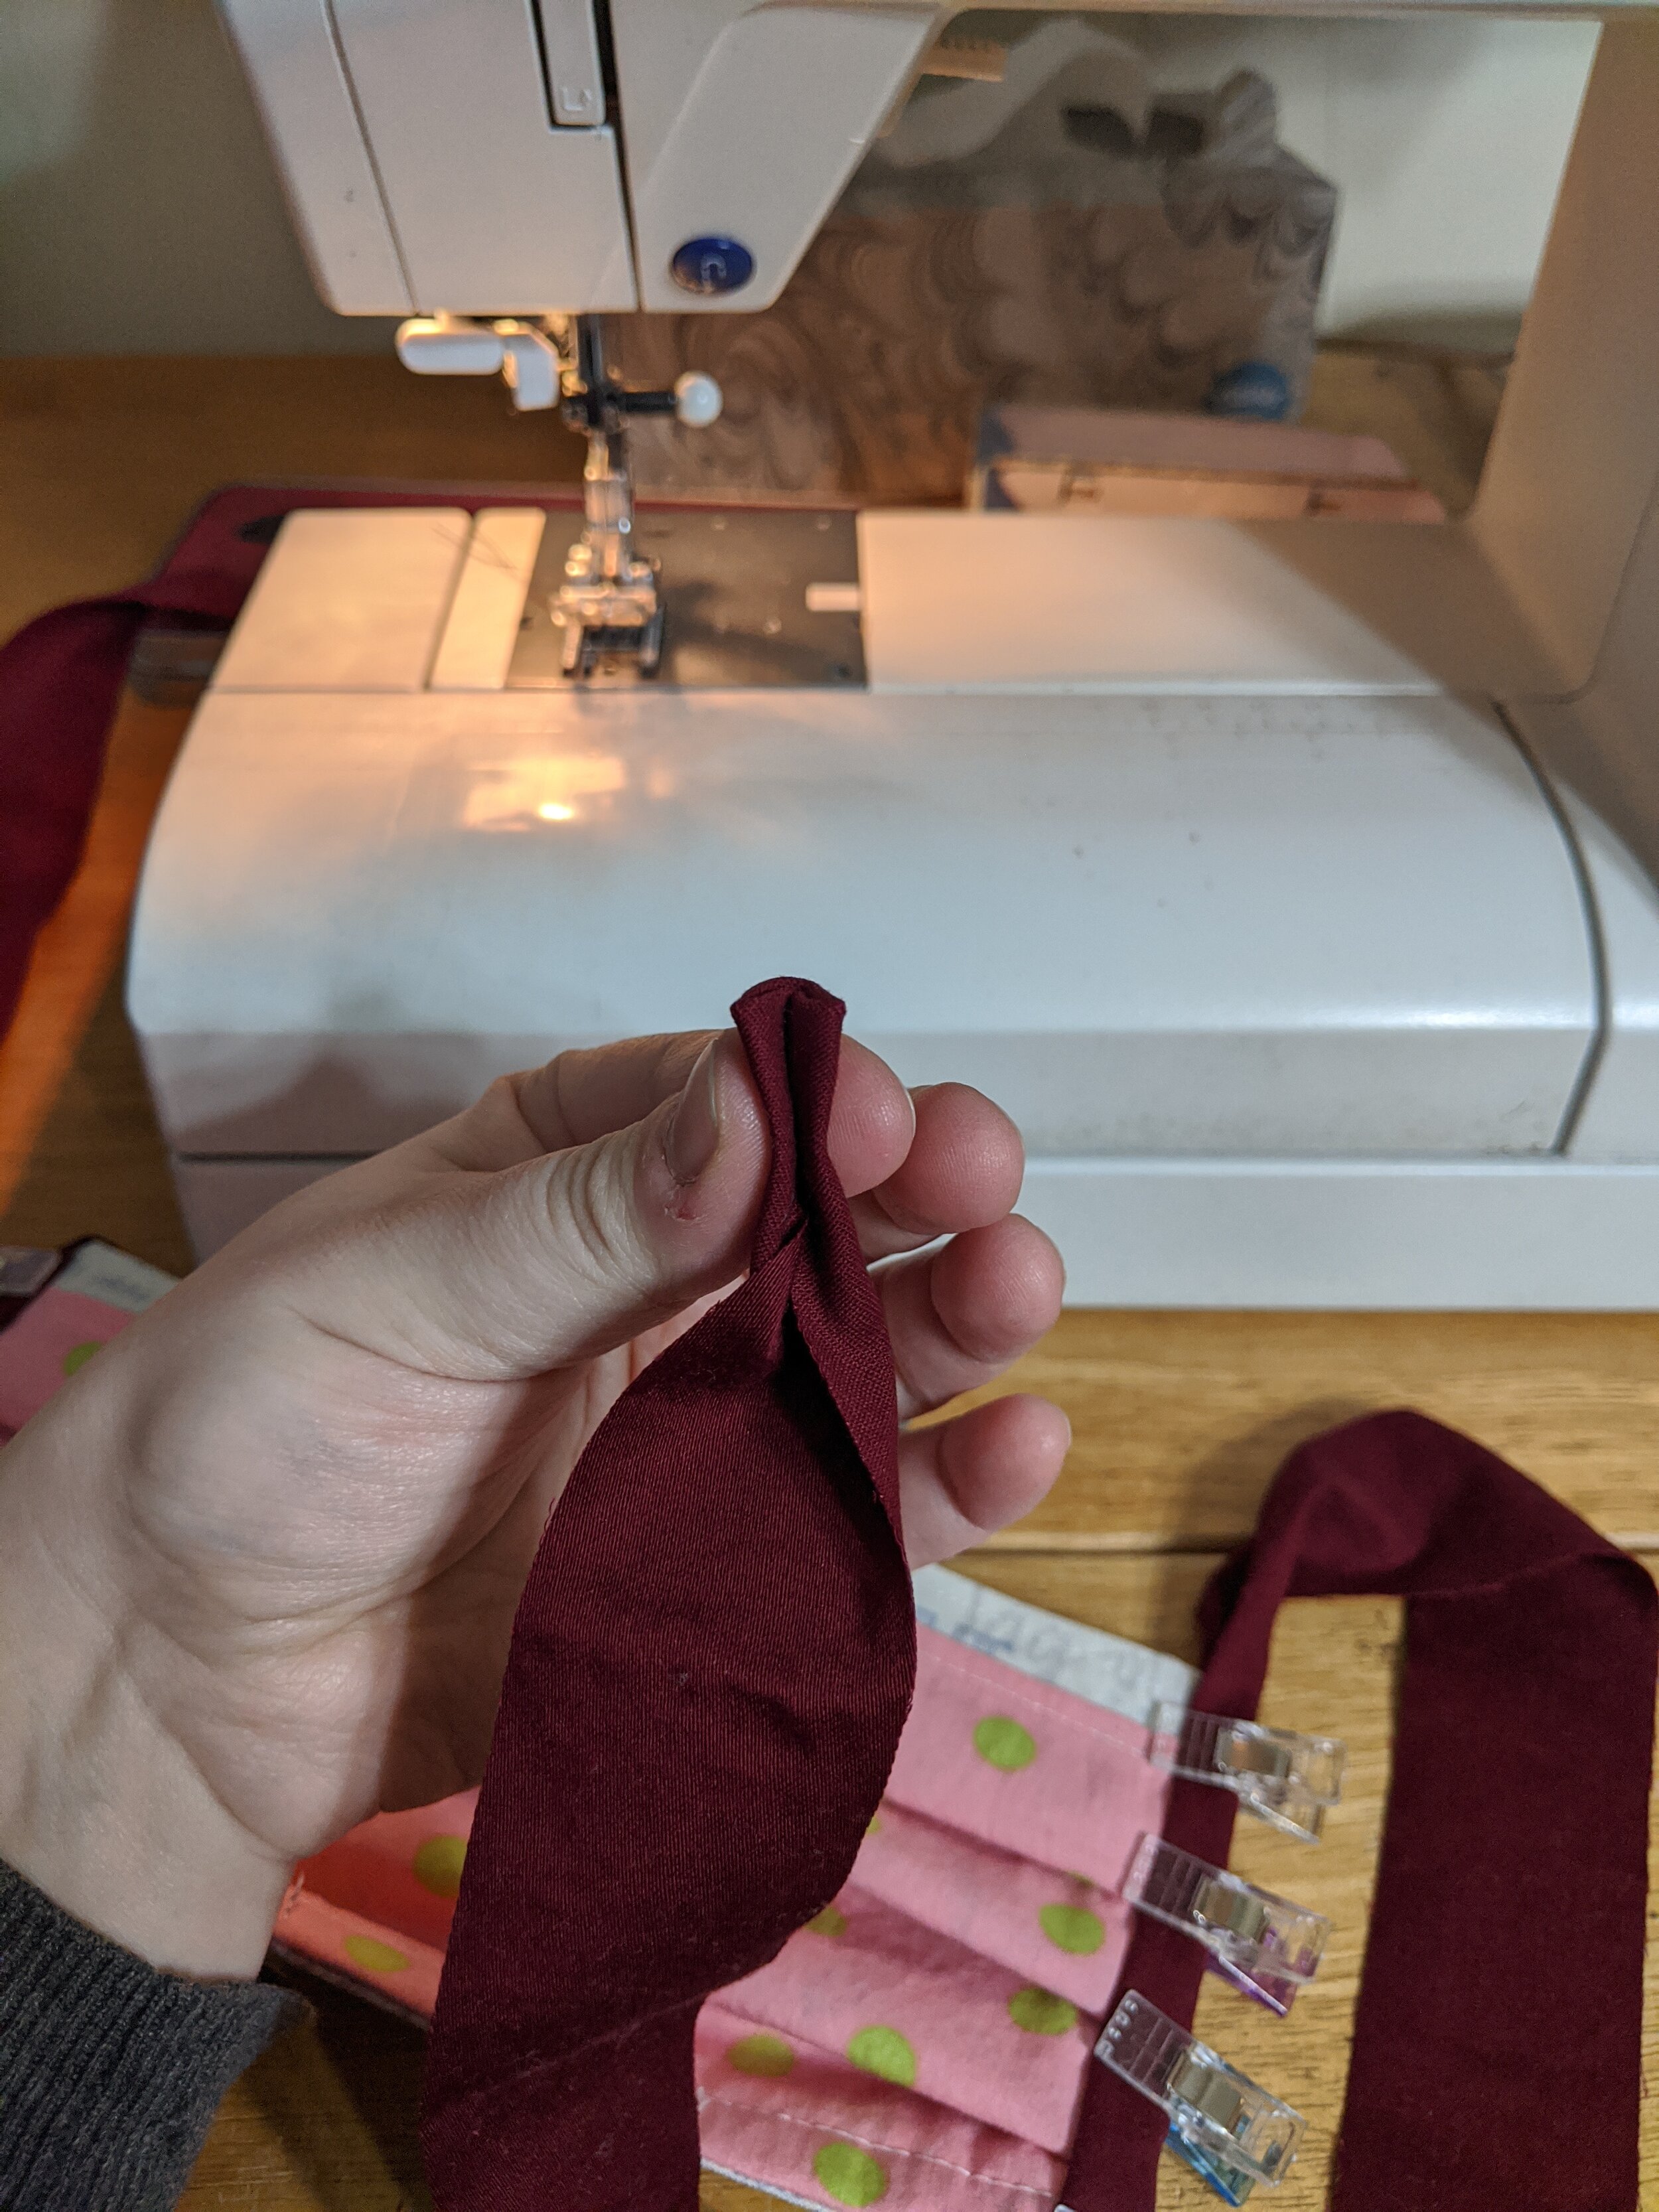
Originally I started at one end of the tie and sewed down that way. Eventually I changed my method (I switched after I took these pictures, so I reversed the order of them). I start sewing the tie right next to the mask, and sew all the way to the end. Fold the strip in while you sew. You can pin or clip the whole tie first, but I just fold as I go. At the end make sure to fold in the short end of the strap by about 1/4” before folding it lengthwise, leaving no raw edge. After you sew one side, go back and turn the mask around so that the lining is facing up. Once again start your seam right next to the mask. I like sewing this seam next to the mask twice to make sure it is extra secure. Then sew down to the end of the tie on that side. Repeat this method with the other tie and other side of the mask.

Fold the wire at the bridge of the nose. And you’re done!

Here’s a view of the pocket in the back.

I hope this tutorial helps someone, and I hope this mask crisis passes quickly so our healthcare workers can be using more appropriate gear!