
Sewing Edward Tulane
If you follow me on Instagram, you’ve probably seen my progress photos as I sewed a stuffed rabbit named Edward. This week our local high school will be putting on a play, The Miraculous Journey of Edward Tulane, based on a book of the same name by Kate DiCamillo. When my friend asked me to make this rabbit for her daughter’s production, I read the book, which is short novel written for grade schoolers. Edward Tulane is a toy rabbit made of china and stuffing who starts out the novel as a very prideful toy and ends the story humbled after he goes through several owners. It’s a touching story—I recommend it!
When I said yes to this project, I had a feeling it would end up being a challenge, and I was right. However, it was a fun challenge! Edward needed to be about 30” tall from tips of ears to feet. He needed to have several changes of clothing and be jointed so that he could sit by himself. Having never made a stuffed animal that was jointed, I started researching immediately. It turns out that jointed animals aren’t as complicated as I thought! Finding a pattern, though, would be the tricky part. I ended up buying a pattern on Etsy and then lengthening and changing the shapes of the pattern pieces to get the look I wanted. By the end, the final pattern had no resemblance to the original.
This was my first version. It was a bit too slender and the ears weren’t quite right, so I decided to beef up the next version. My toddler, however, loved it. Since I didn’t stitch on the limbs very securely, as this was a practice run, he eventually tore the legs off. Seeing him run around with these long stuffed rabbit legs was definitely hilarious, if a bit morbid!
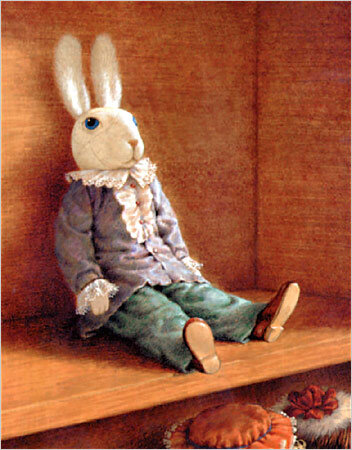
This was version 2. A lot of people gave me good feedback, but I found him horrifying to look at, even after I put him in my son’s clothes. The alien face and thick ears were not what I was going for at all. I’ve included a picture of Edward from the book so you can see what my goal was. The face shape was closer, but still not right. The biggest problem was that I was still trying to use the construction method from the original pattern, which called for gathering the neck and sewing it by hand to the body. But that was definitely not going to be sturdy enough, plus the weight of the head (including the wire framework I made for the head and ears) would be too much on that seam. So I modified the pattern to make a thicker neck and attached the head to the body by machine.
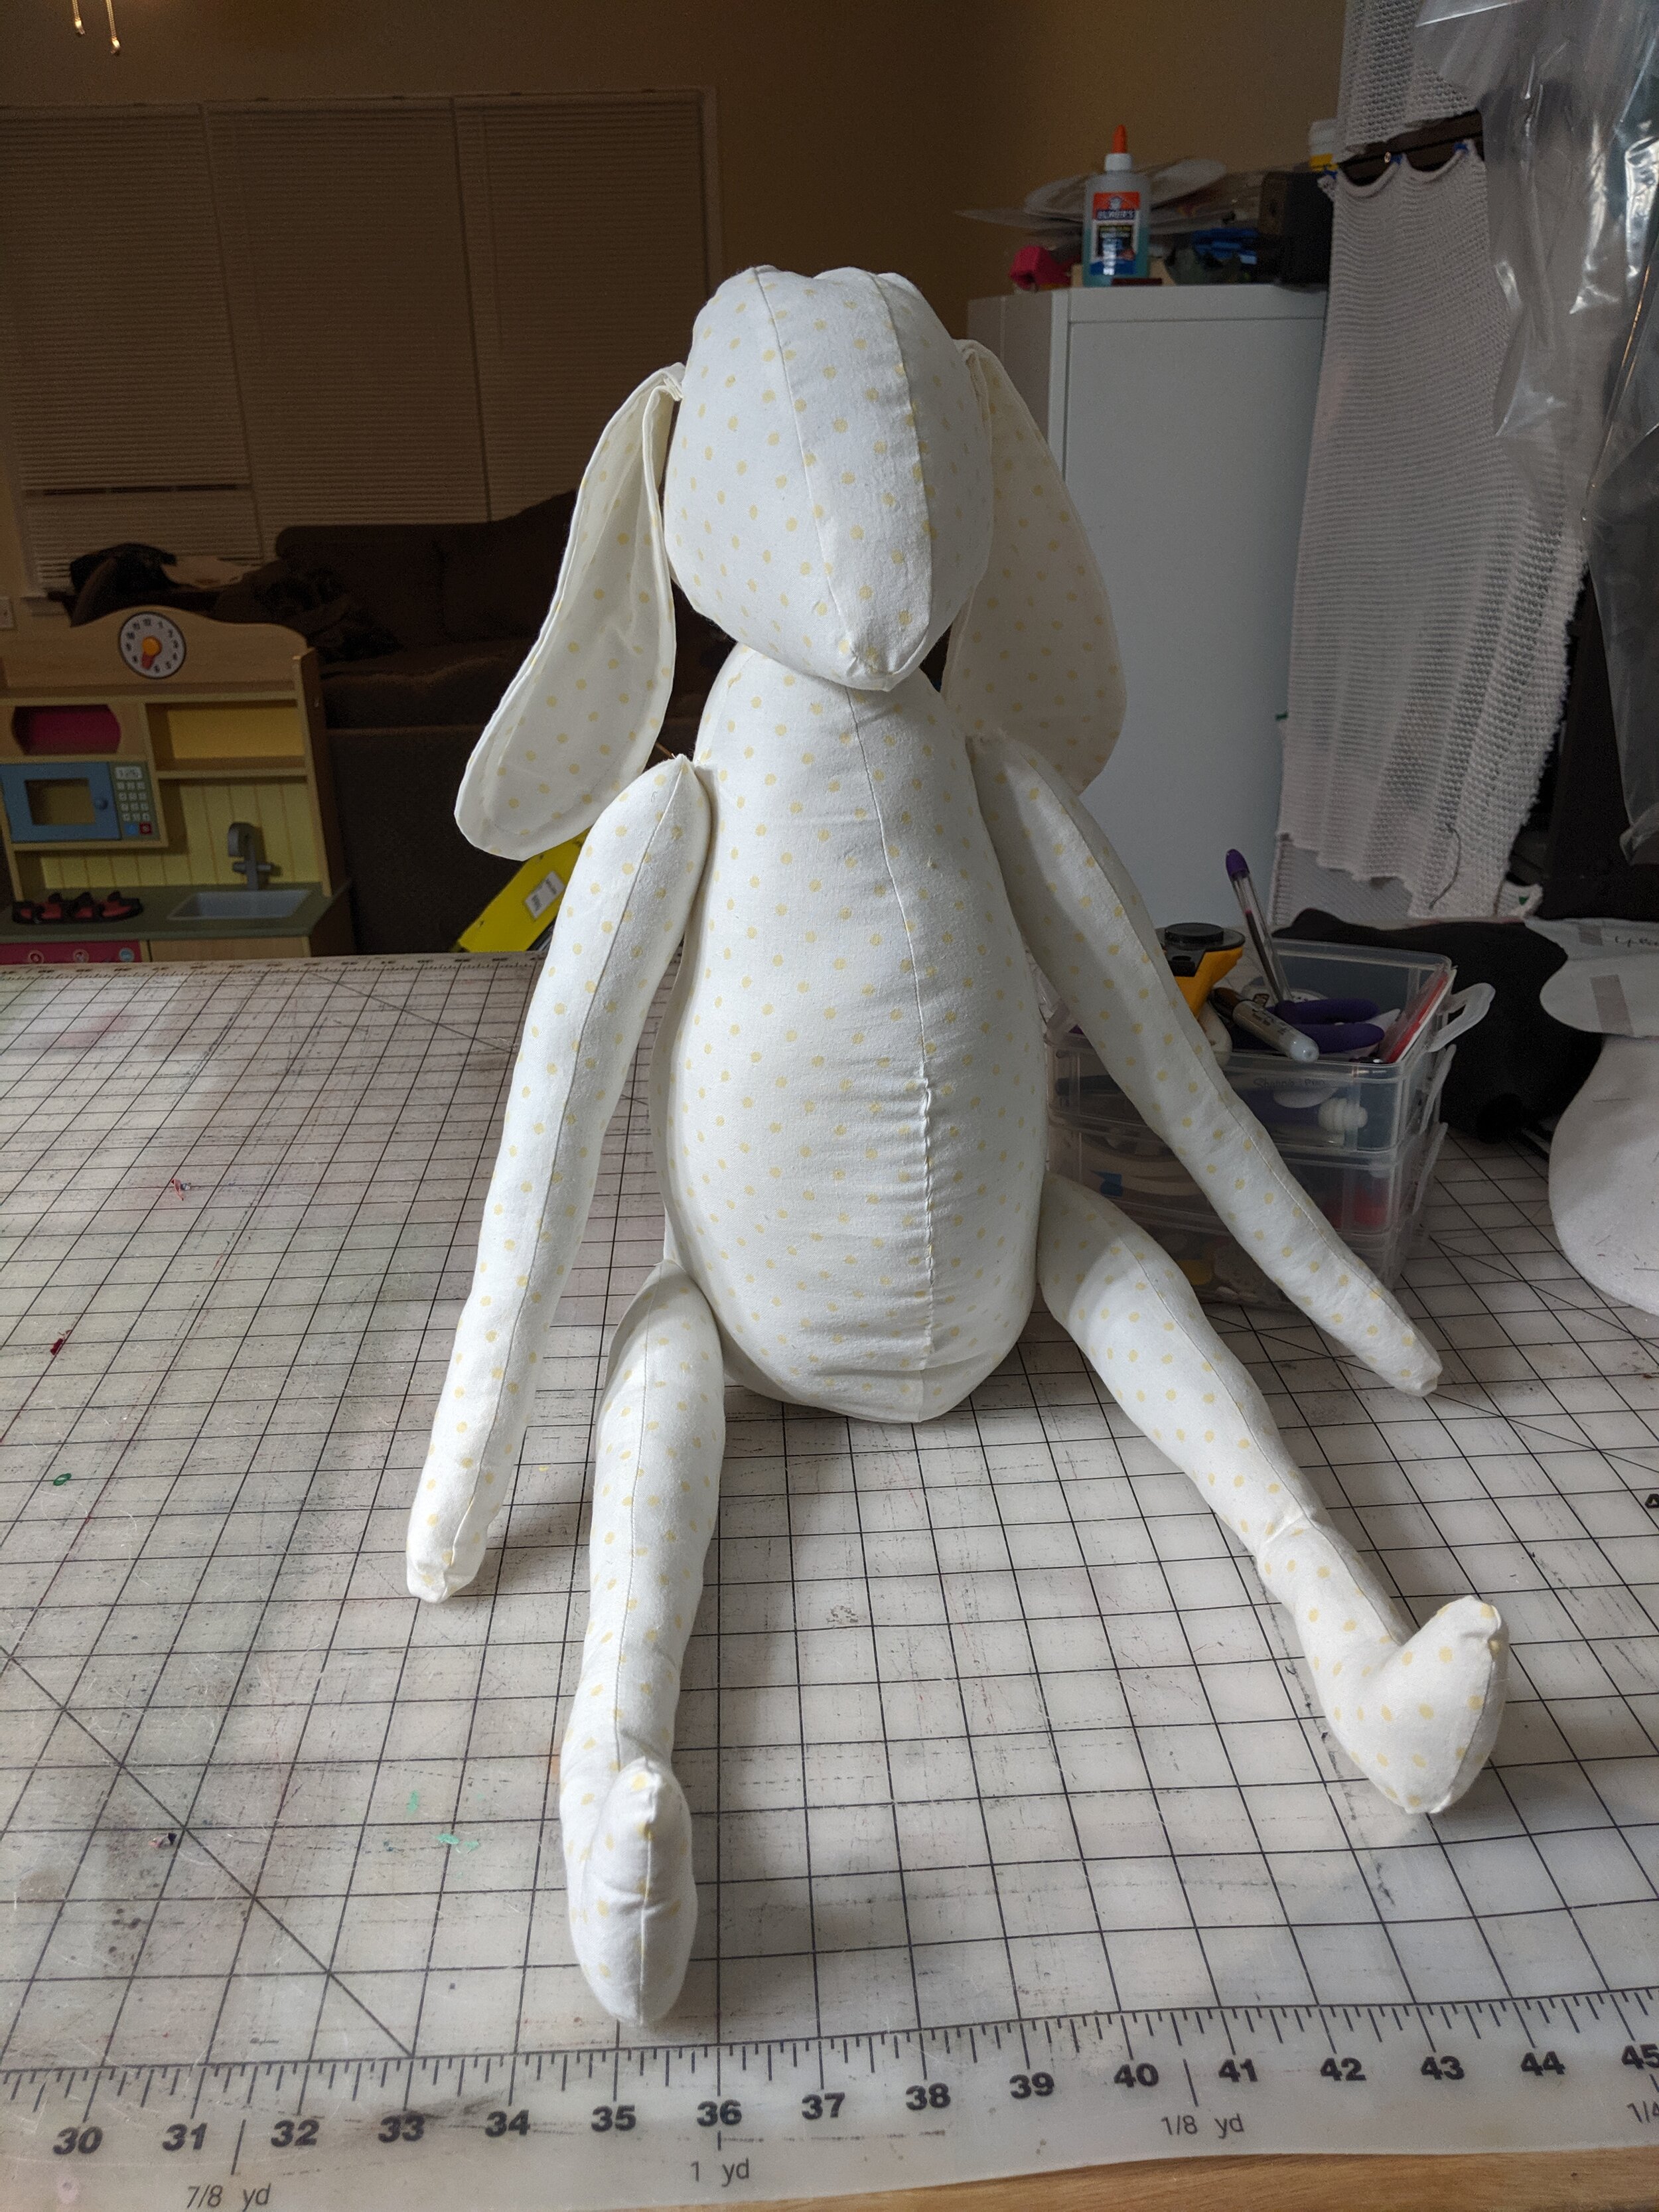
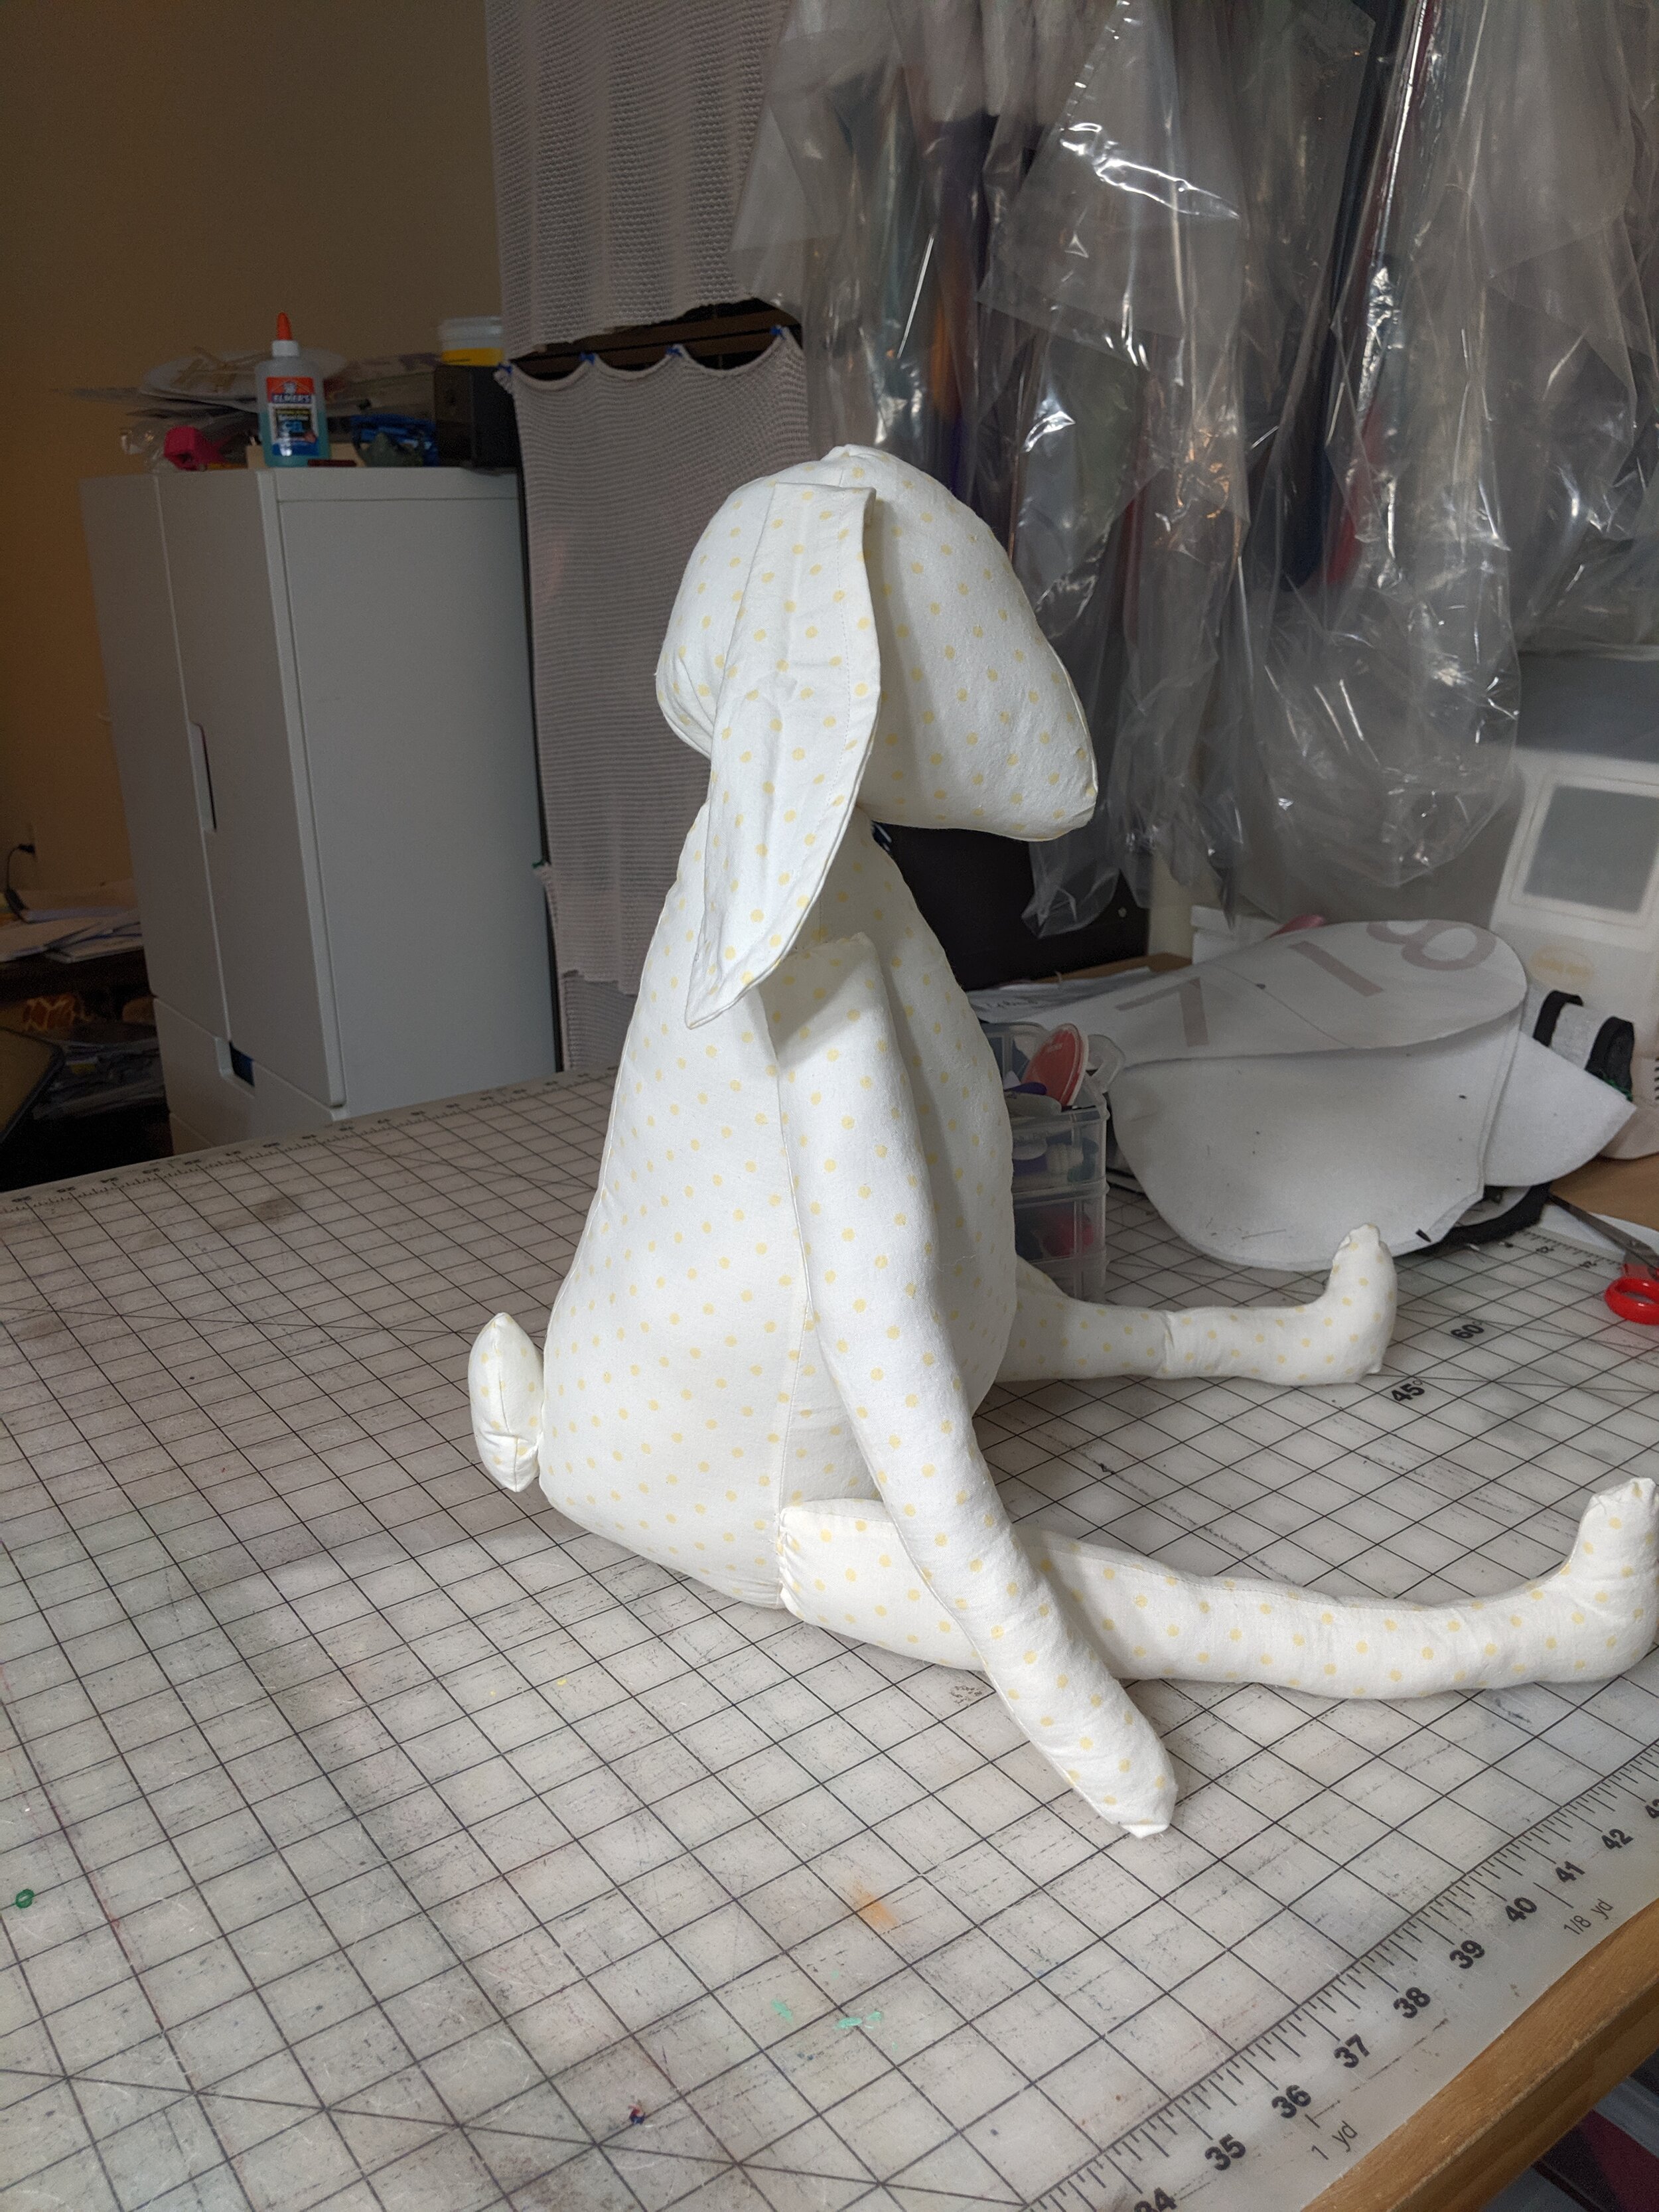
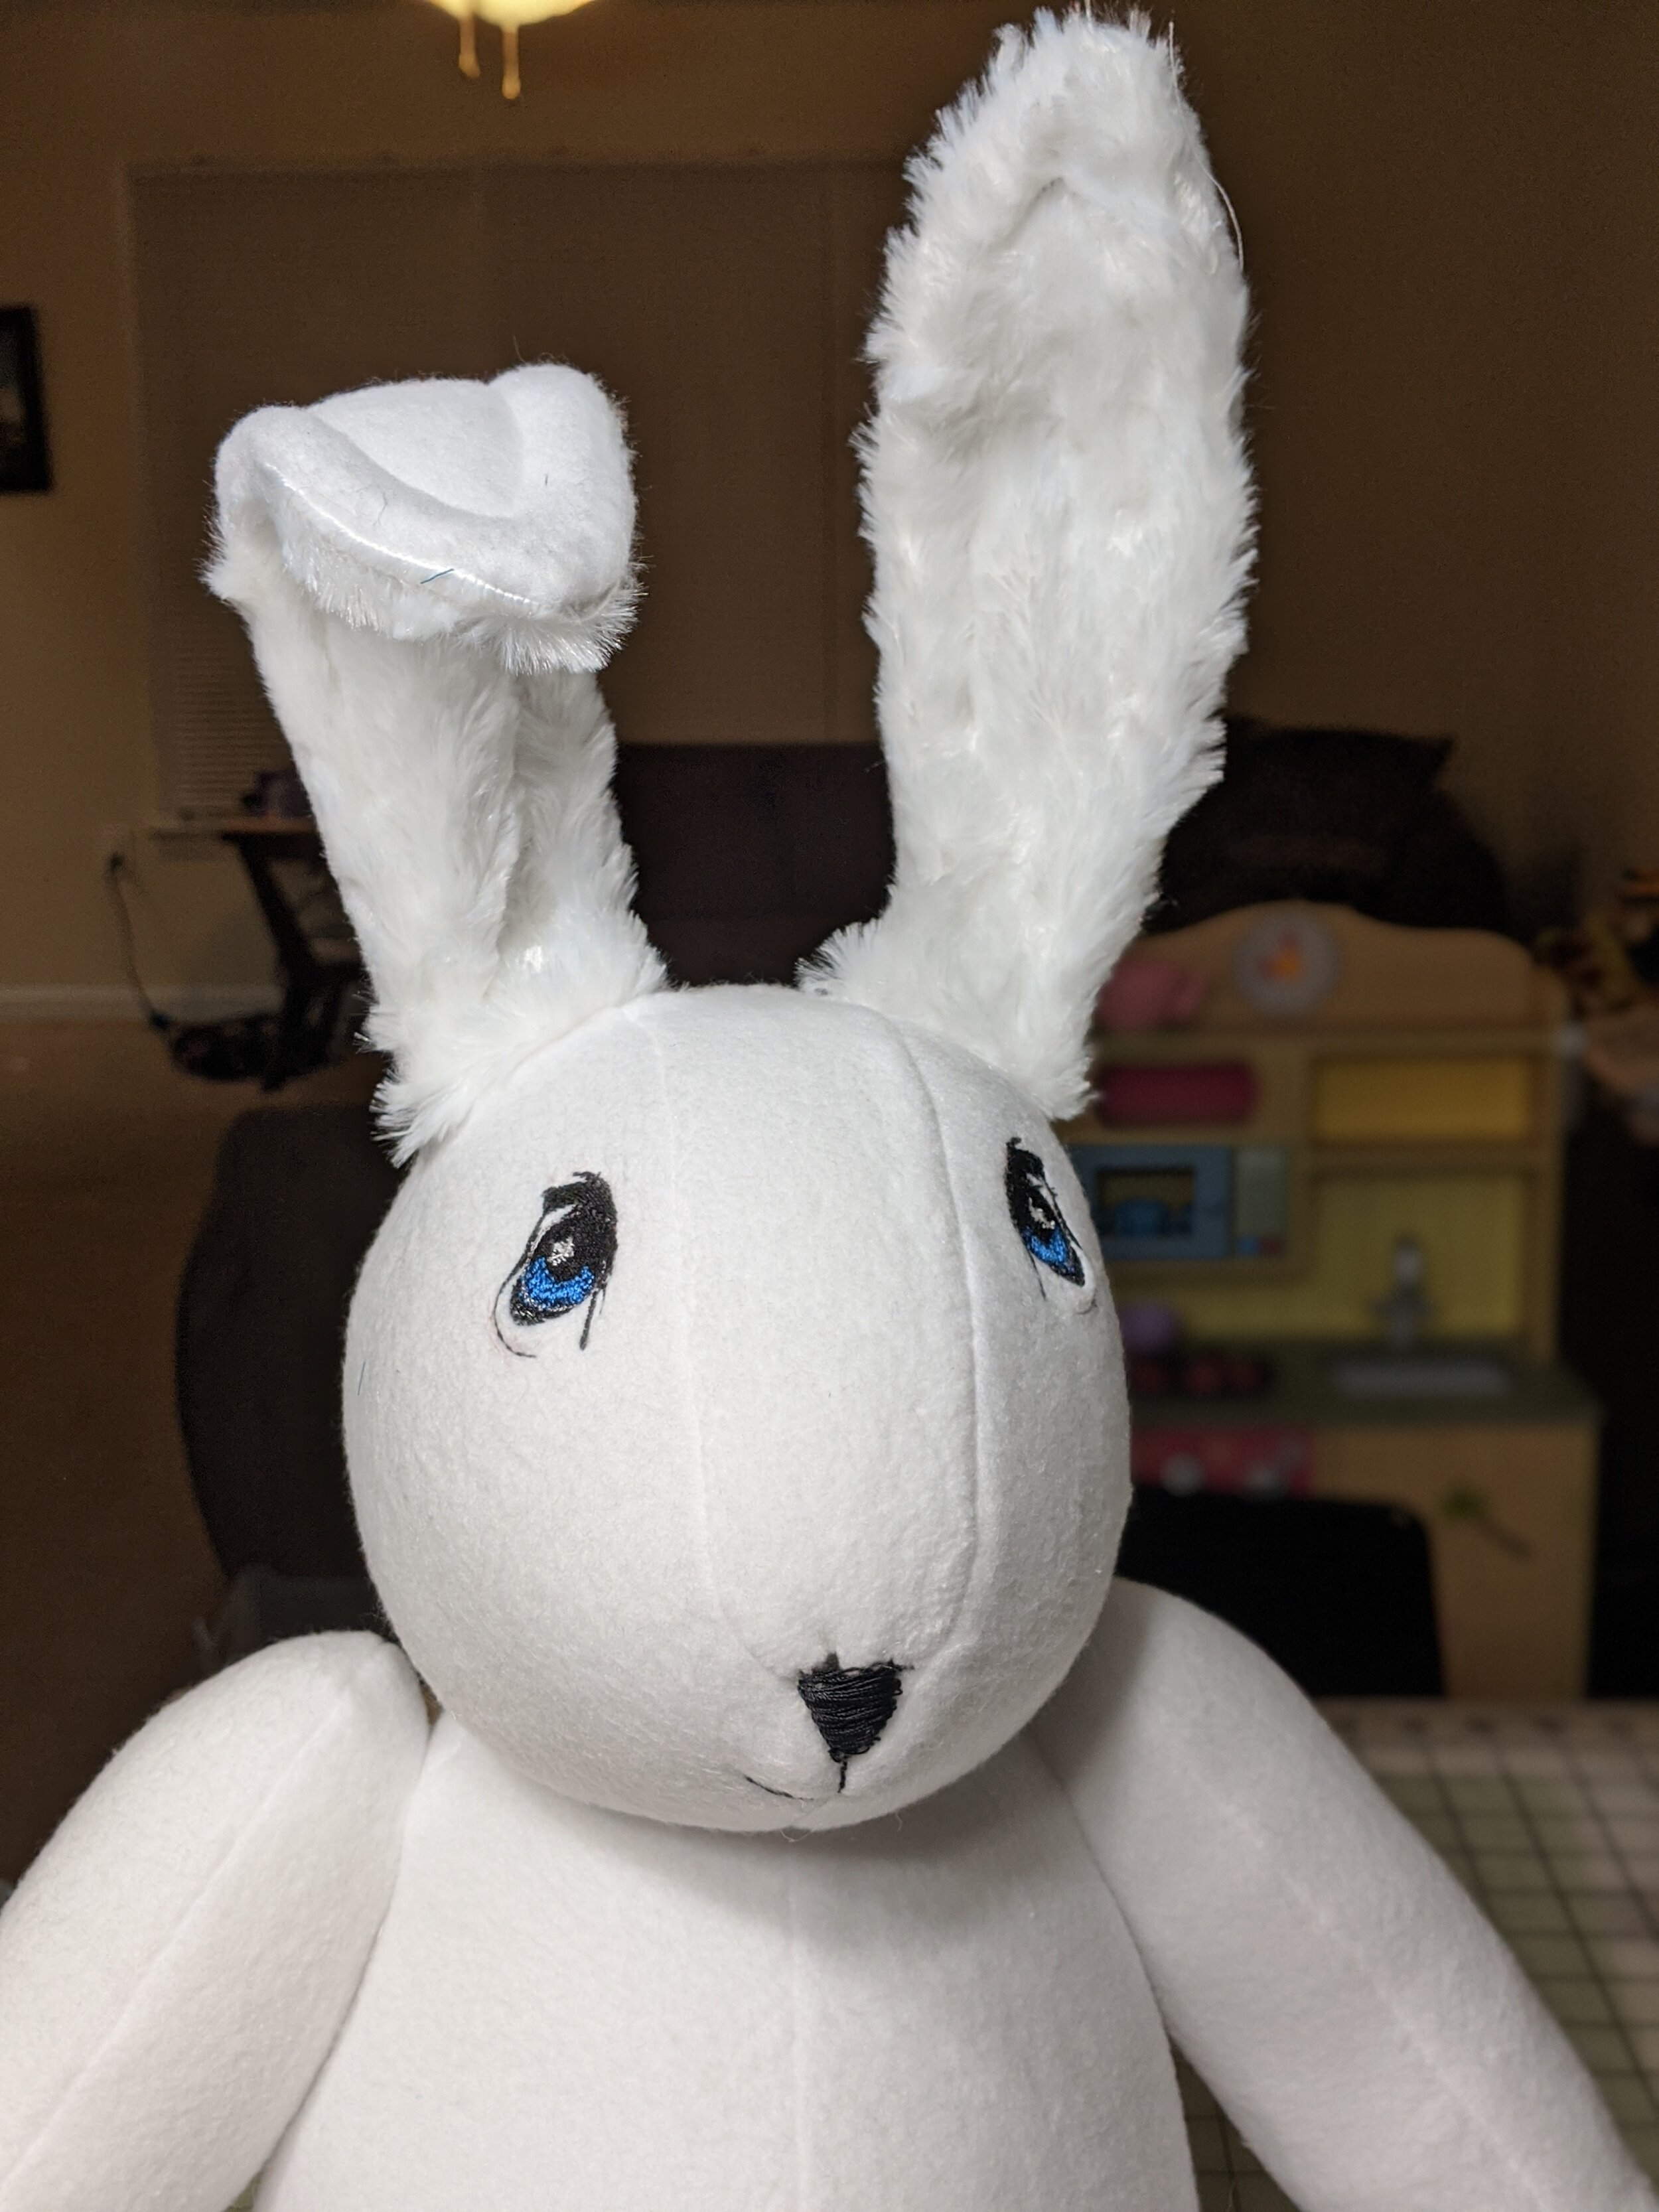
I heavily edited the shape of the head pattern pieces, and lengthened the legs a little, plus making them a little bigger yet again. I tried out a test head and shoulders and it looked fantastic. However, I also decided to switch to a different fabric that would hold up better than the sateen I used for version 2. My thought behind sateen was that it looked like china from a distance, but the seams weren’t holding up well. My ideal fabric for a stuffed animal is minky, but my fabric store didn’t have it in white, so I picked up some white fleece. If I did this project again, I would use minky. The fleece is stretchy and my final rabbit ended up a little rounder that I planned. Also, the fleece got very dirty and nappy over the course of the practices. But on stage, you shouldn’t notice. Overall, the final product was great. Oh, and in the earlier versions I used metal washers and cotter pins to attach the limbs. I thought it would be cheaper and easier. Multiple trips to the hardware store and lots of frustration showed me otherwise. Just buy the plastic joints! They are cheap and easy and secure.
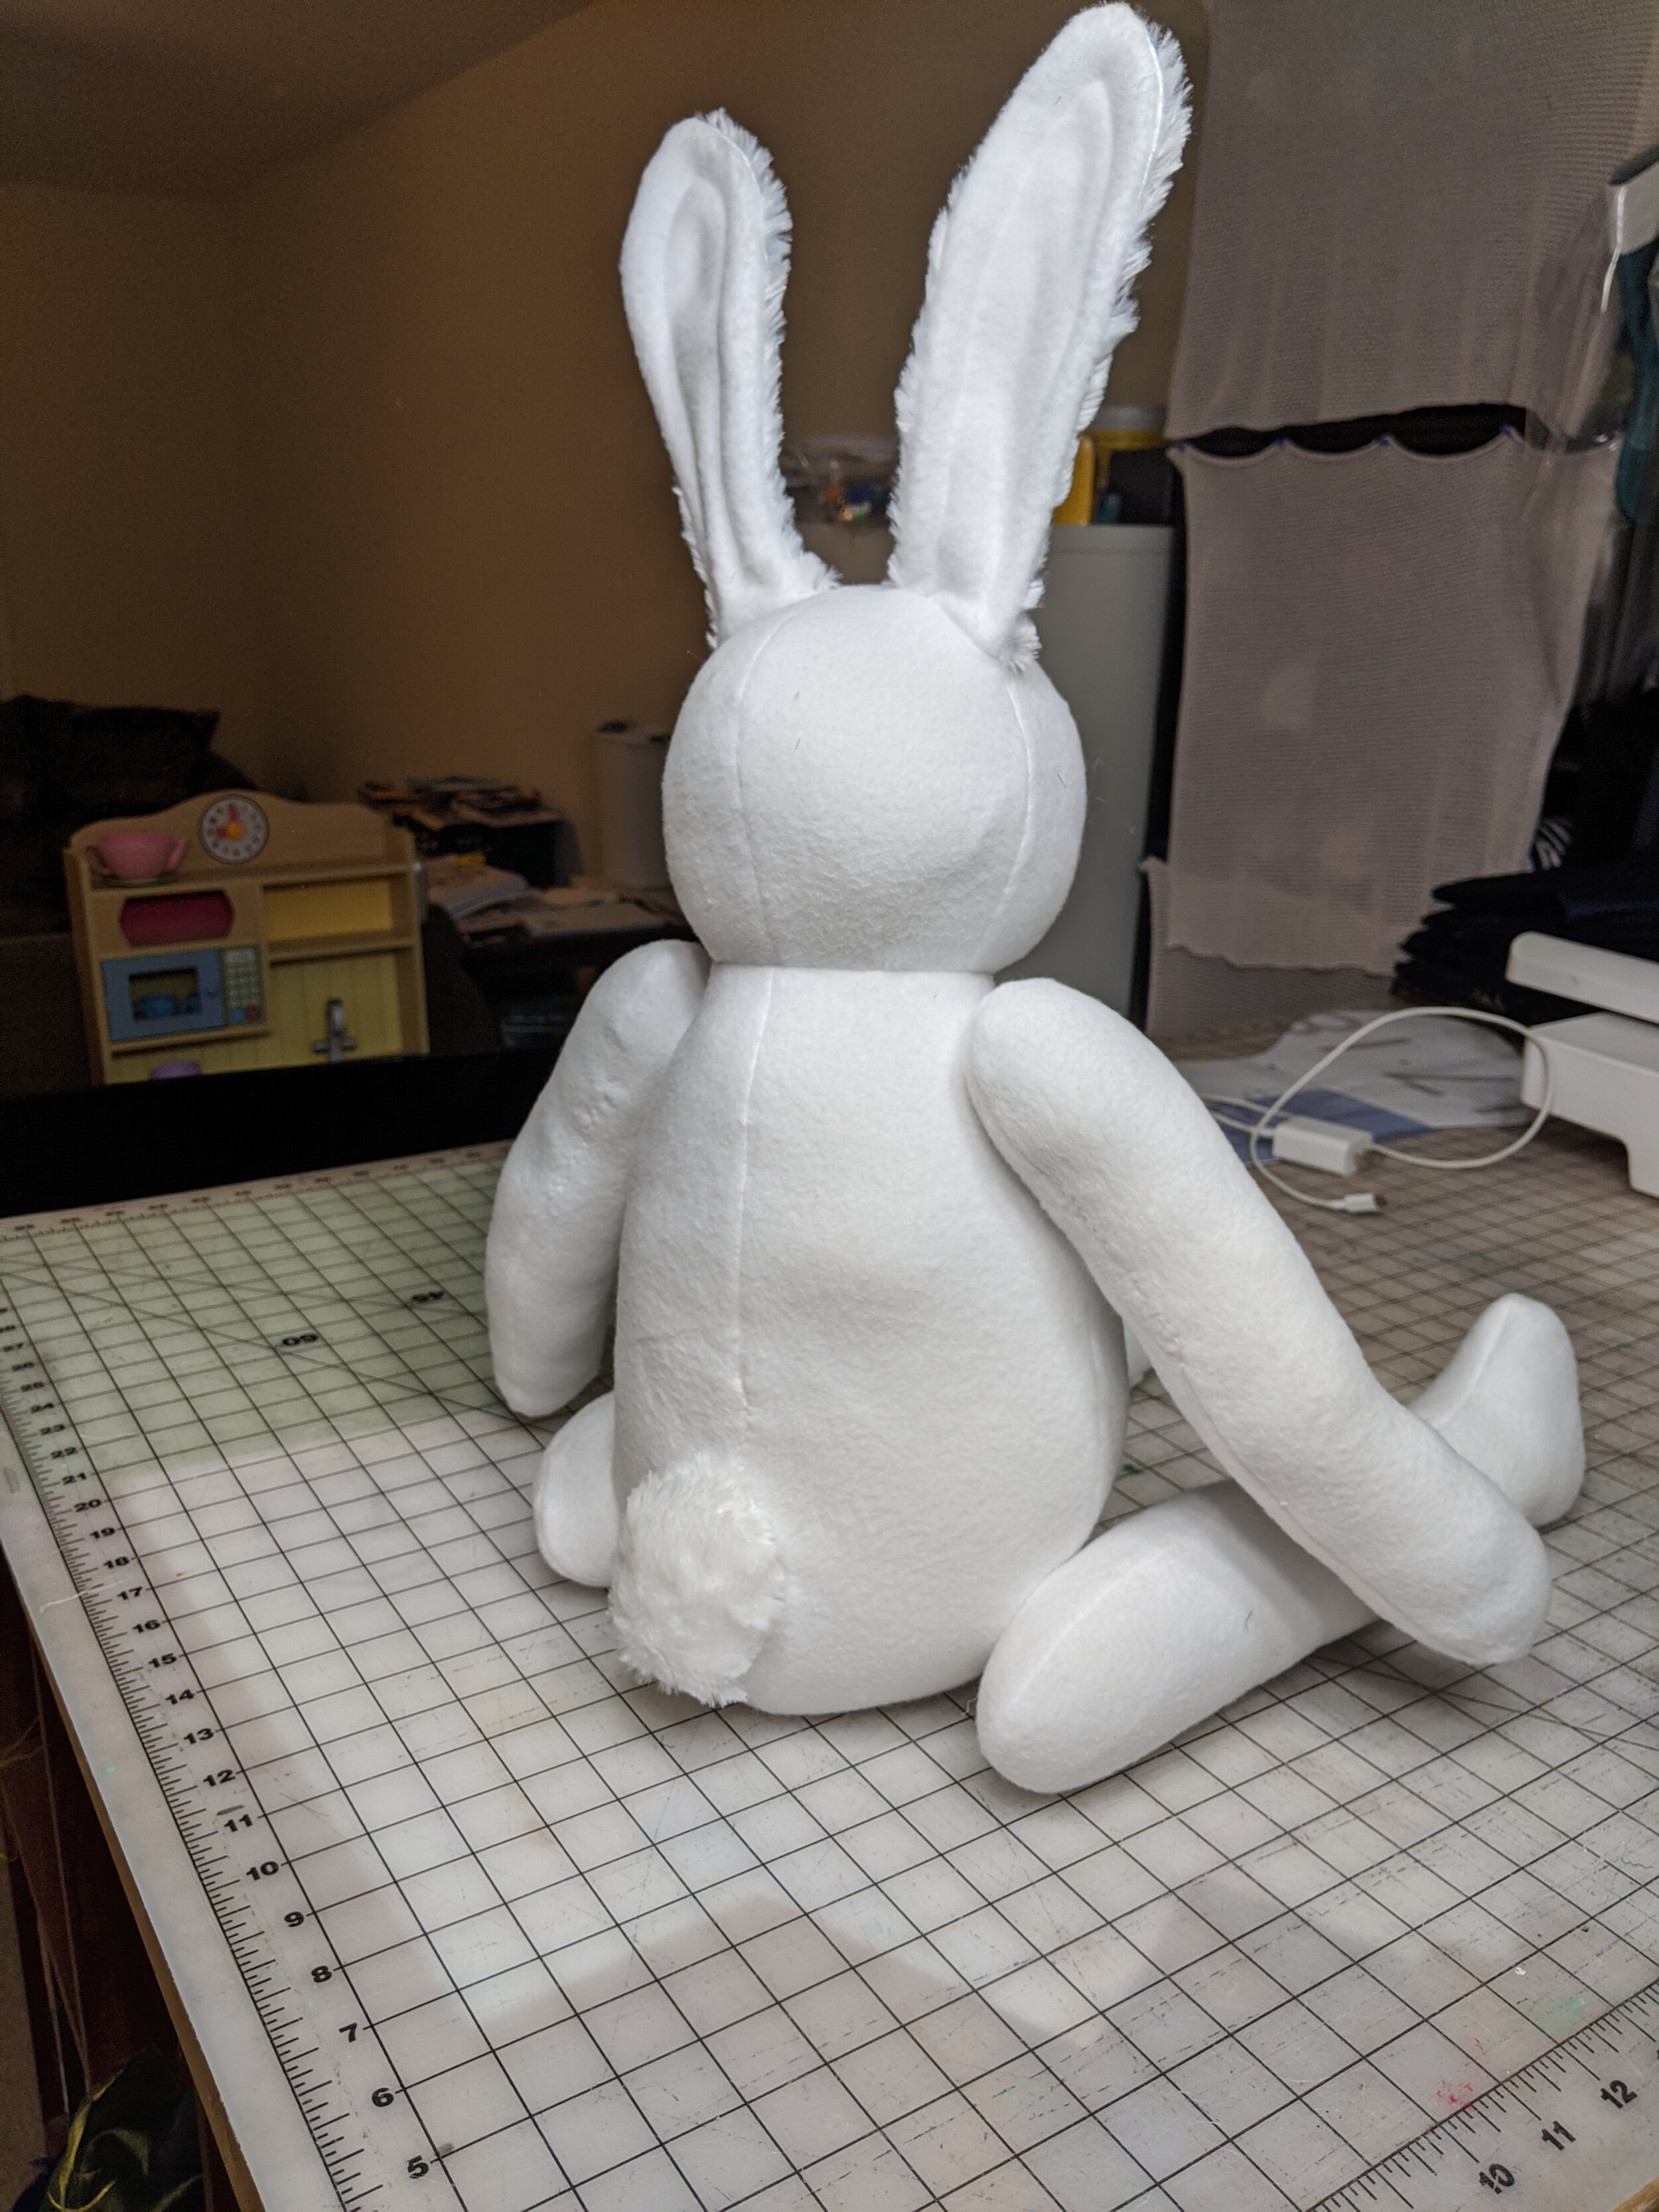
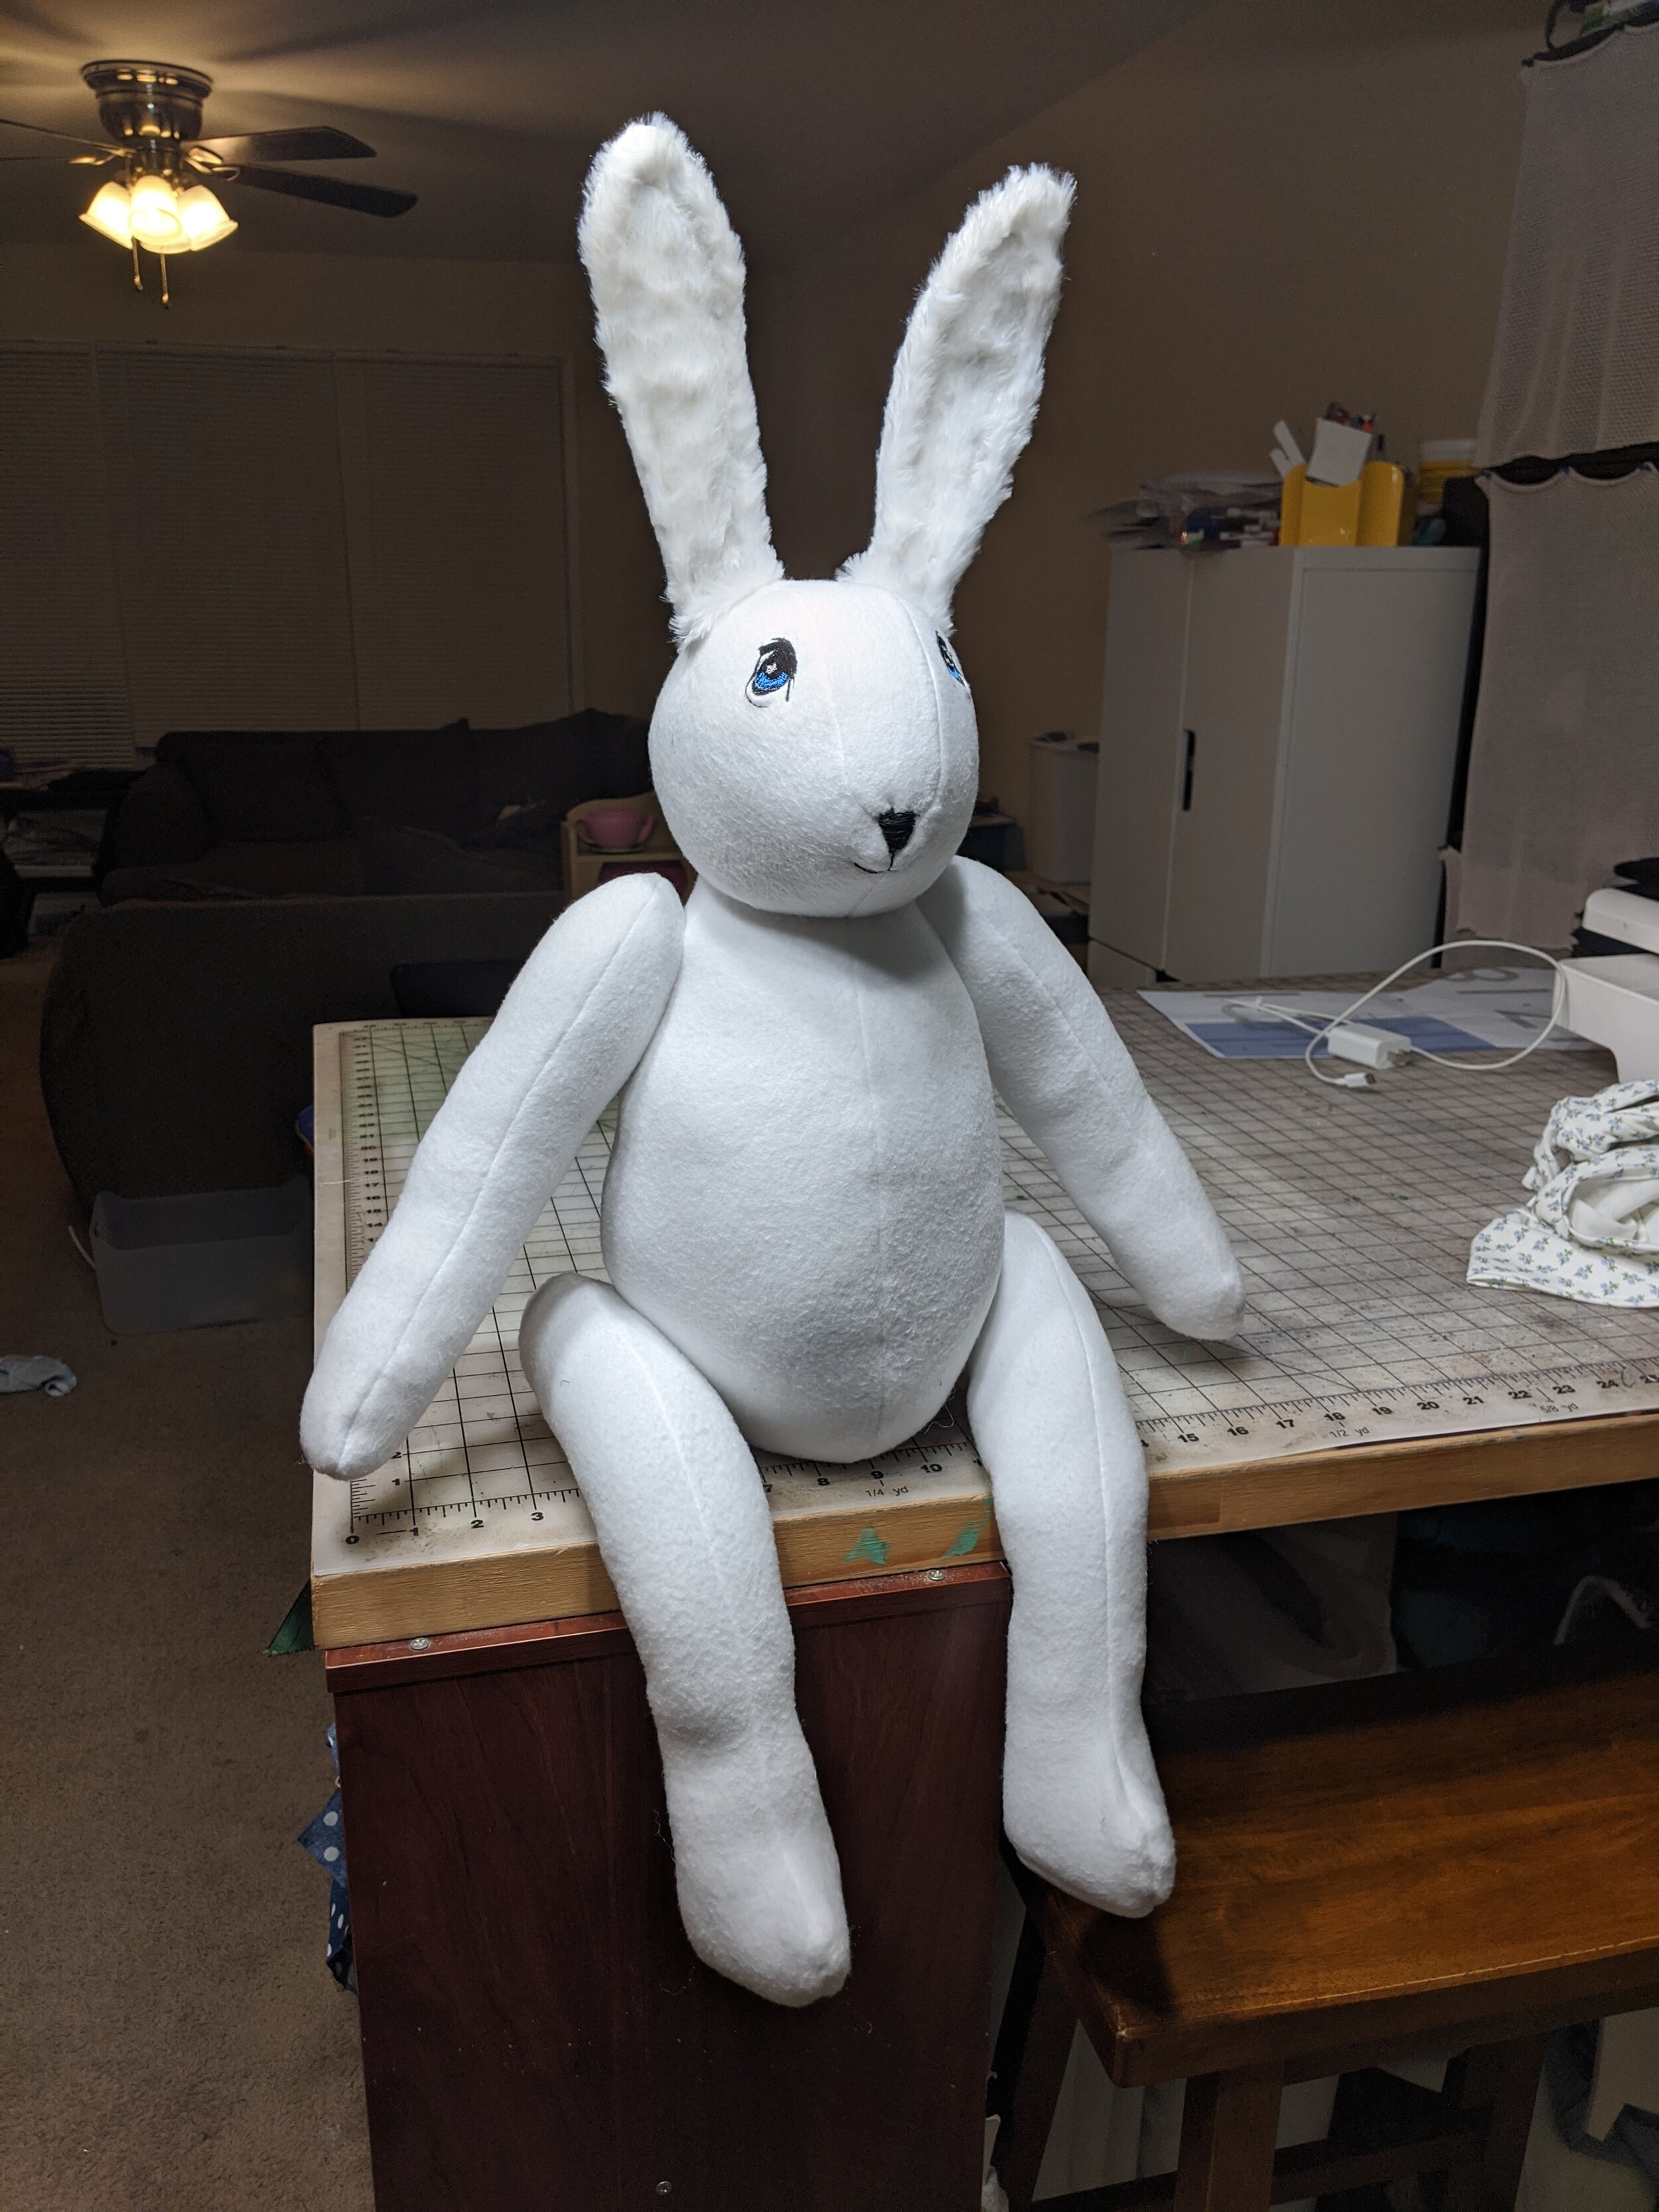
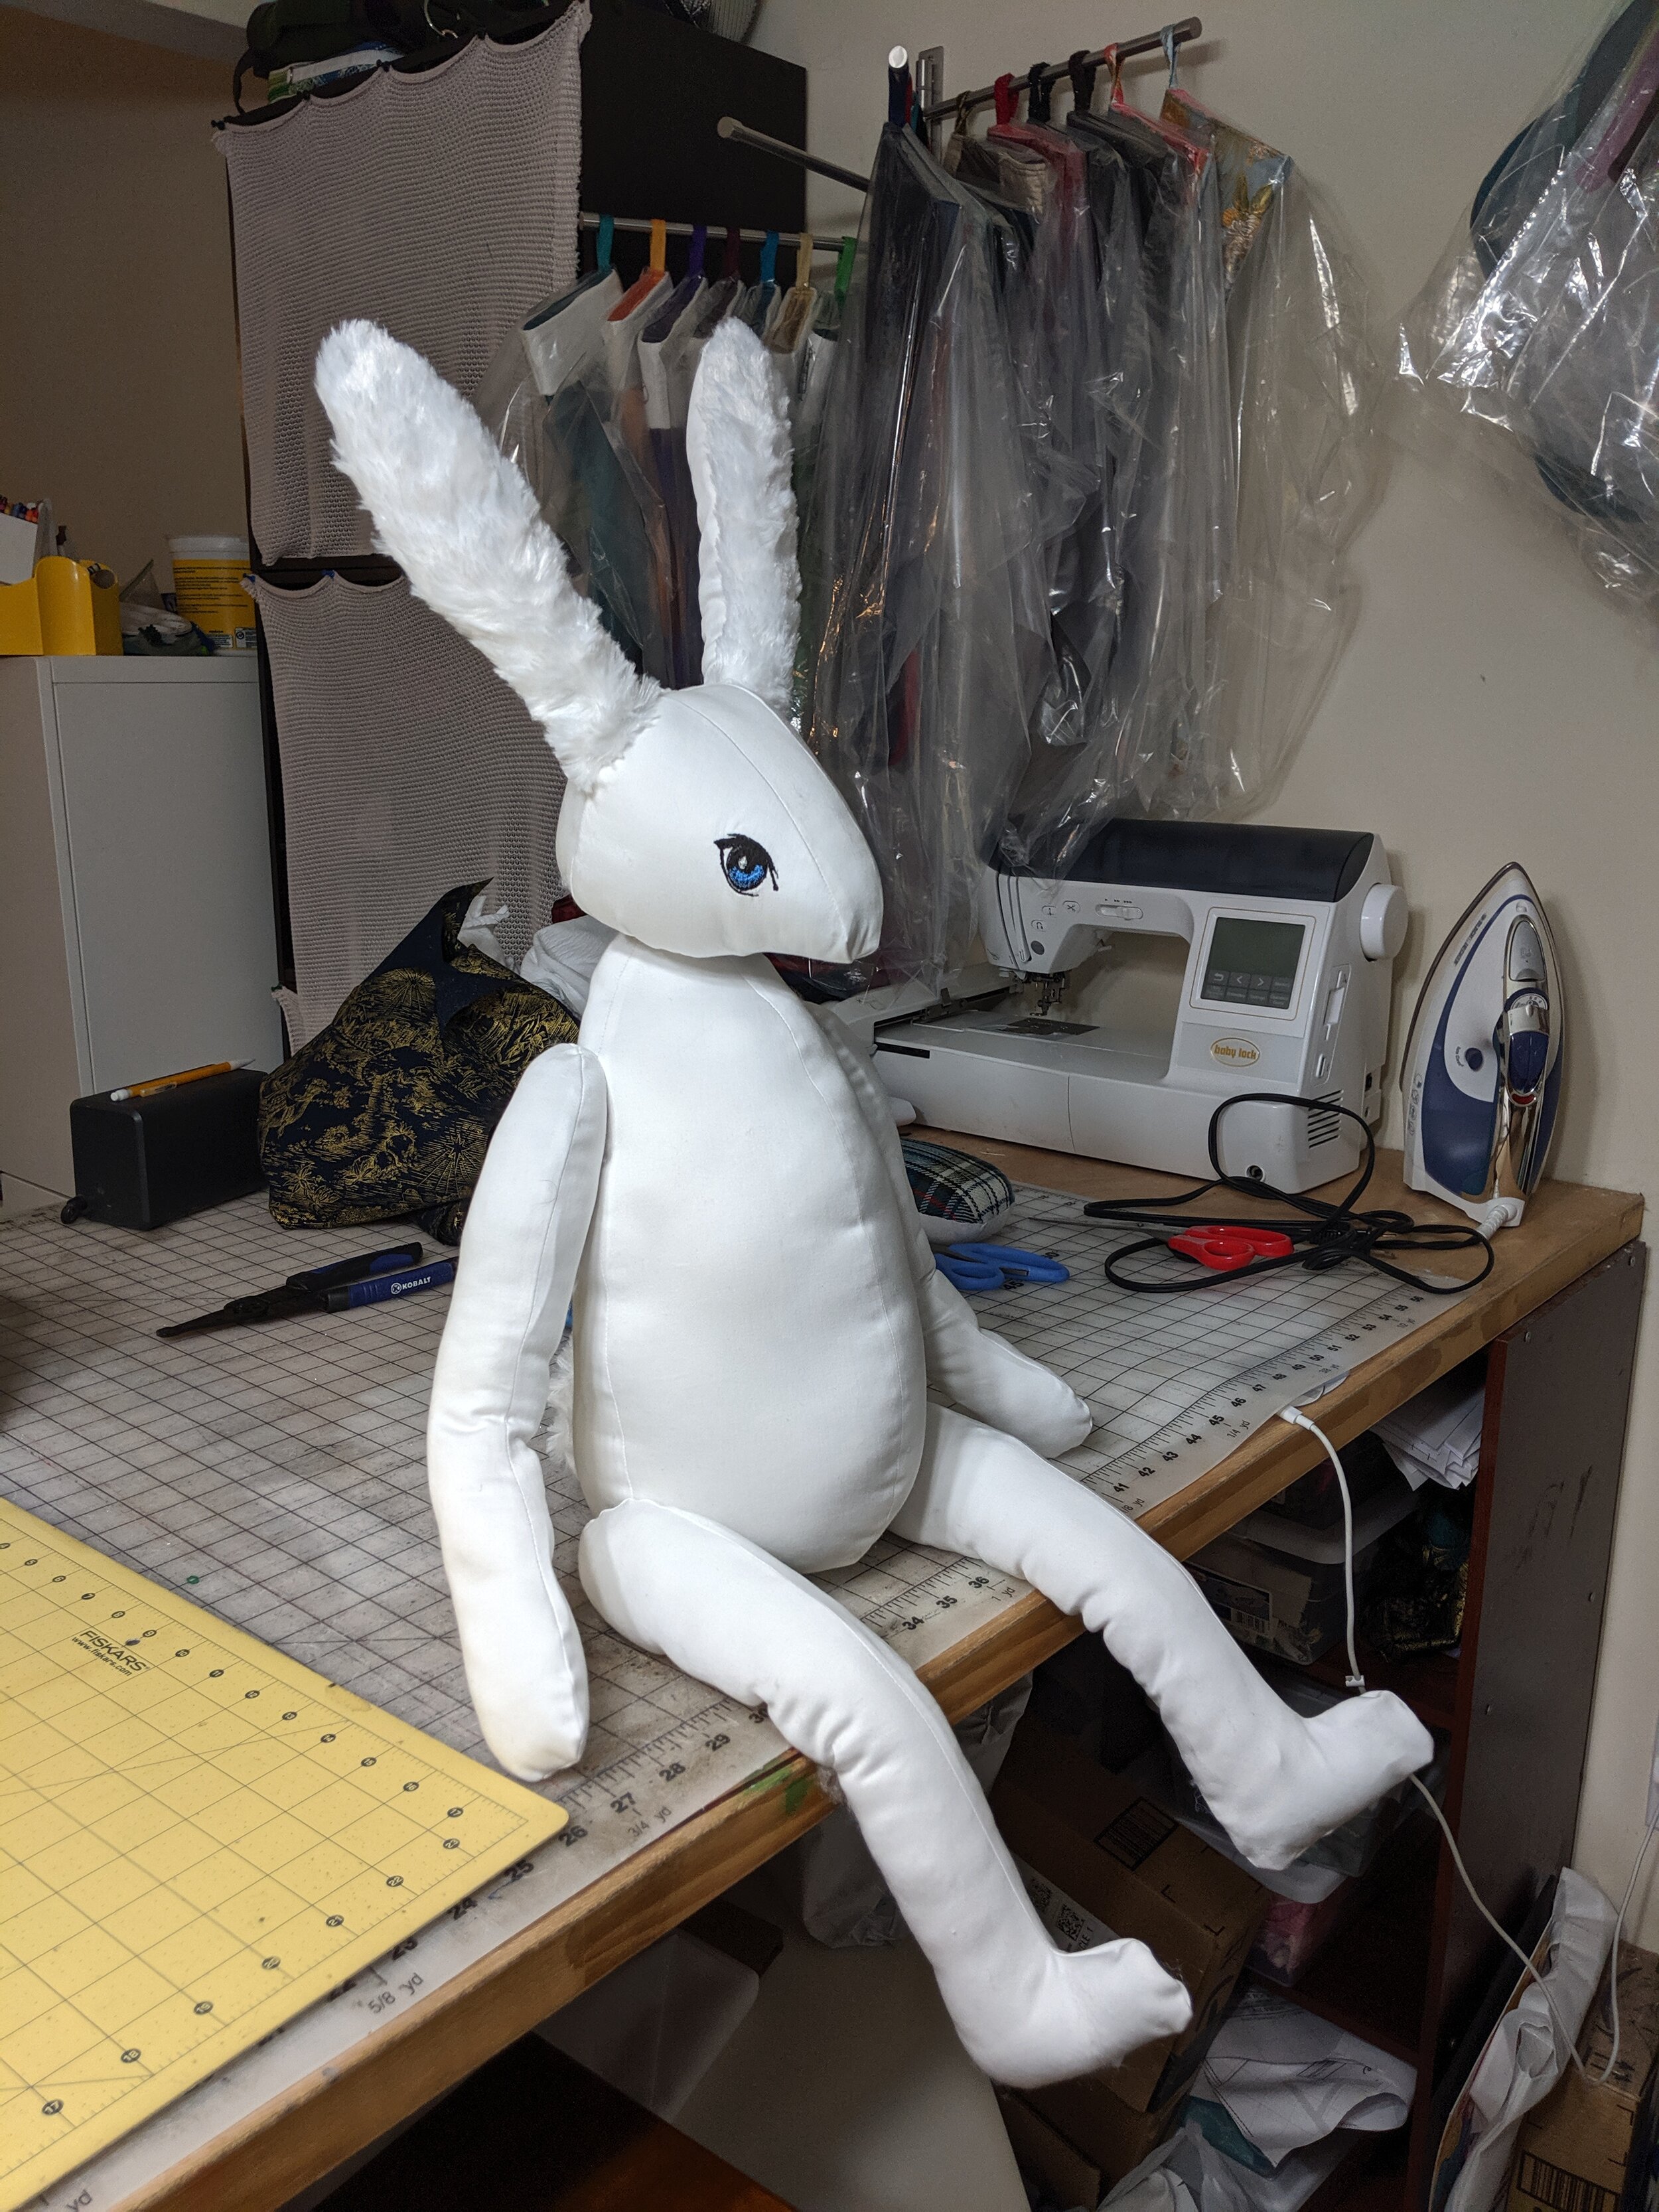
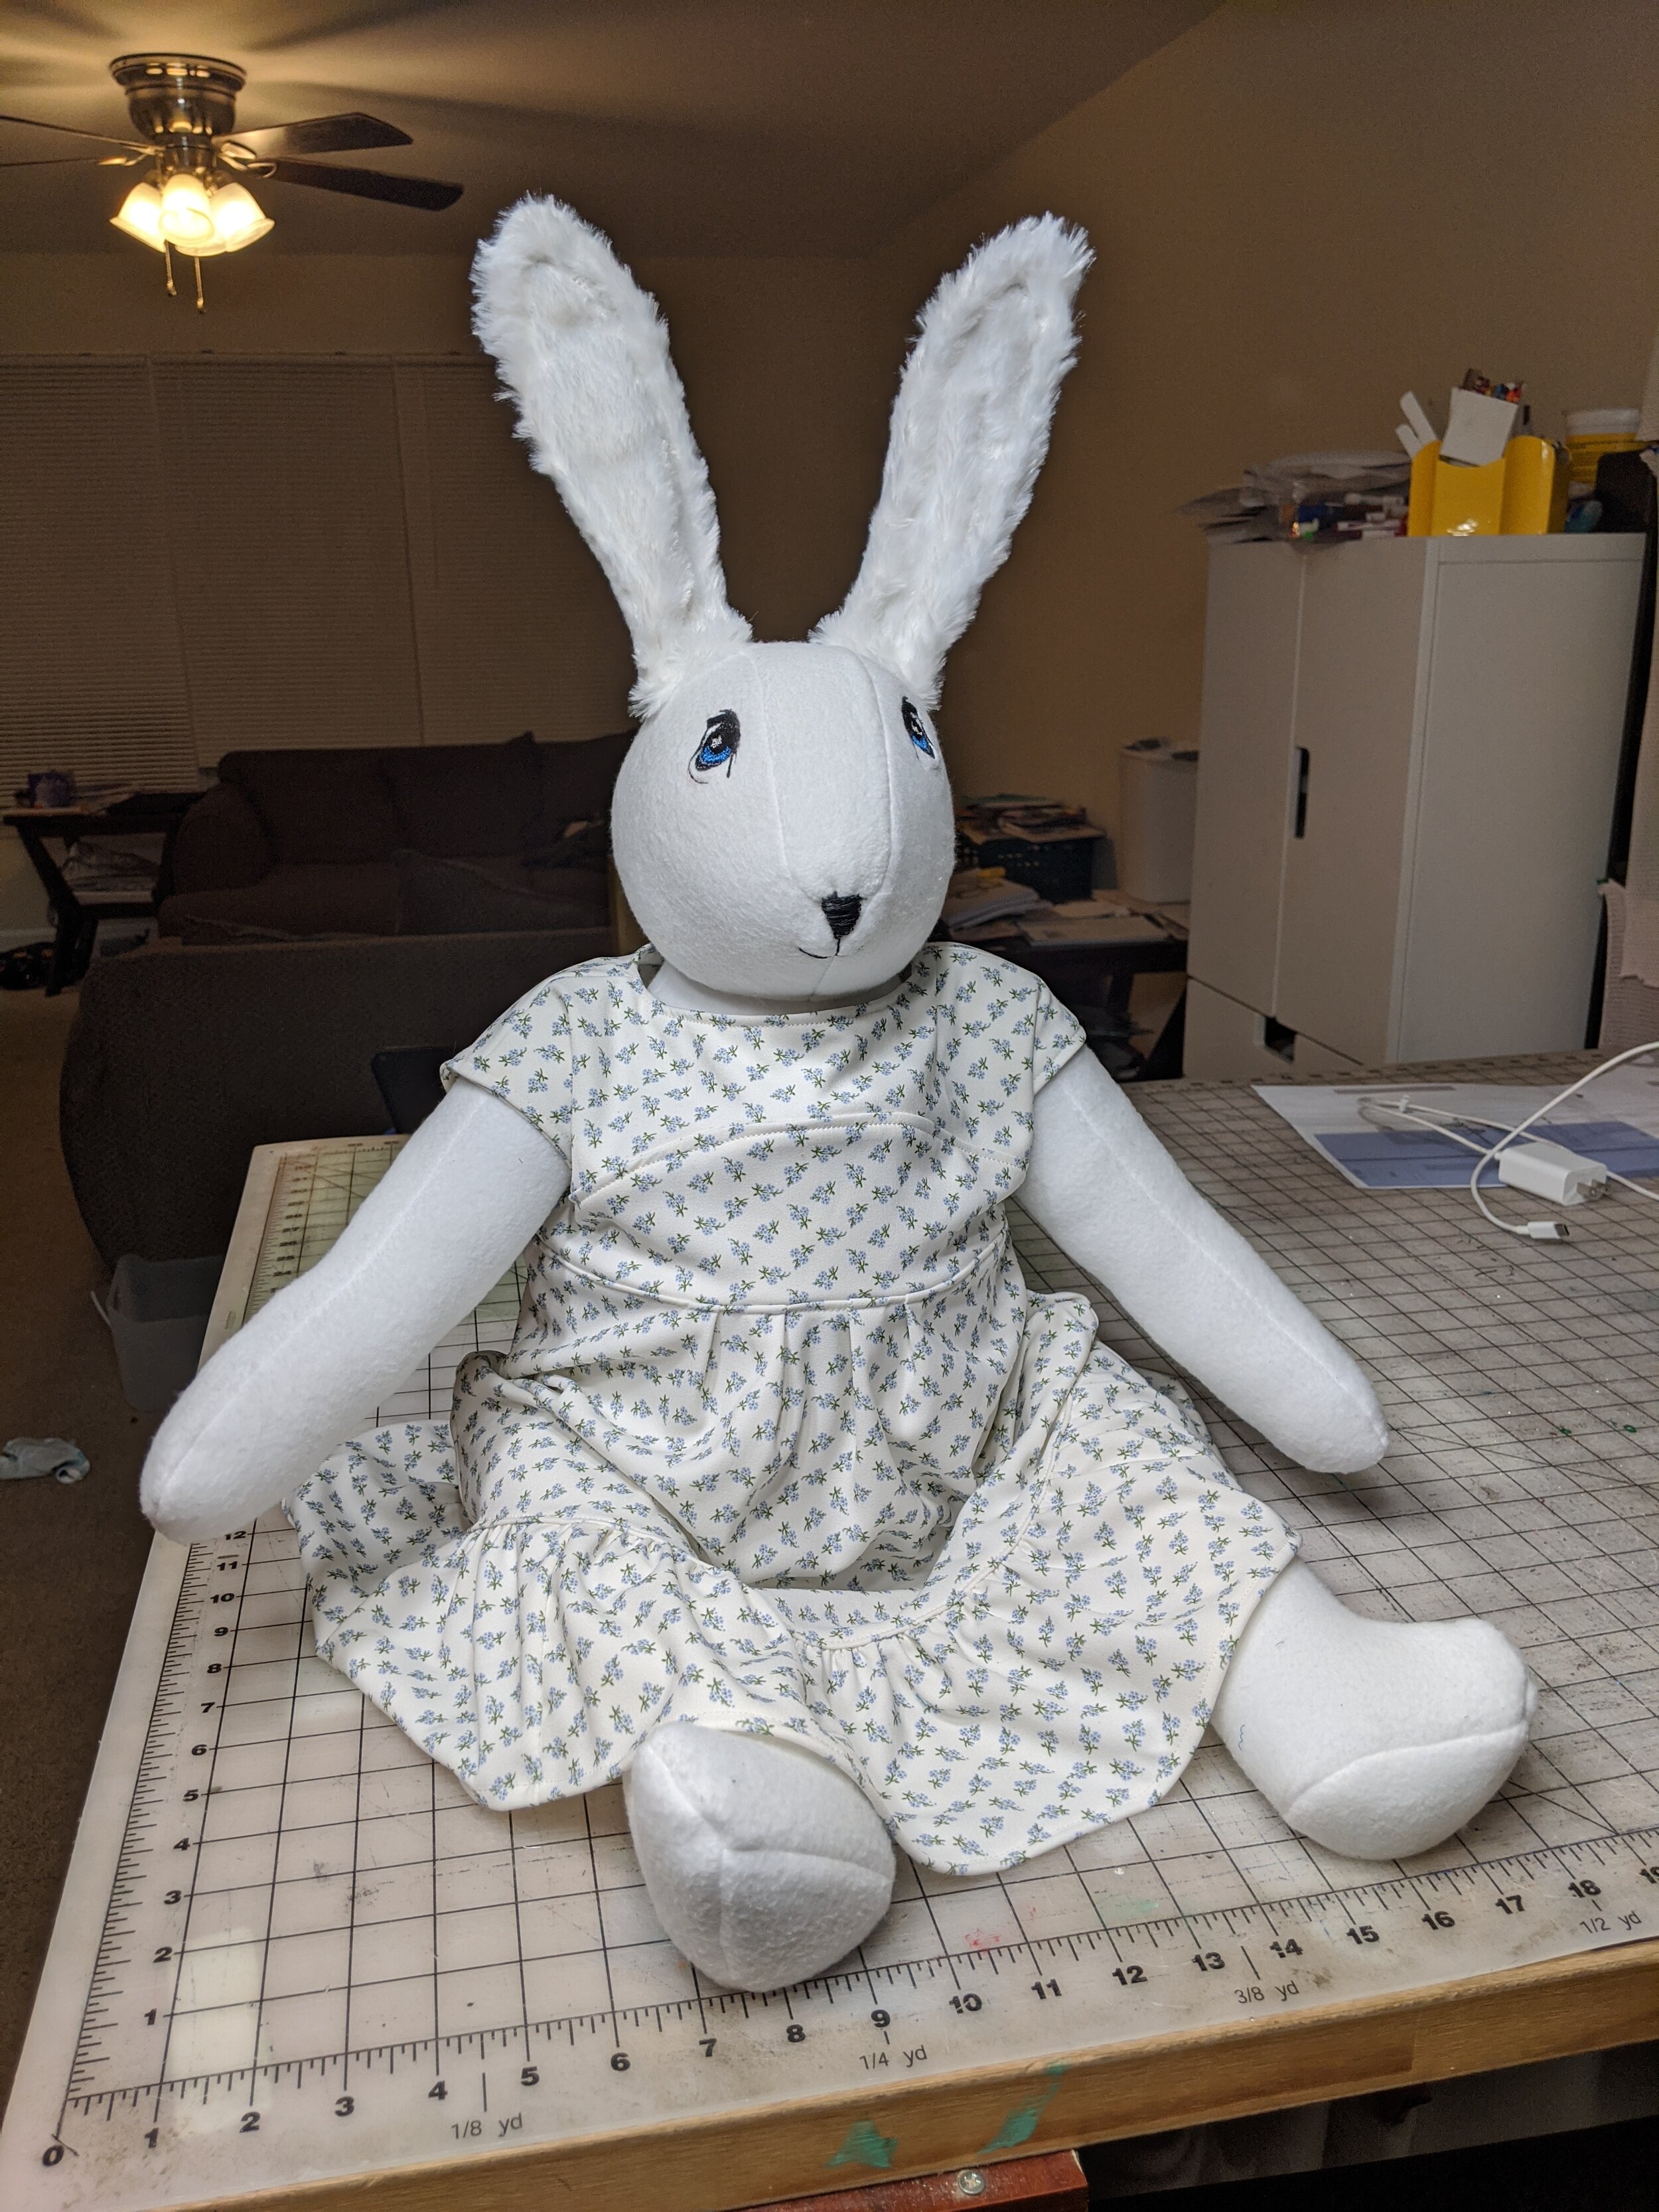
Much better, right? He’s quite chunky, which is mostly from the fleece. I think if I made this again, a less stretchy fabric would be just perfect. Also, for those interested in technical details—I made a wire framework for his ears that also went into the head so that the ears would be supported enough to stand. It worked perfectly. I also wired the legs so they could bend. That worked okay, but with all the stuffing, they don’t bend as well. Also, I used glass beads to weigh down the end of the feet and also I made a little casing to hold beads in his base so he can stand up.
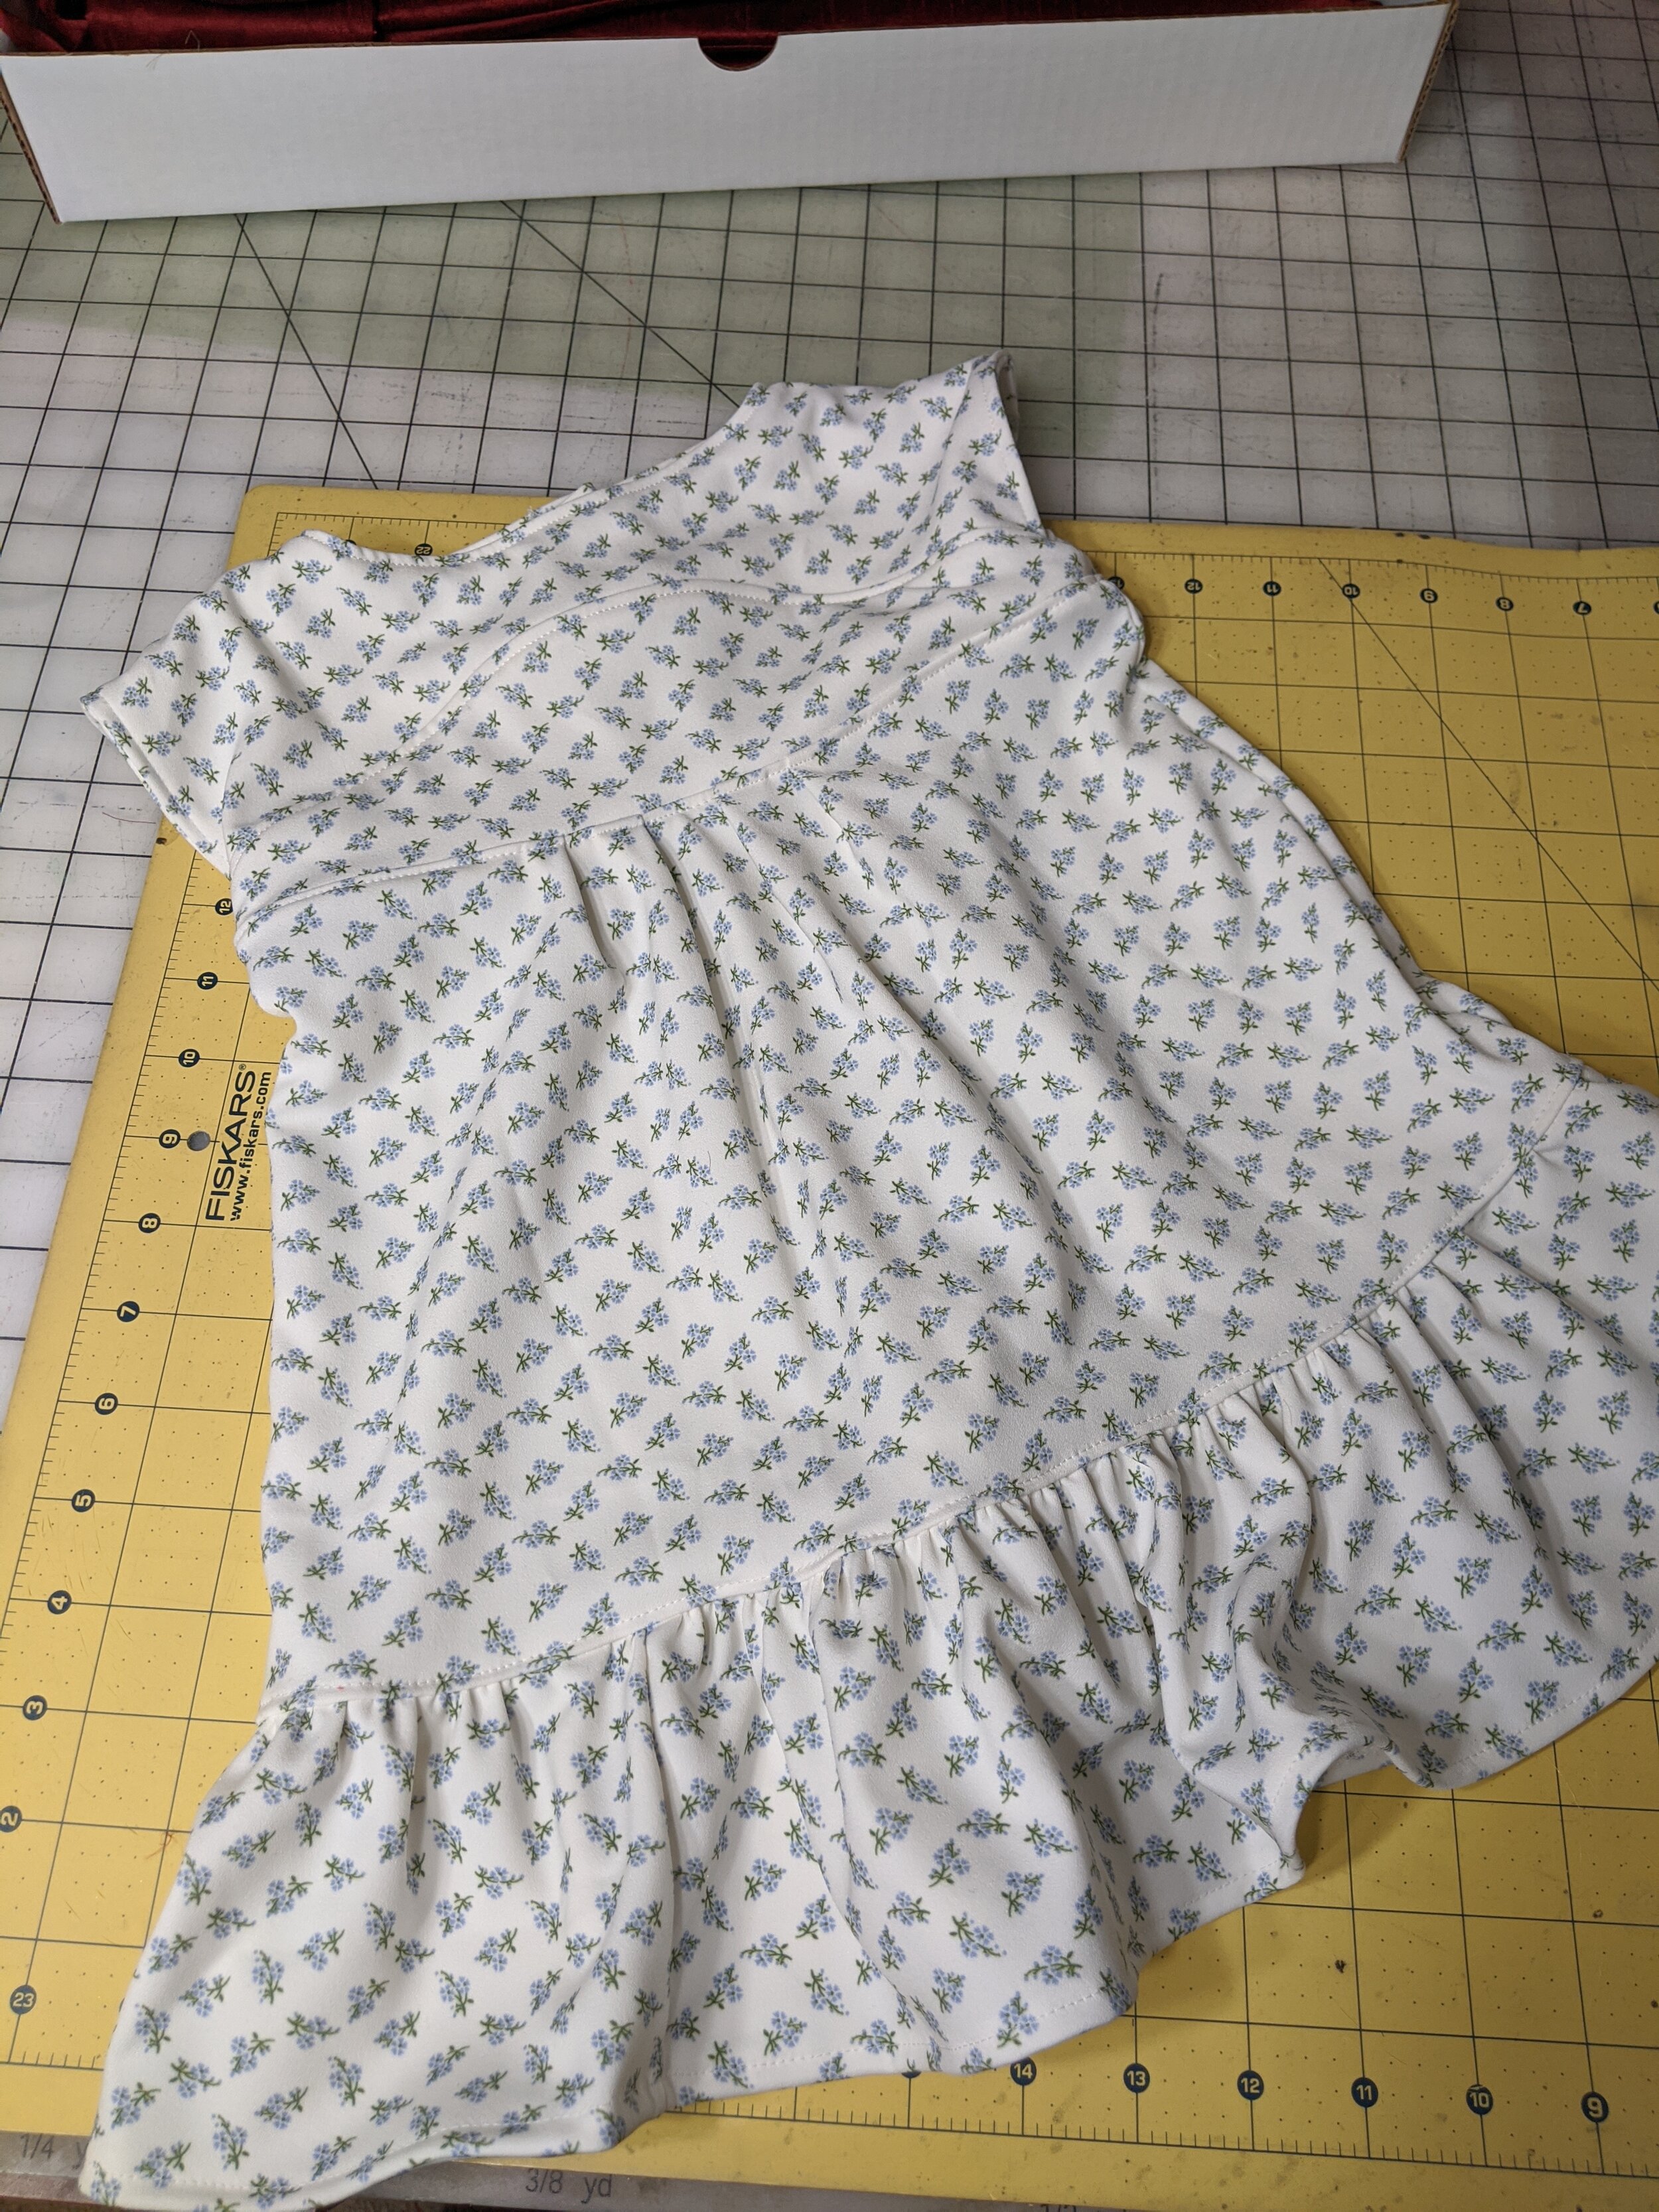
After the body, it was time for the clothes! I was asked to make four outfits. A suit, a sailor outfit and hat, a hobo outfit, and a dress. I started with the easiest outfit—the dress. I used a pattern I already owned from Shwin Designs and some fabric that a friend had given me recently. I felt like this fabric looked a bit like those old flour sack dresses, which works in the context of the story. I think I used the 18 month size? One thing I was told was that the clothes needed to be easy to get off and on for quick changes. Well, the dress ended up fitting a little too perfectly, so I ended up seam ripping the bodice side seams to give the arms more ease and adding a placket extension into the skirt. After that it went off and on easier.
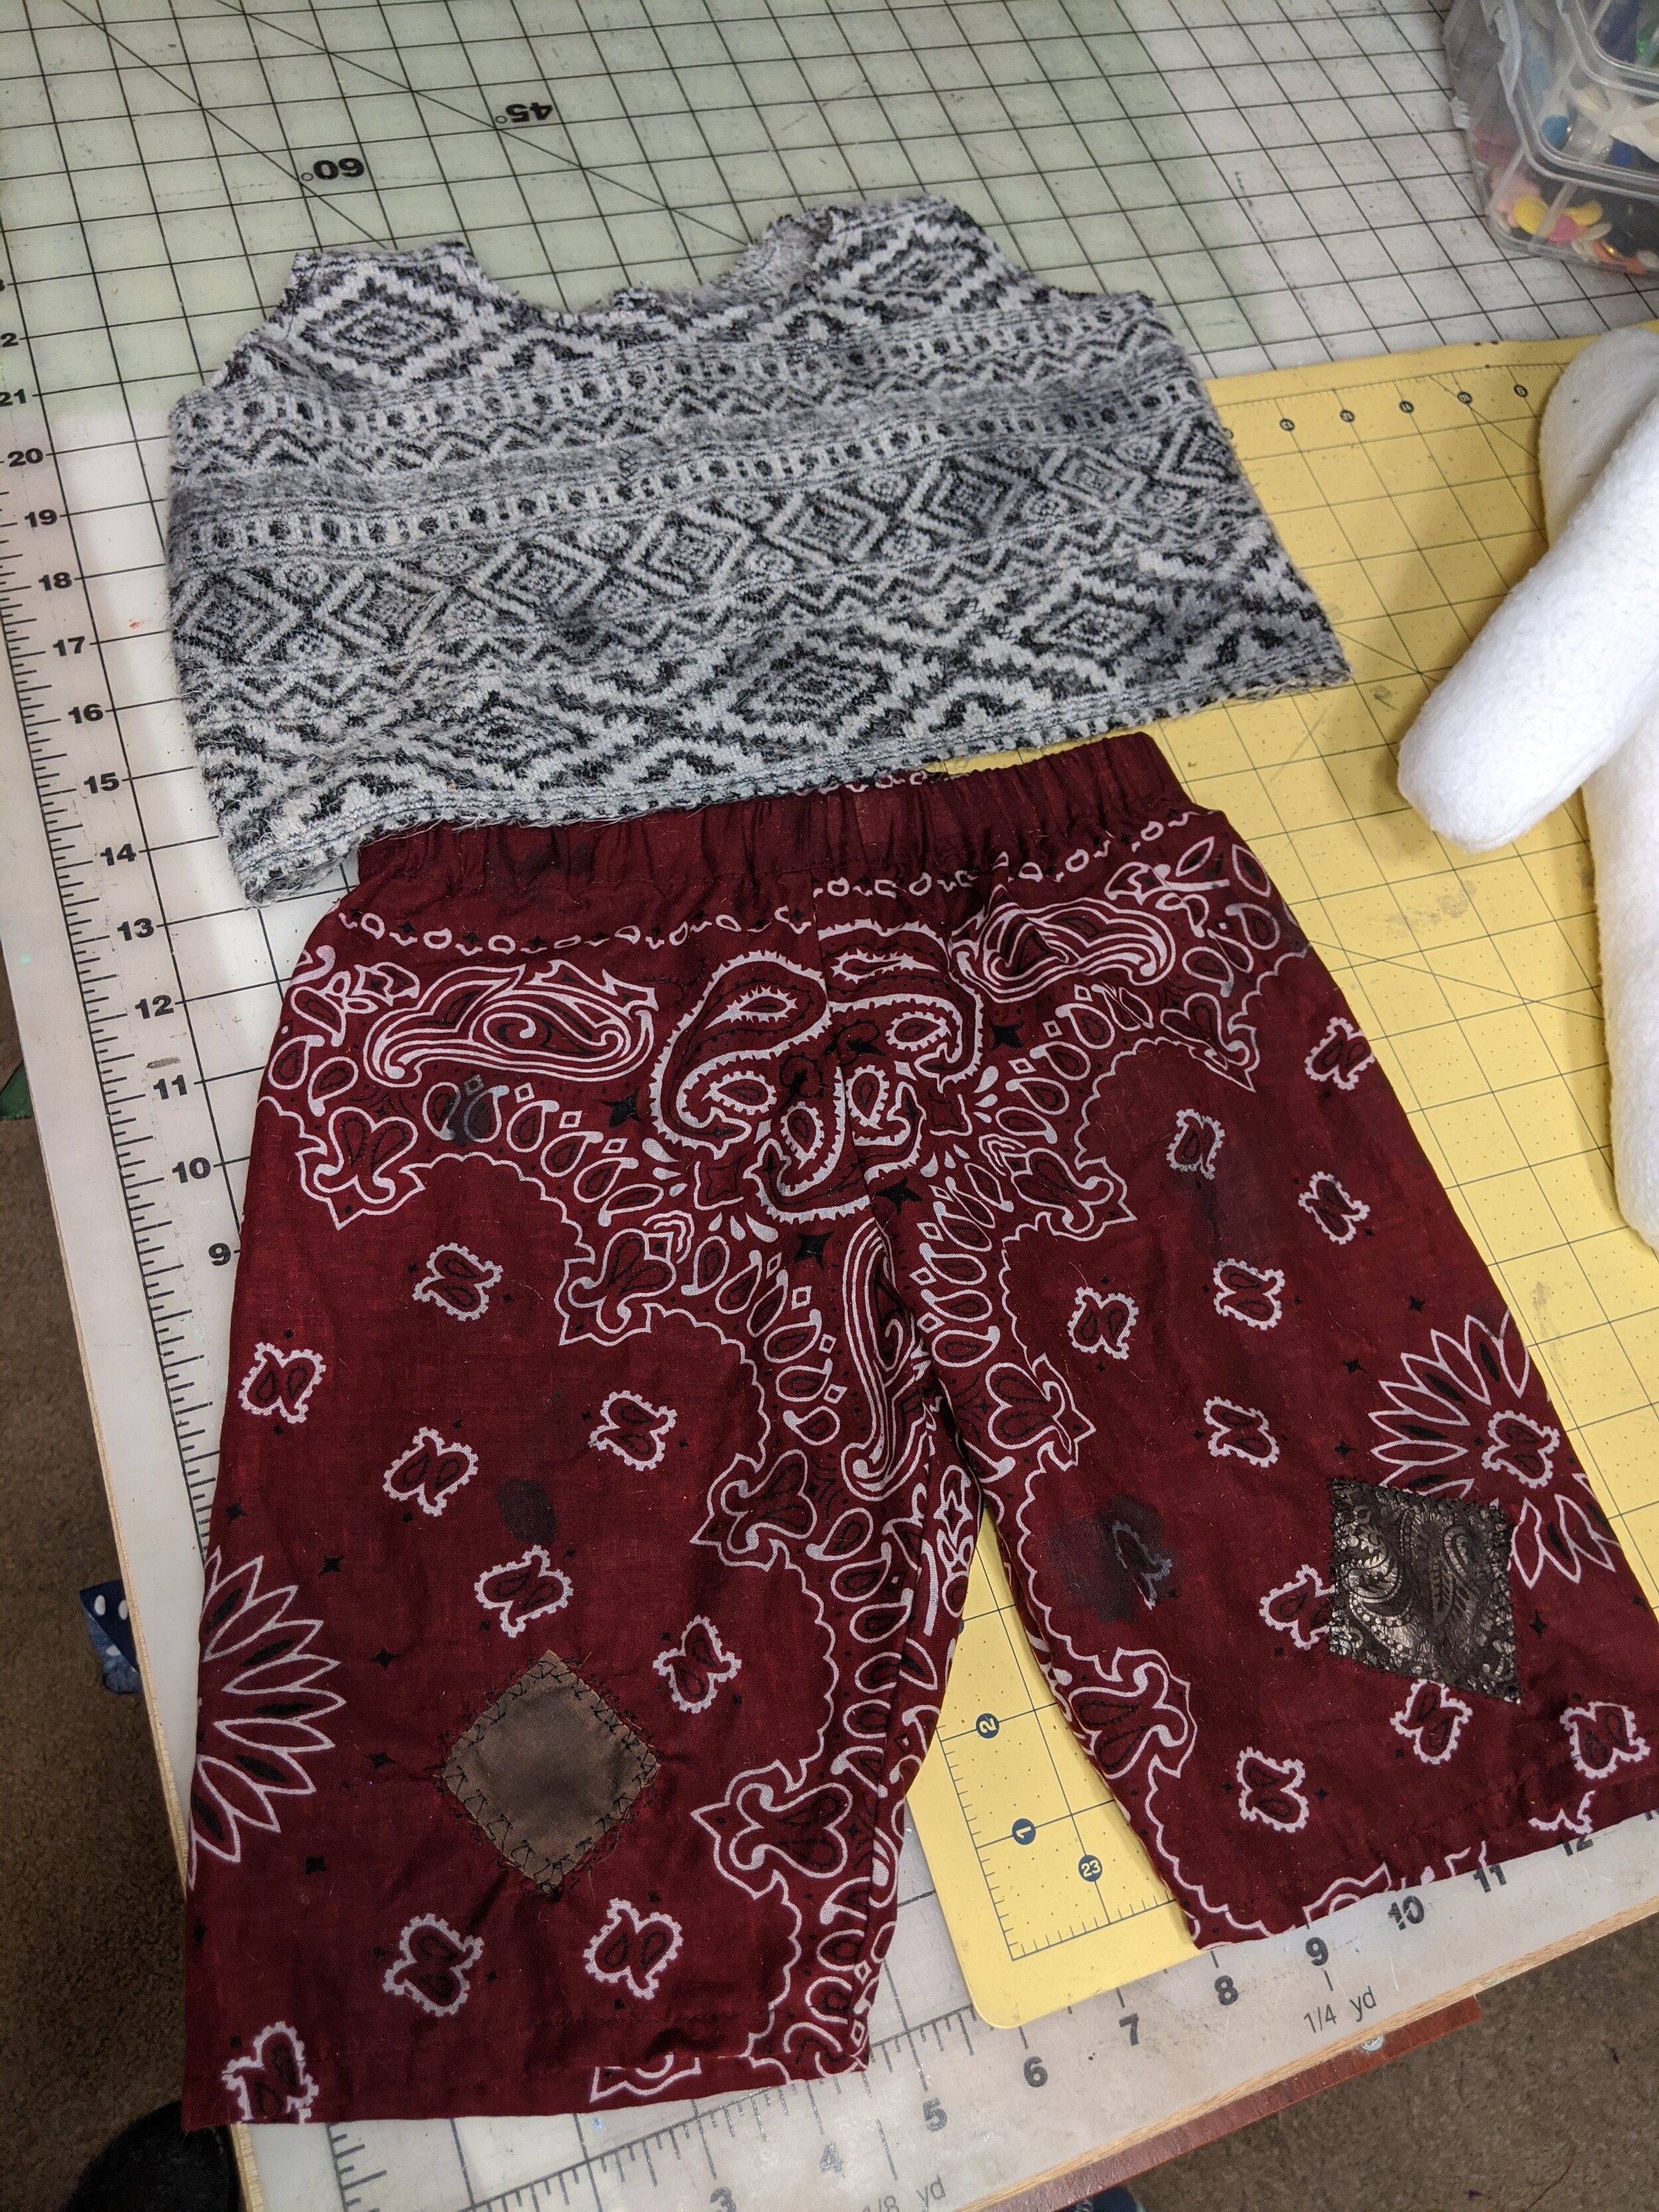
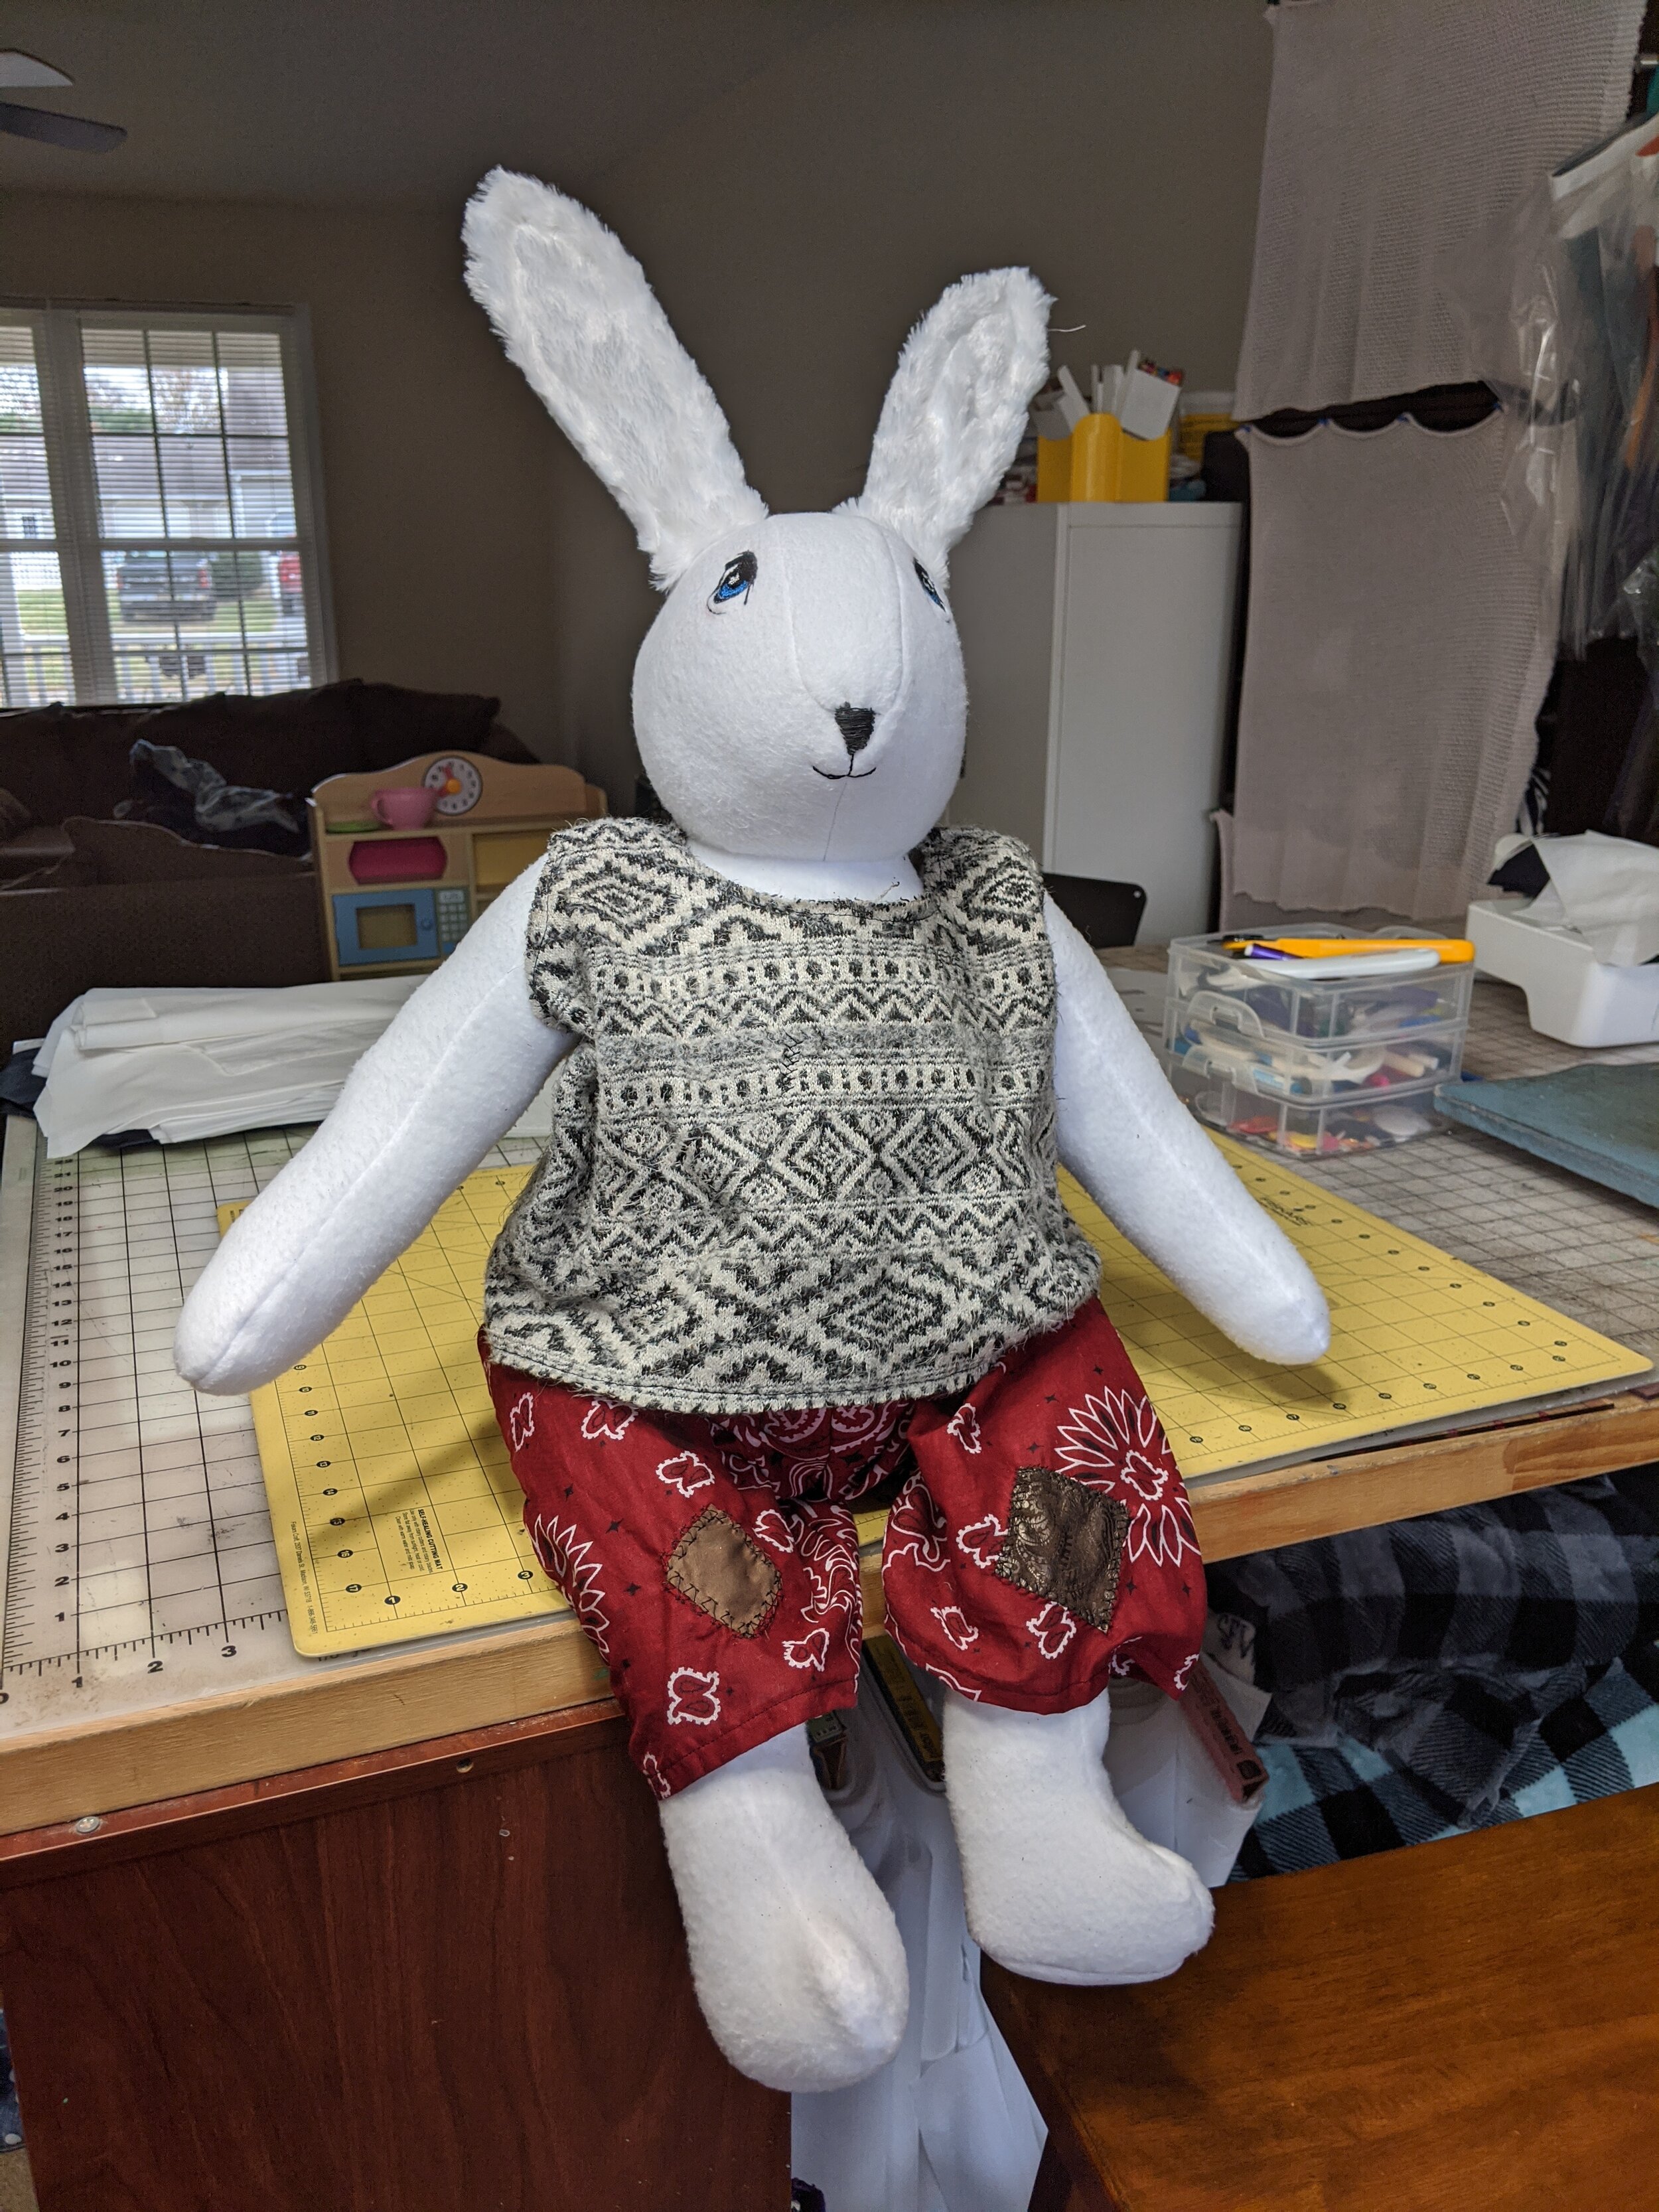
The hobo outfit was the next one. In the story, the hobo takes off his hat and makes holes in it for Edward’s head and arms, then he sews a bandana to make pants. I found a fabric that looked kind of like a knit sweater fabric, and made a simple top. I left all the edges raw. For the pants, I bought bandanas from the fabric store and used a harem pants pattern I own from Puperita. I did make adjustments to the length and rise, plus I made a place in the back for his tail. I also attached an elastic waistband with a velcro closure in the back.
After I made the outfit, I tried aging it. I was afraid the wool top would shrink if I used warm water, so I tried dyeing it with spices and tea in cold water. That essentially did nothing. I ended up watering down some brown acrylic paint and rubbing it on the items to make stains. I also added some extra stitching and patches.
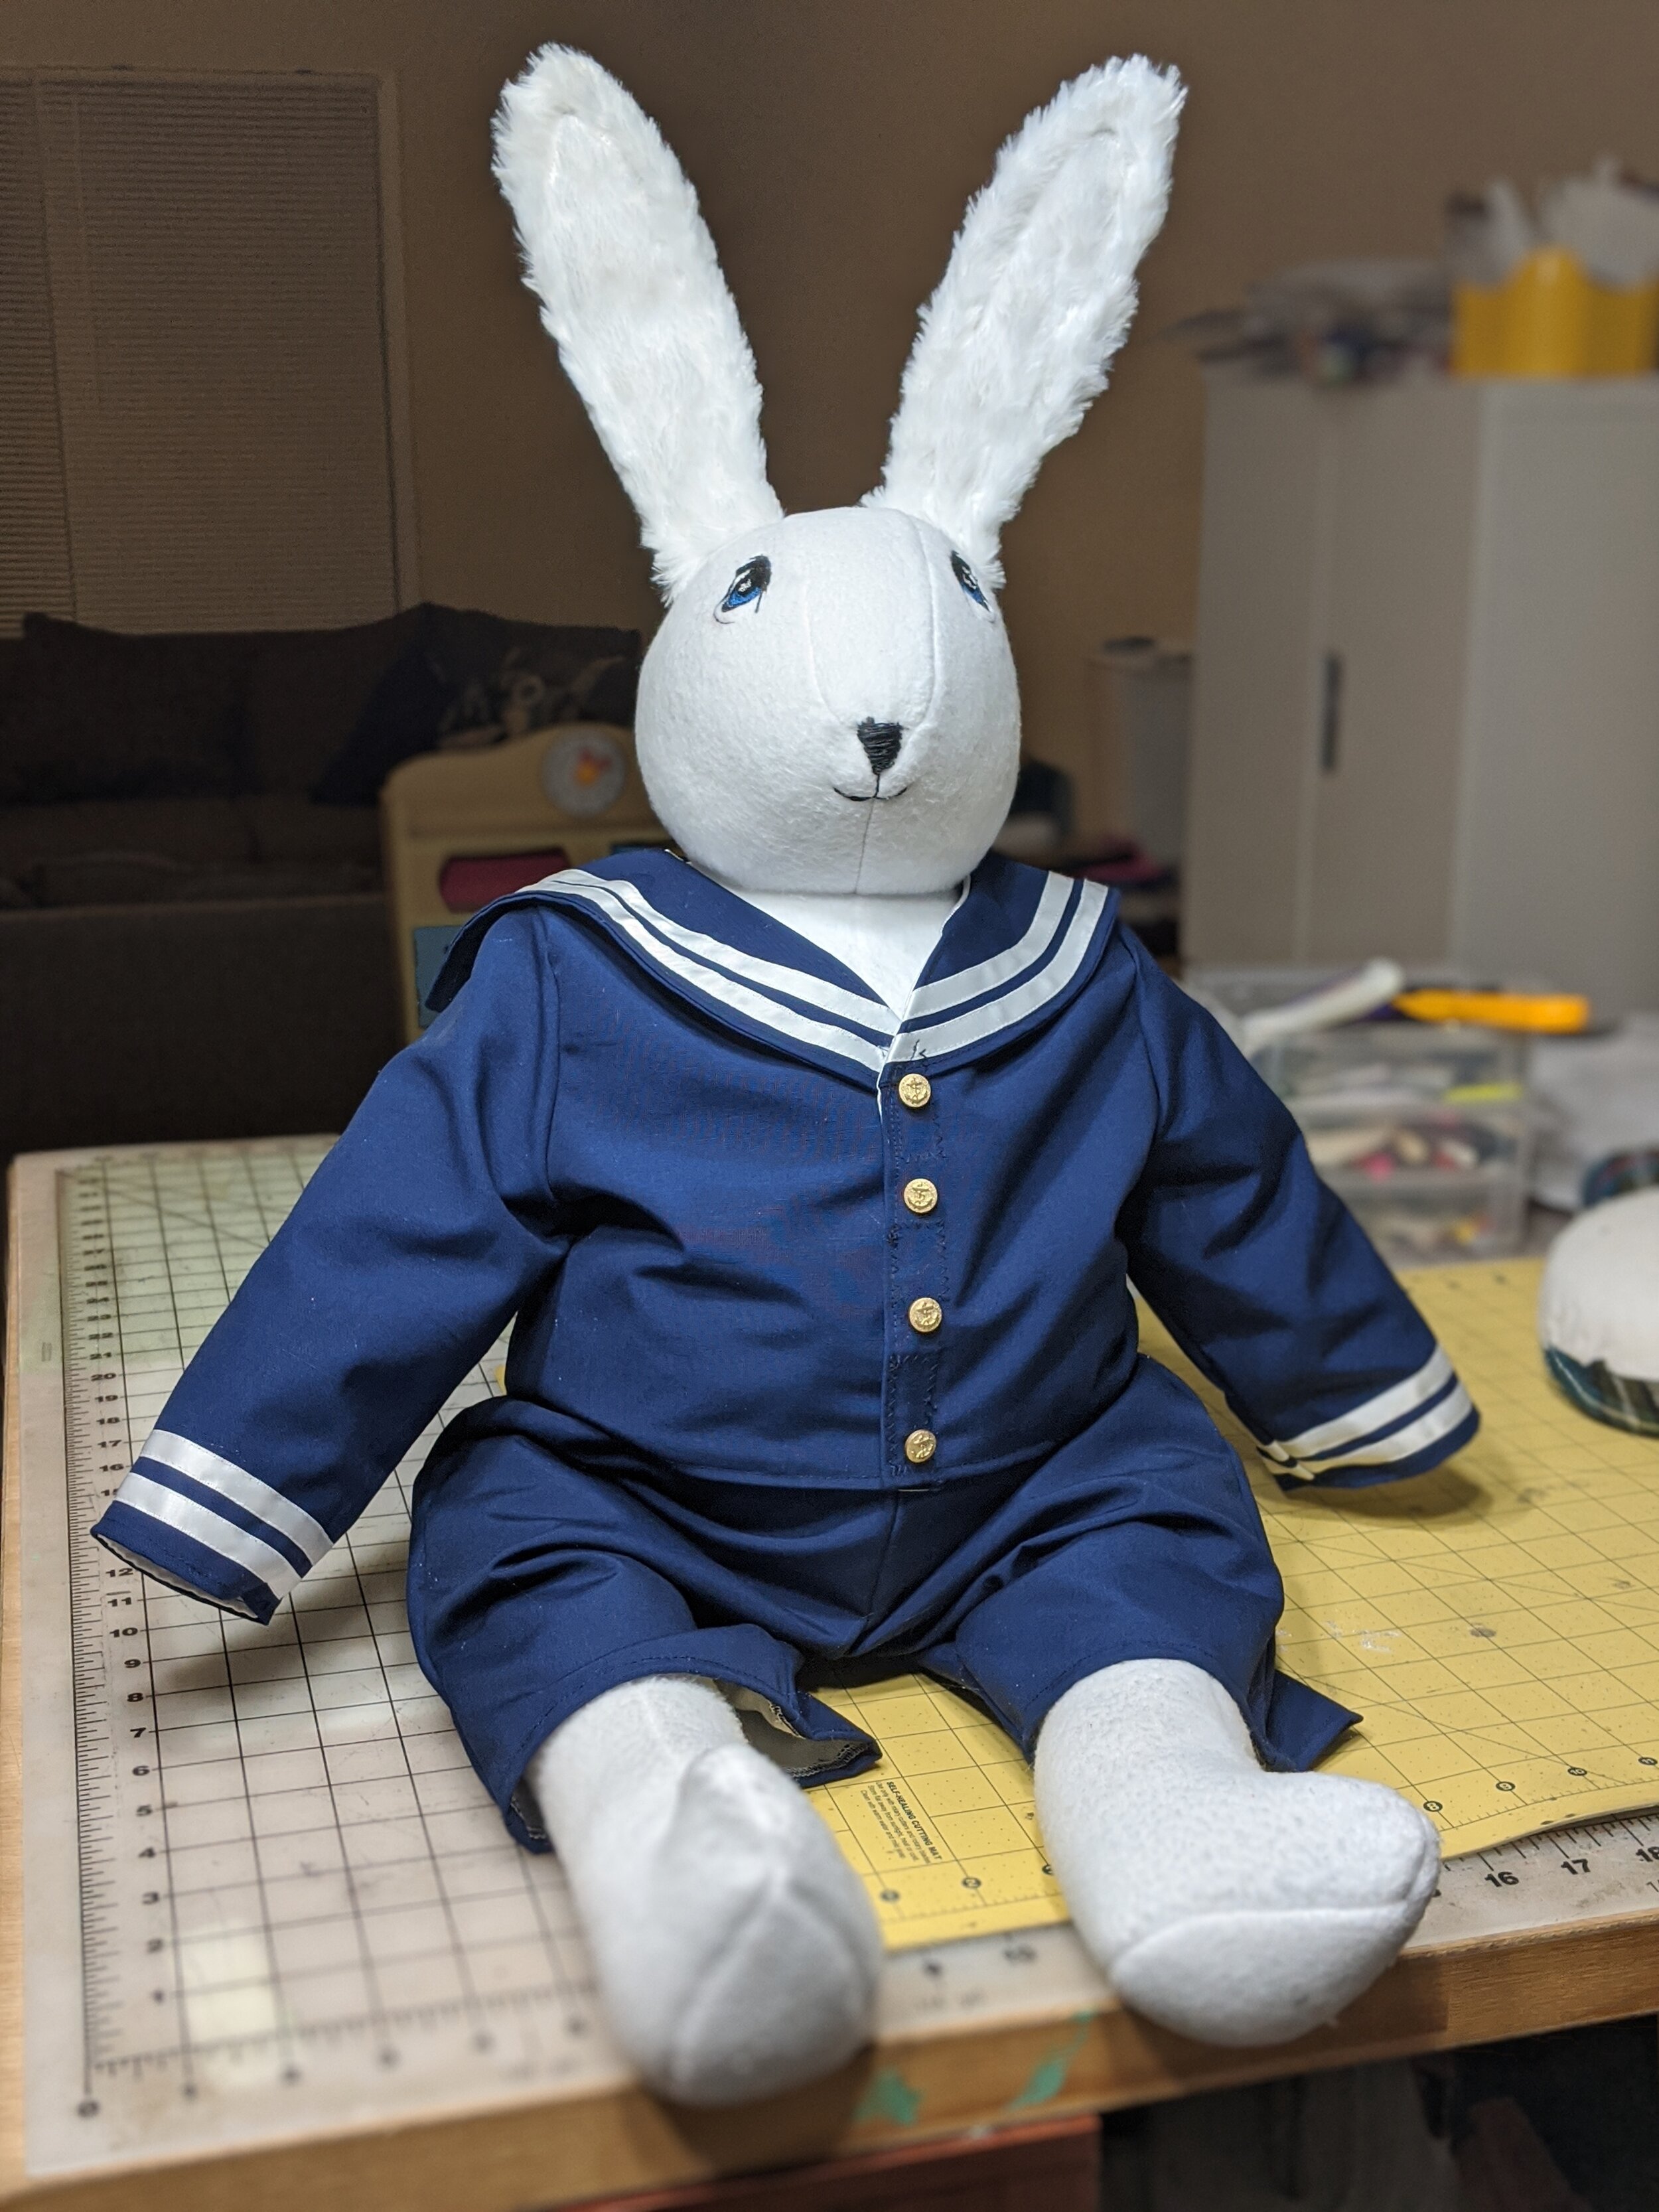
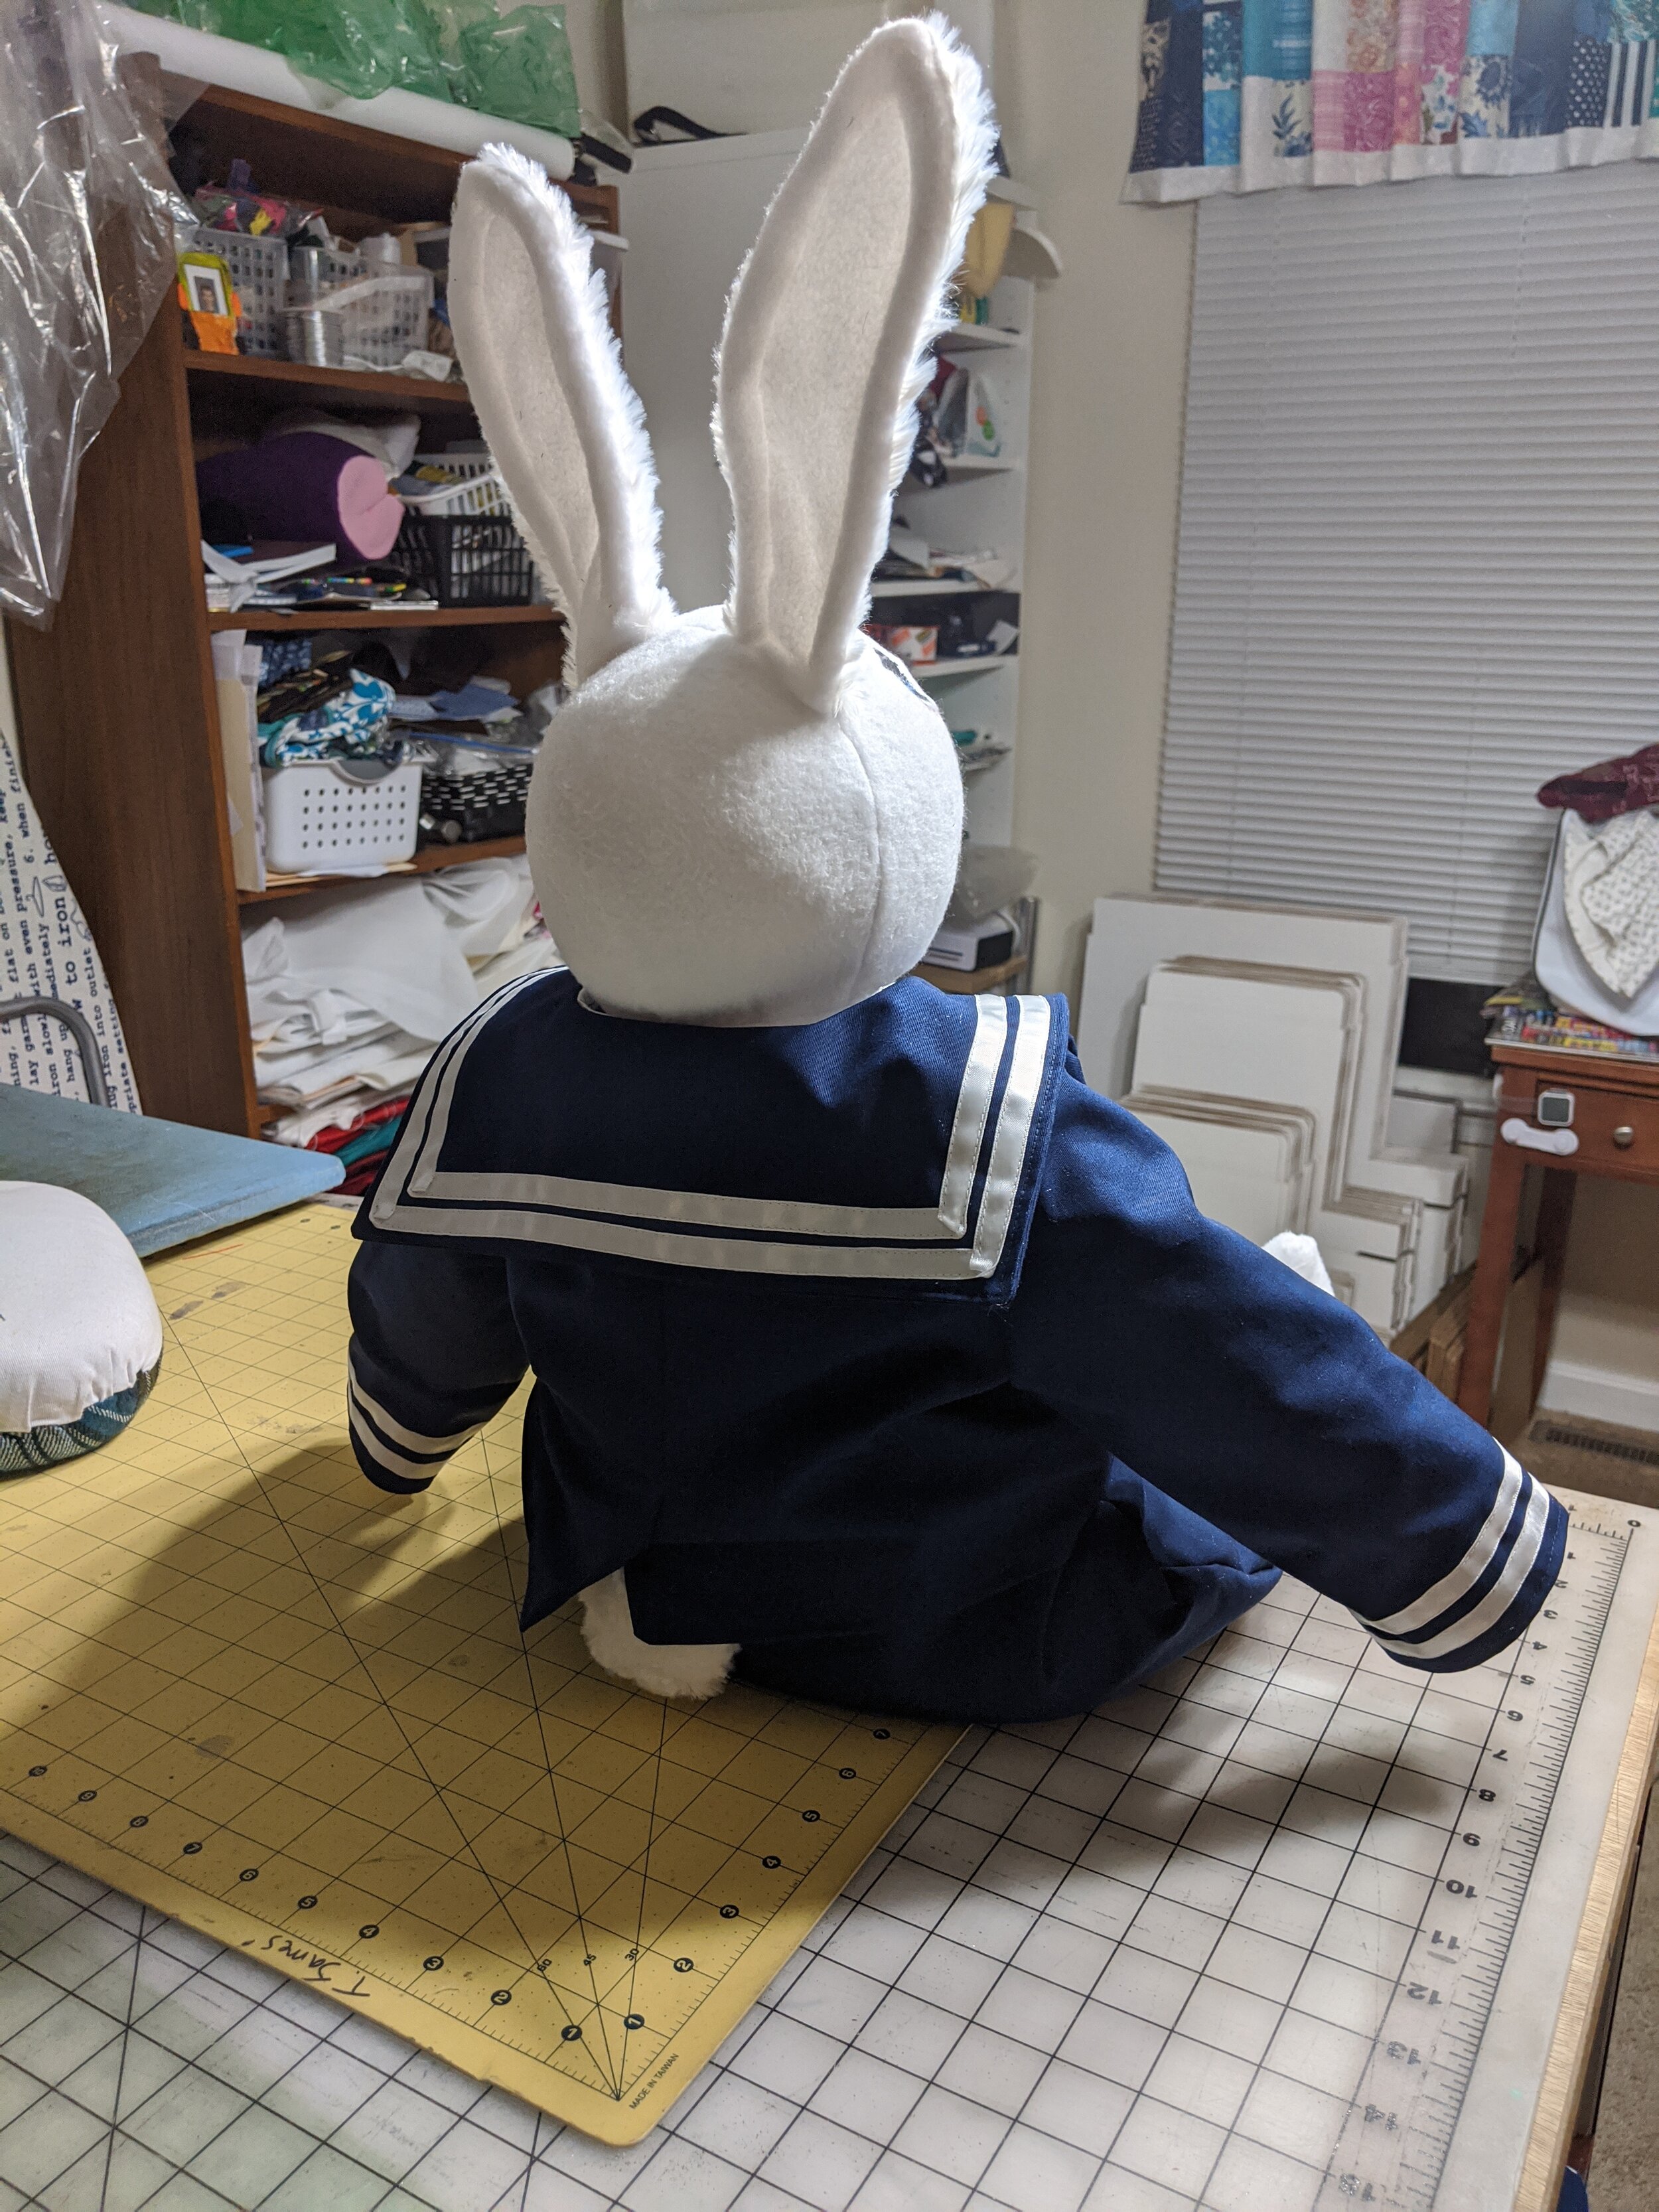
For the sailor outfit, I used plain blue fabric and white bias tape. I own a pattern for a suit coat from Peek-a-boo patterns, so I modified that. I used the 2T size but made it much shorter. I used the harem pants pattern again. For the sailor collar, I looked at a lot of pictures and thankfully found a pattern for one so I could see how they are made, then I drafted one to fit my pattern. I also decided to use satin as the lining so it can slip off and on easily. Like the dress and hobo top, it closes with velcro. I ended up buying a pattern on Etsy for the sailor hat. I think a different fabric would have been better, but I used fleece. I didn’t have other plain white fabric and didn’t want to run back to the store.
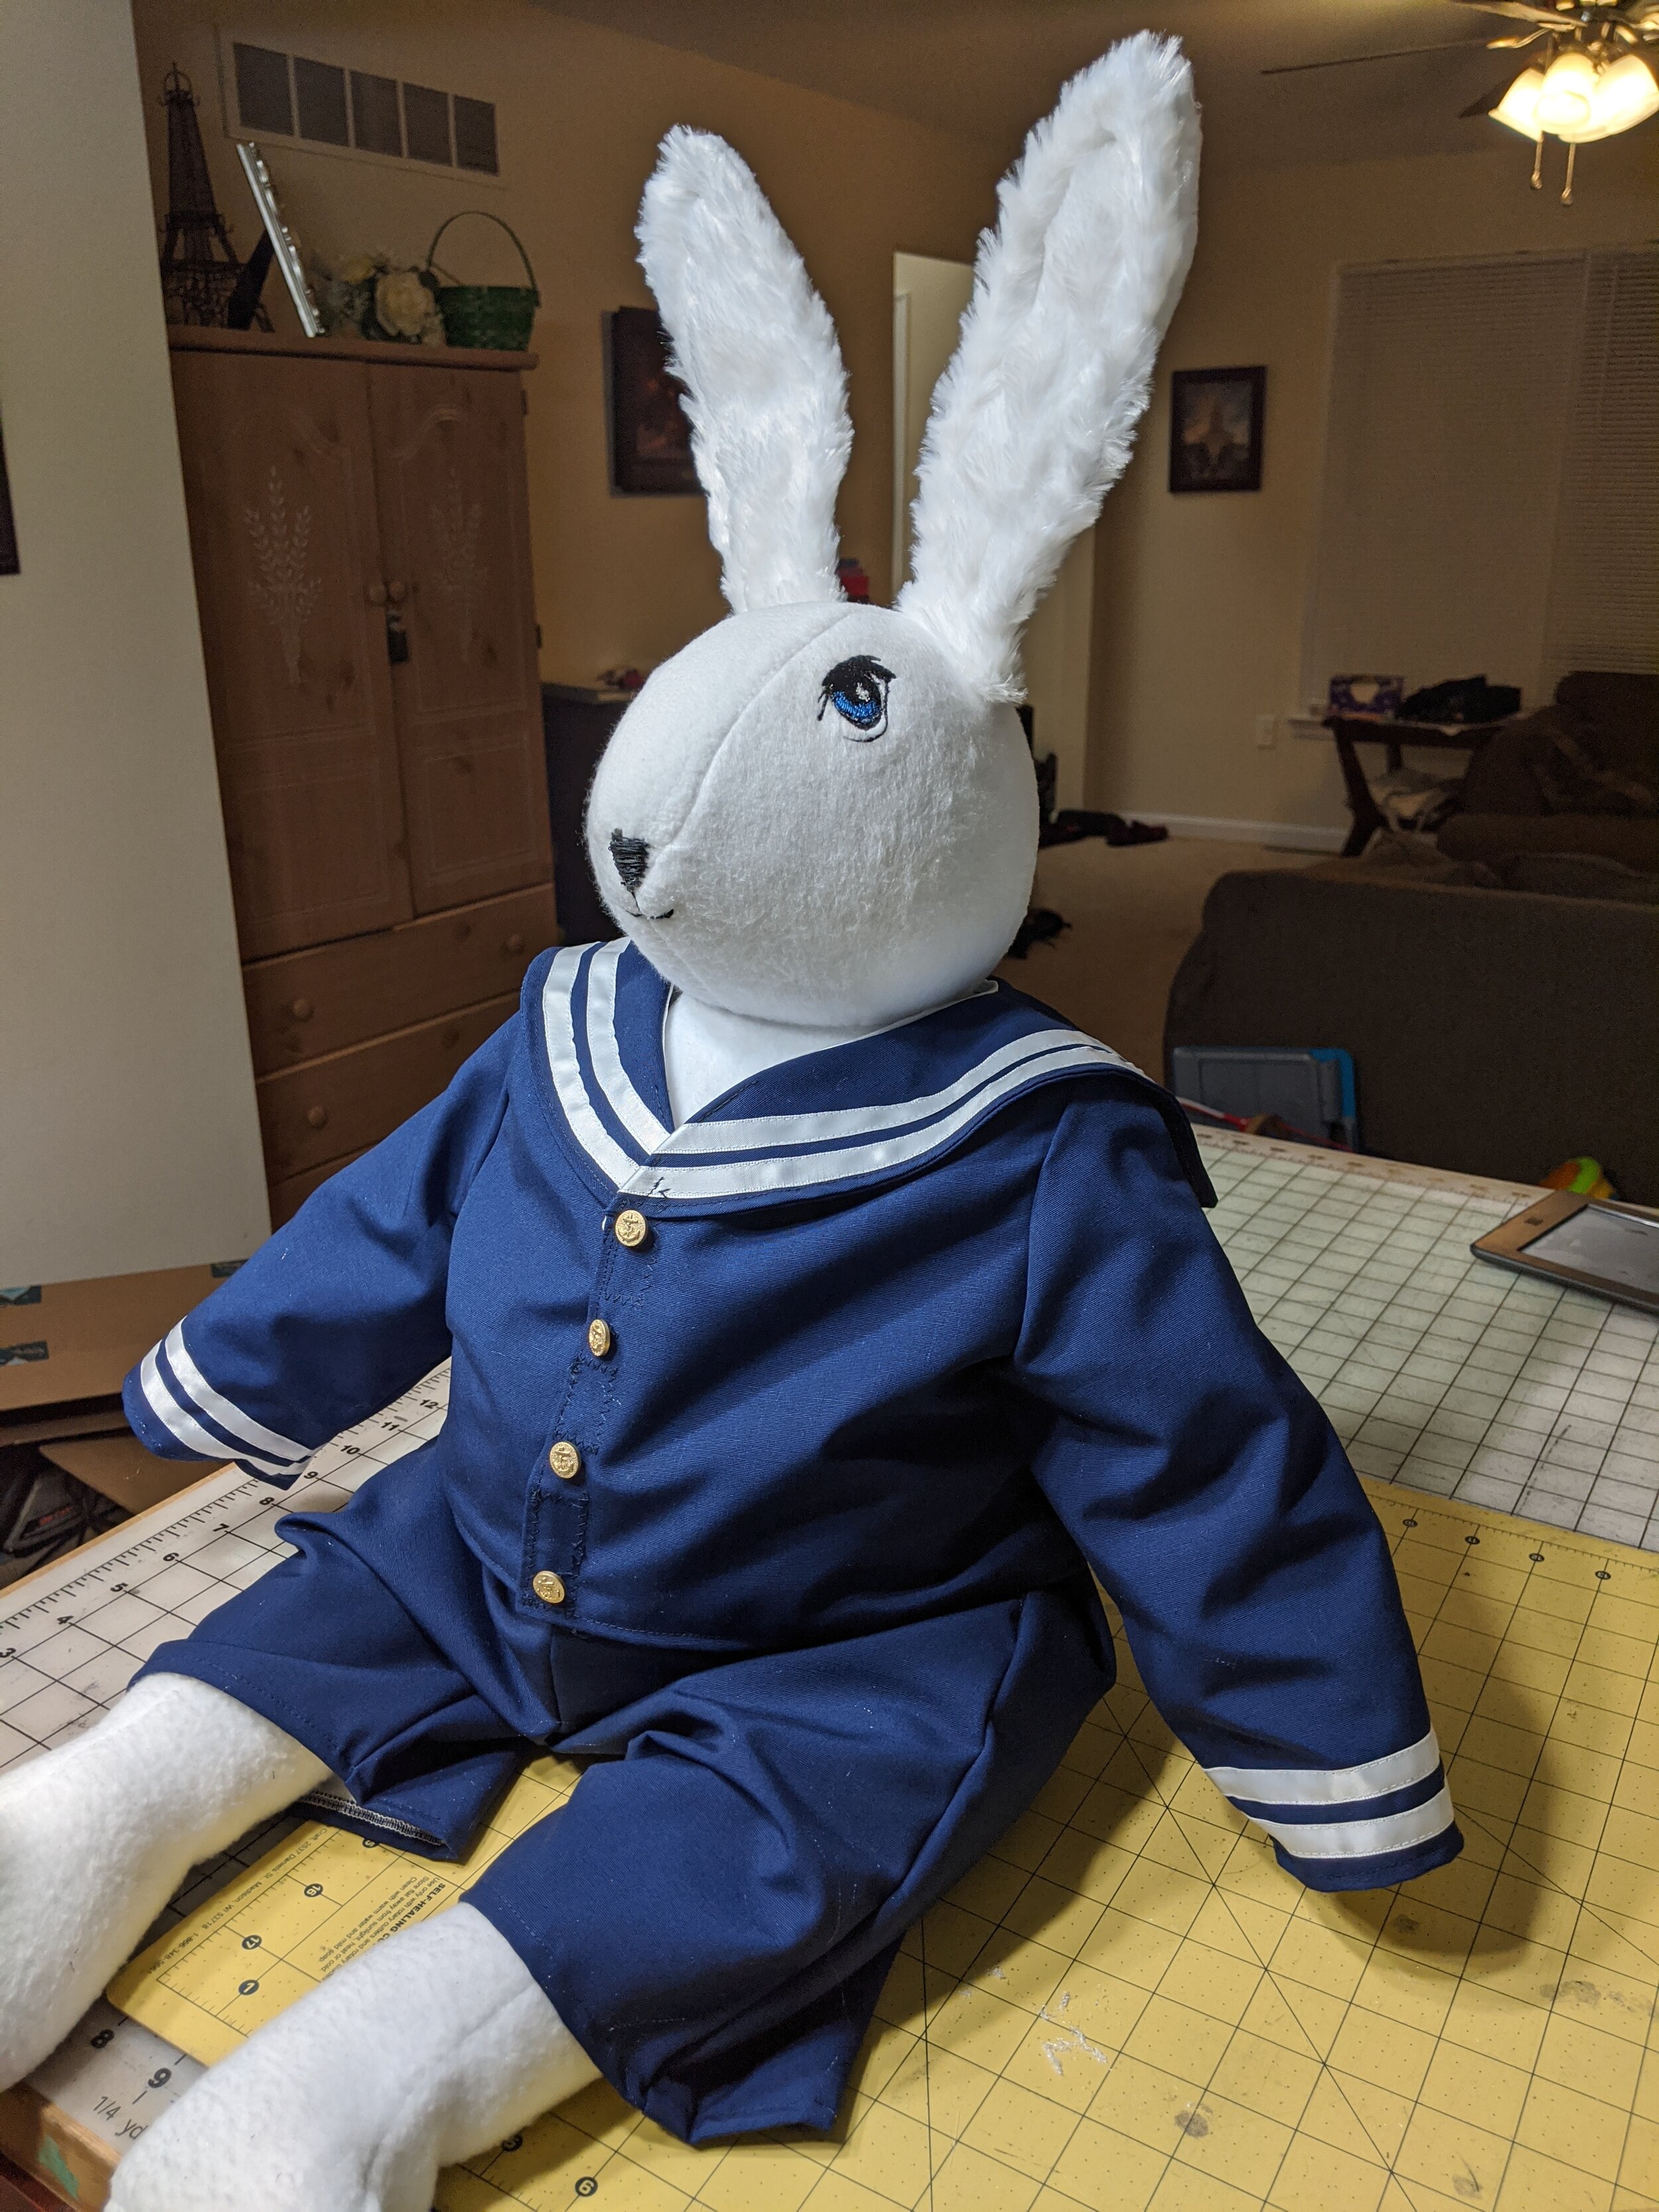

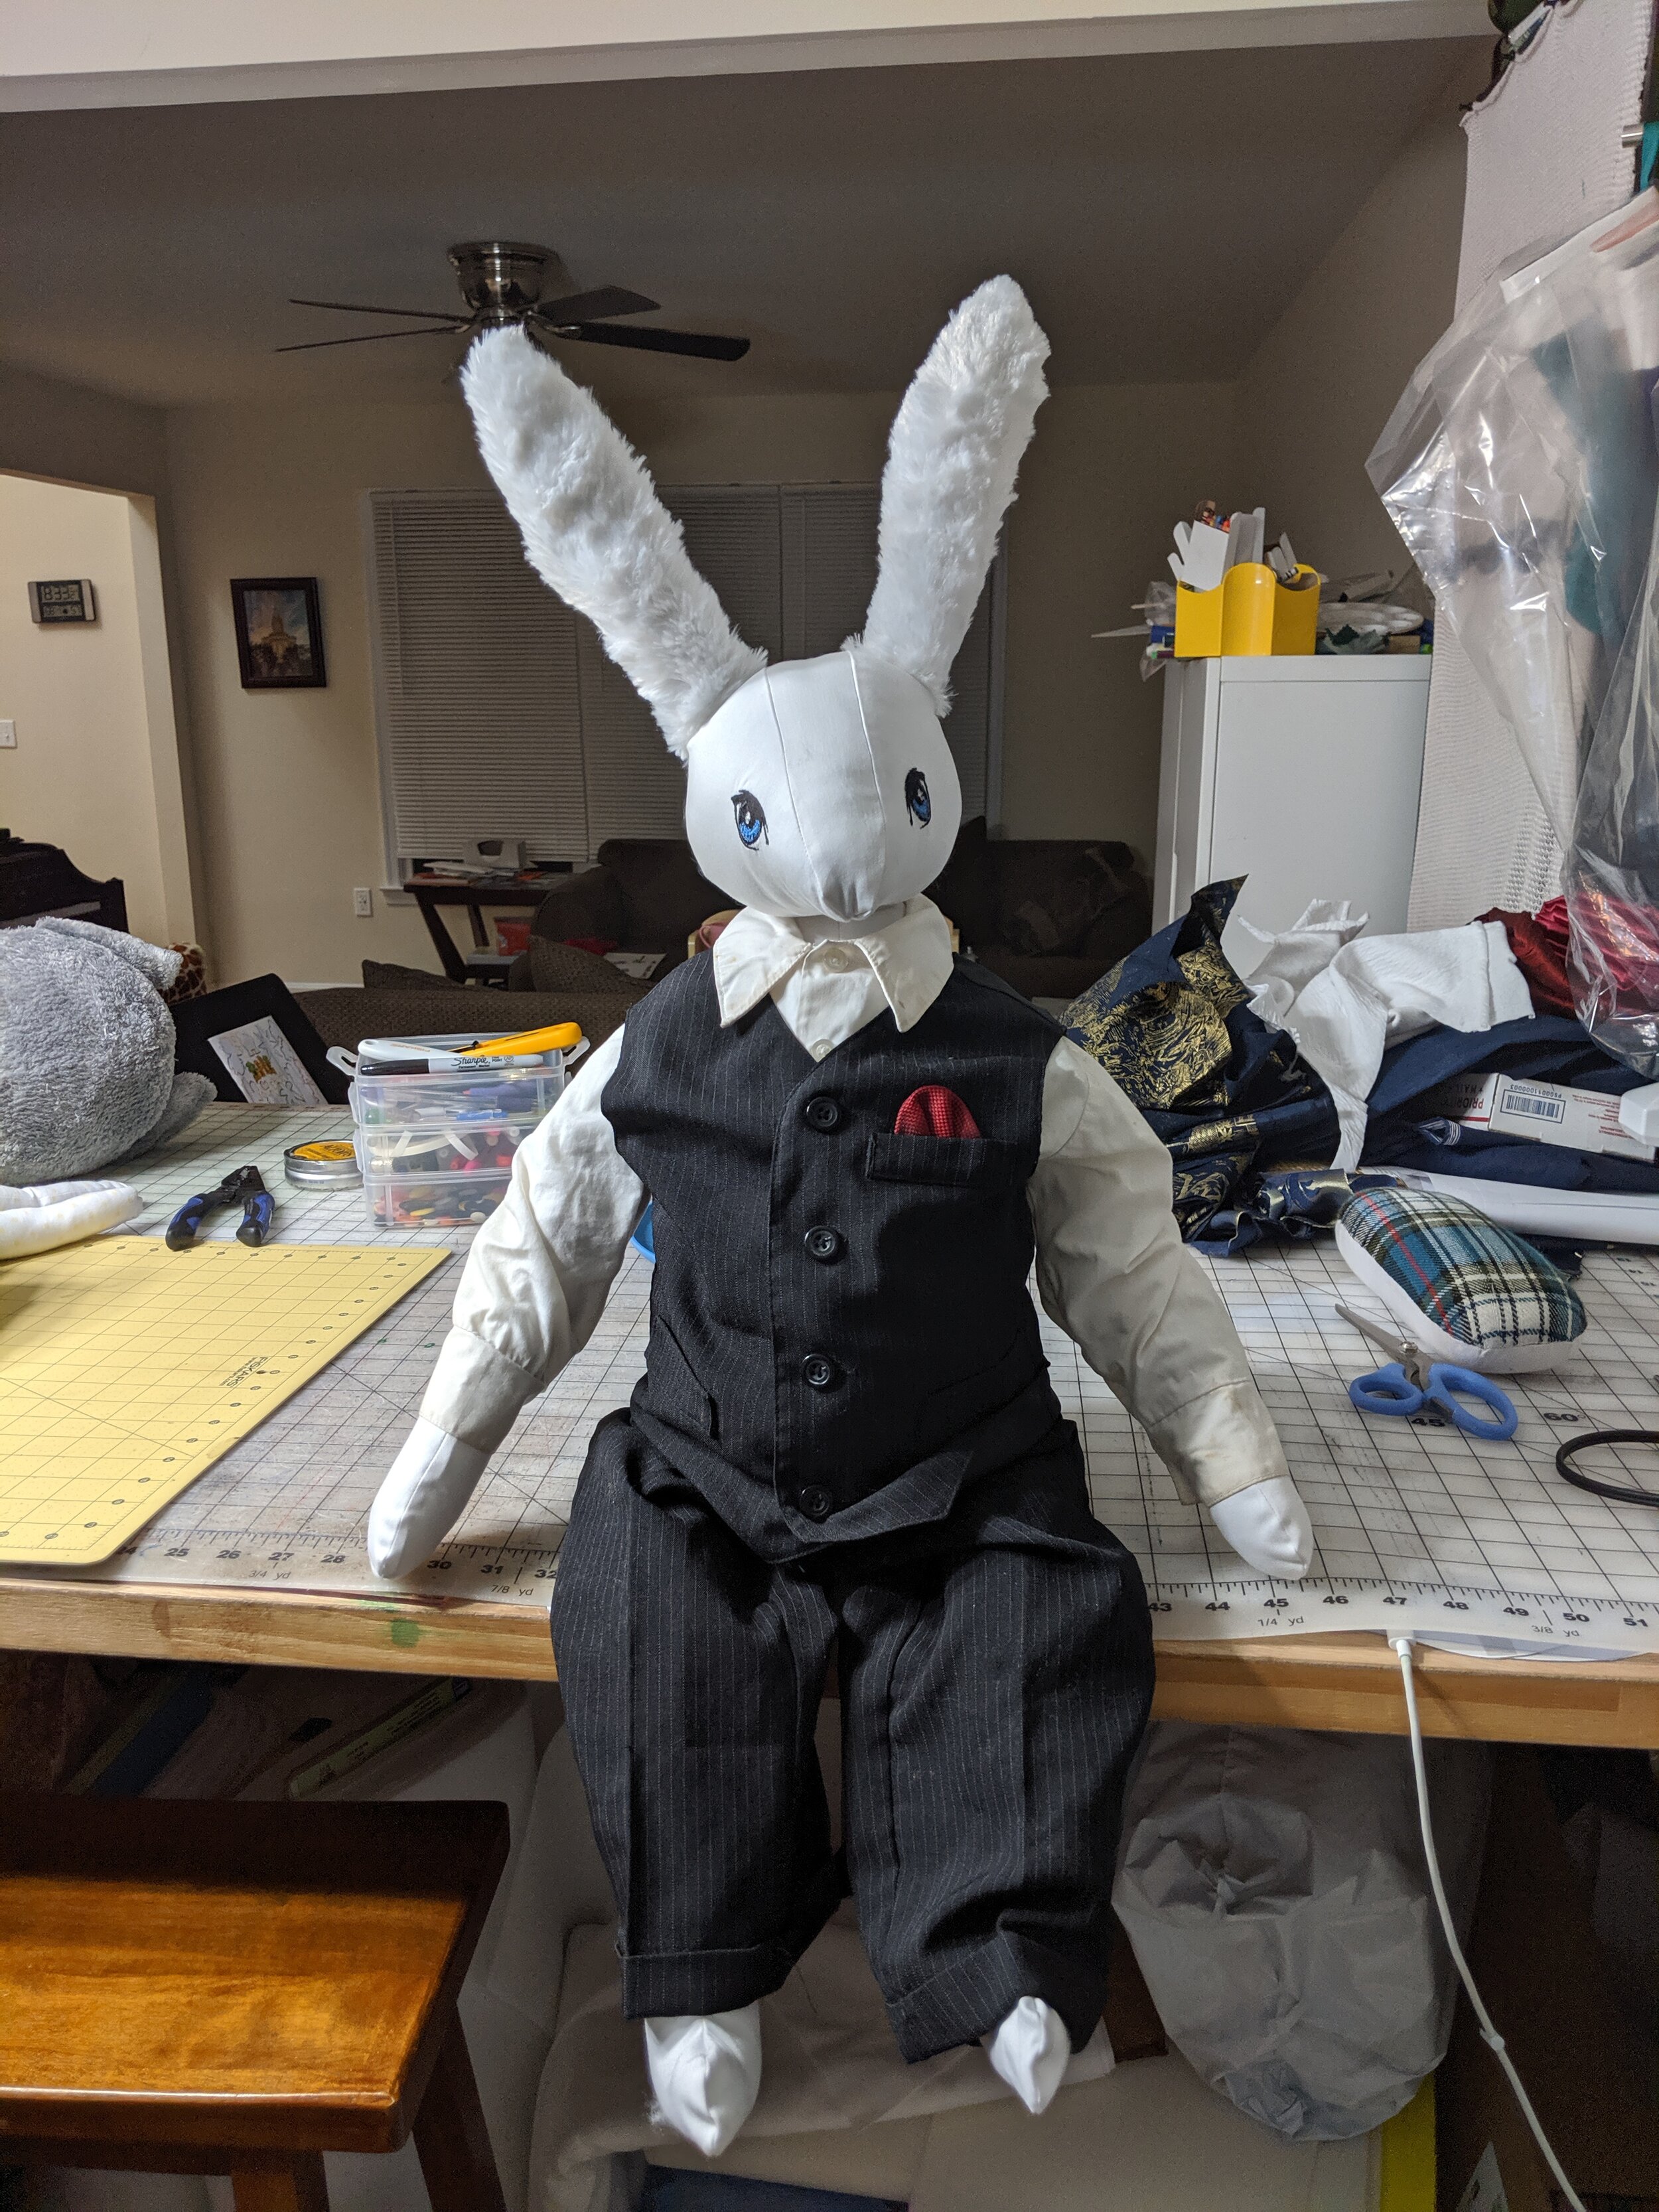
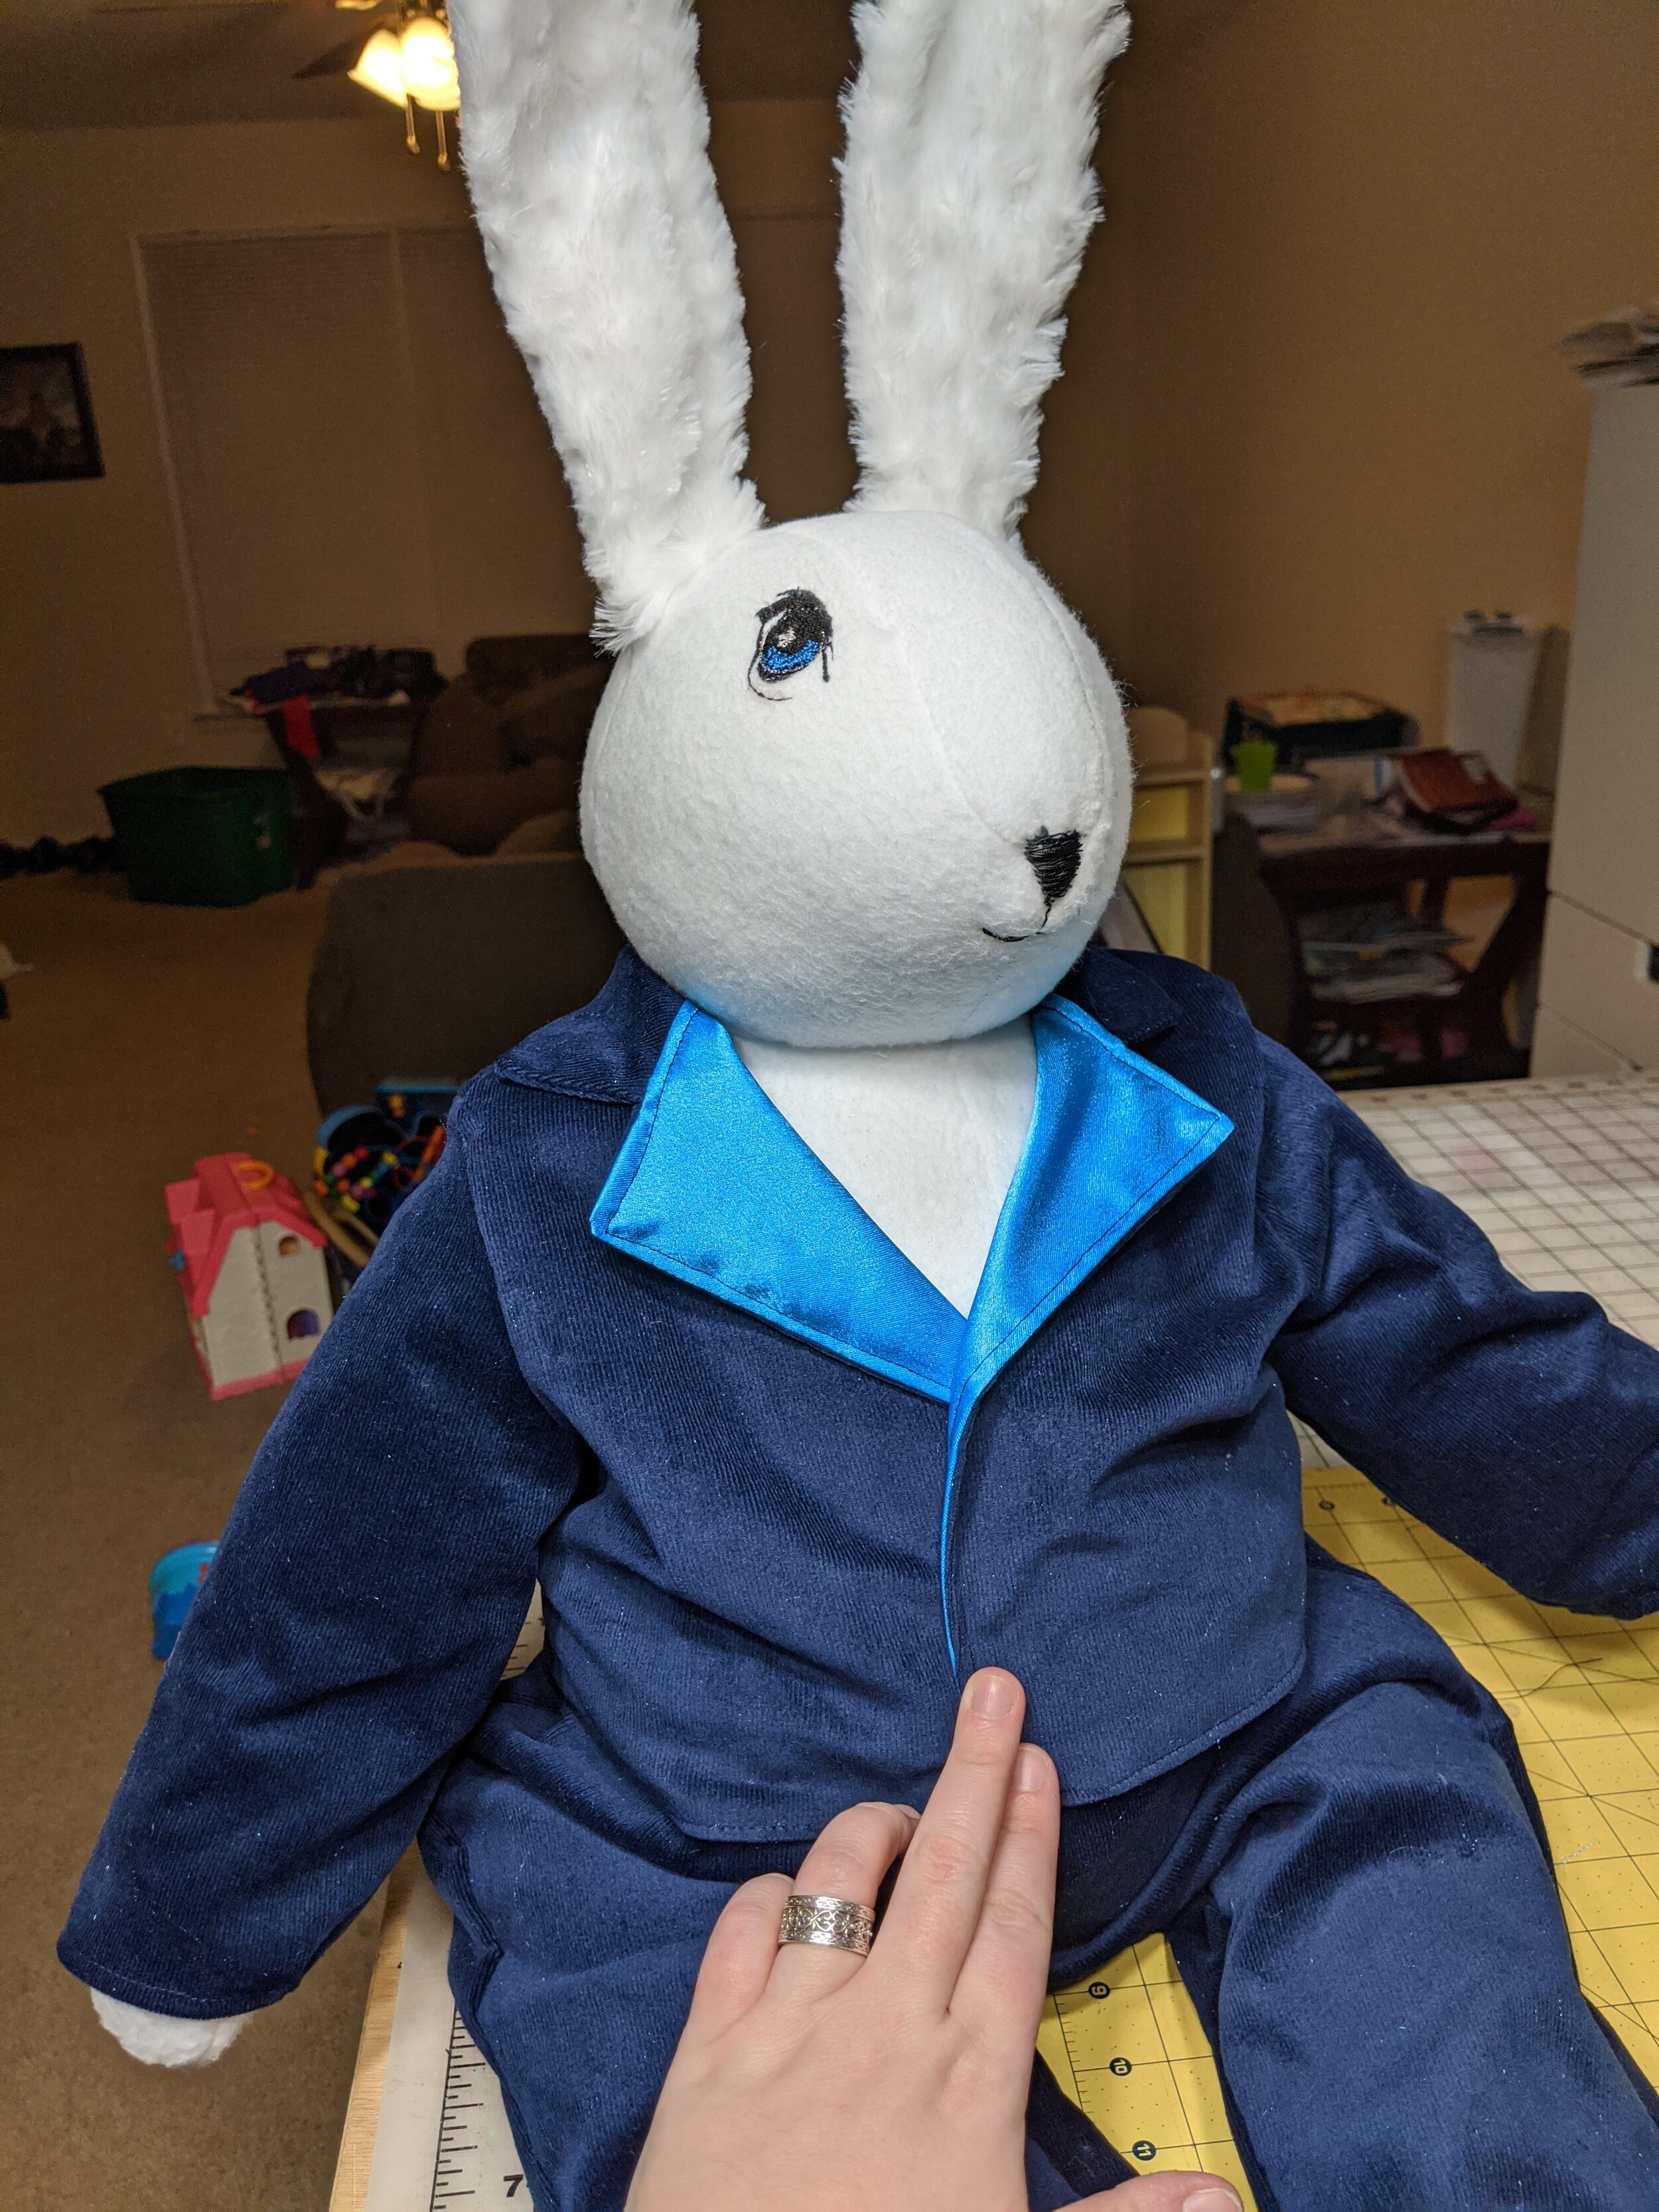
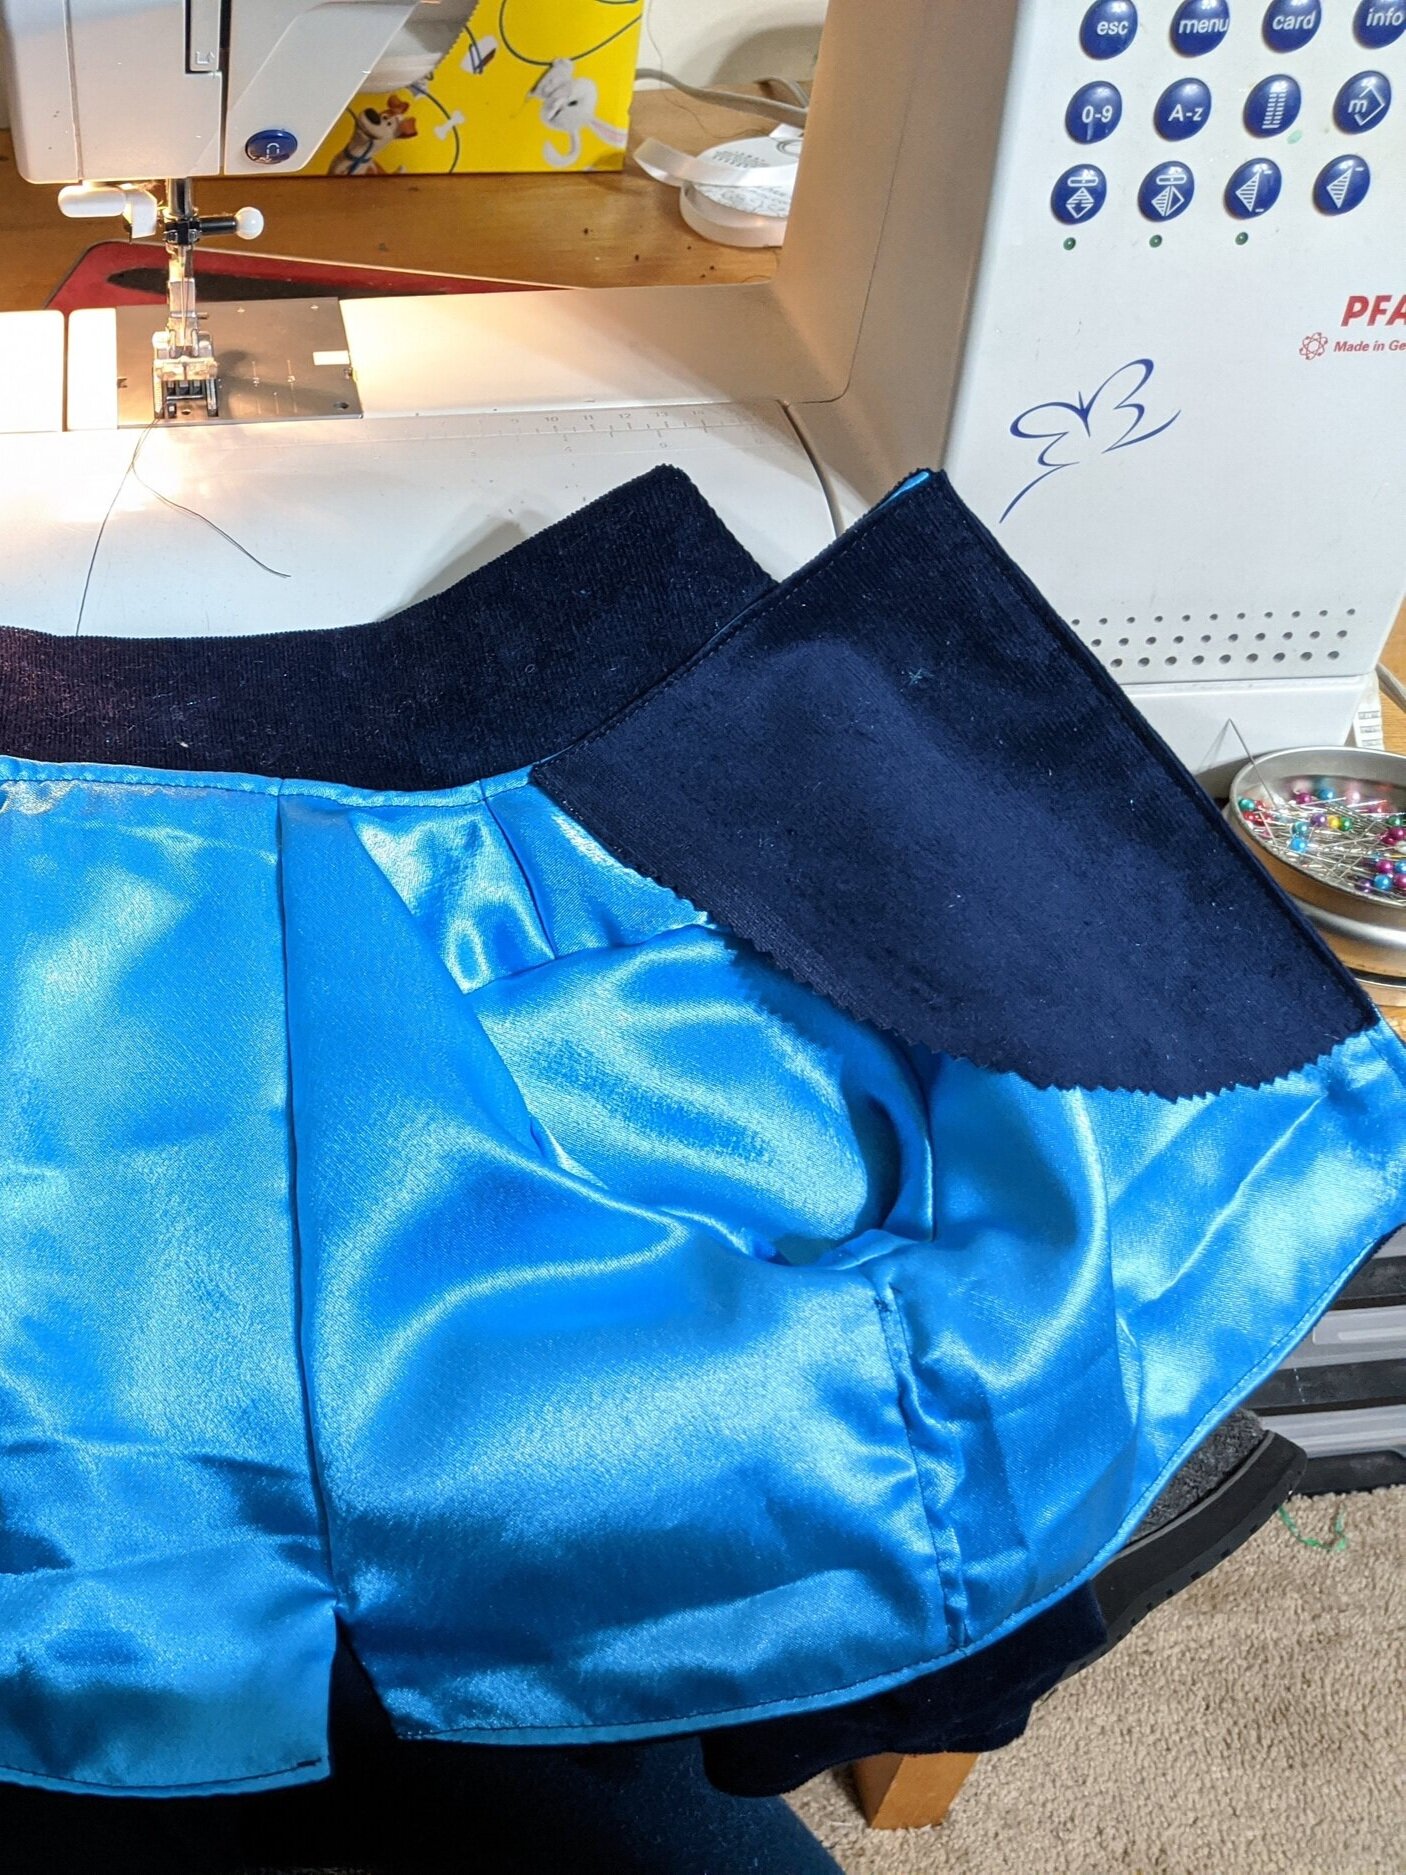
The sleeves were a little long, so I shortened them for the next one. The final outfit was a suit. It was supposed to be navy pinstripe, but I couldn’t find fabric like that in my local store, so I bought navy corduroy. I used the same suit pattern and harem pants pattern. For this suit, I lined everything with satin as well for easy clothing changes. Unfortunately, I didn’t cut the correct fabric for the inside front of the jacket. I used satin there, and the final result did NOT look right. It looked like Hugh Hefner, the rabbit! I decided to sew on a patch on each lapel to disguise my mistake. I also found a free bow tie pattern and made him a silk bow tie that fastens with velcro.
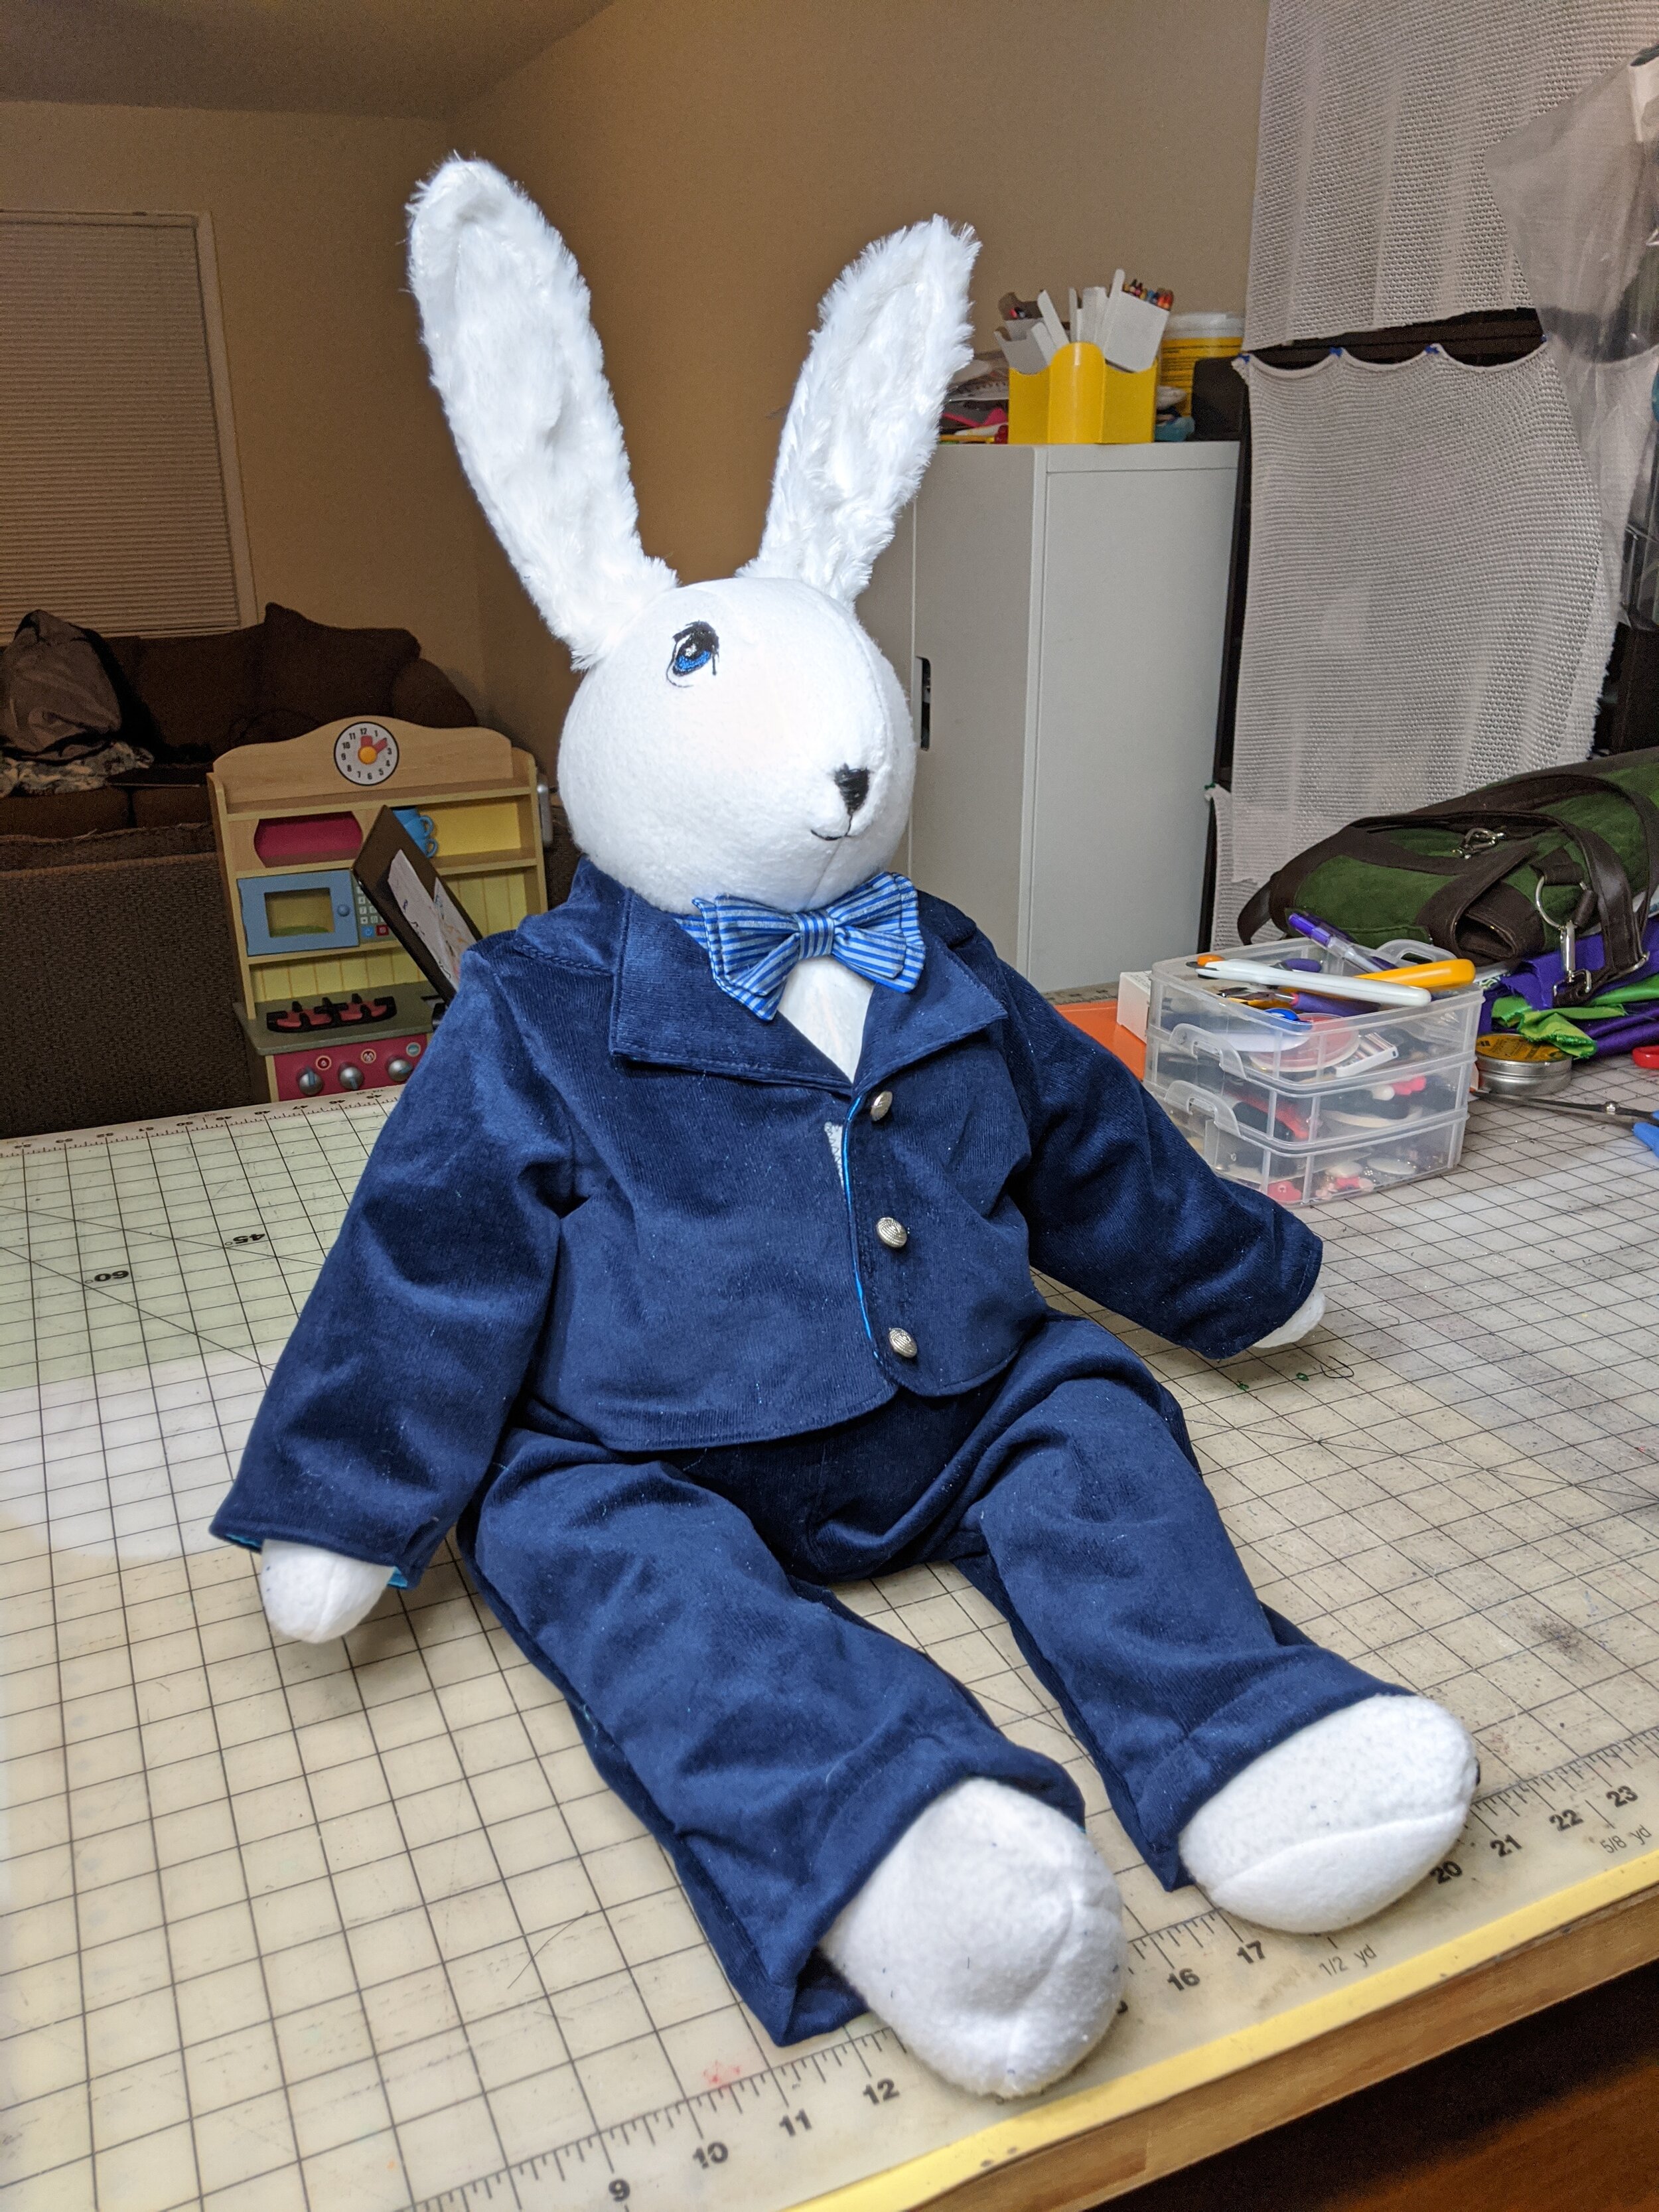
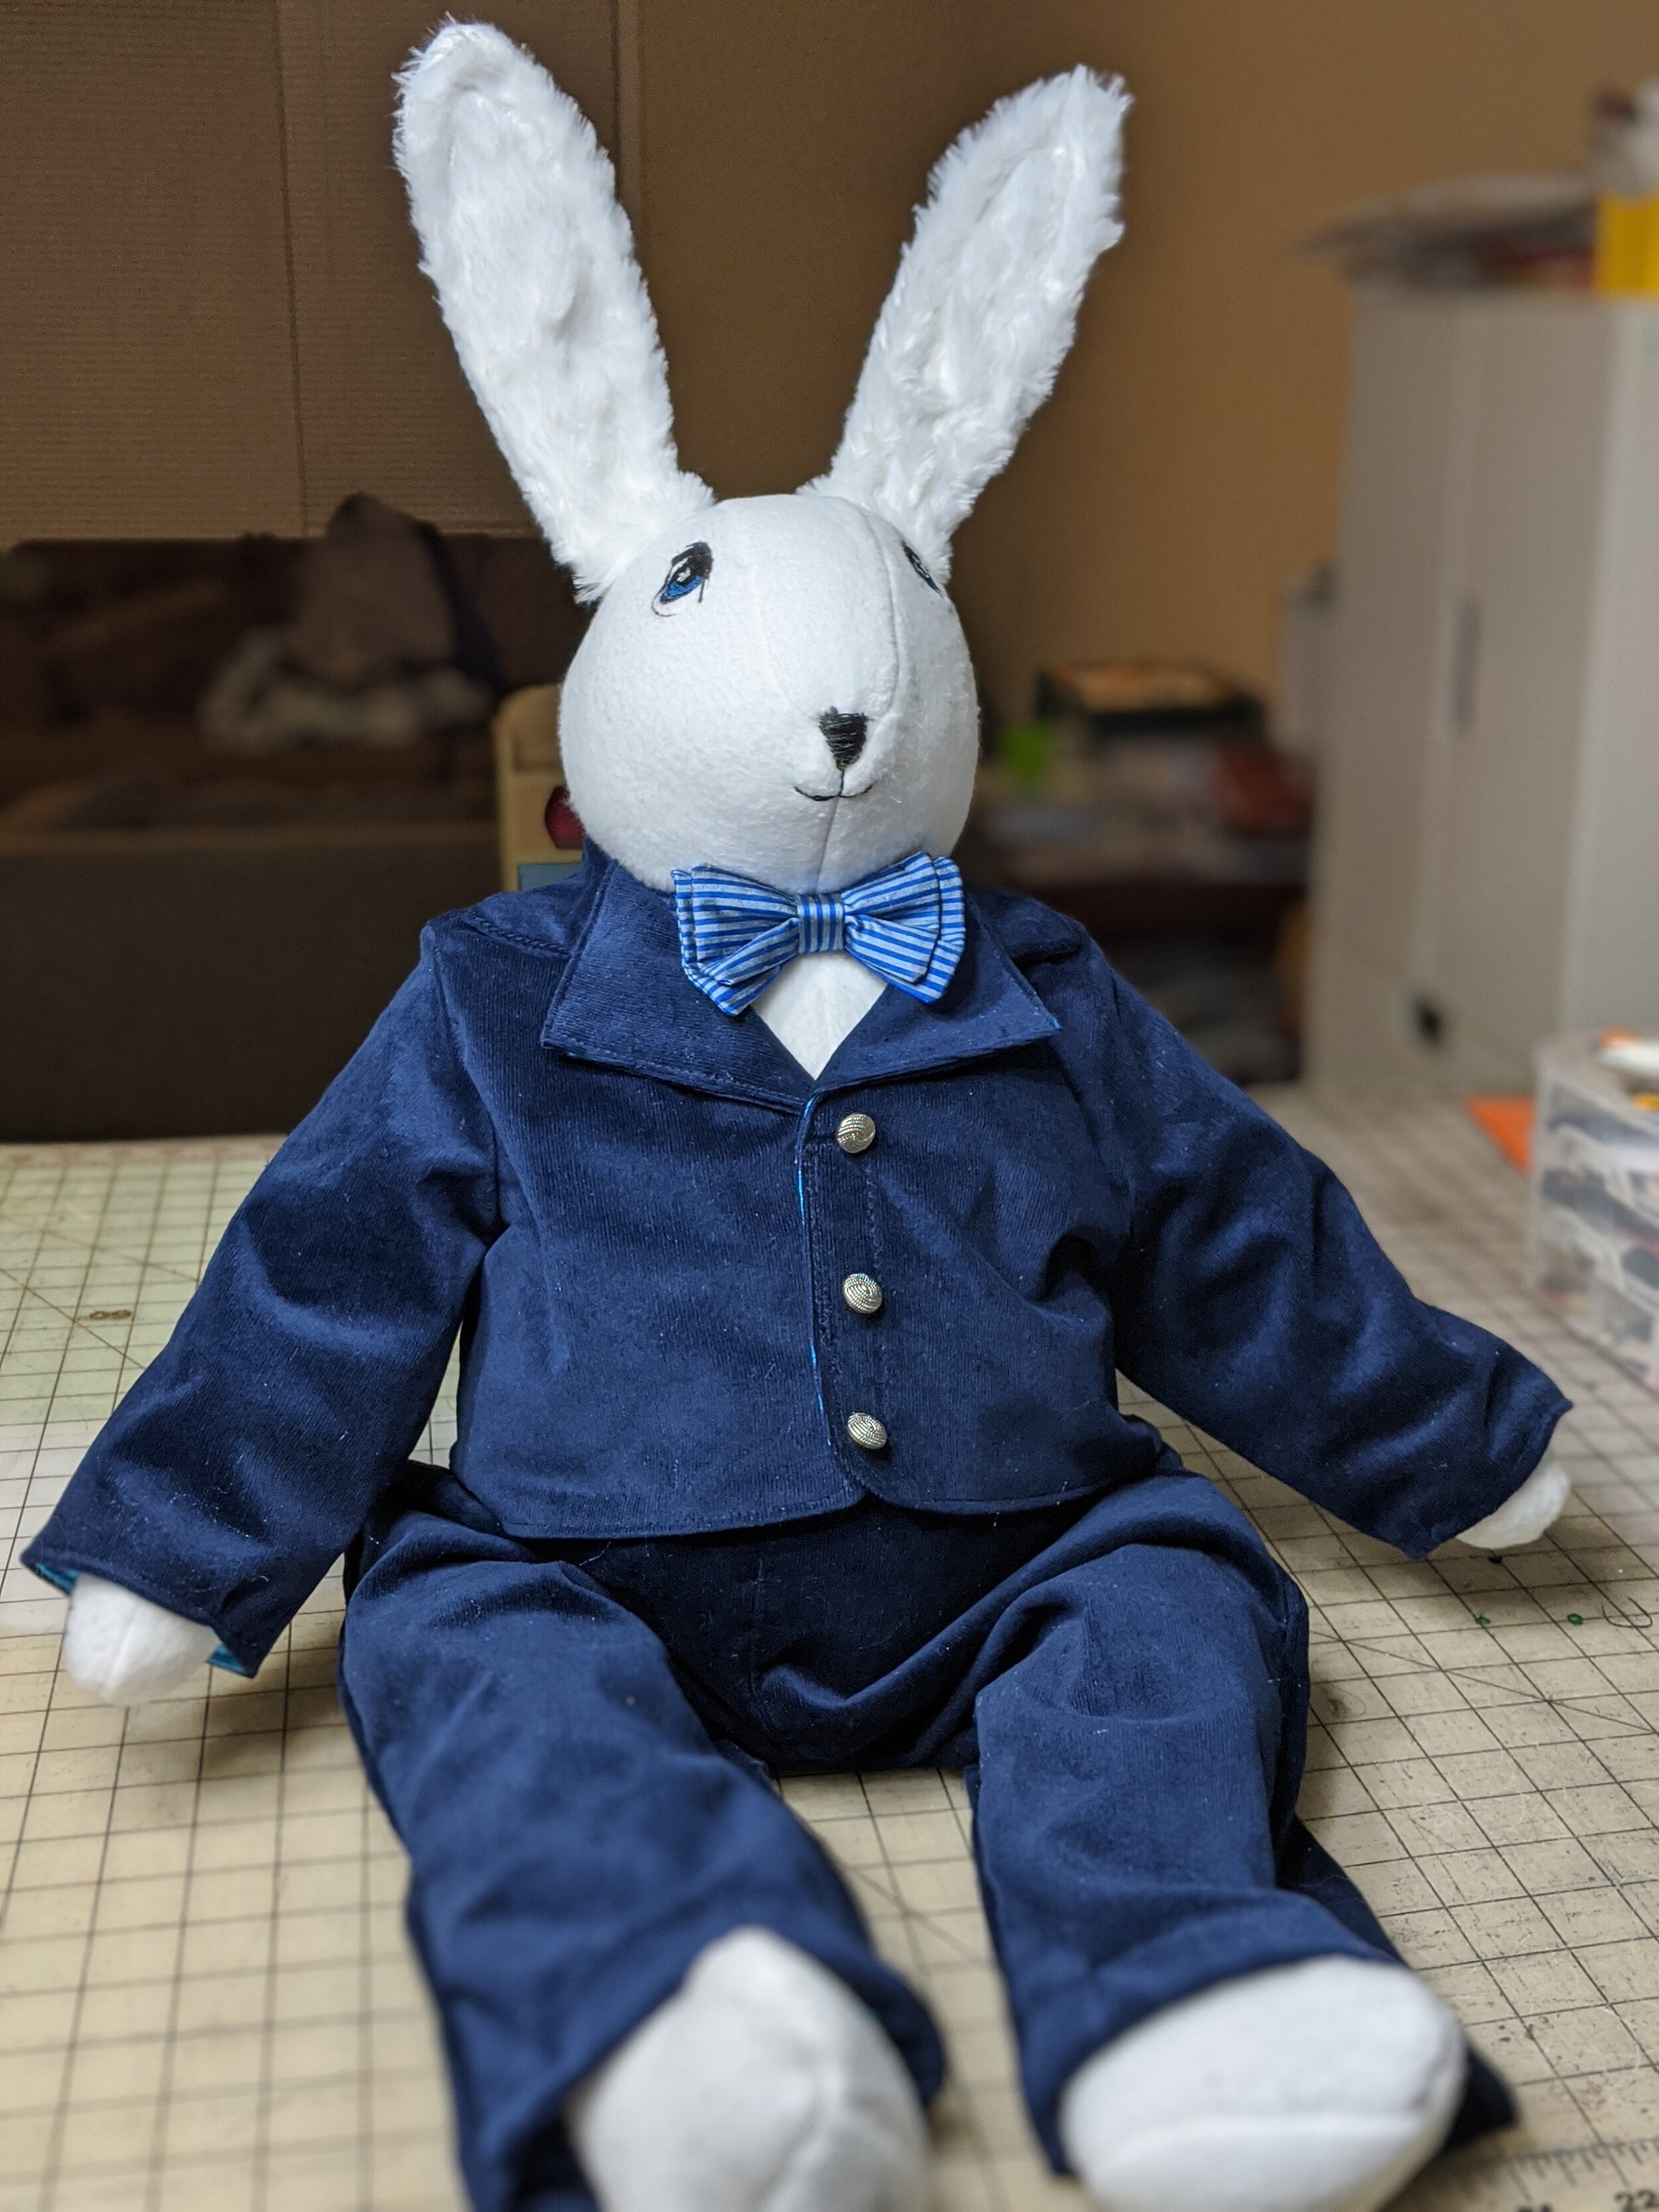
Isn’t he beautiful? I’m amazed at how well he turned out. This was a project that really stretched my skills, and I can’t wait to go see the play this week and see him in action. Here’s the link for tickets if you are here in Delaware!
**March 22, 2022: Answers to a couple frequent questions.
Unfortunately, this is a huge project and I will not be able to make it for your theater production. It takes a lot of work and materials and you probably can’t afford to pay me what I would need to make it worth it for me. (Also, I don’t want to.)
Yes, I can give you my pattern! It is untested and a little rough. It doesn’t have illustrations like my normal patterns, just a list of written instructions along with my pattern pieces. I list off the exact sewing patterns I used for clothes but I don’t remember all the adjustments I made to make them work, it just gives you a starting place. It is now available with my free tutorials.
Also, I made another rabbit from this pattern with a few adjustments. I used less stretchy fabric, so the bunny is slimmer. I lengthened the limbs and sewed them straight into the seams instead of using joints. The photos are in this blog entry.