
Flourish Sew-a-long, Day 4: Sewing the rest
On Day 4 of the Flourish Sew-a-long, we will finish all the sewing! Only one more day left.
Here's the schedule:
November 14th: Fabric, Frames, and Interfacing
November 15th: Cutting out all the fabric and interfacing
November 16th: Sewing the exterior
November 17th: Sewing the interior, sewing them together
November 18th: Gluing or sewing on the frame
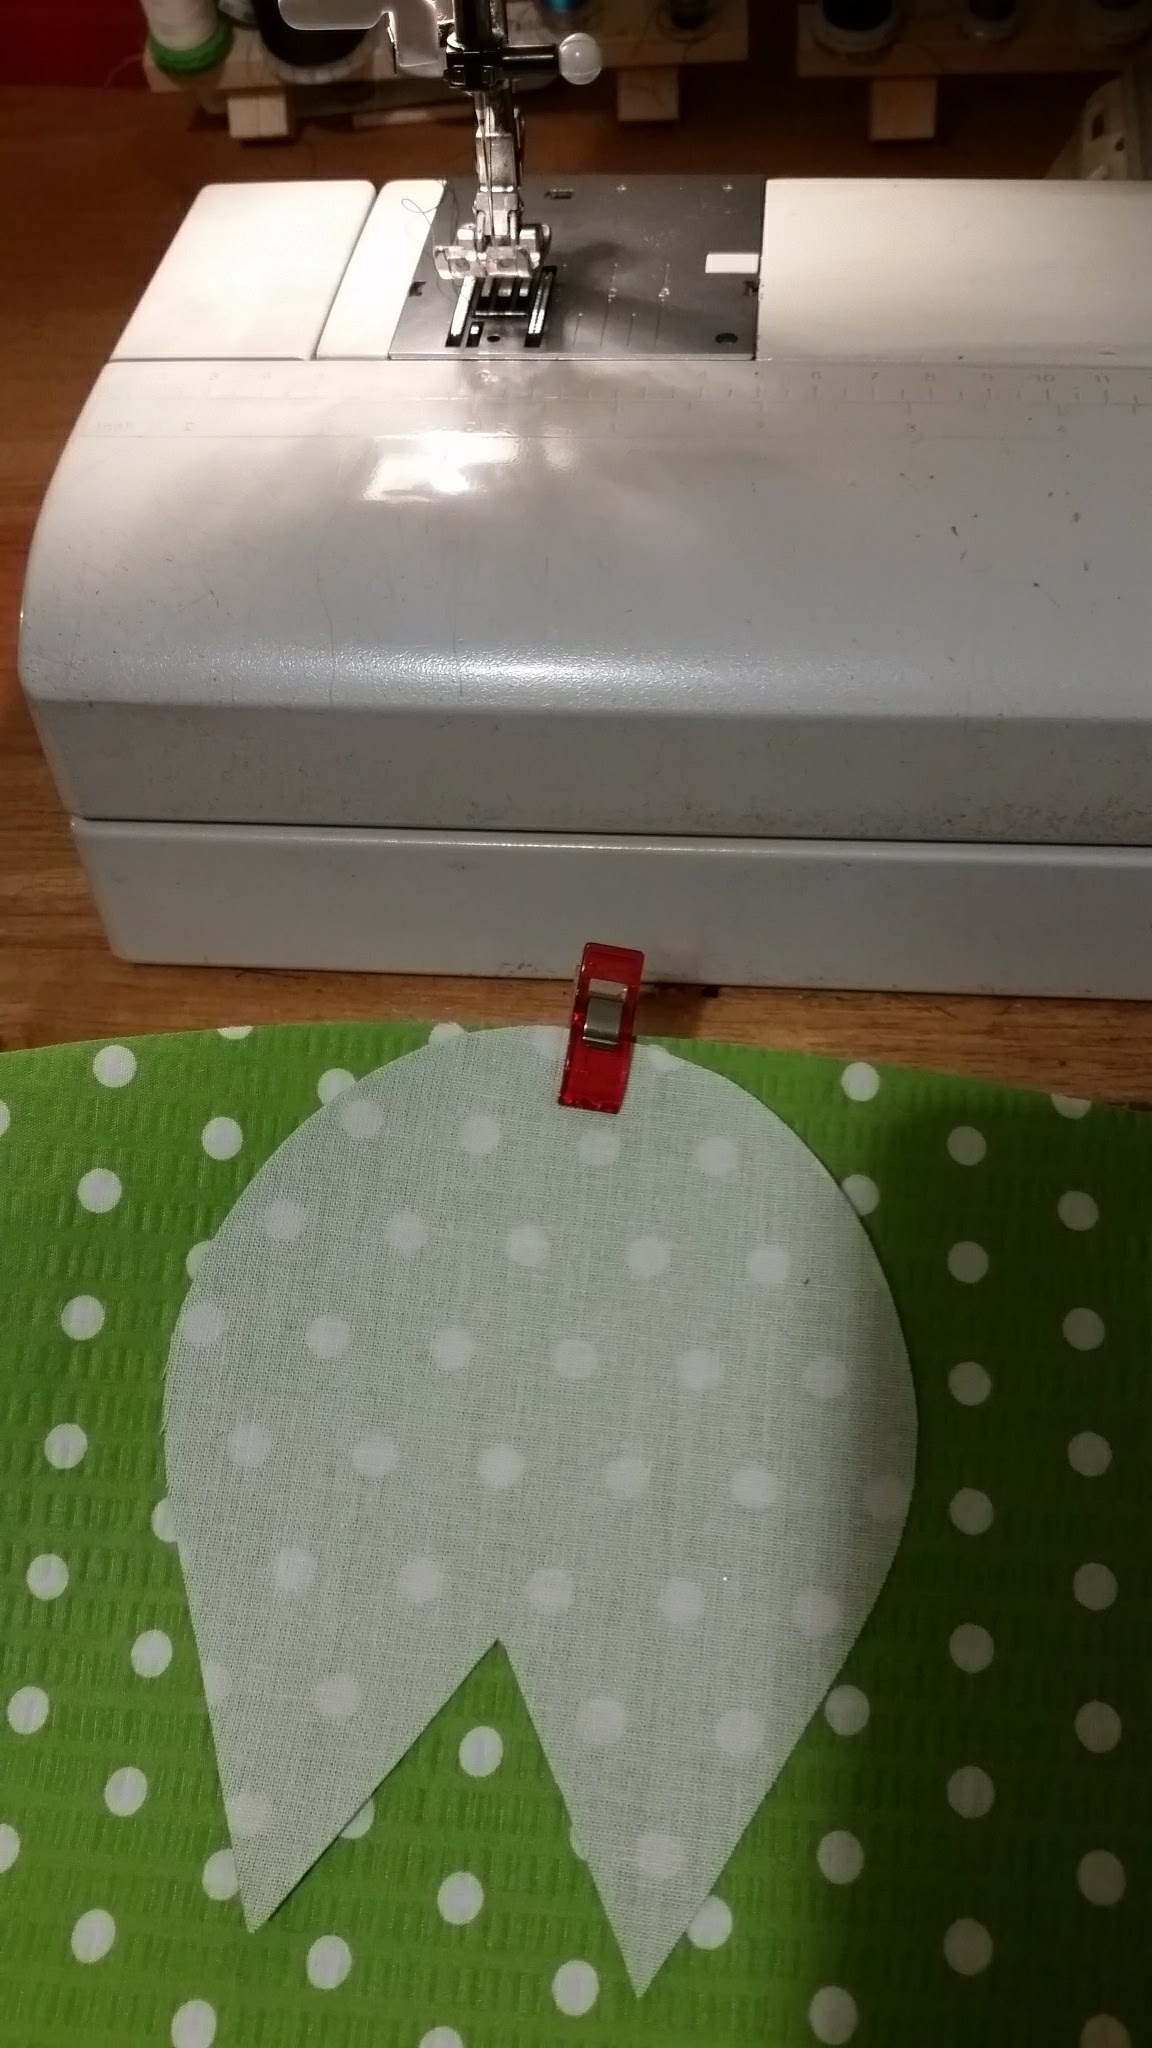
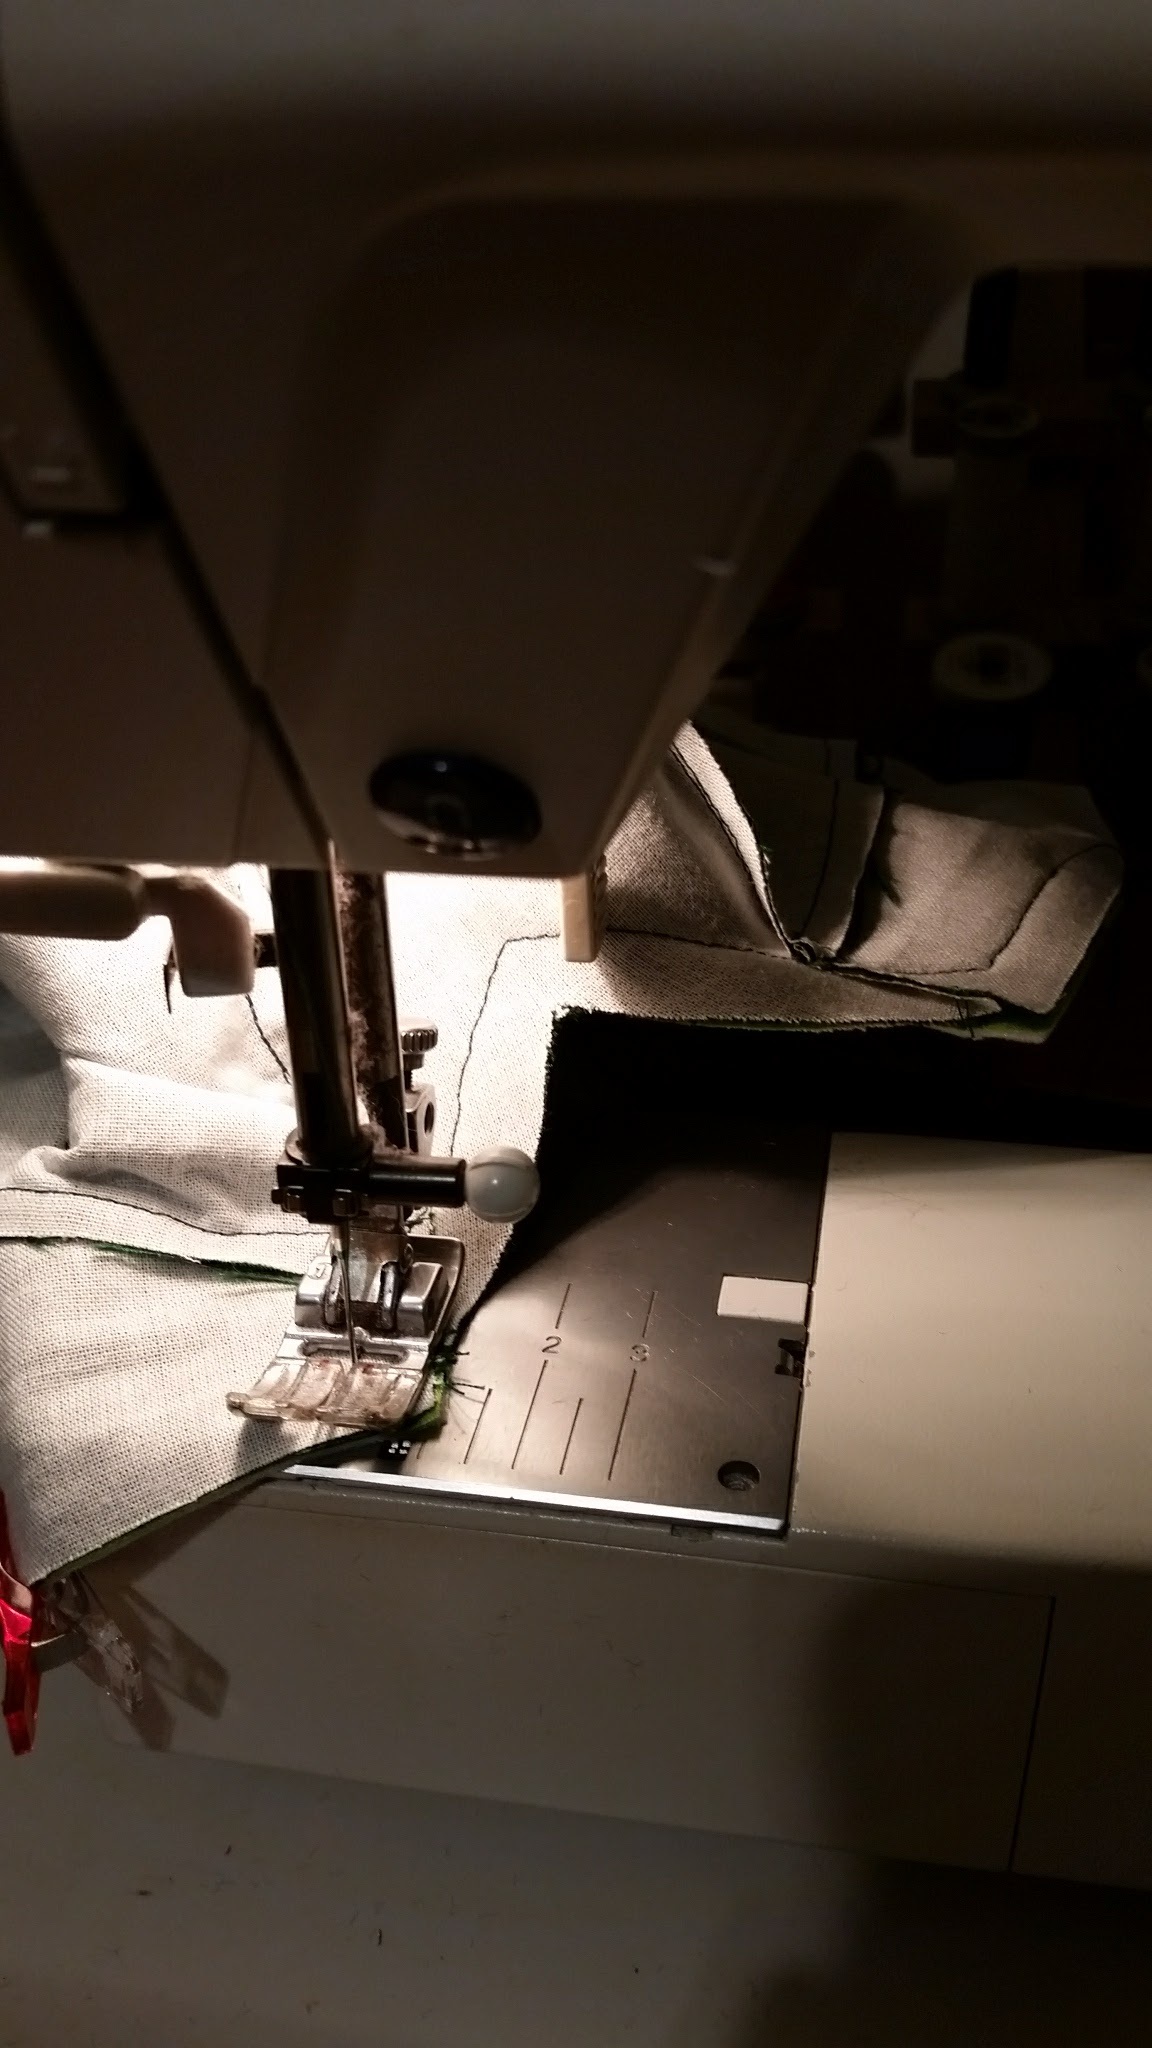
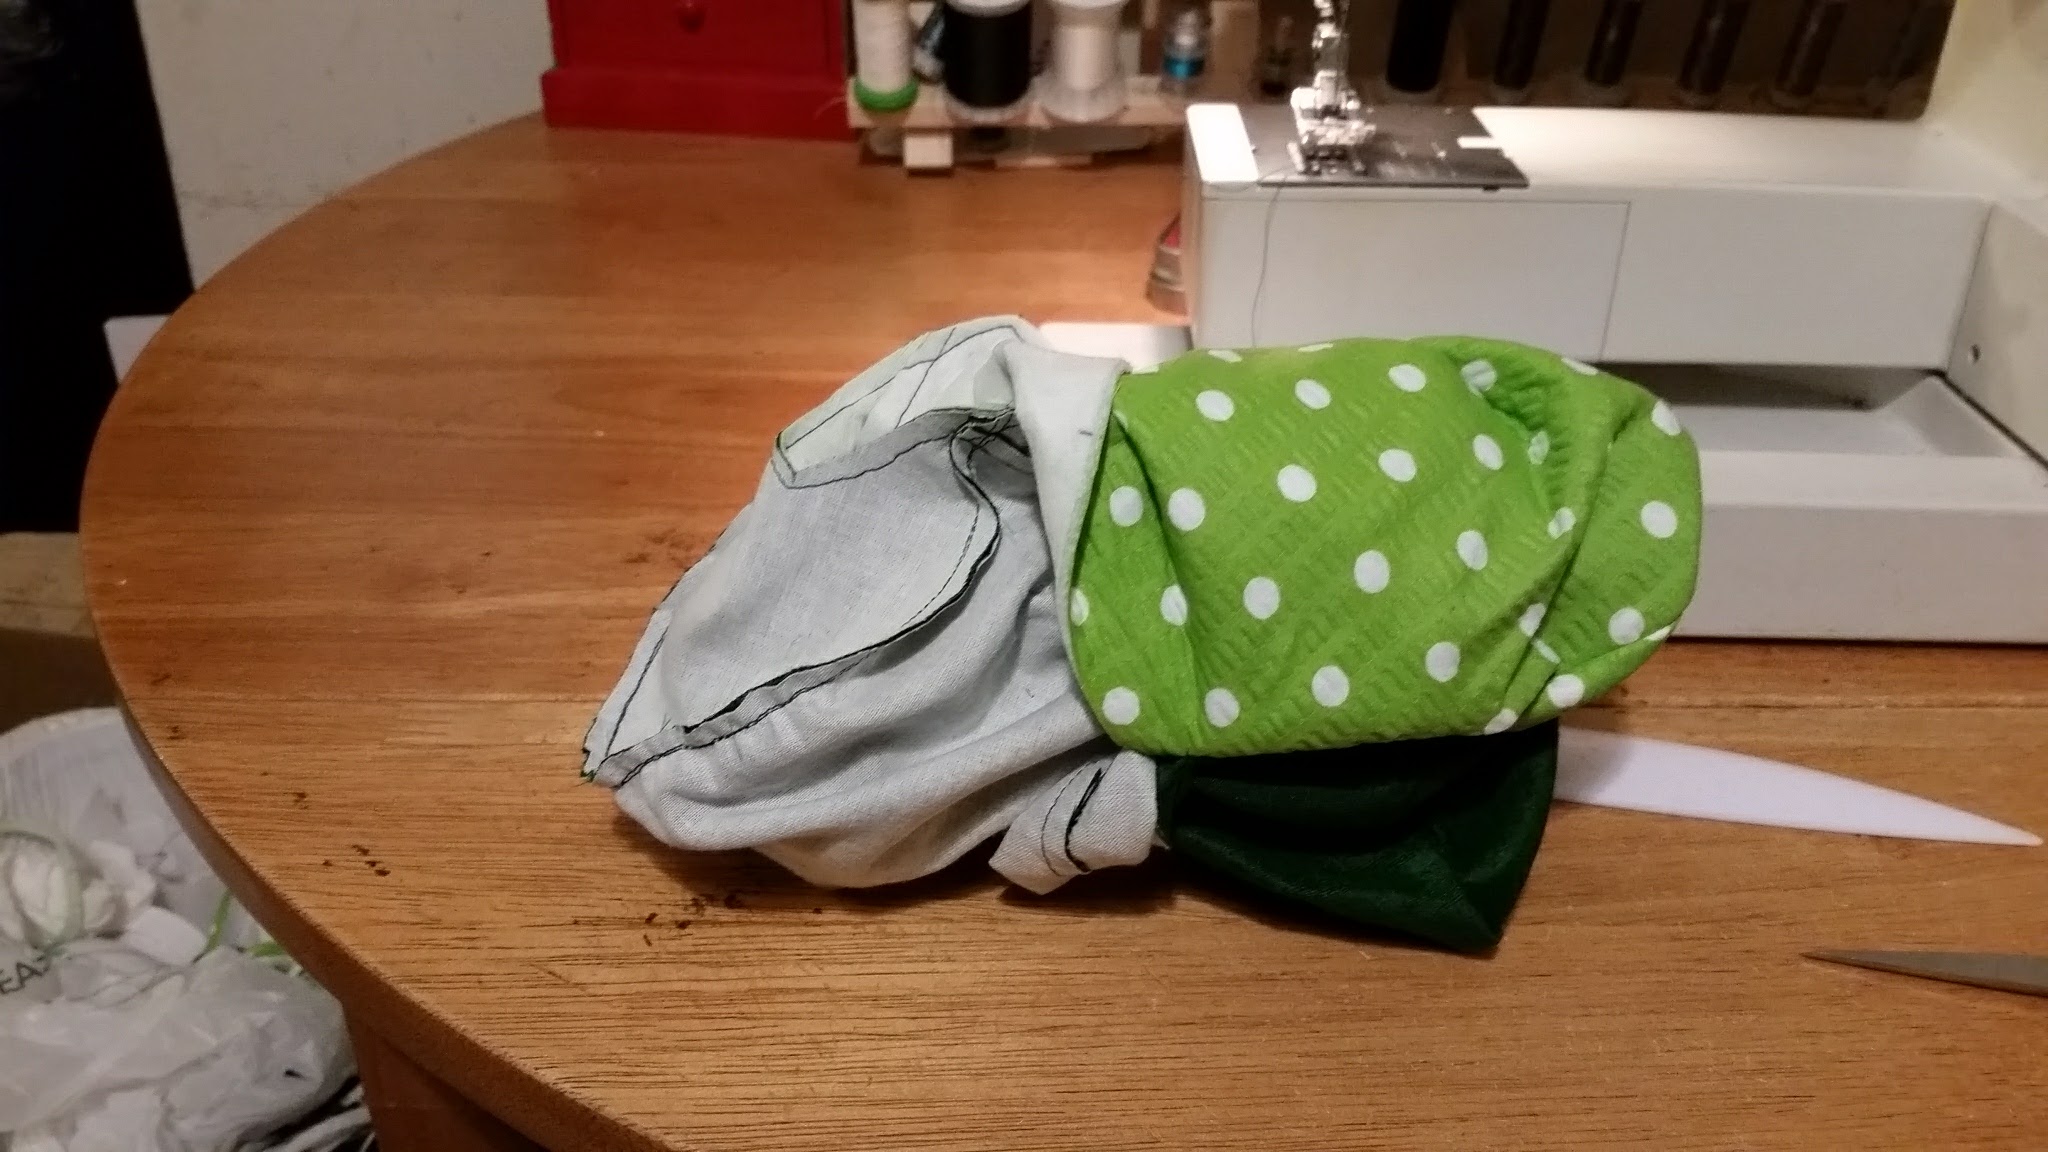
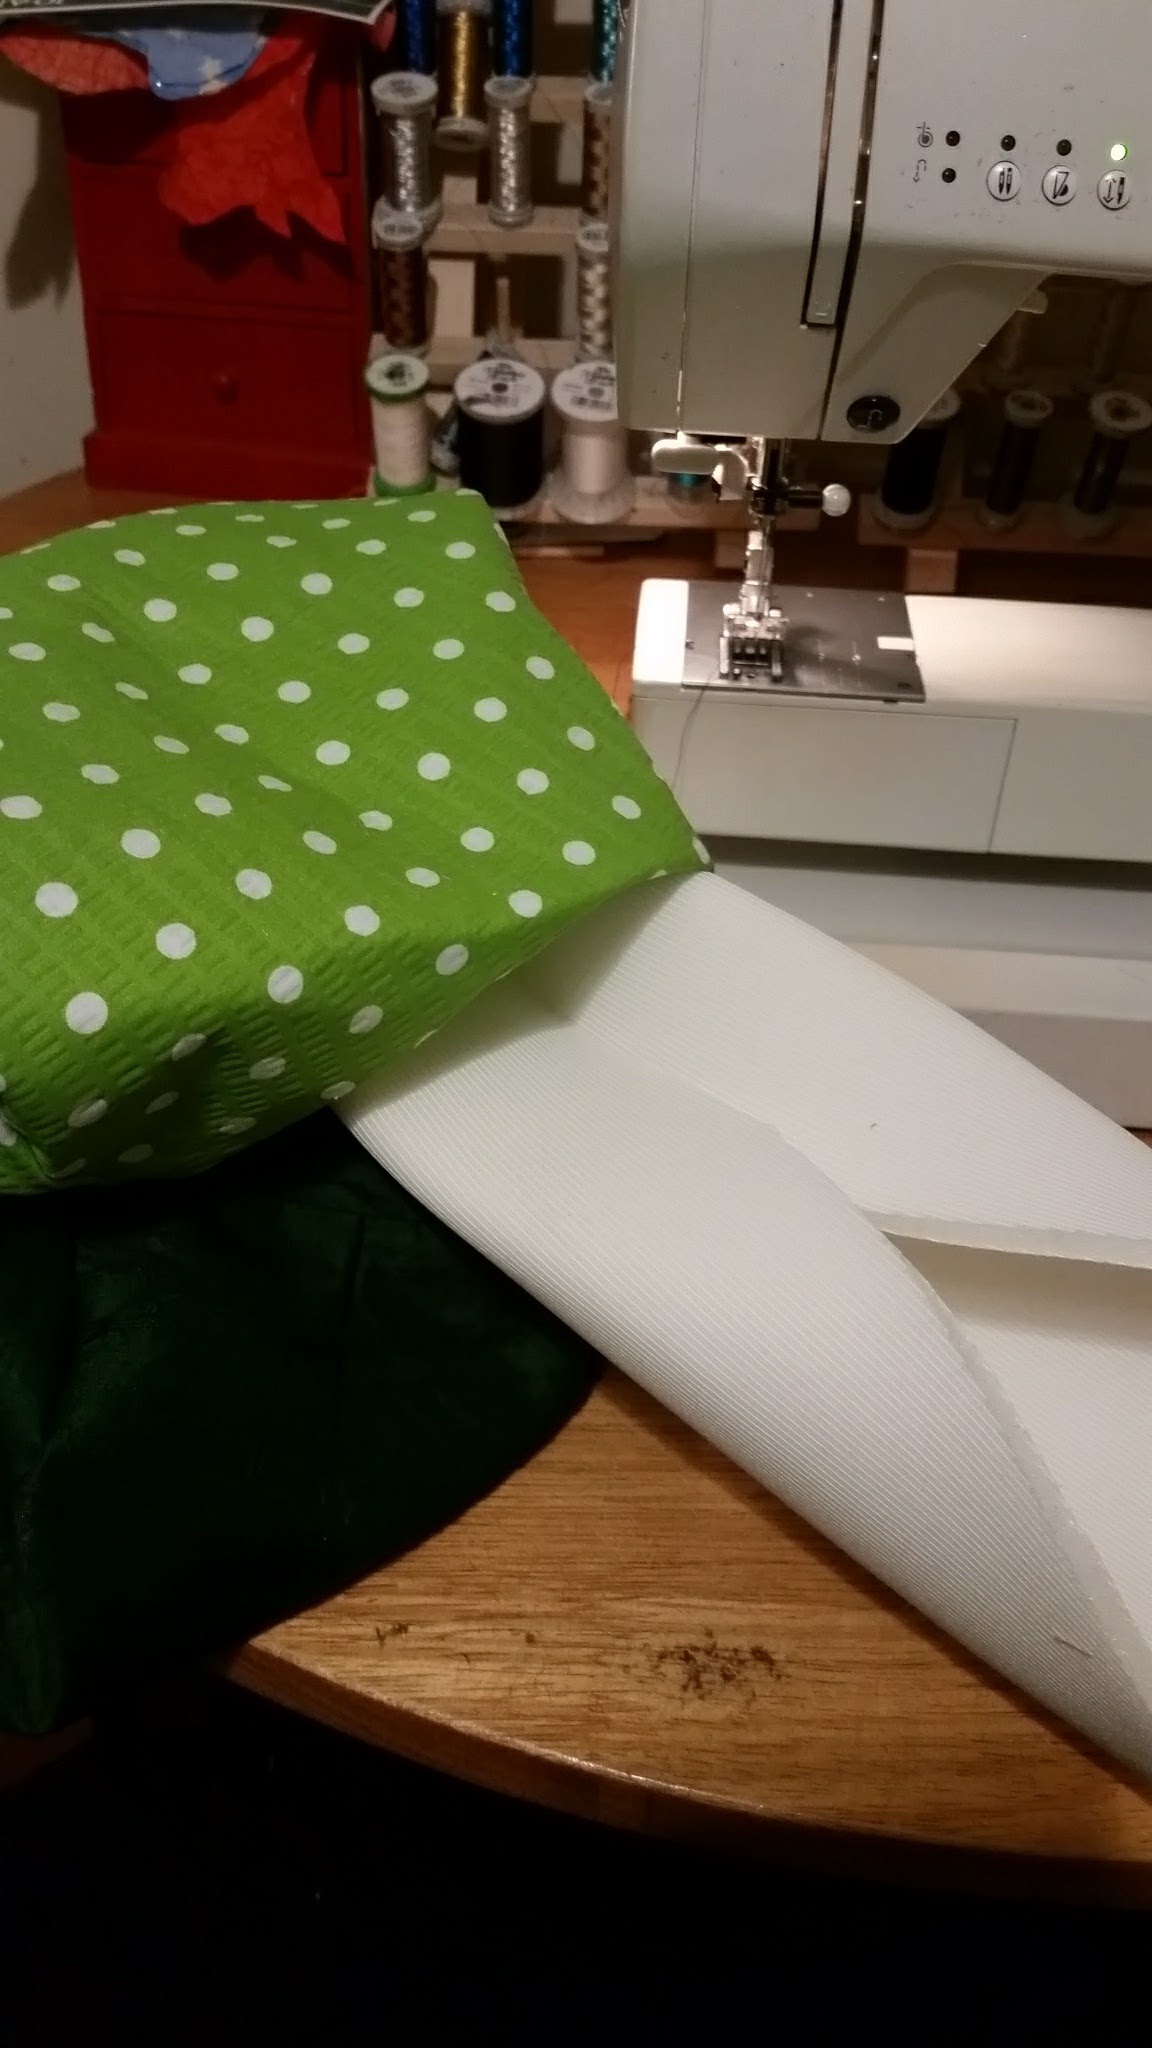
The first step is sewing on the ends. We will follow the exact same directions as yesterday. Match up the center markings. Start pinning in the middle, then pin up the top points. Sew them on, tapering from the points to the normal seam allowance and then taper back to the point on the other side. Trim seam. Repeat with other end.
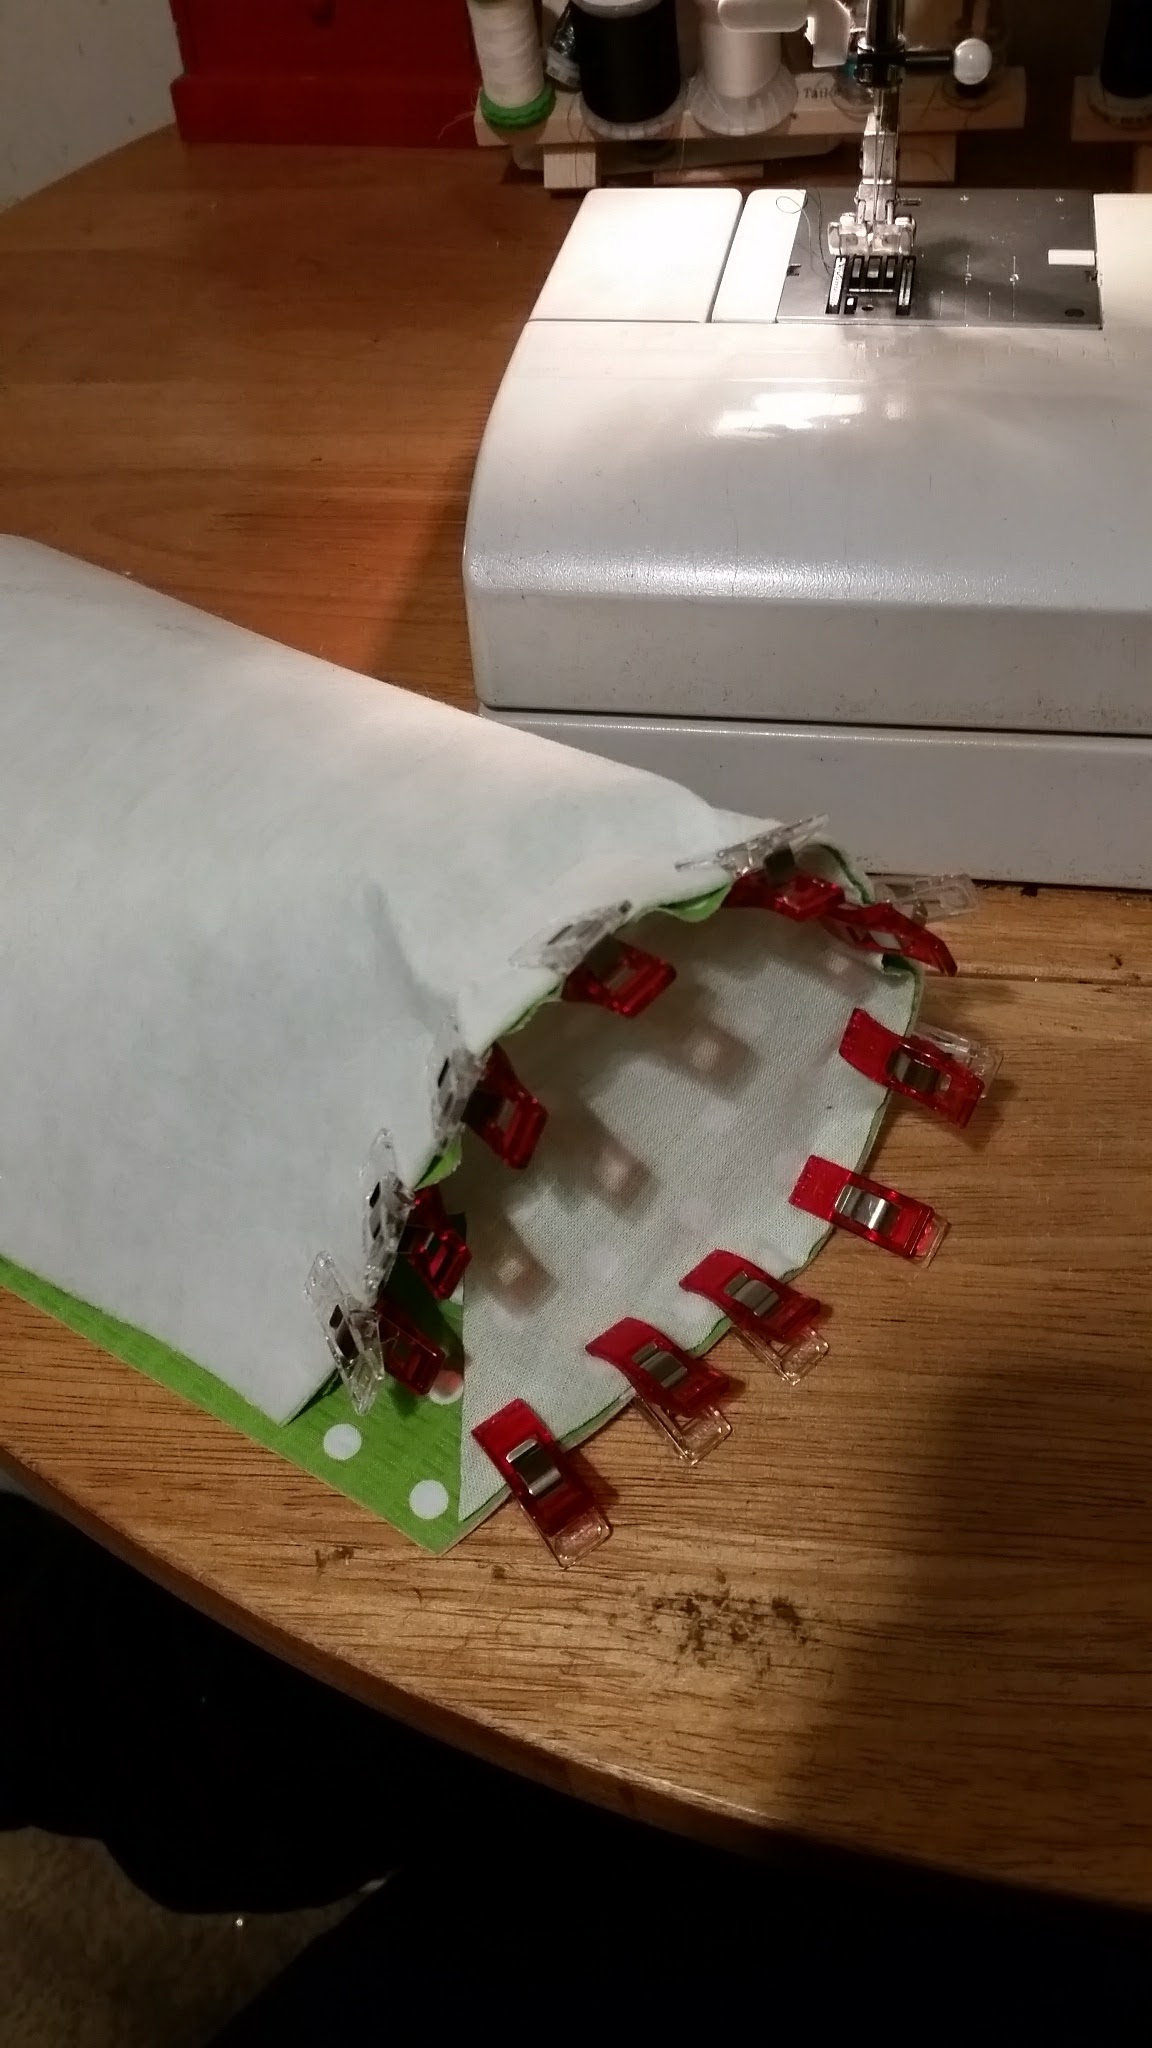
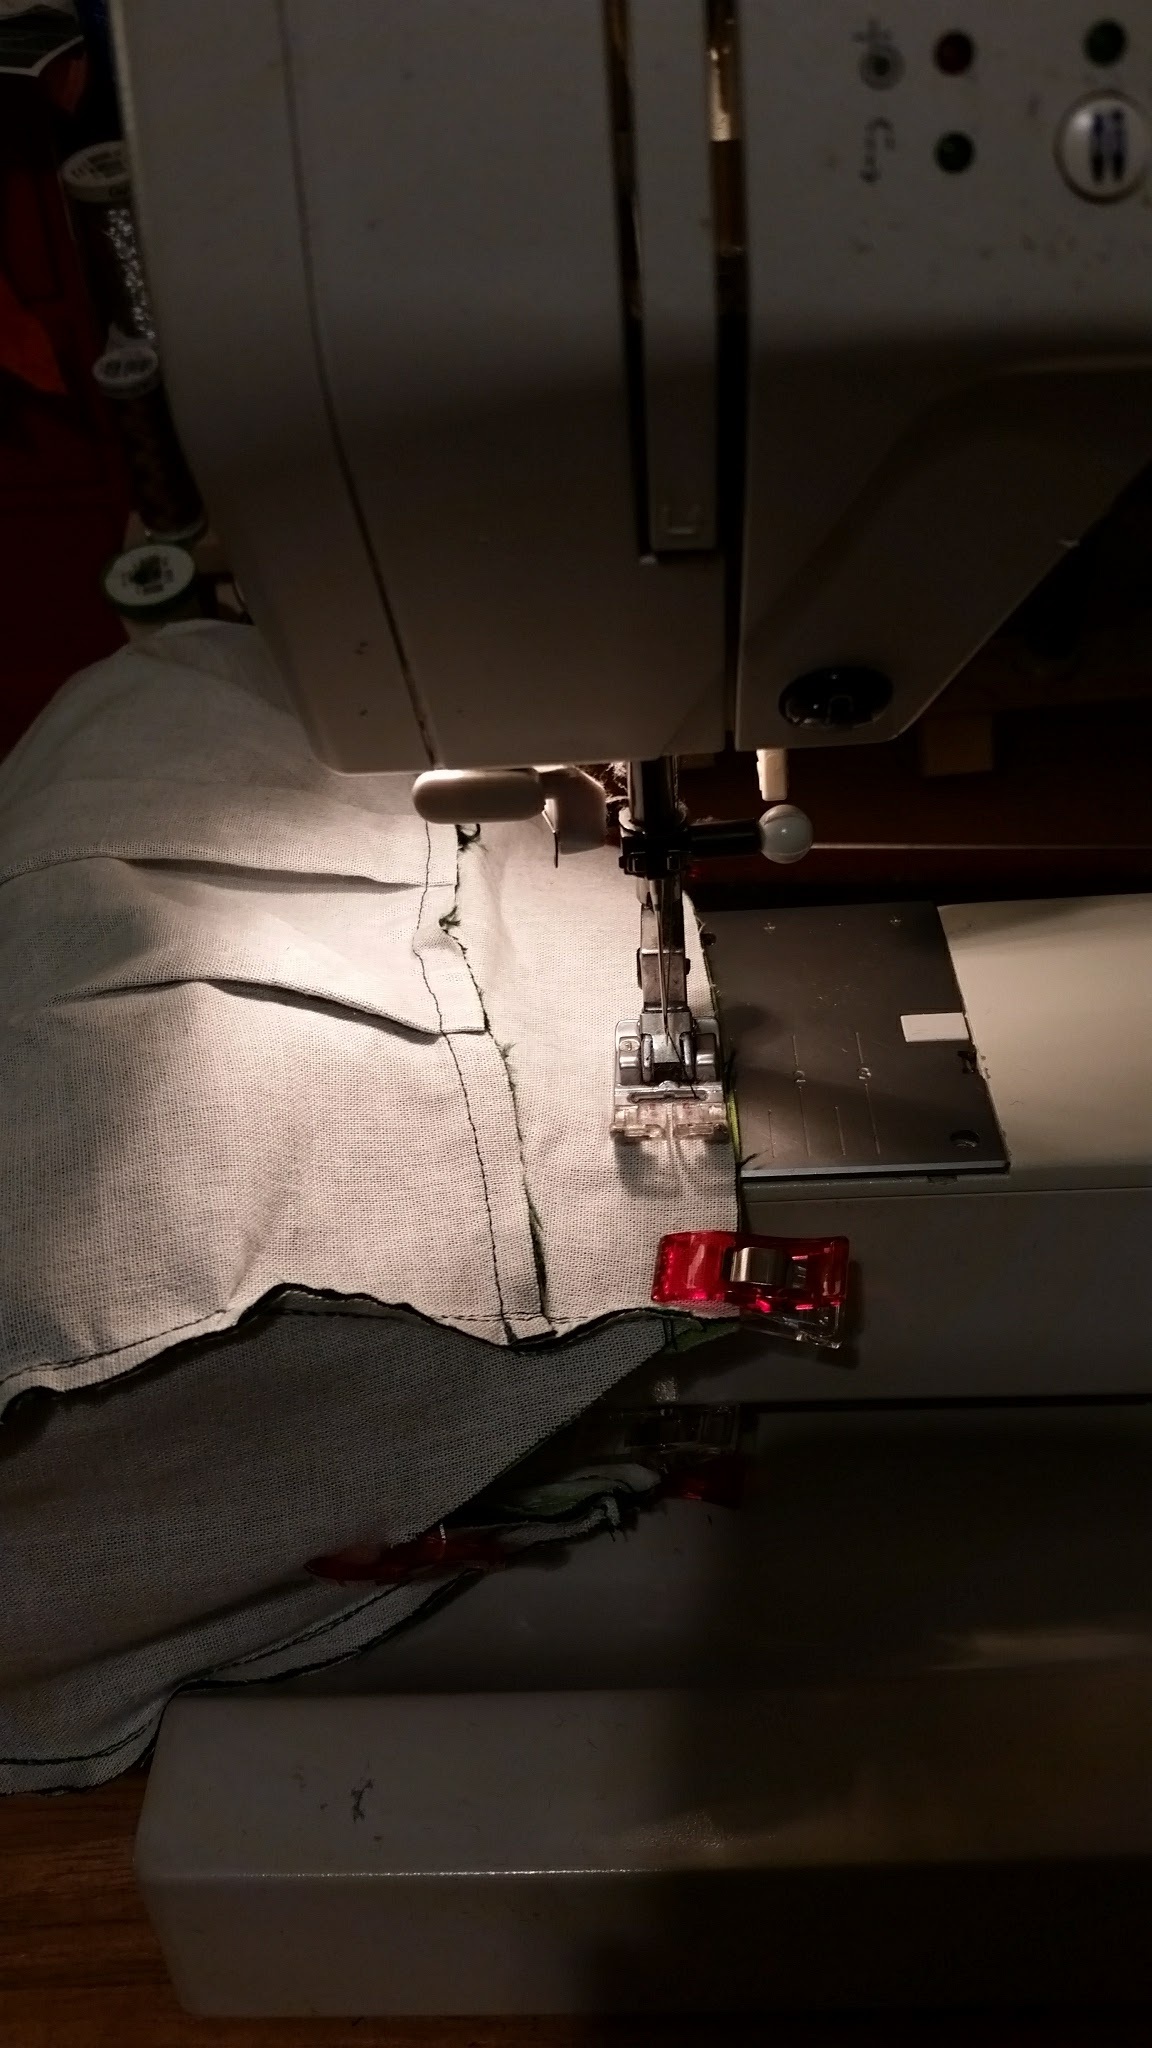
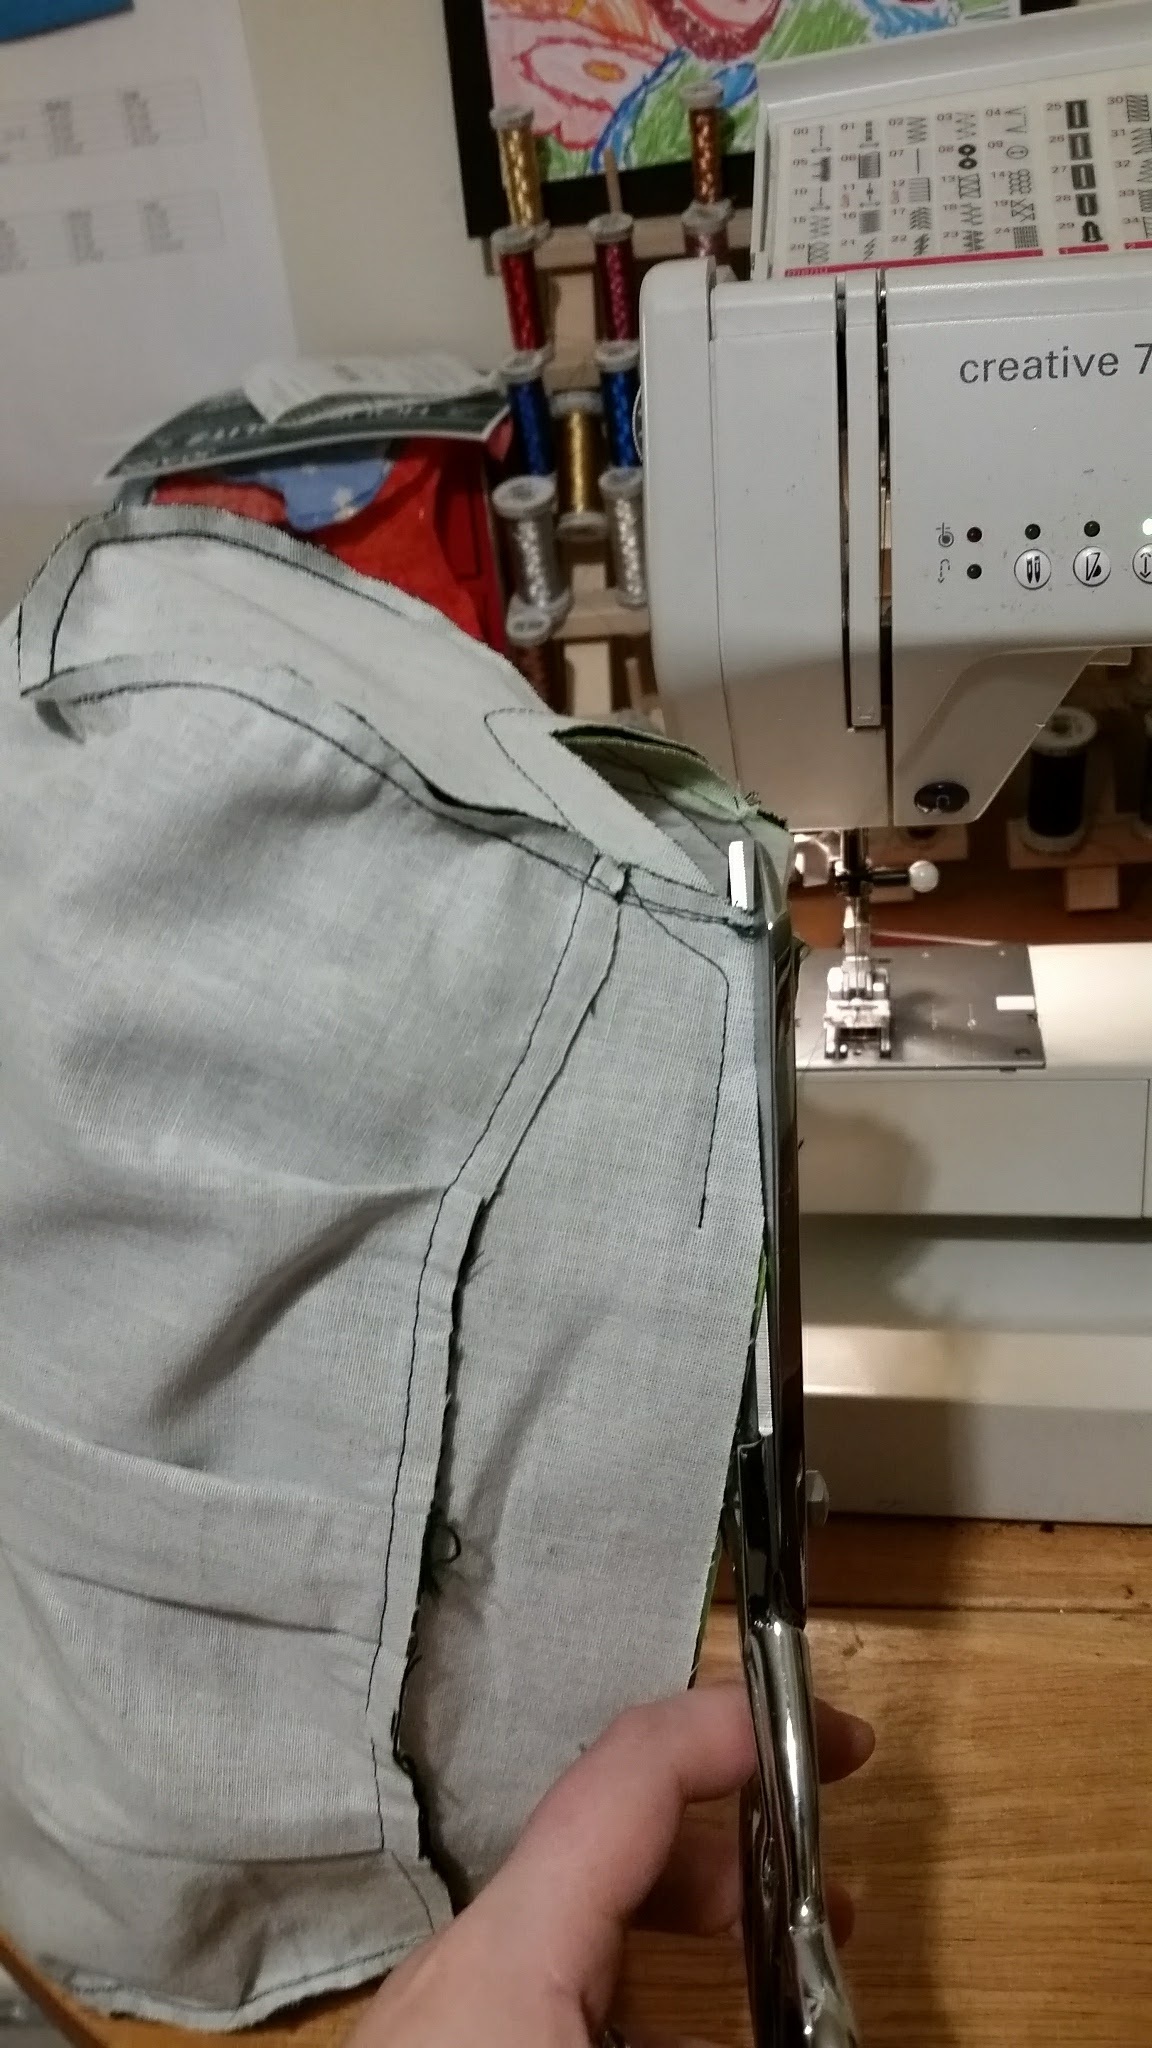
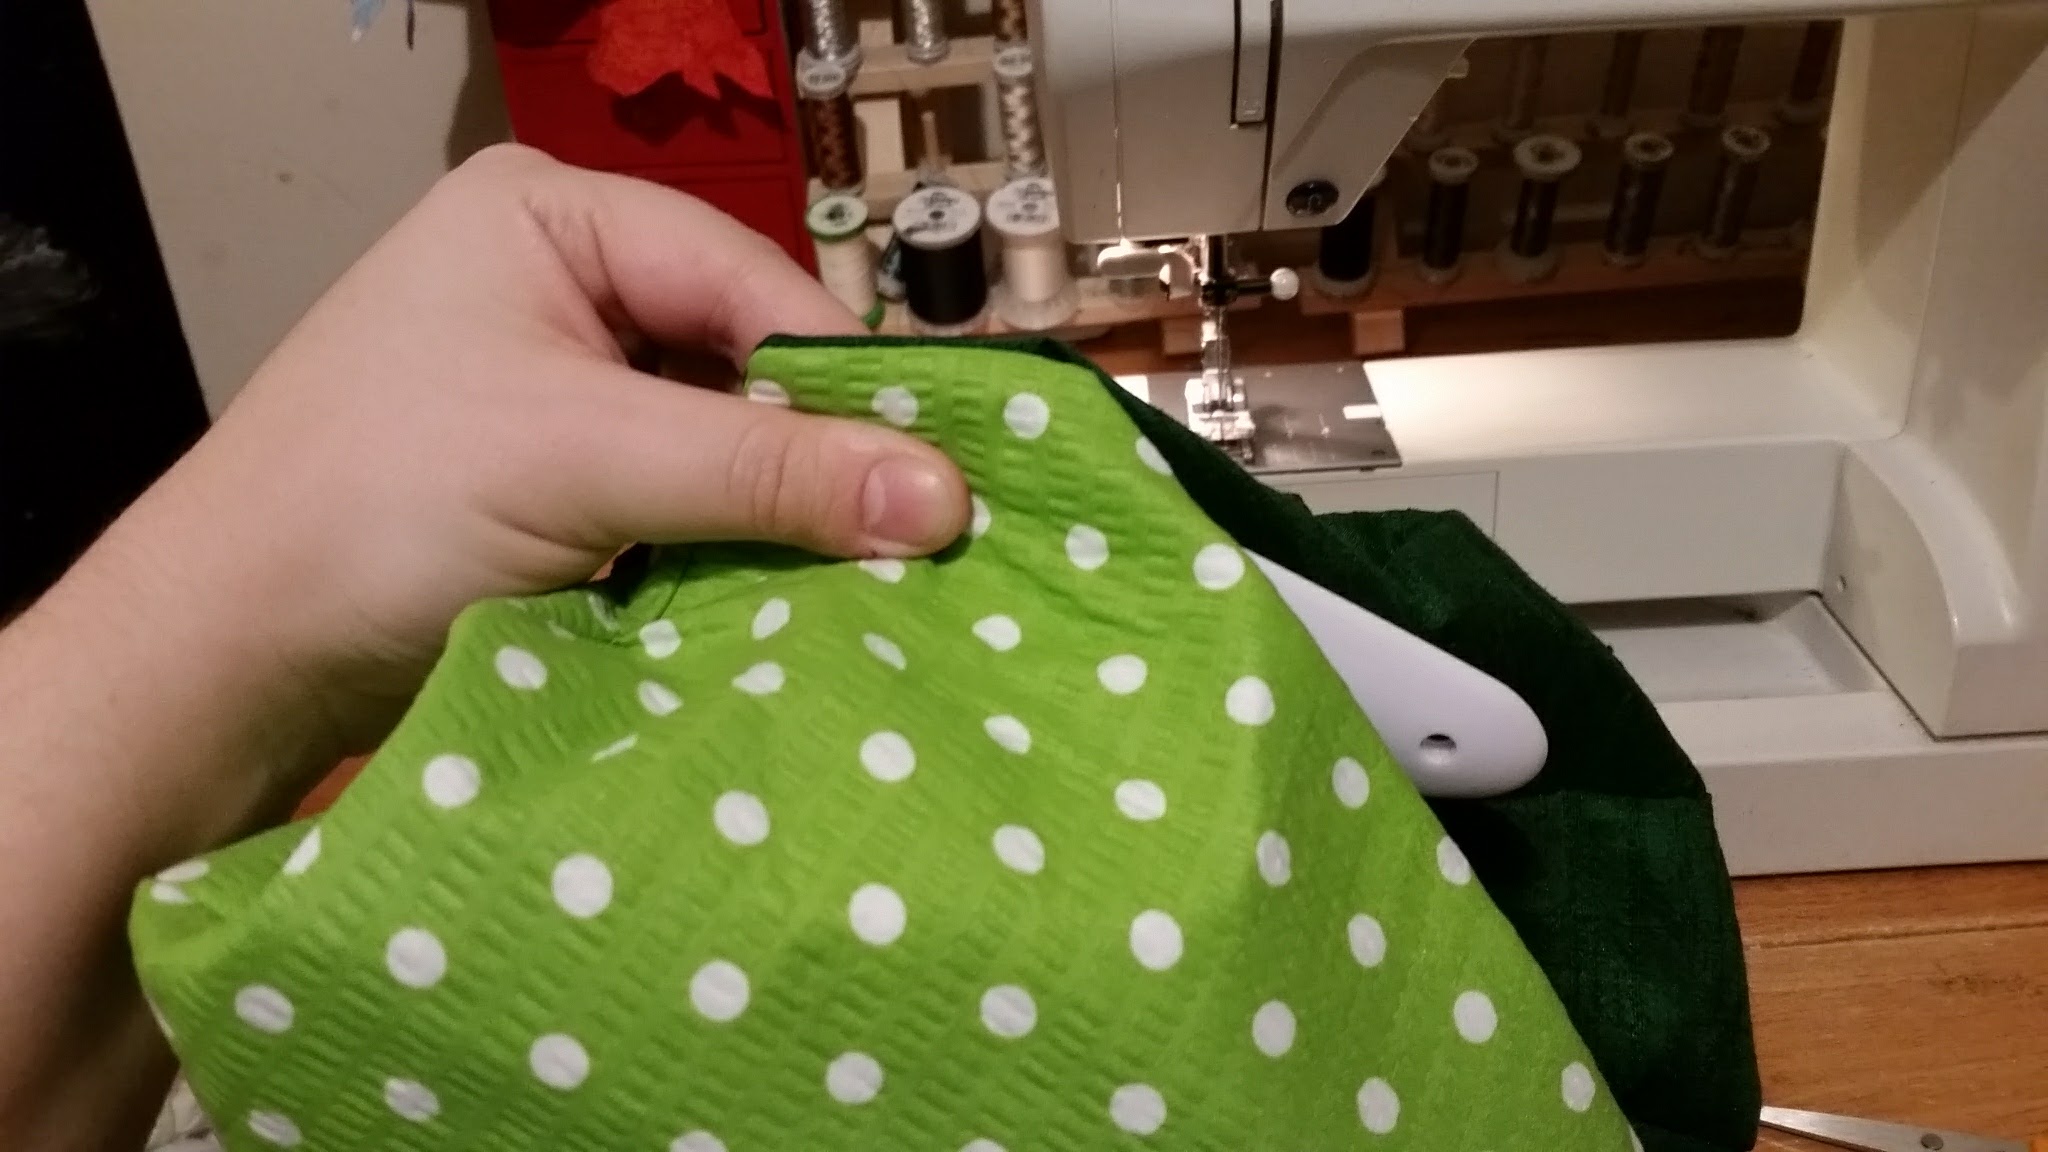
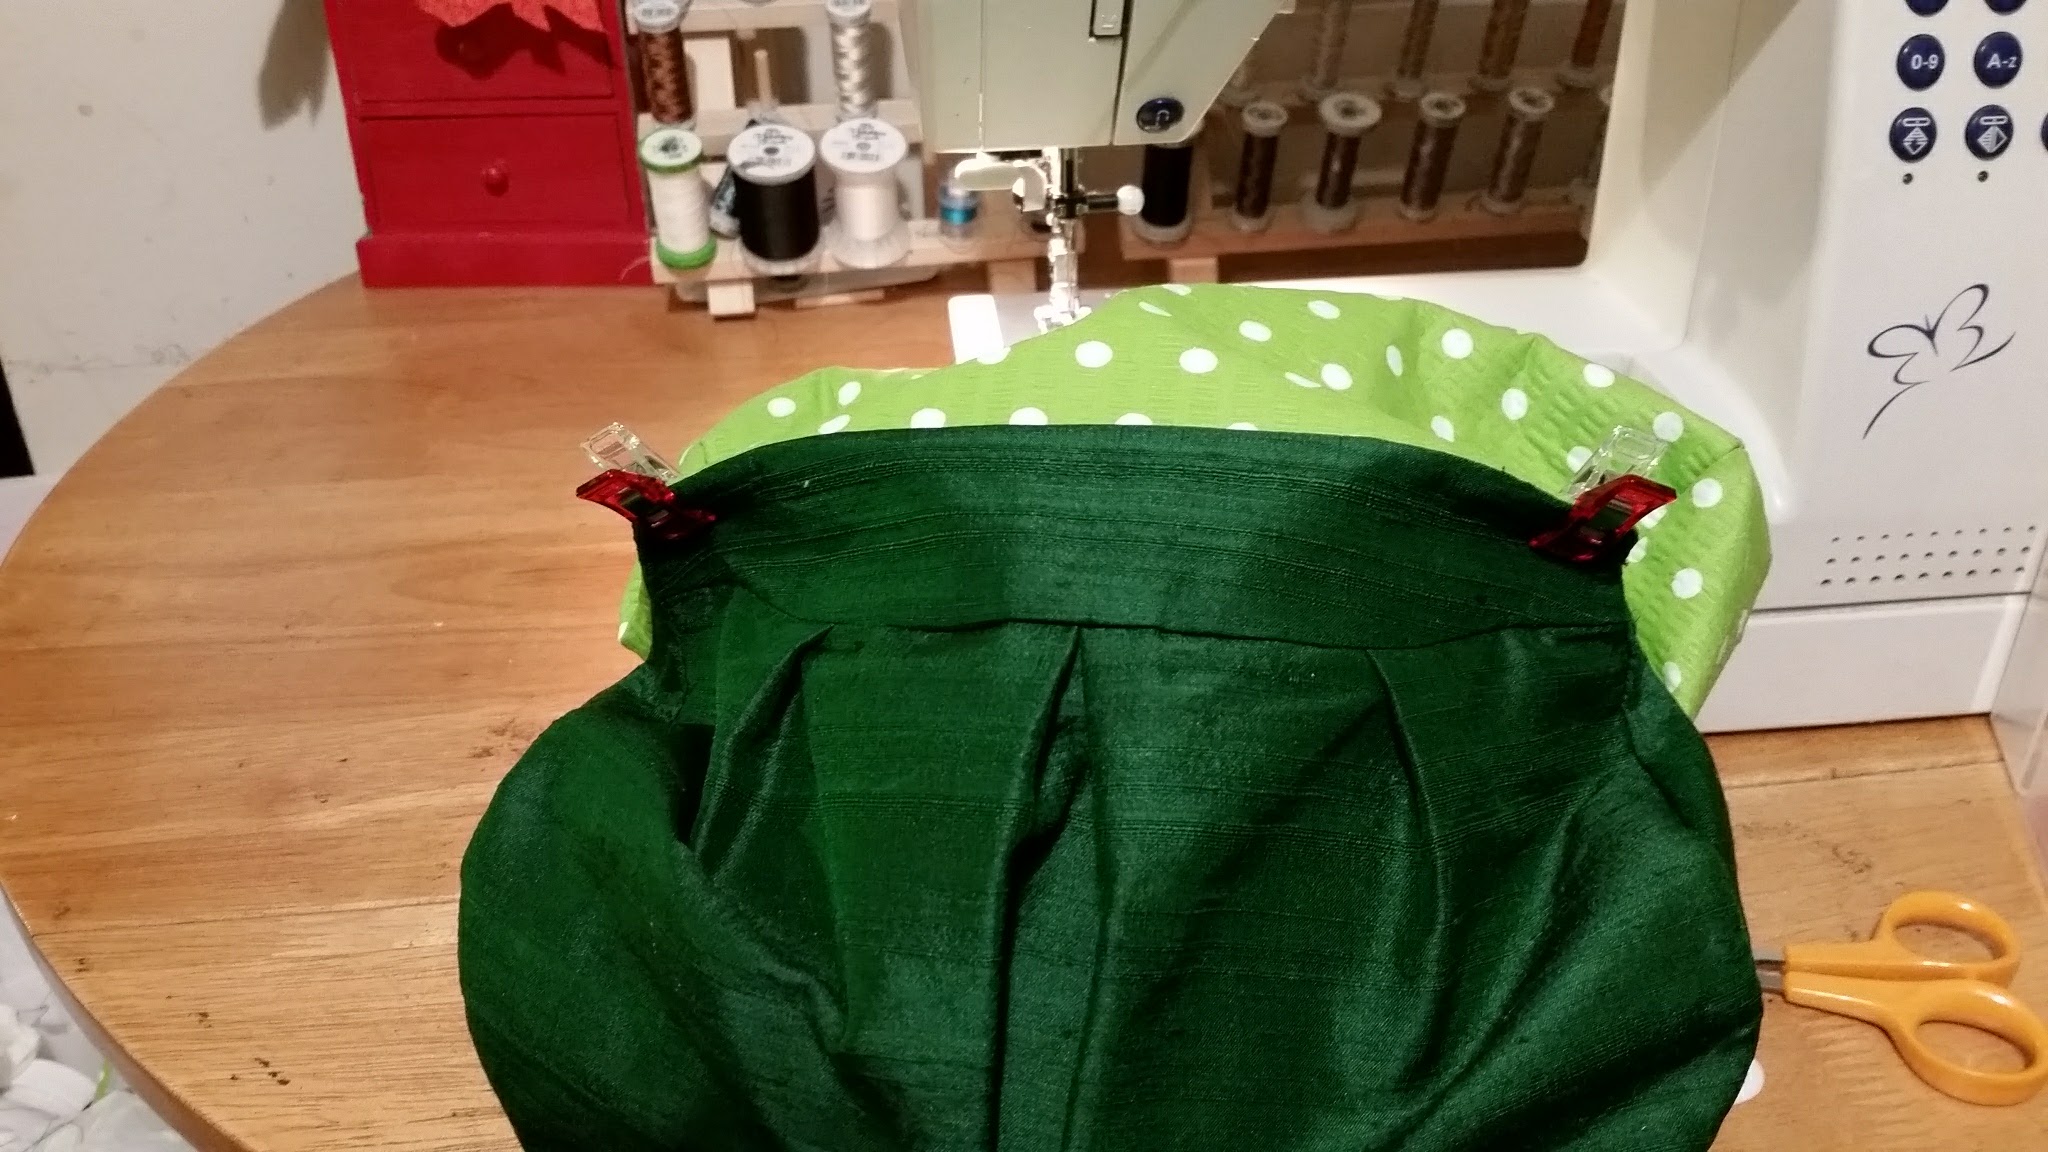
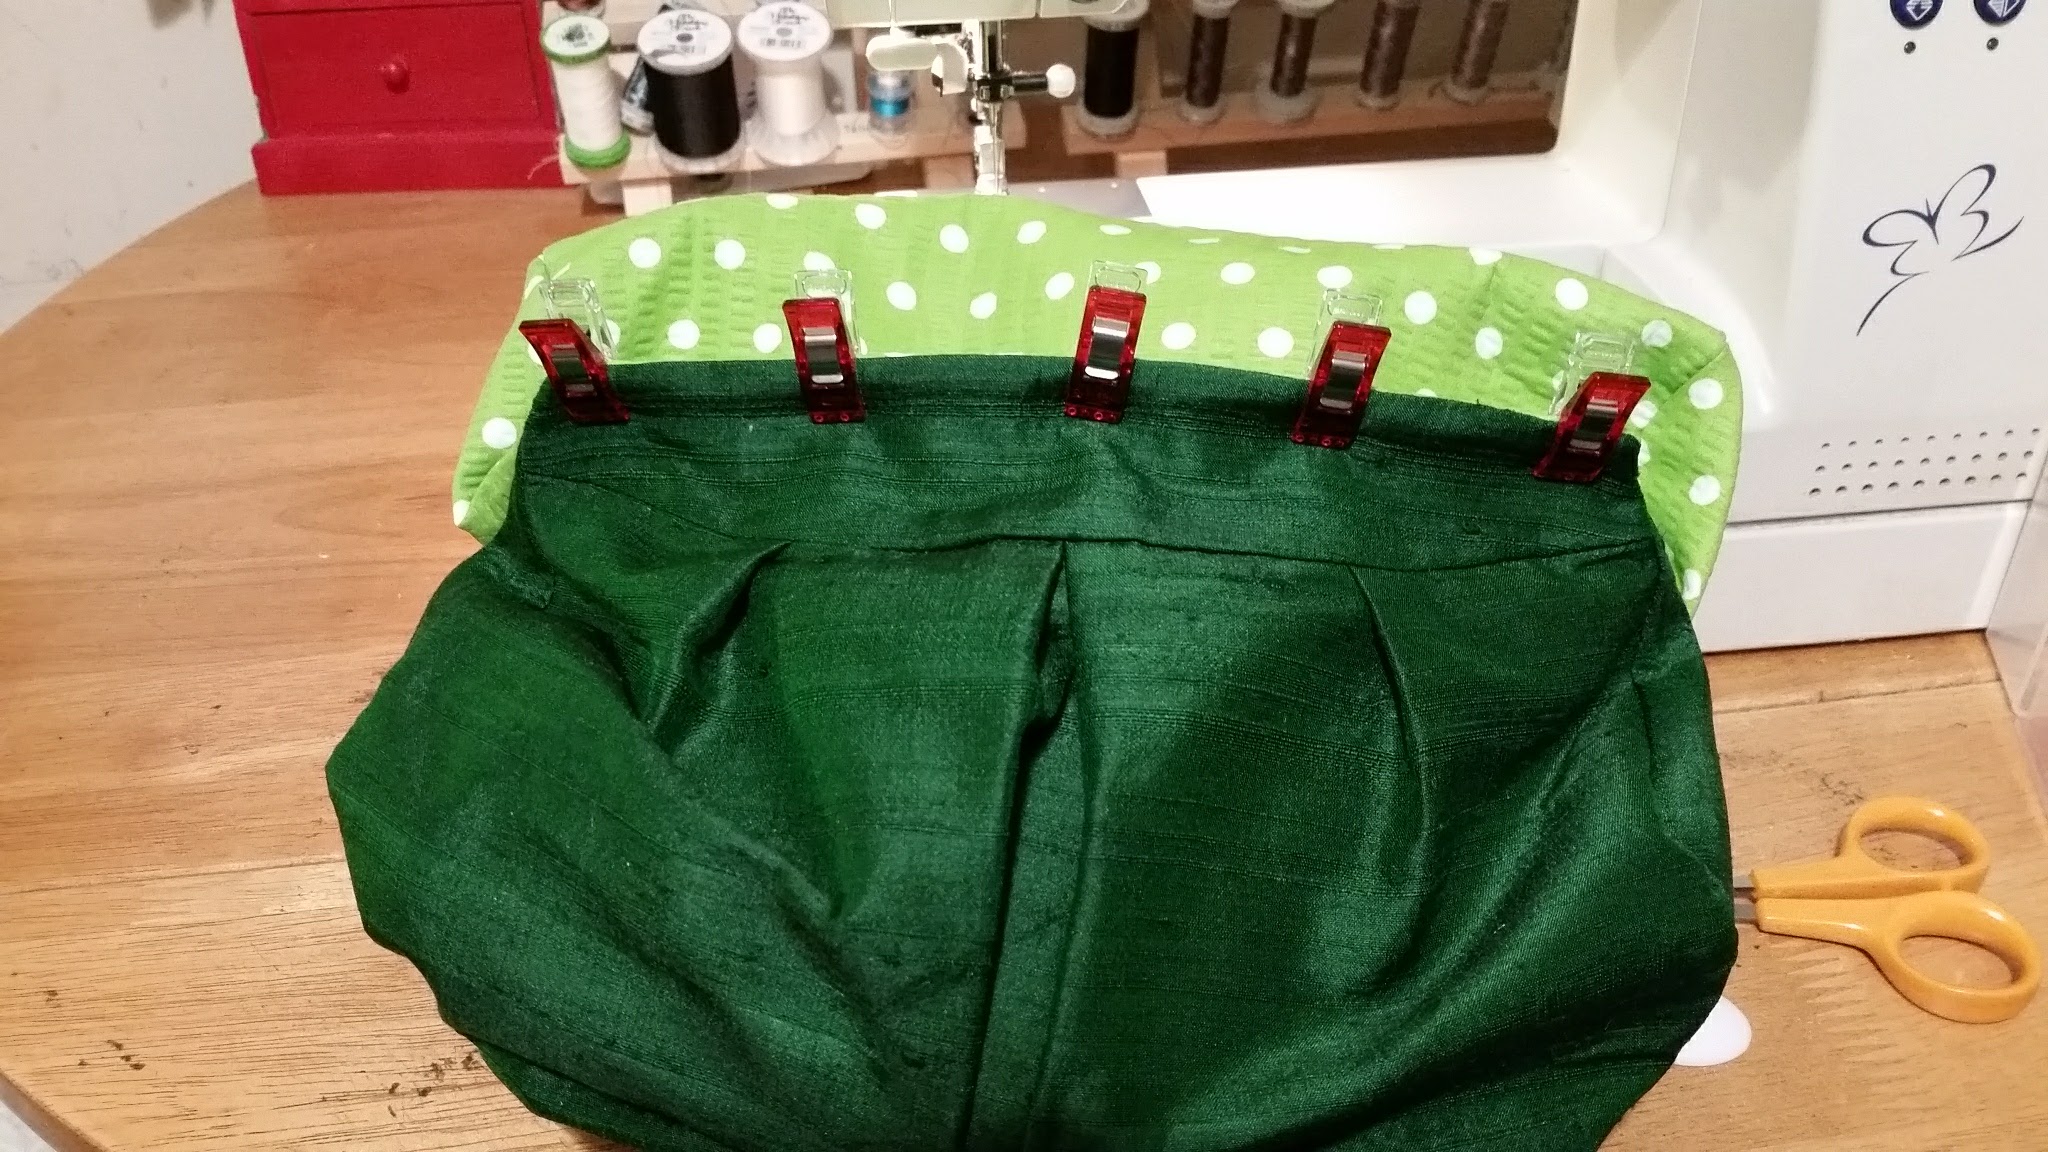
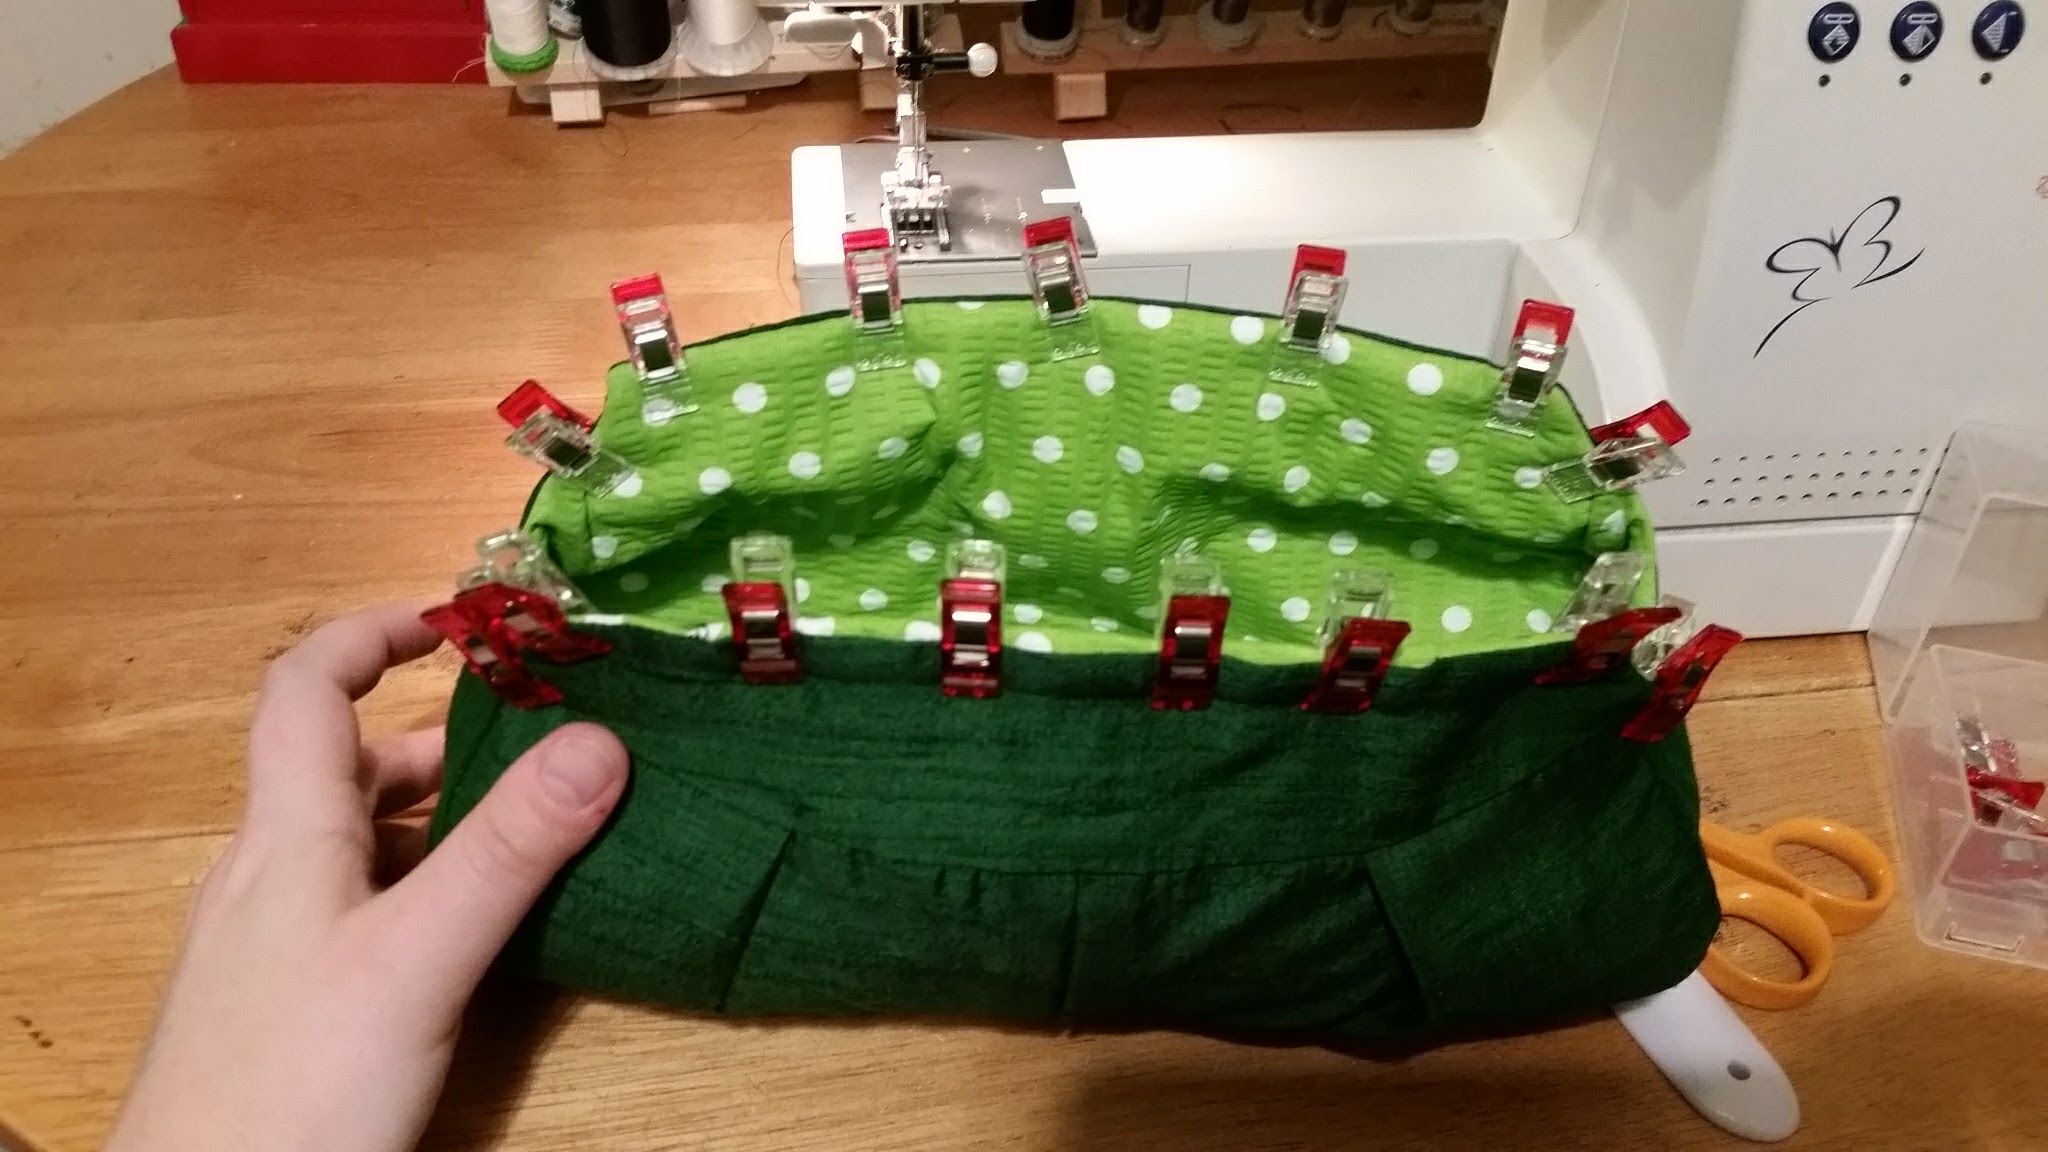
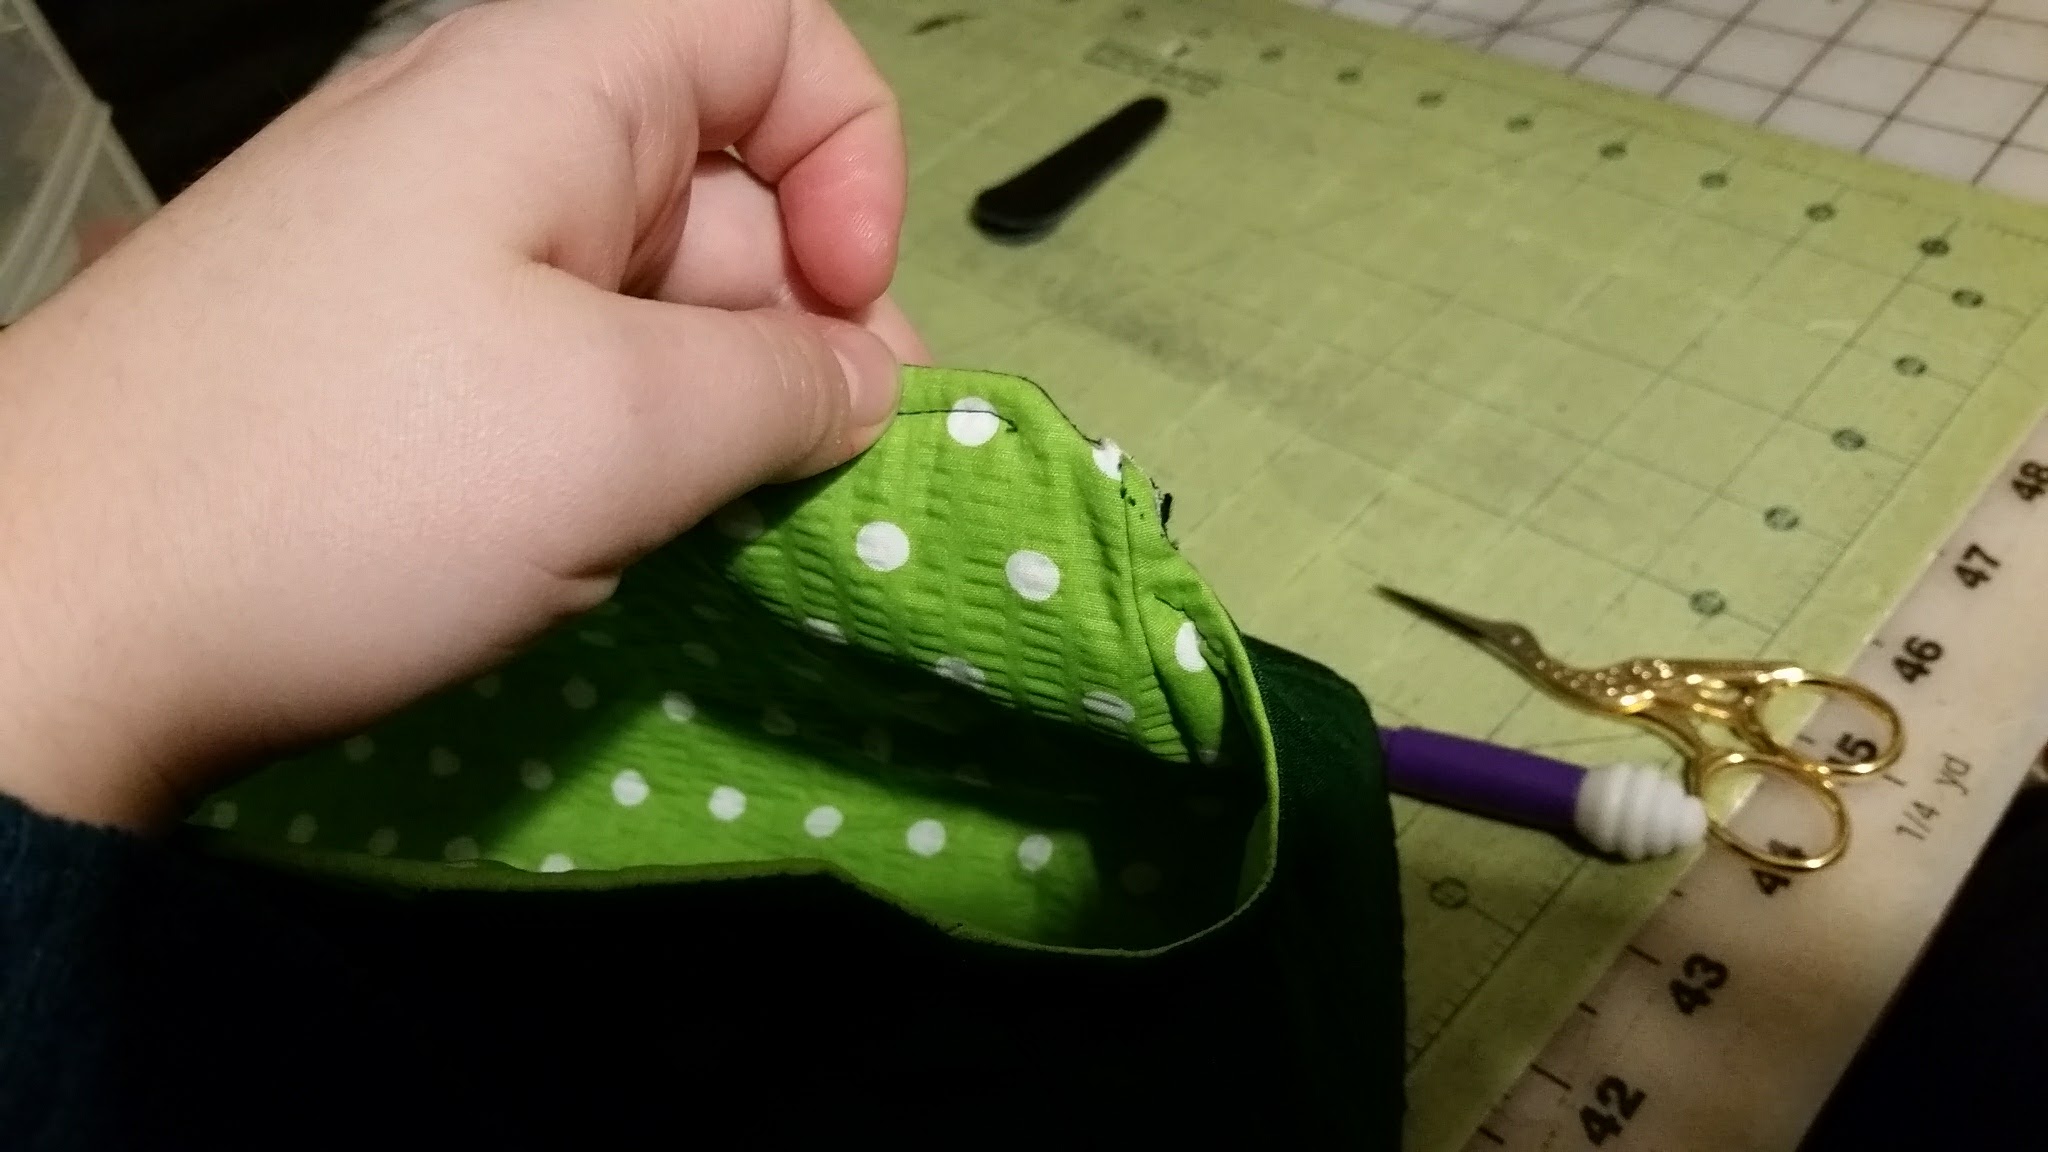
So now, with the interior and exterior both complete, it's time to sew them together. Turn the exterior inside out, and the interior right side out. Place the interior inside the exterior, with the right sides touching. Start pinning the top edges together. You'll want to leave an opening on one flat side, about 5" wide. It needs to be large enough to fit your hand in later on.


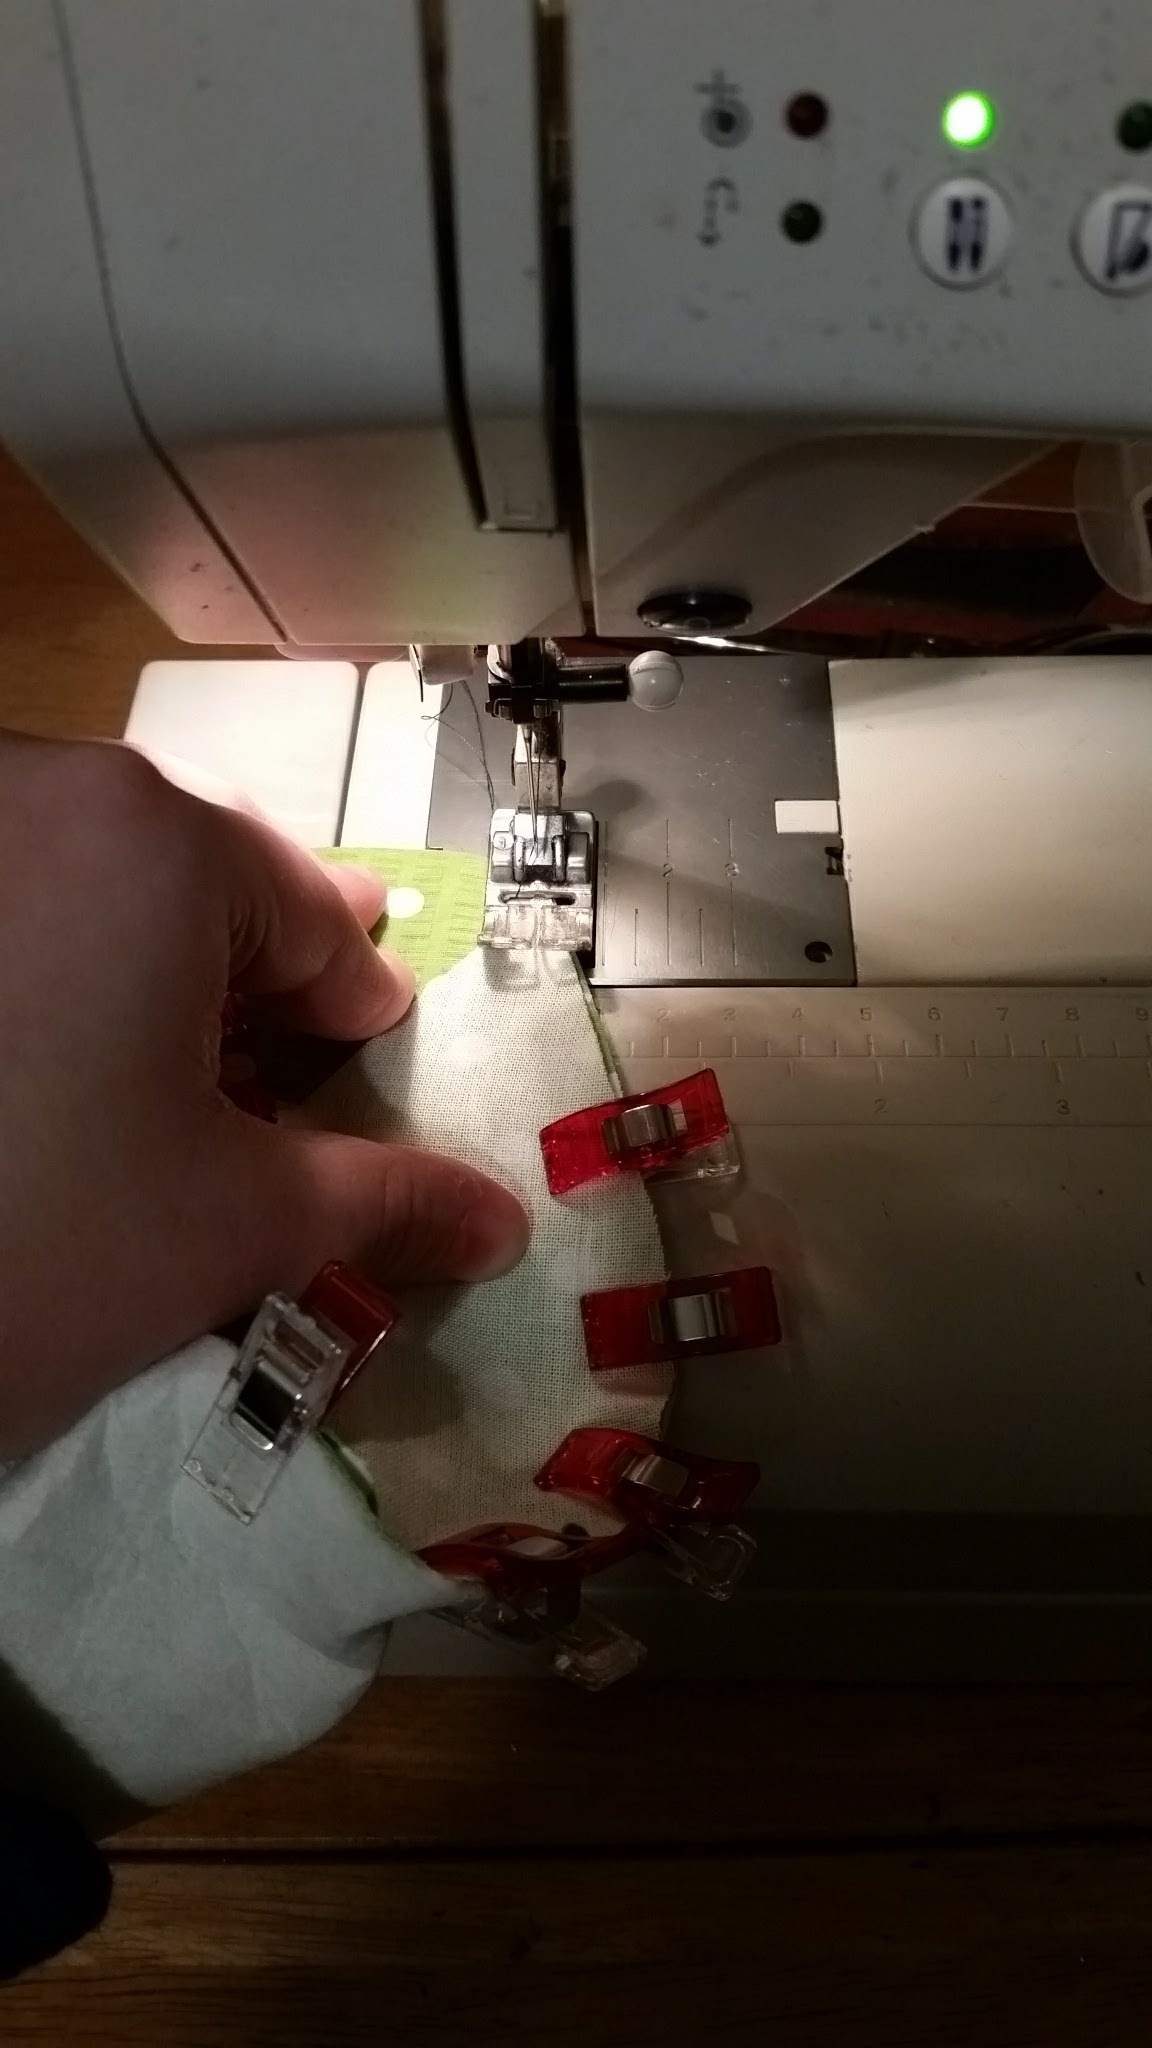
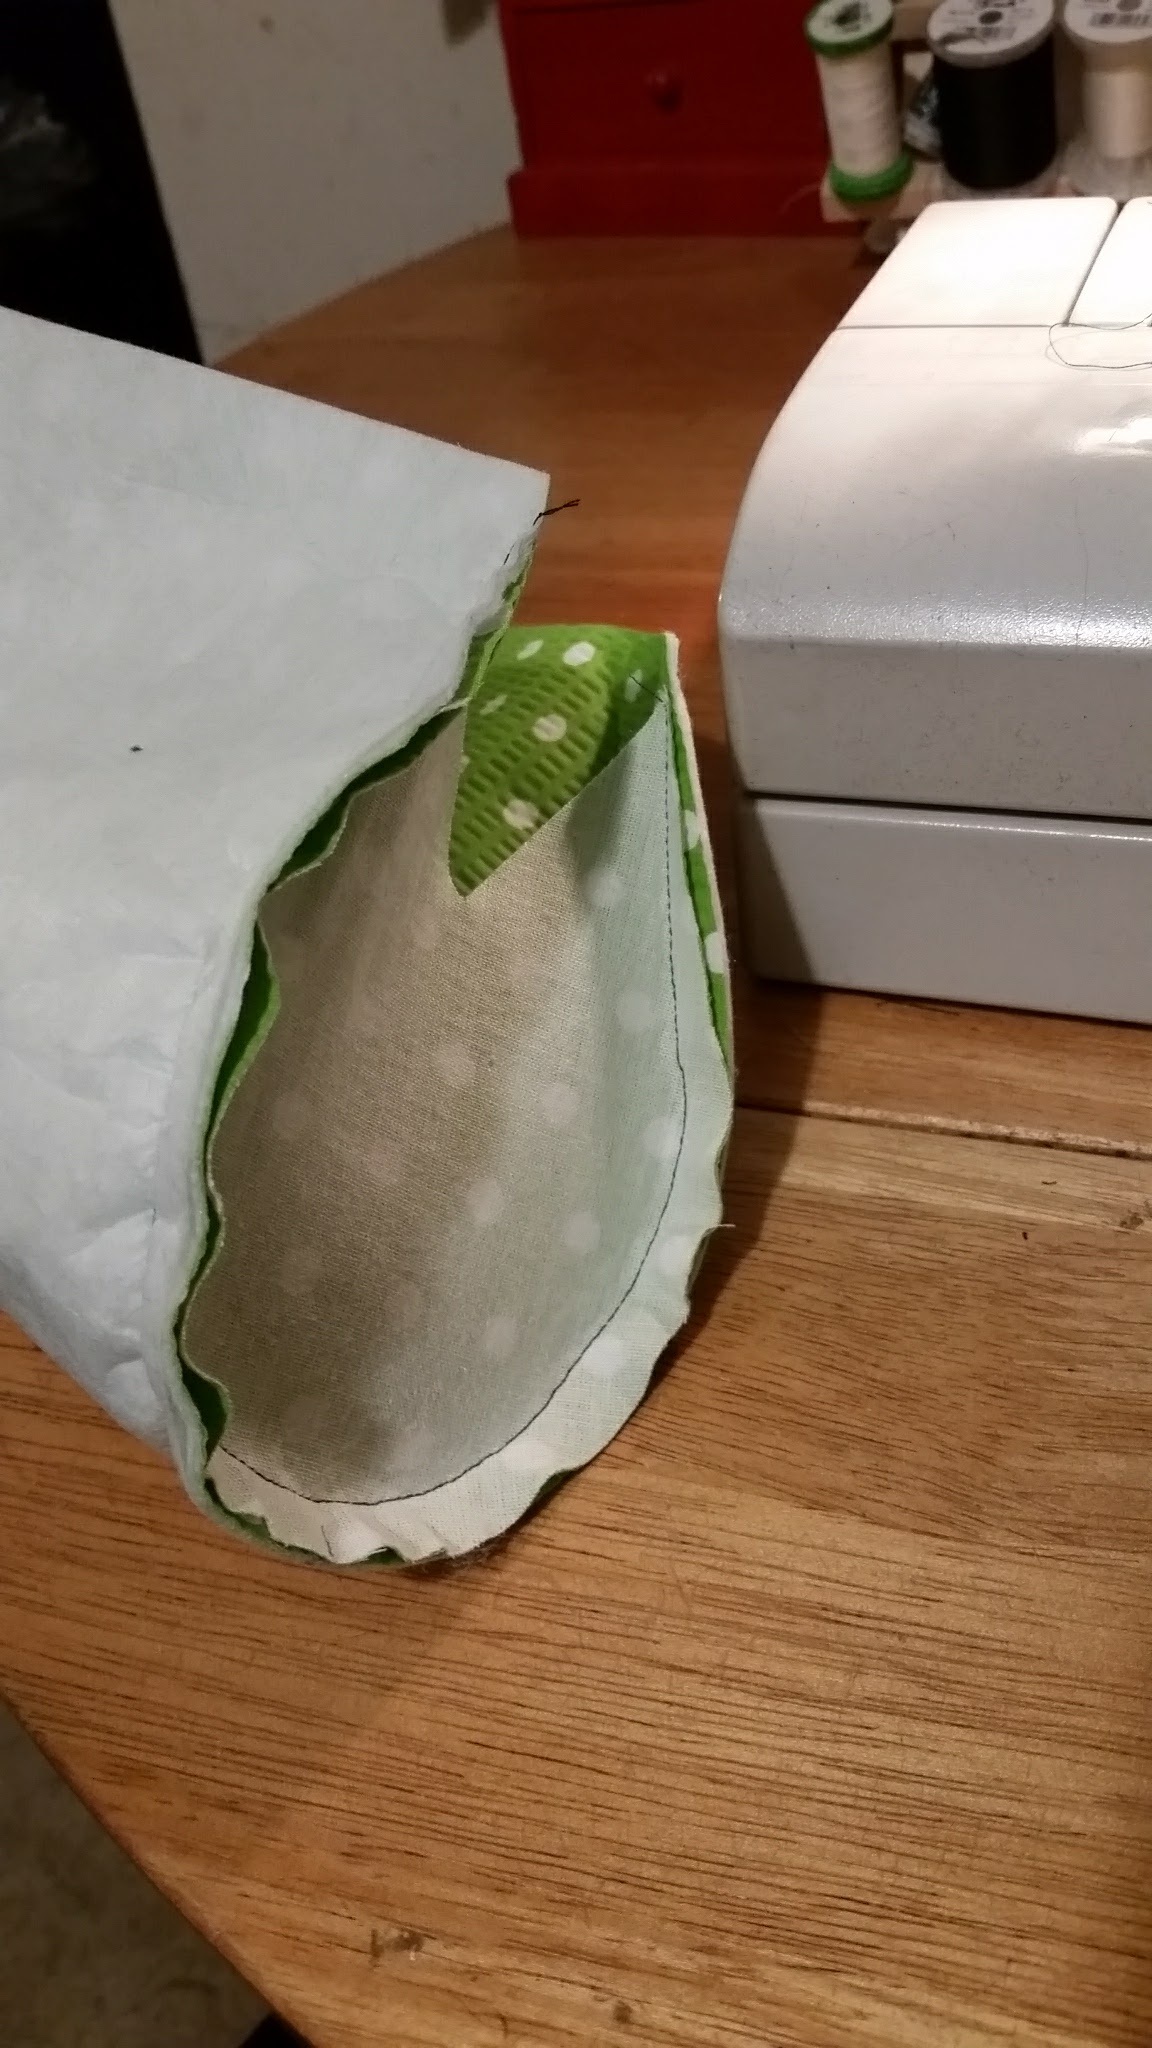
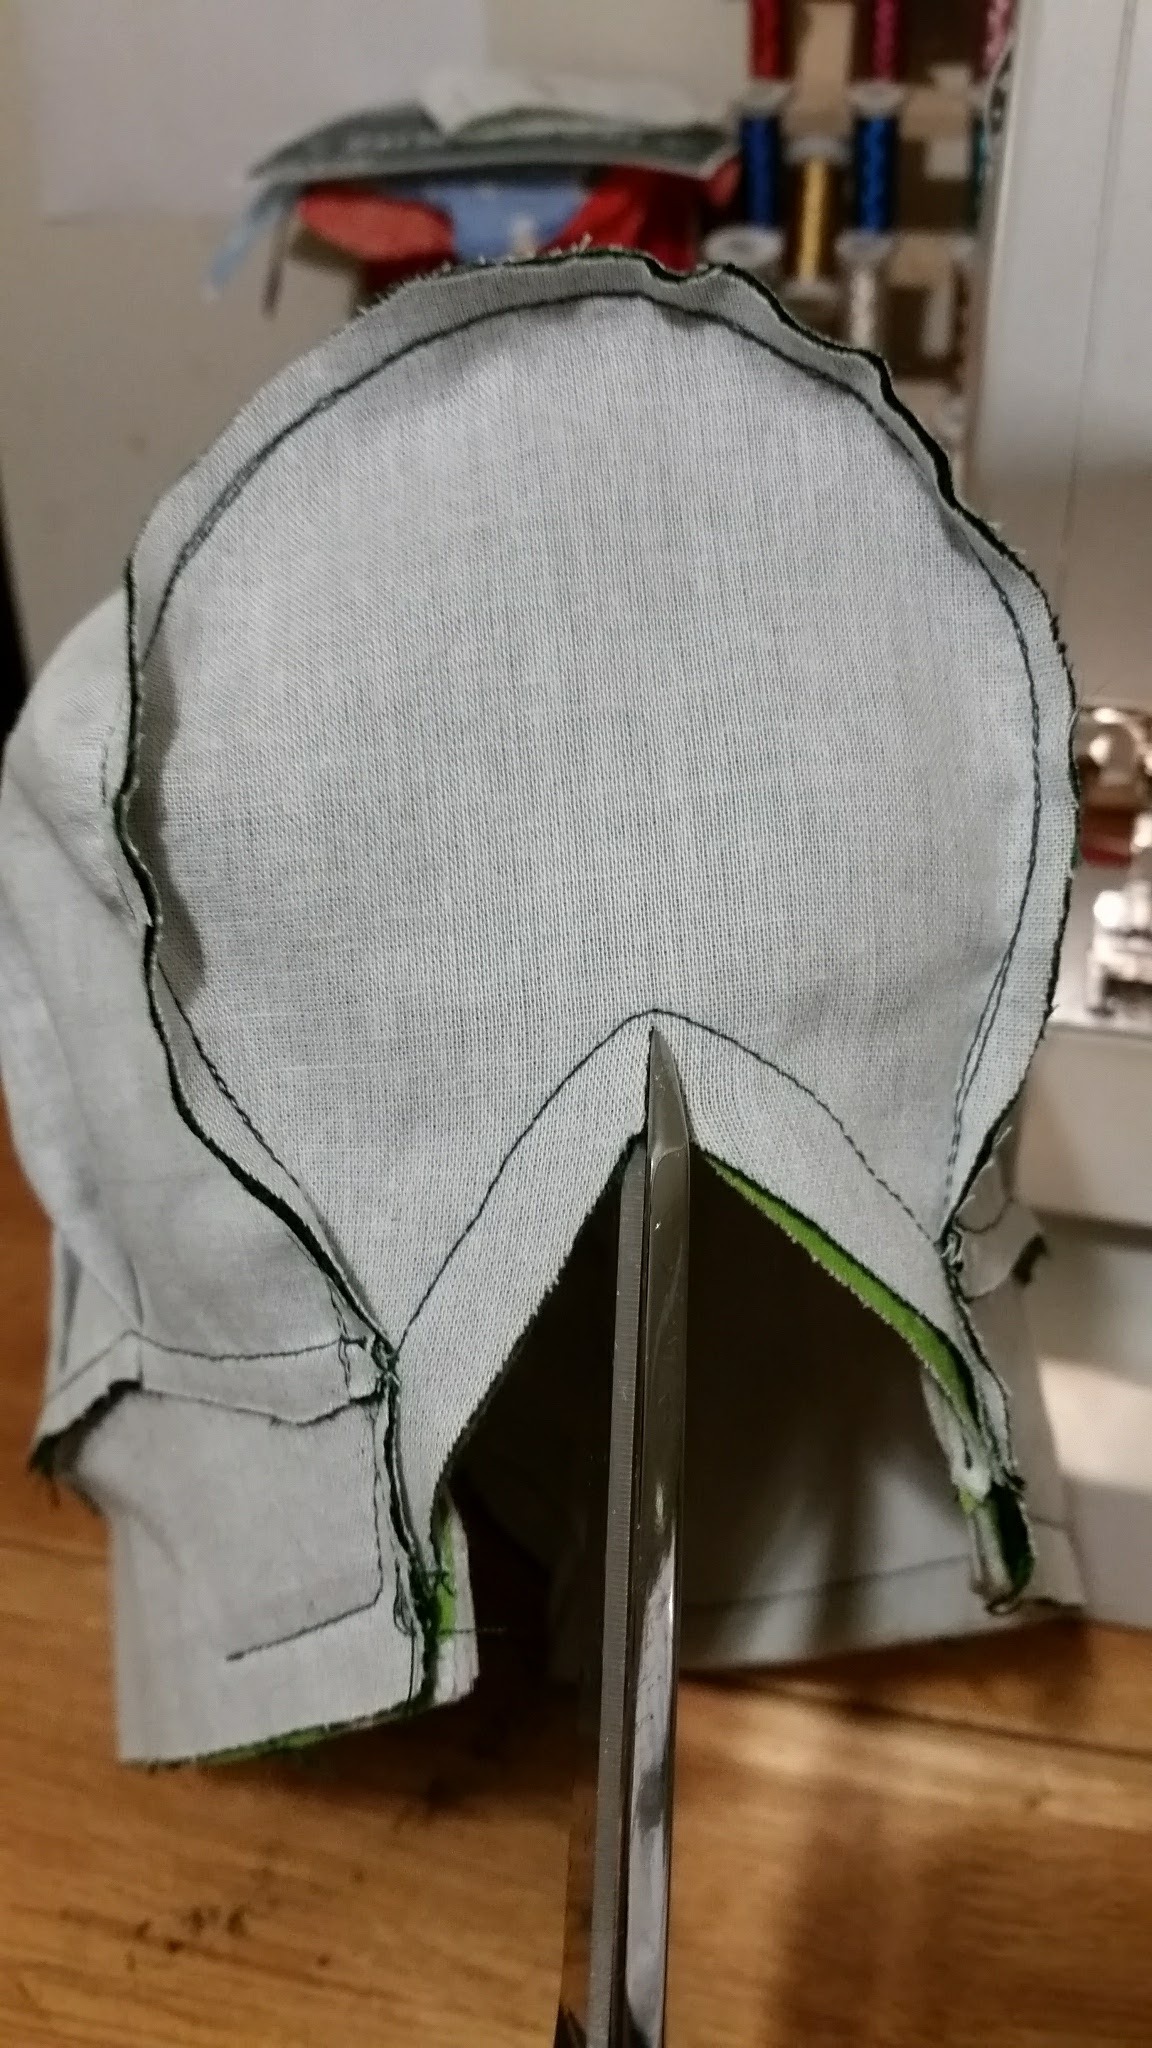
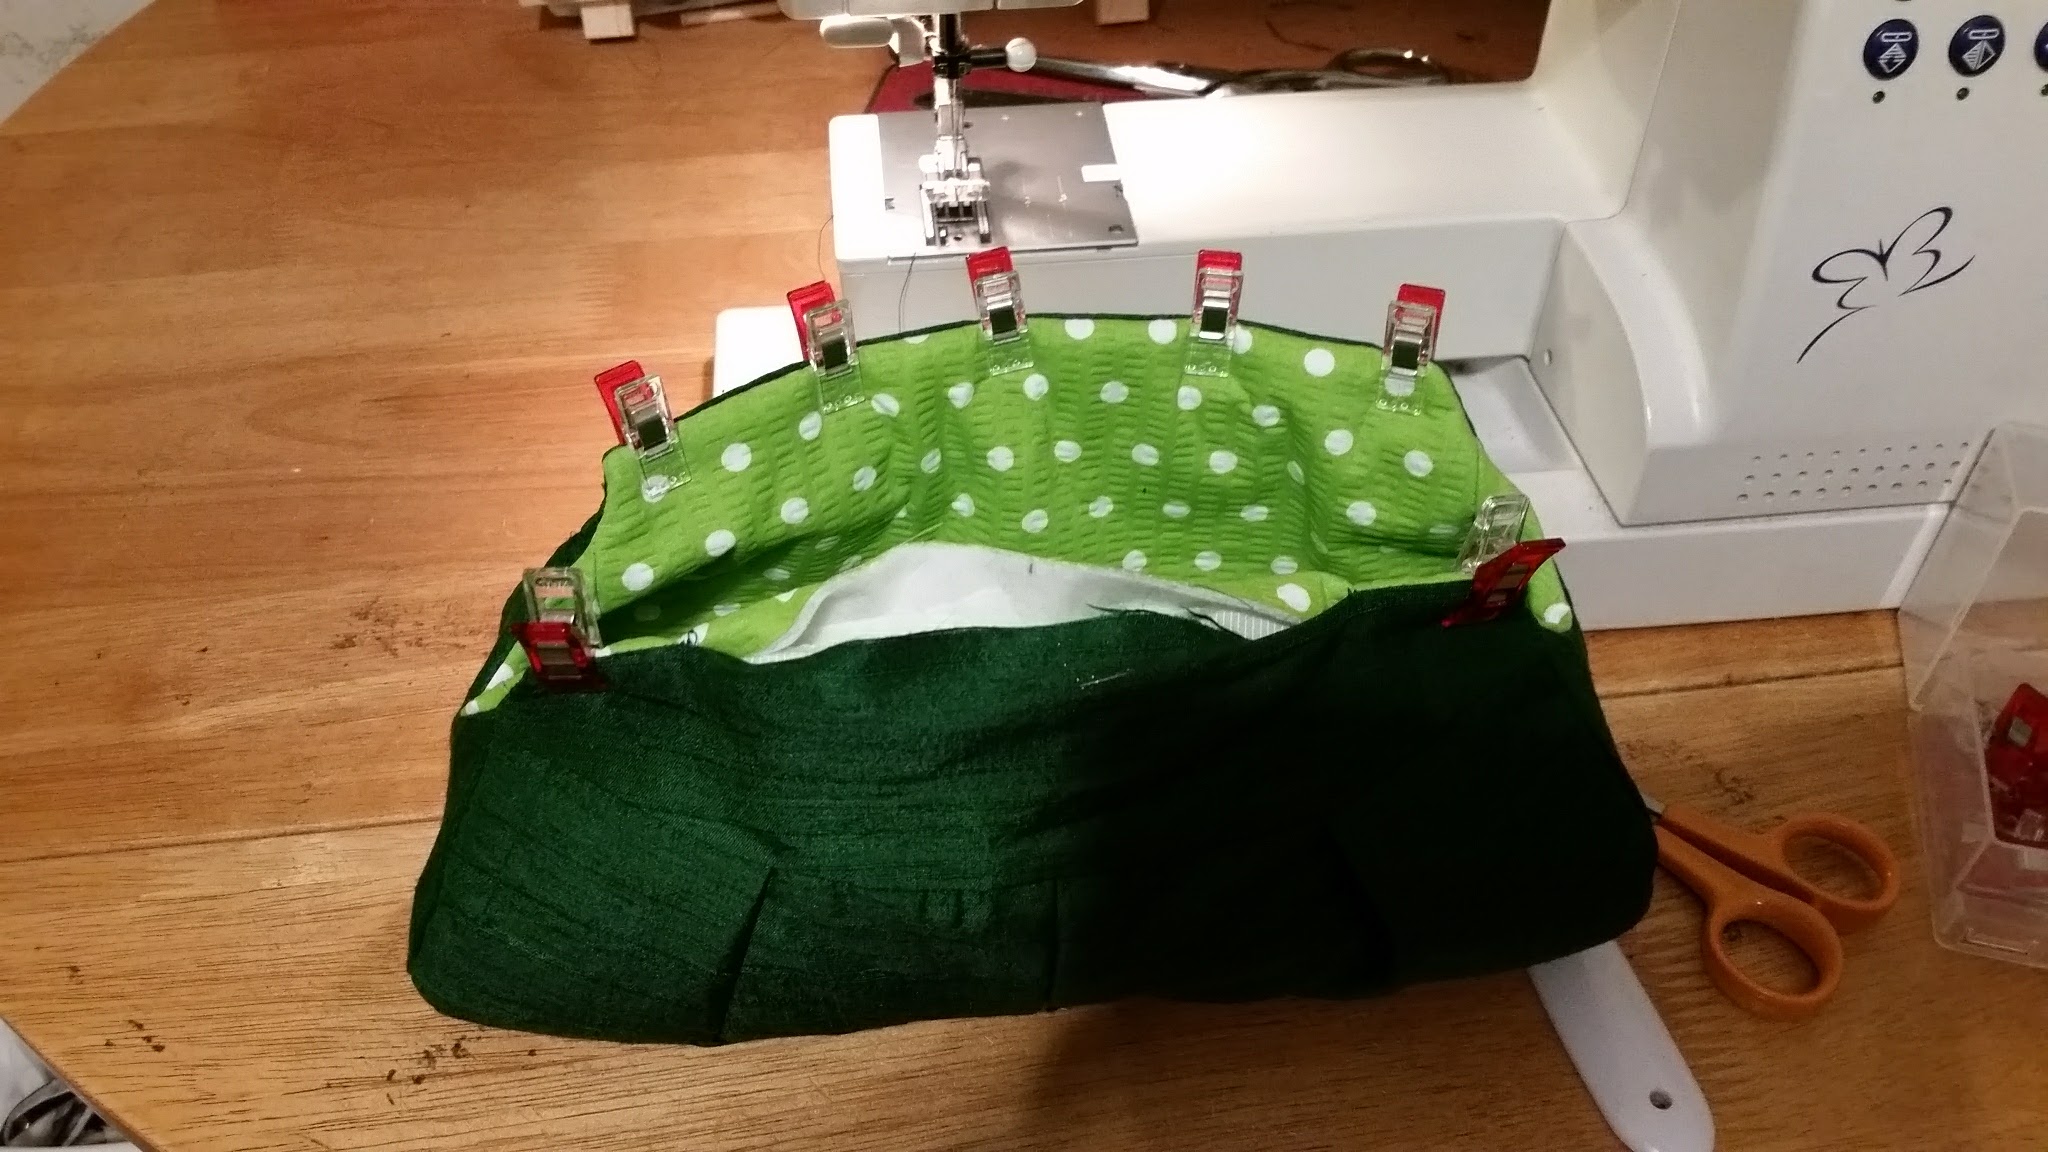
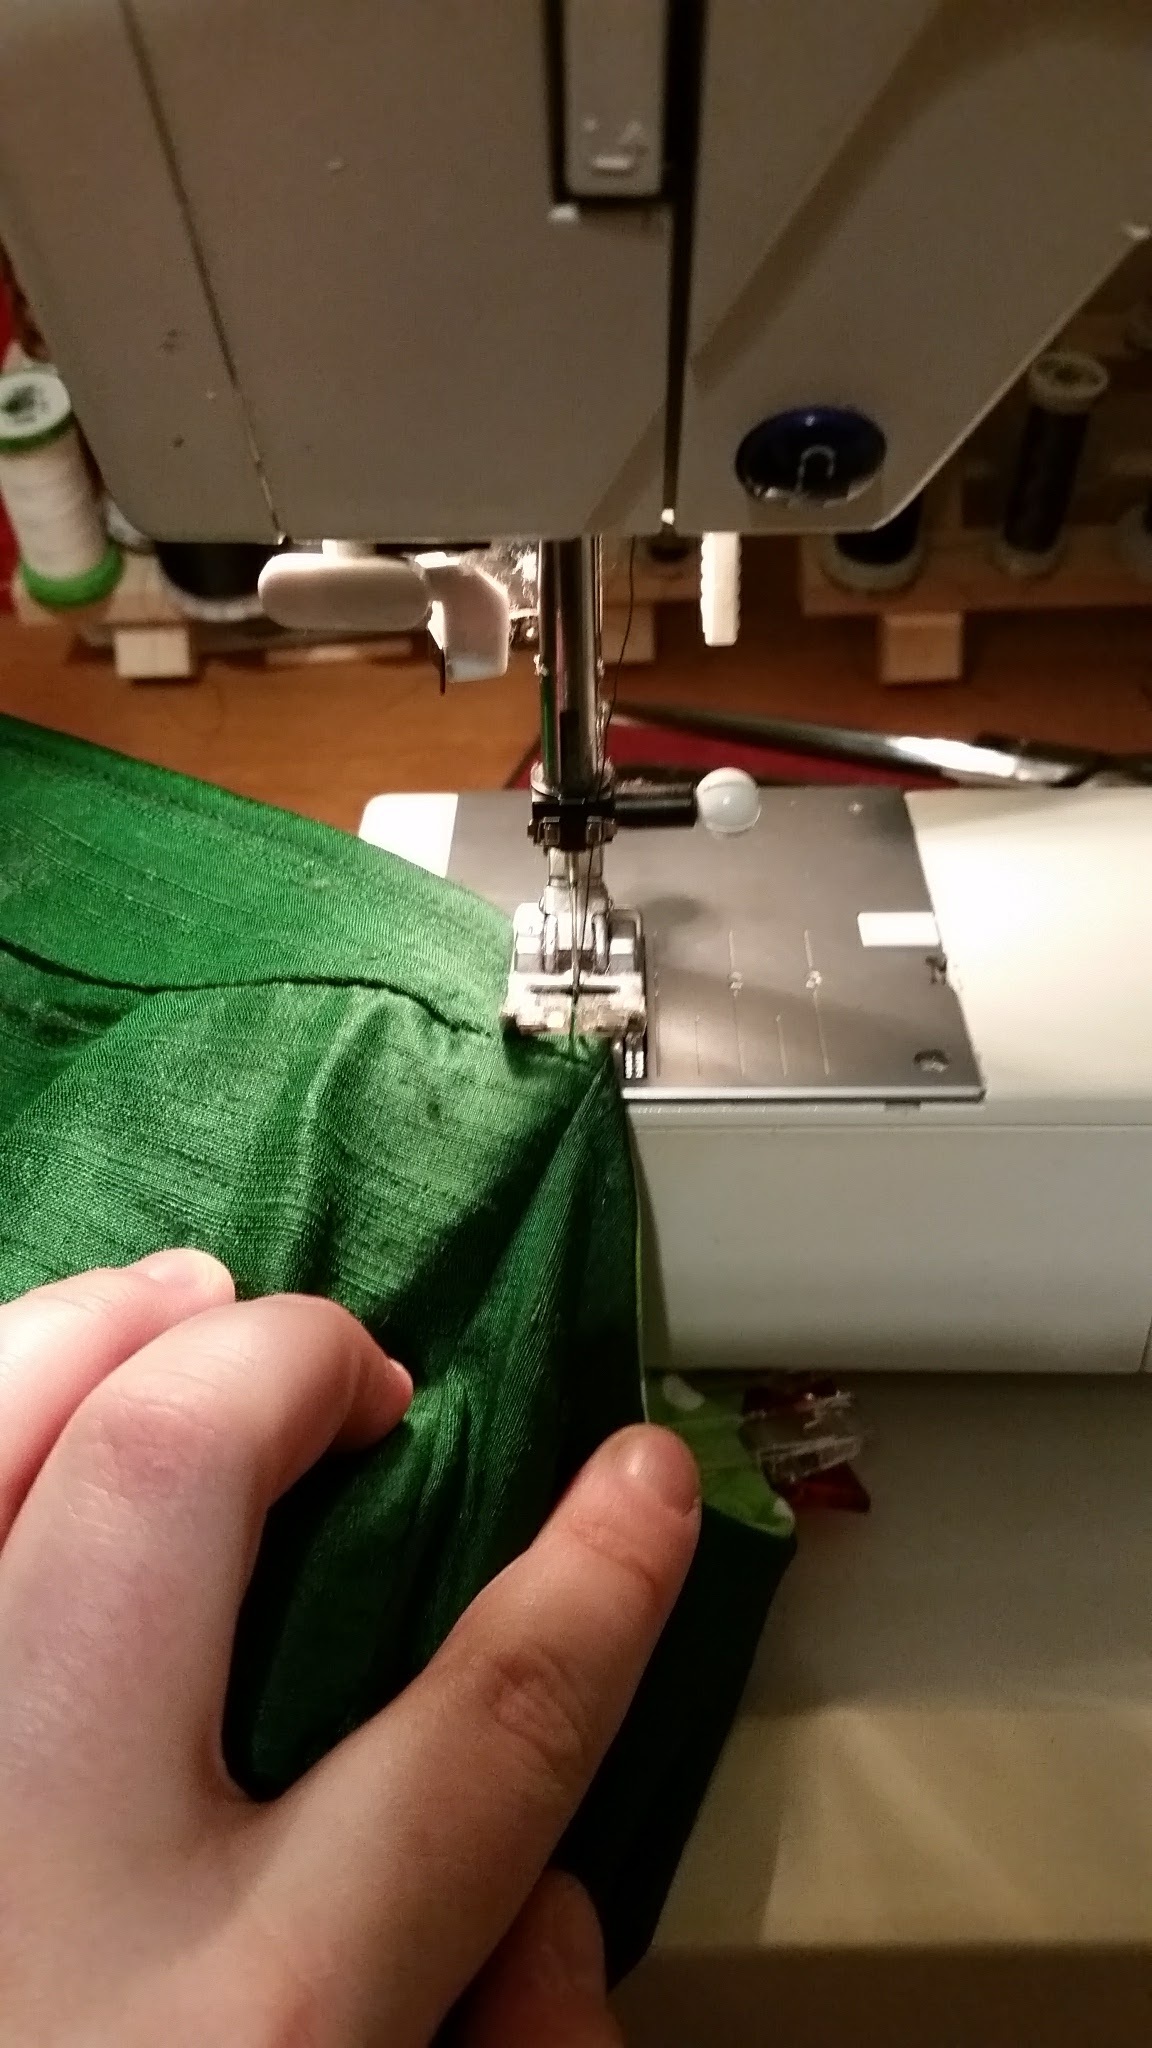
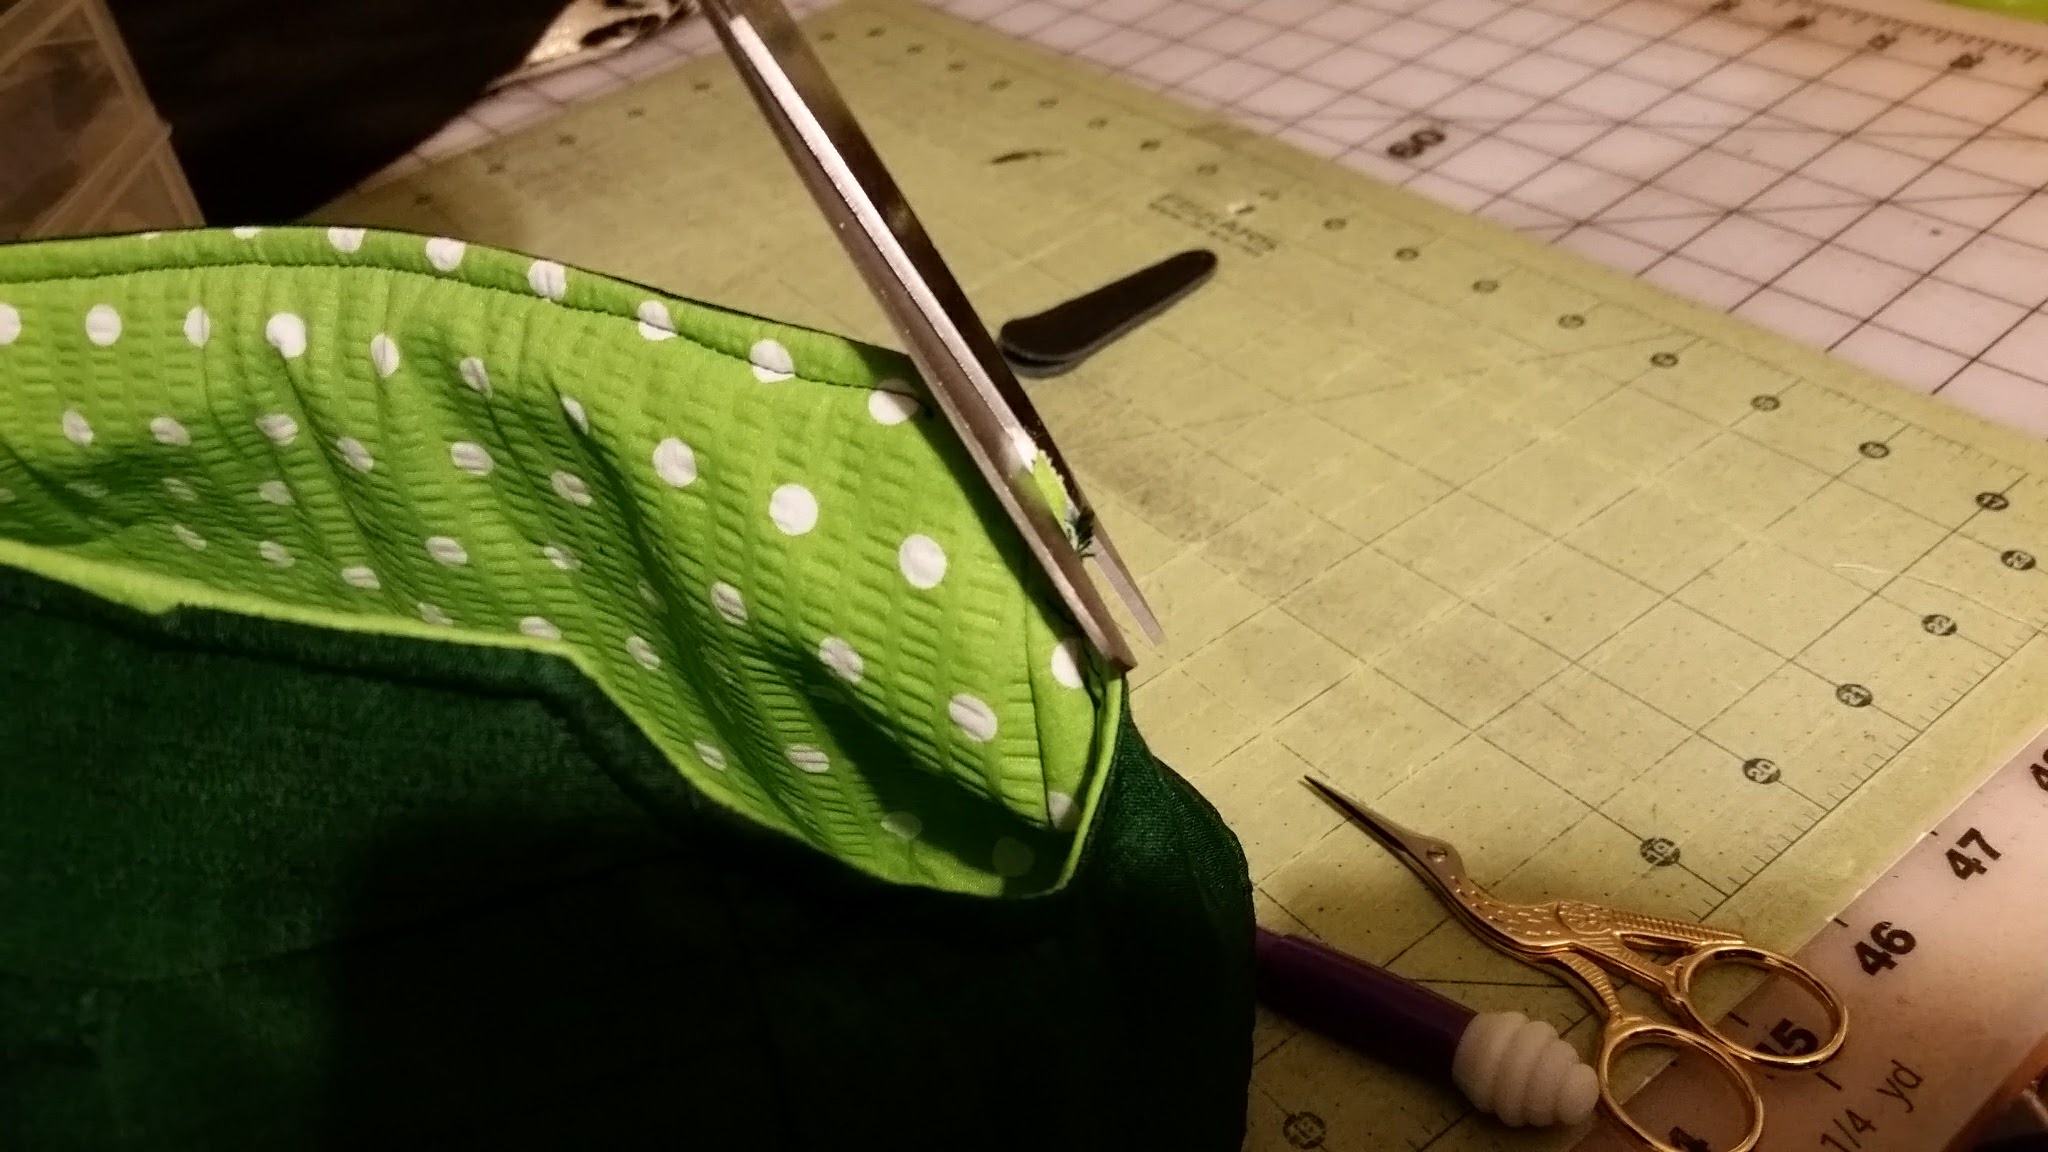
Start sewing at one side of the opening. Pivot at the corners. At the point the pointy ends meet the rest of the purse, your seam will end up curving a bit. Just do your best to sew a consistent 3/8" from the edge. Trim the seam and clip the corners and V-shapes.

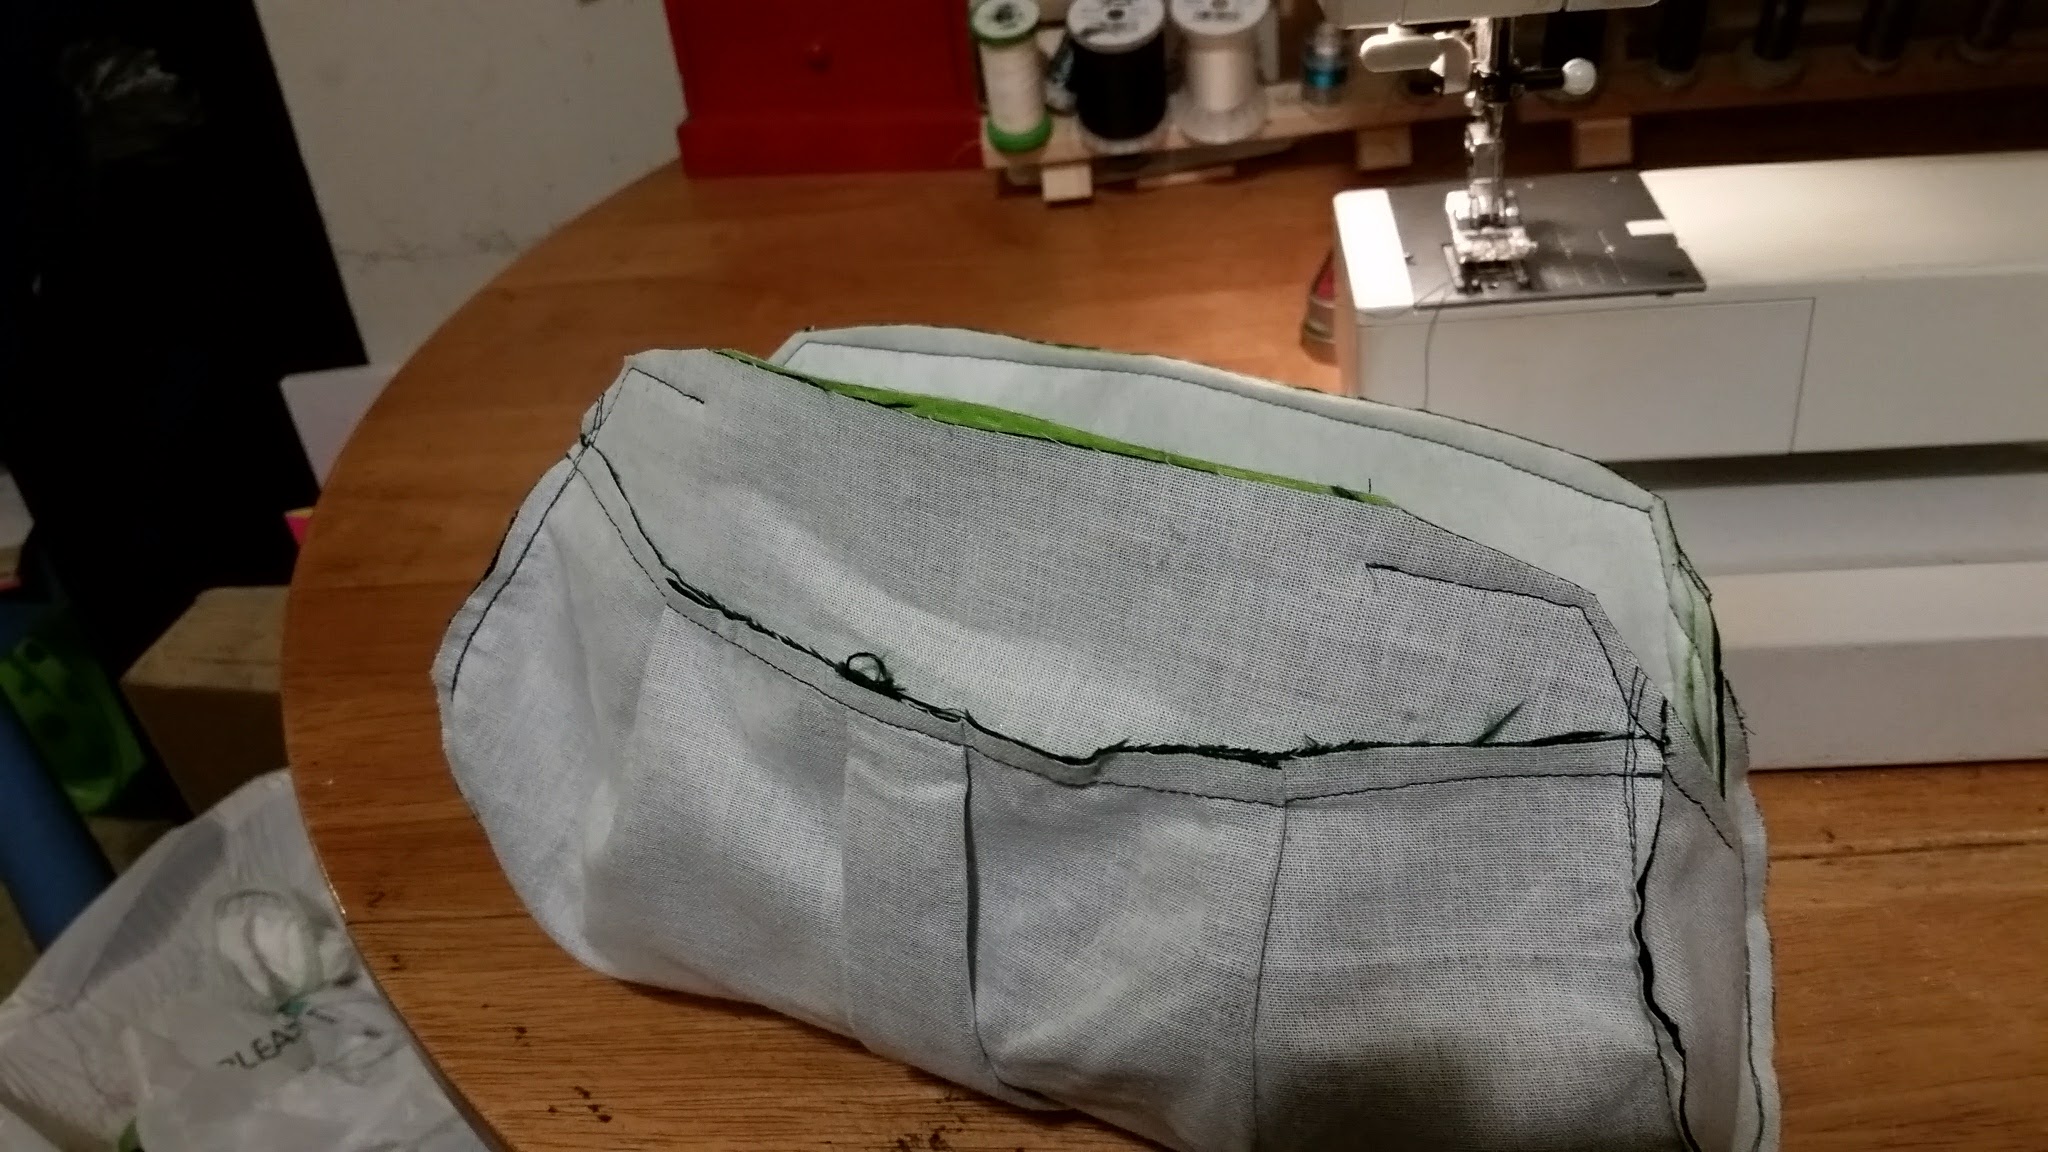
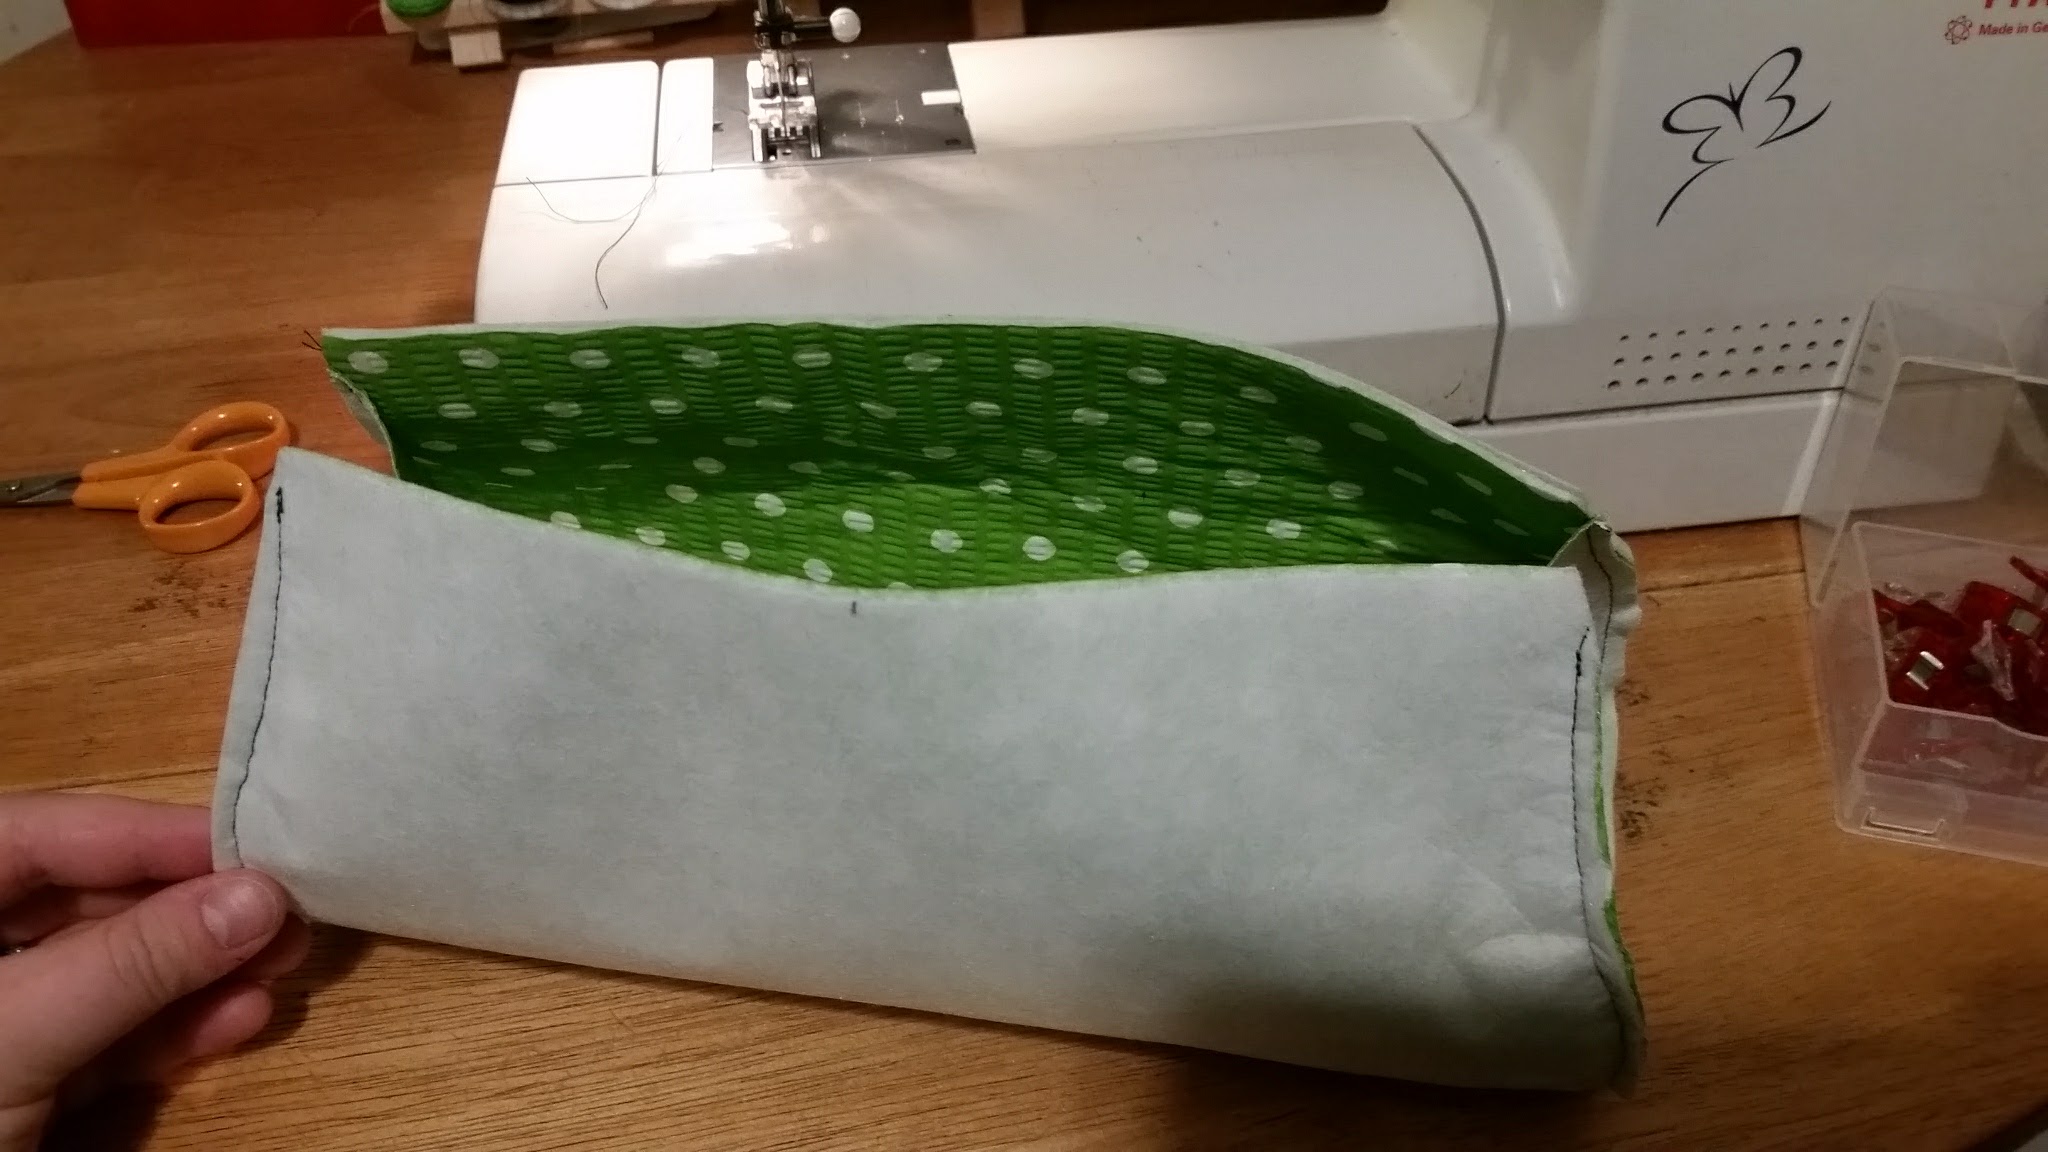
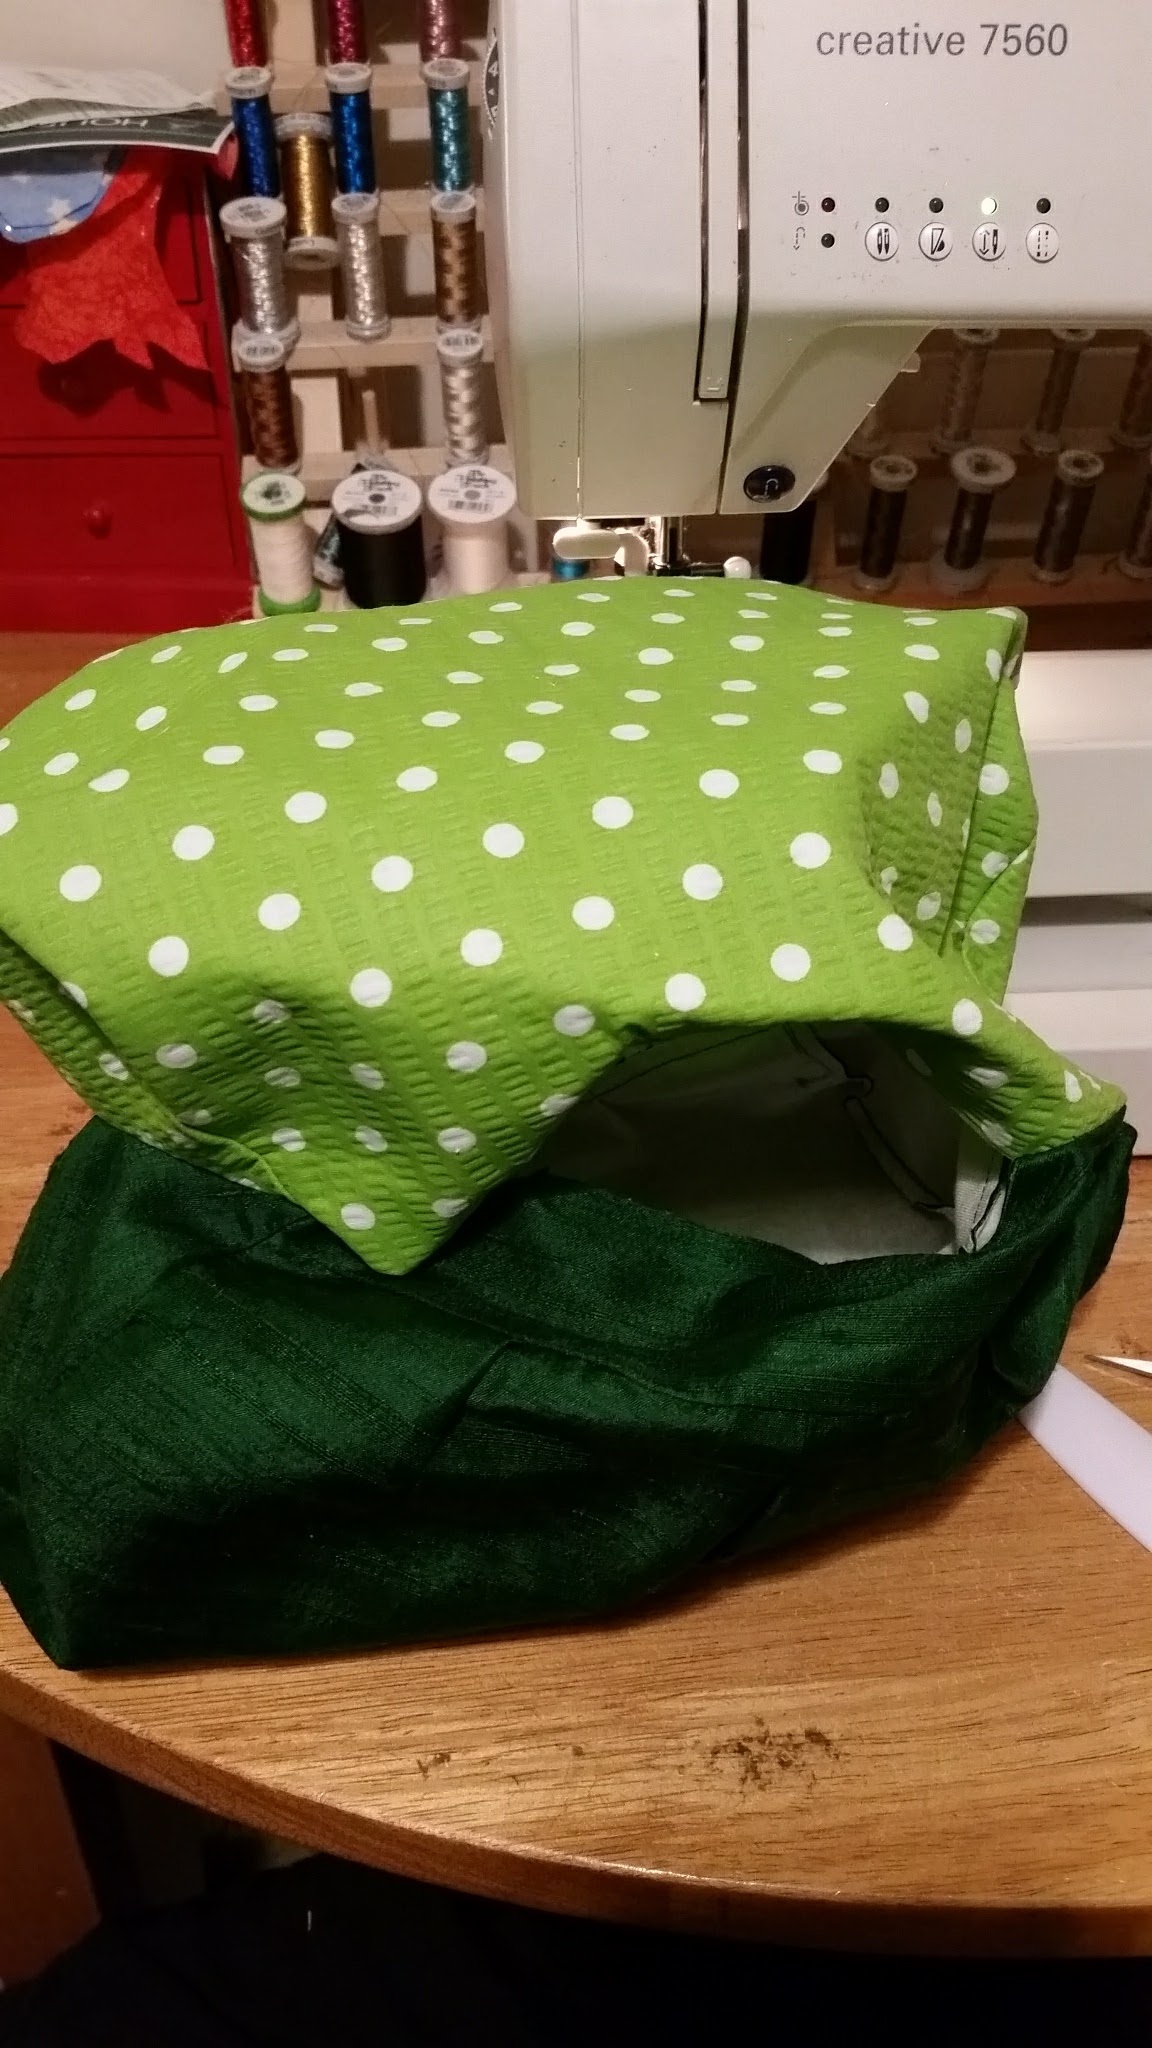
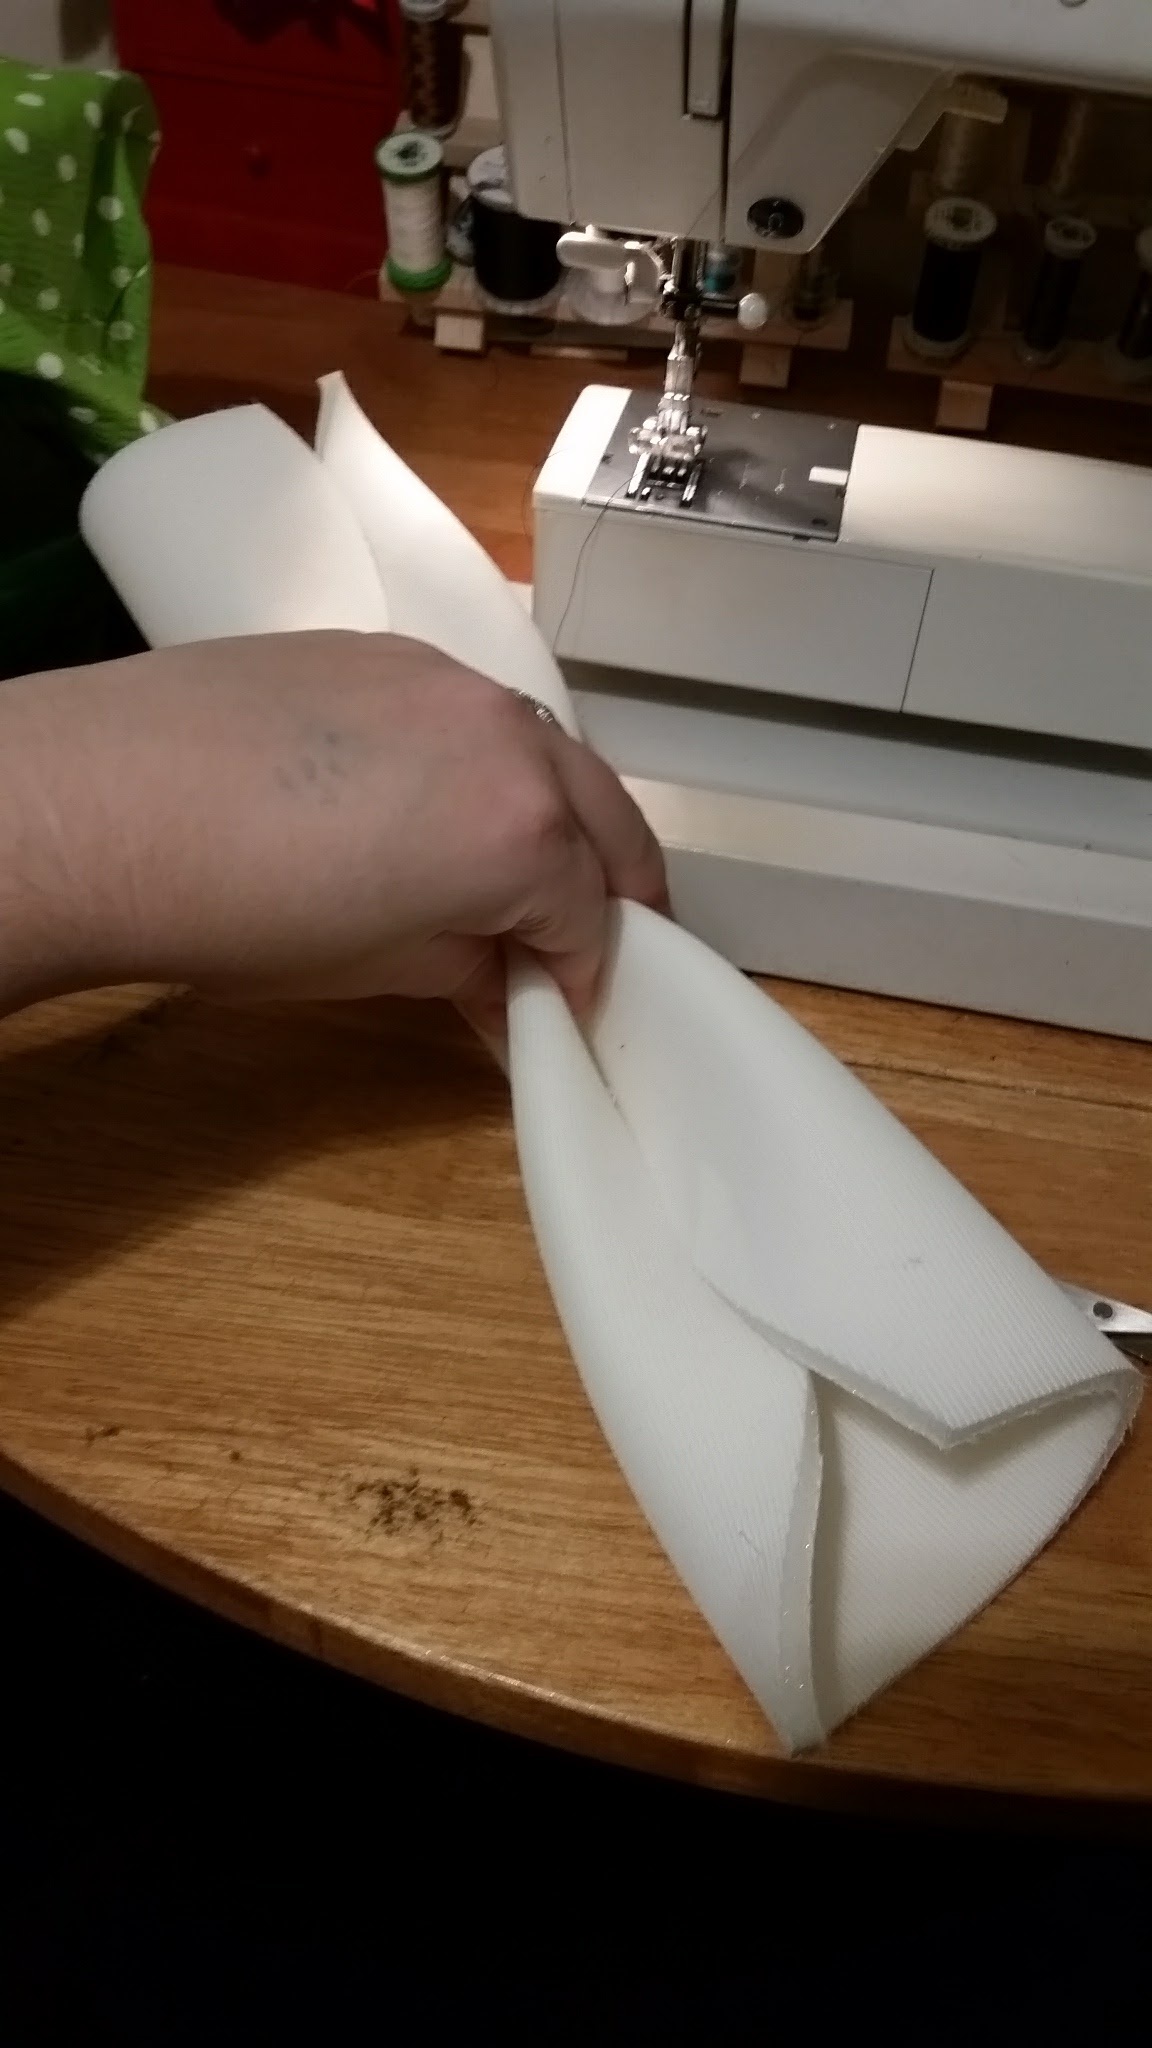
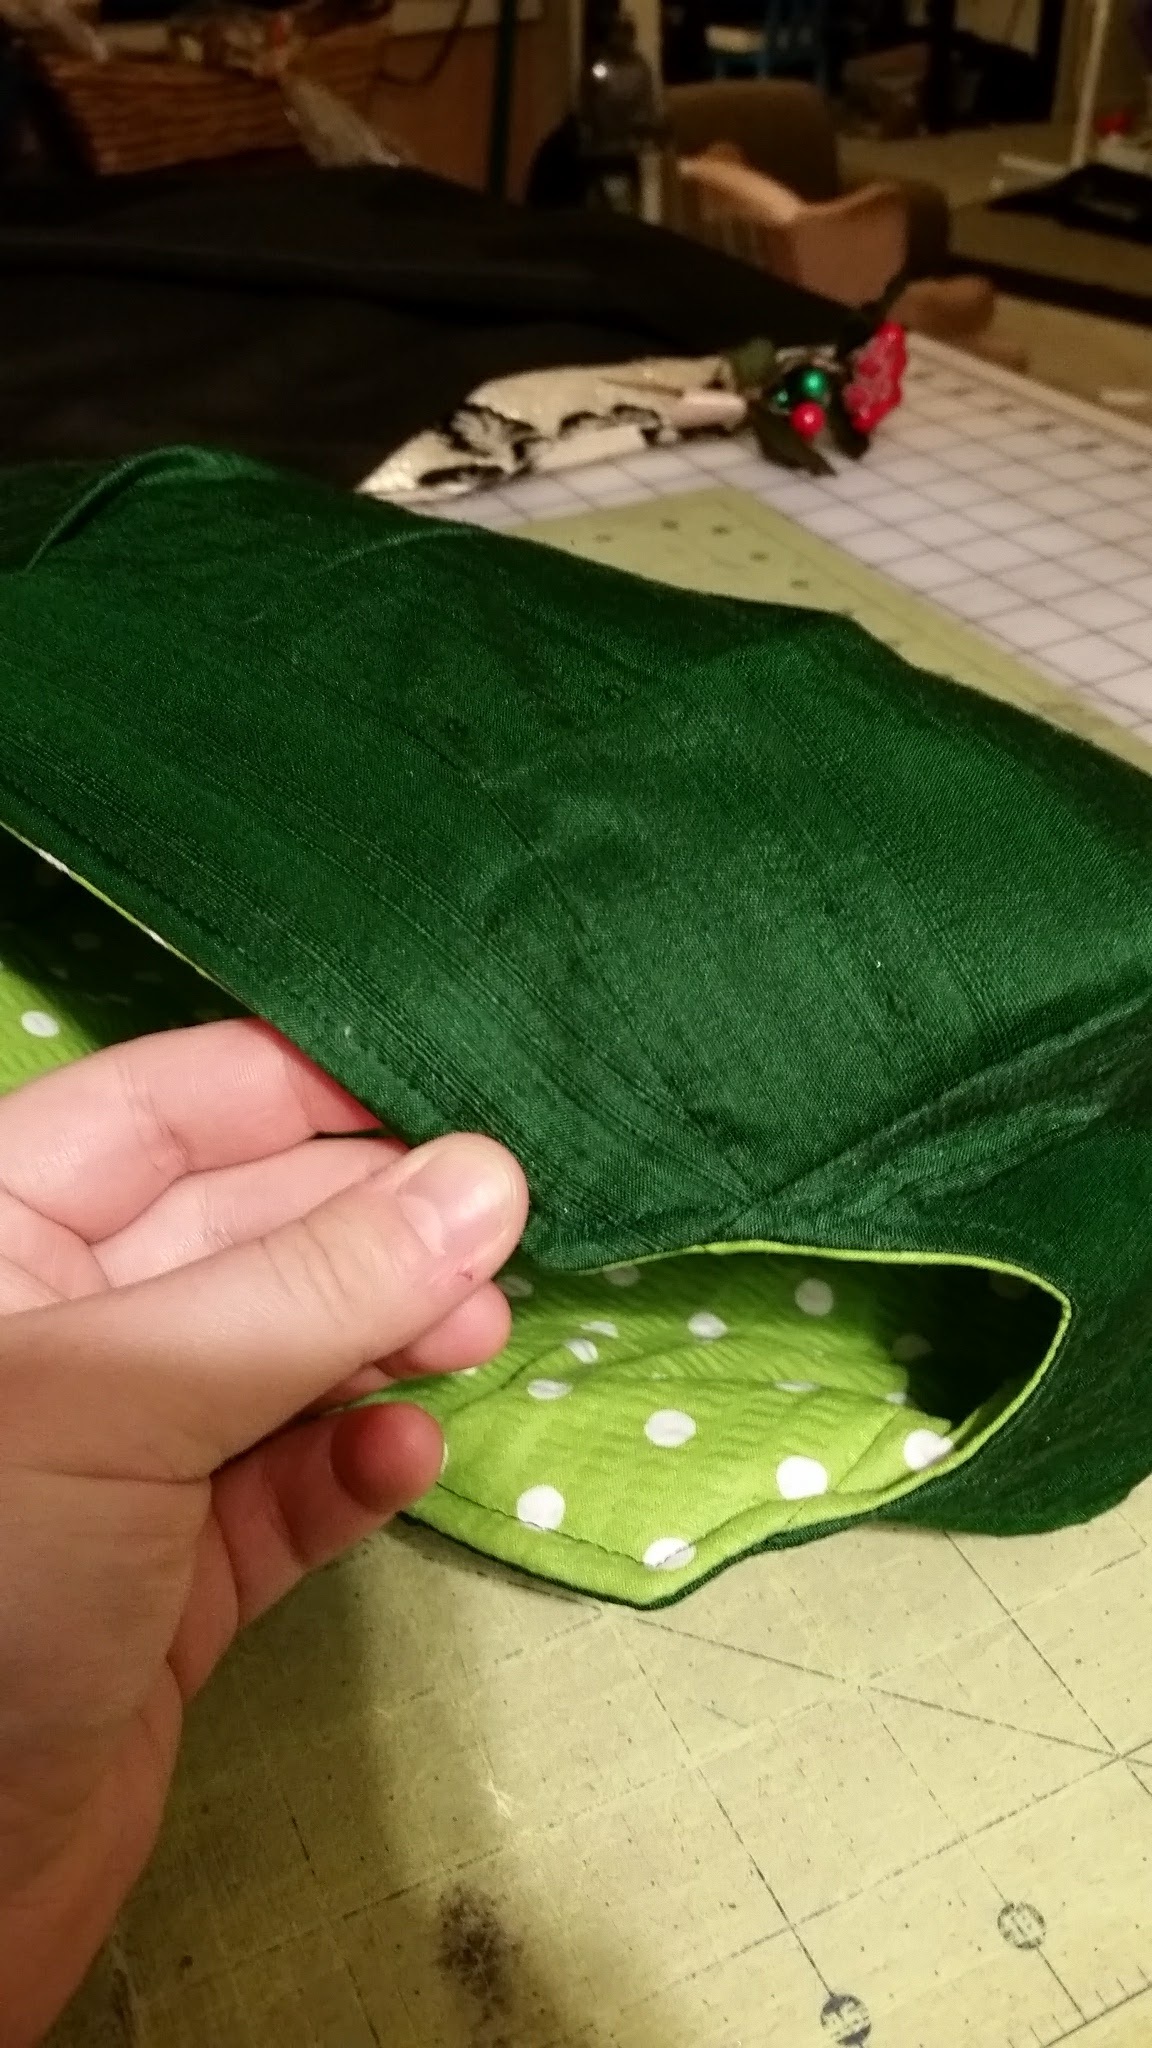
Turn your whole purse right side out through the hole. I like to use a little point turner tool to get the corners turned completely right side out. Leave the interior sticking up in the air. Take the foam piece, and roll the curved sides in towards the middle to make it easier to insert. Put it inside the purse through the hole, and push it into position.
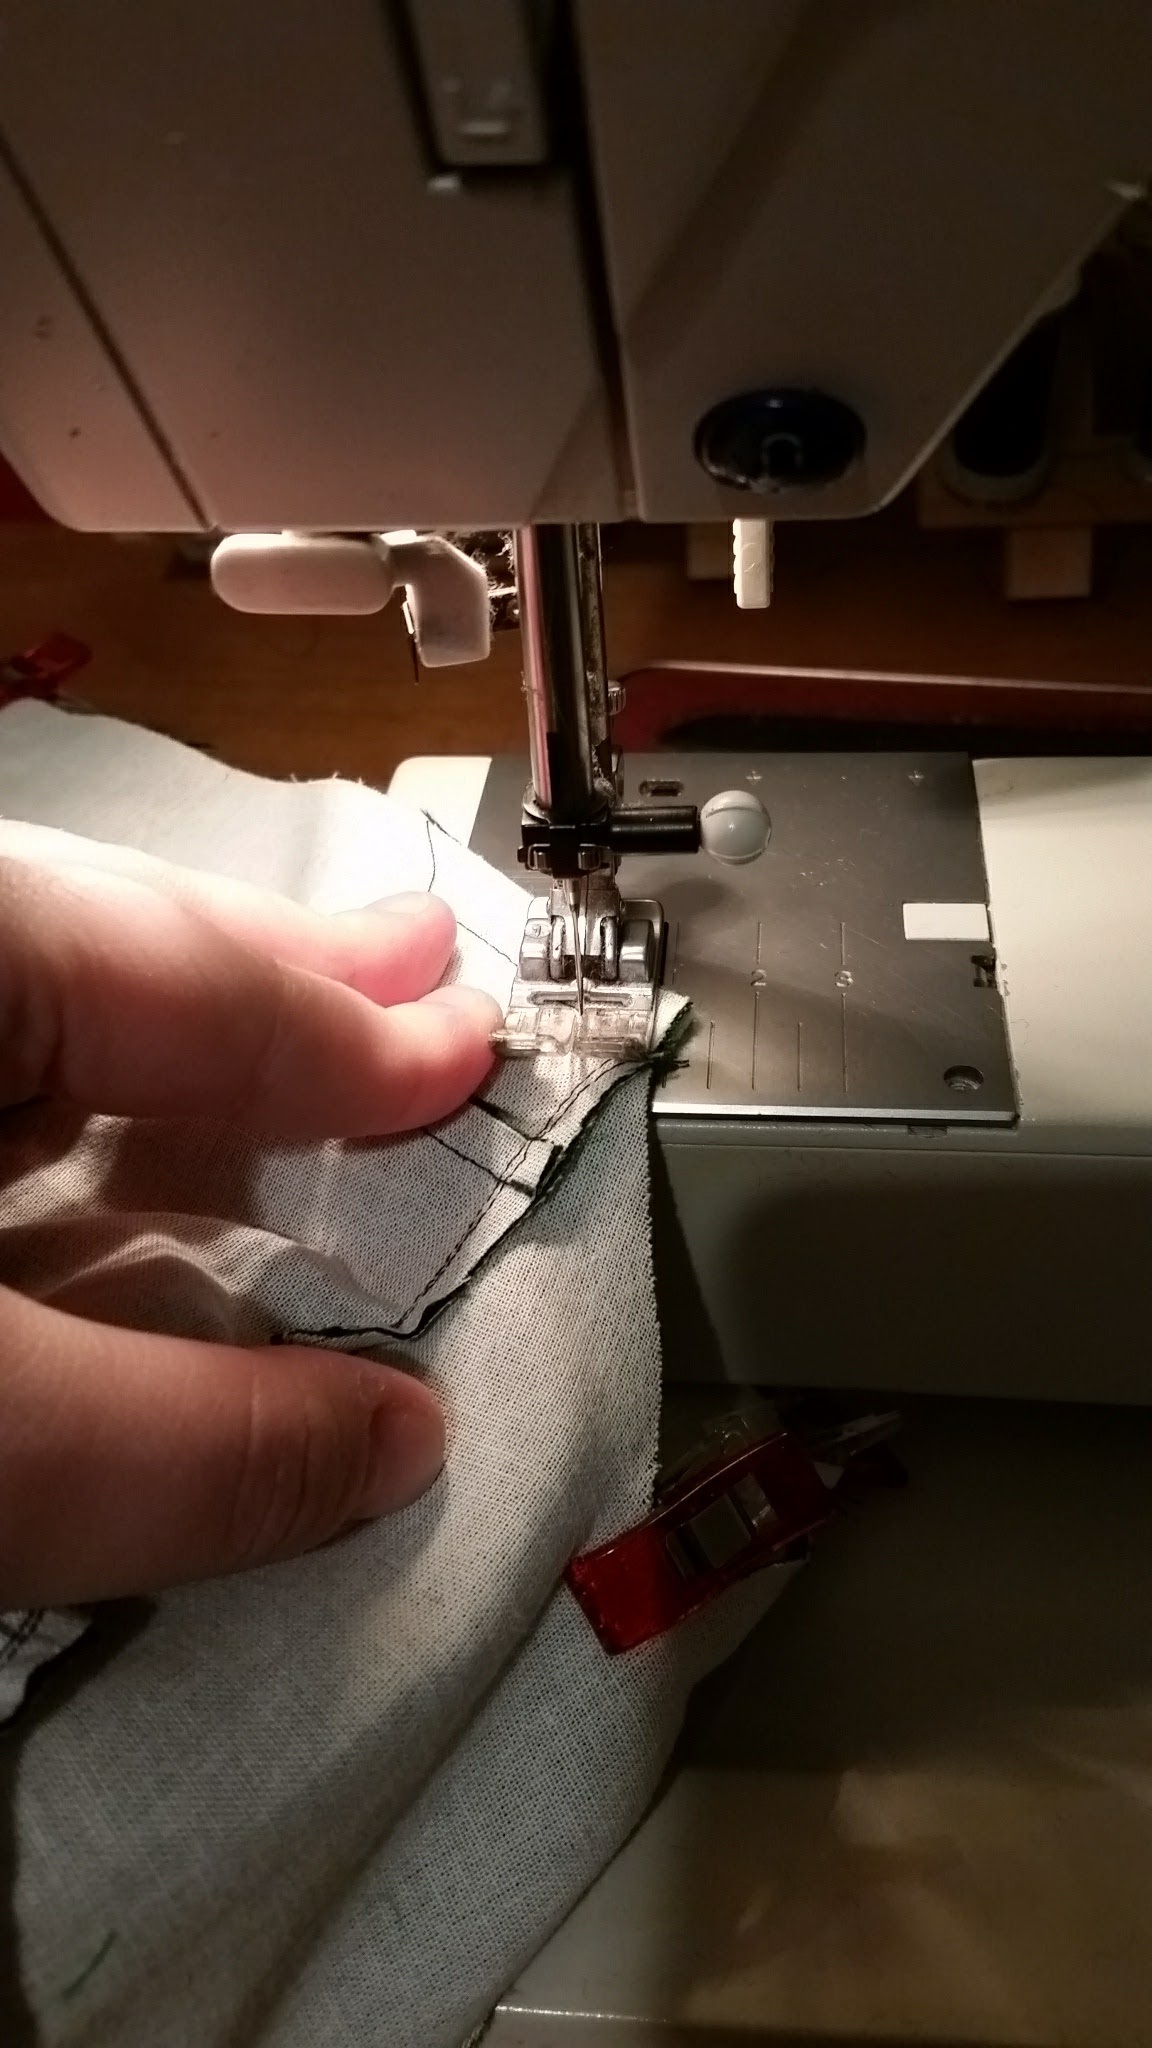
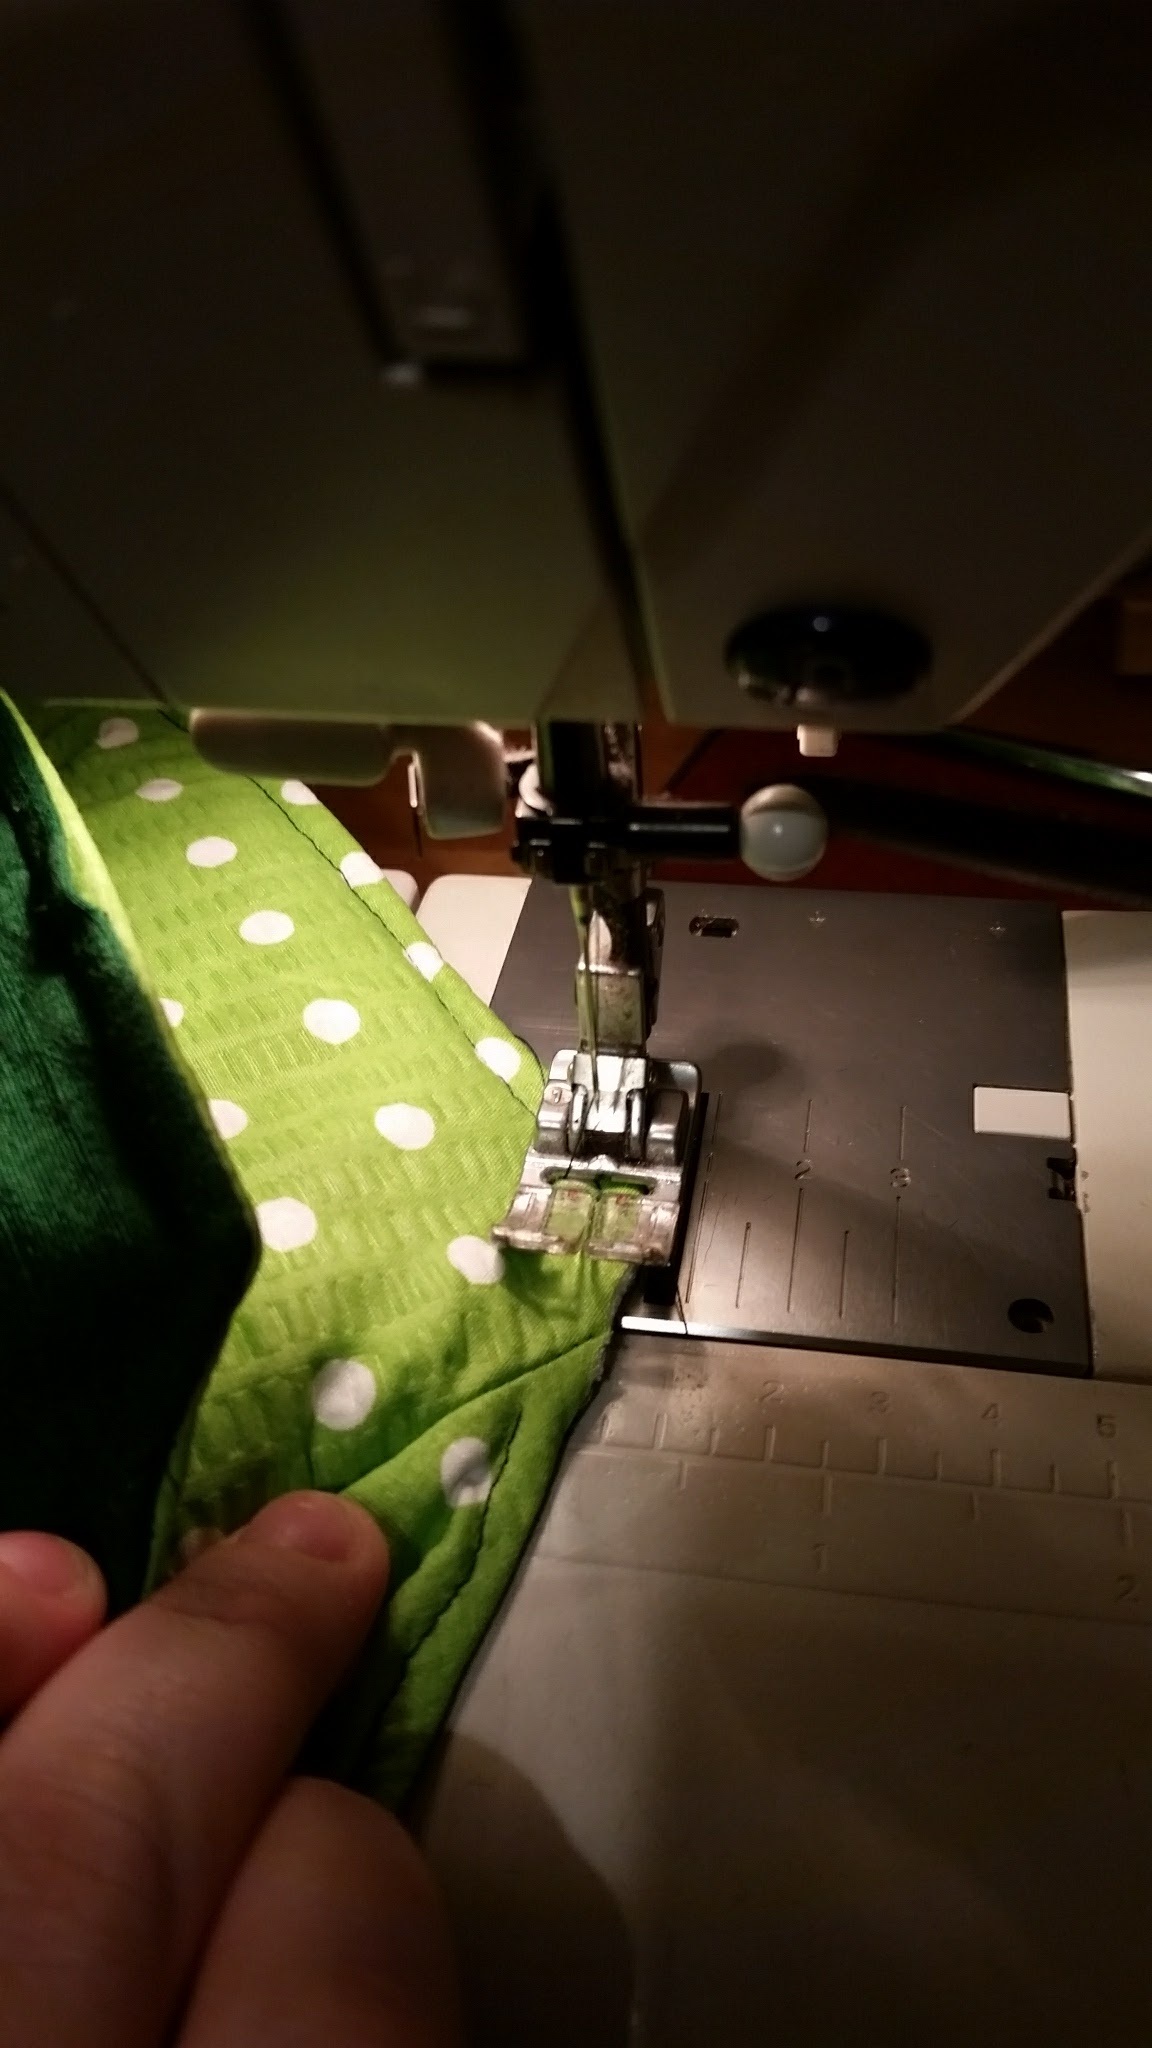
To help get it in the right position, I usually arrange it in one corner, hold it in place with a clip, then do other corner, and then the middle of one side, bit by bit. Then I do the corners and side on the other side of the purse. Make sure to tuck the raw edges in. Once everything is in place, you can topstitch around the entire edge. Be especially careful at the parts where several pieces converge. It can be thick there, so just sew carefully. Your topstitching should end up hidden by the frame, but if you are using a sew-in frame, be especially neat and sew a consistent distance from the edge, because the inside topstitching line will be visible.

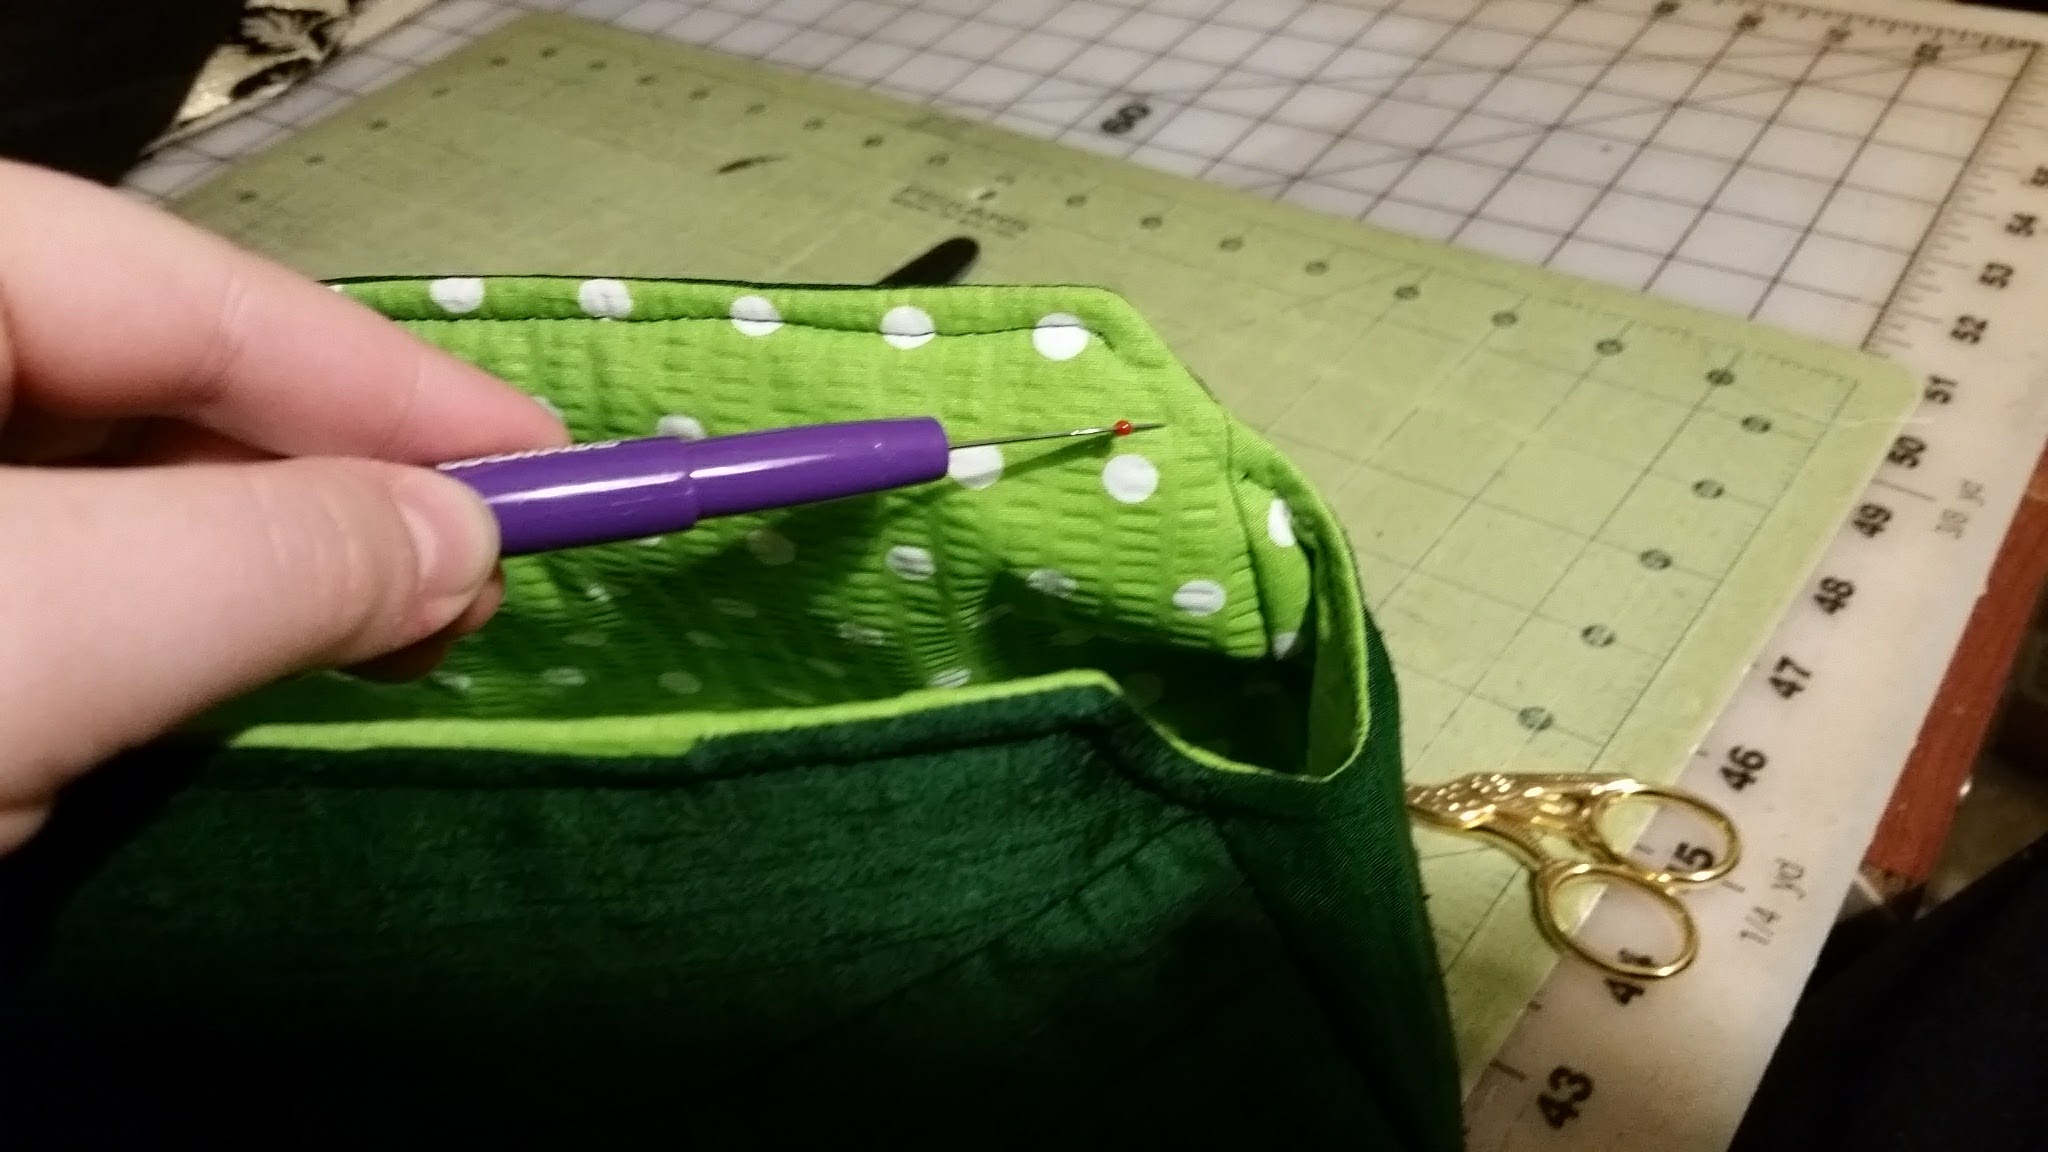
**Here's a little cheat if your edge ends up too thick where the pieces all meet up. If it is too thick to fit in the frame there, you can do one of two things. 1. Iron the edge to flatten the whole seam. 2. Pick out the topstitching and seam stitches just at the thick part. Pull out the raw edges of the seam. Trim them. Topstitch back over that edge. Since this part of the purse will be hidden by the frame, it won't be seen. I rarely have to do this, but it's been a lifesaver a few times with particularly thick fabric.**
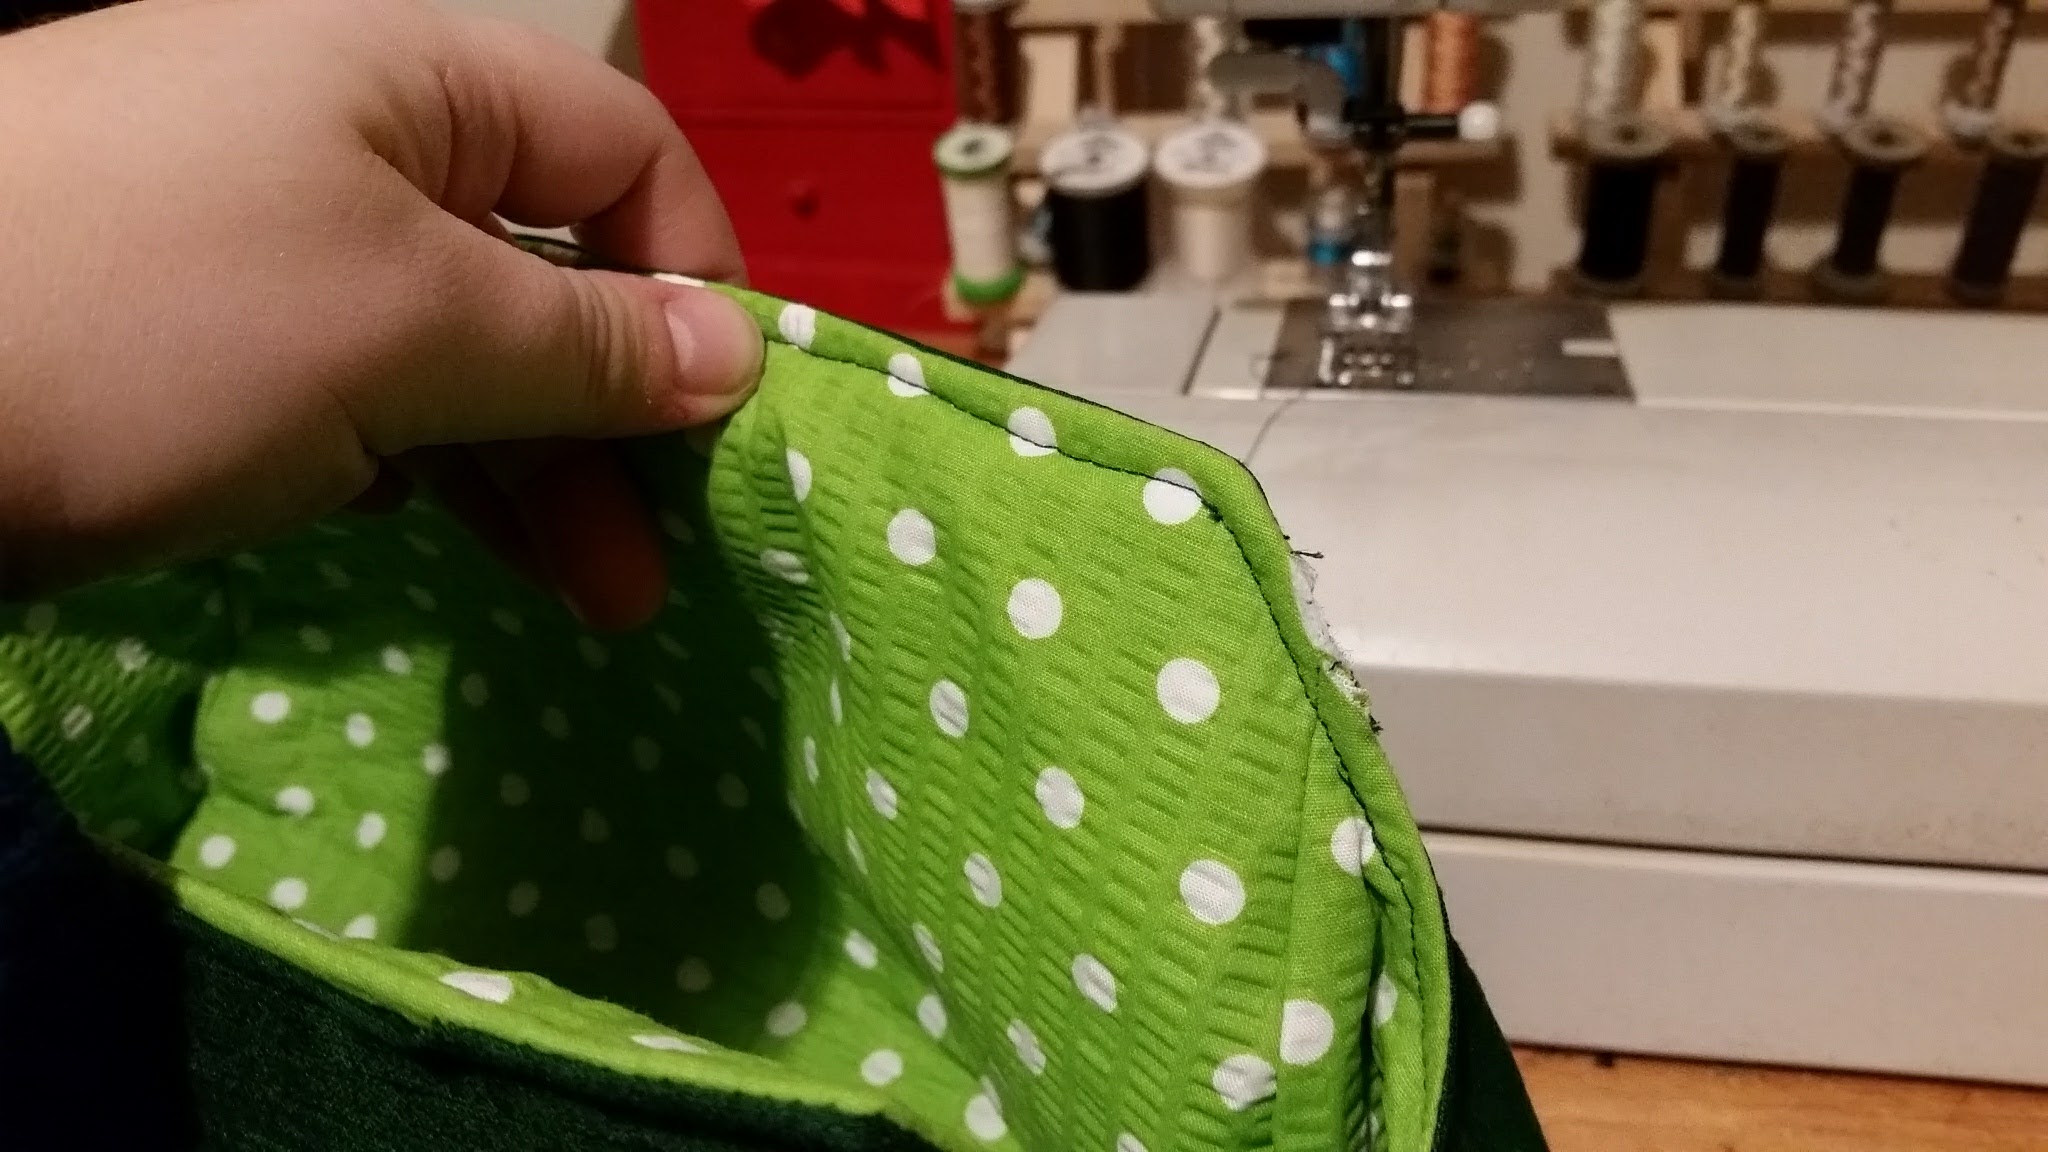
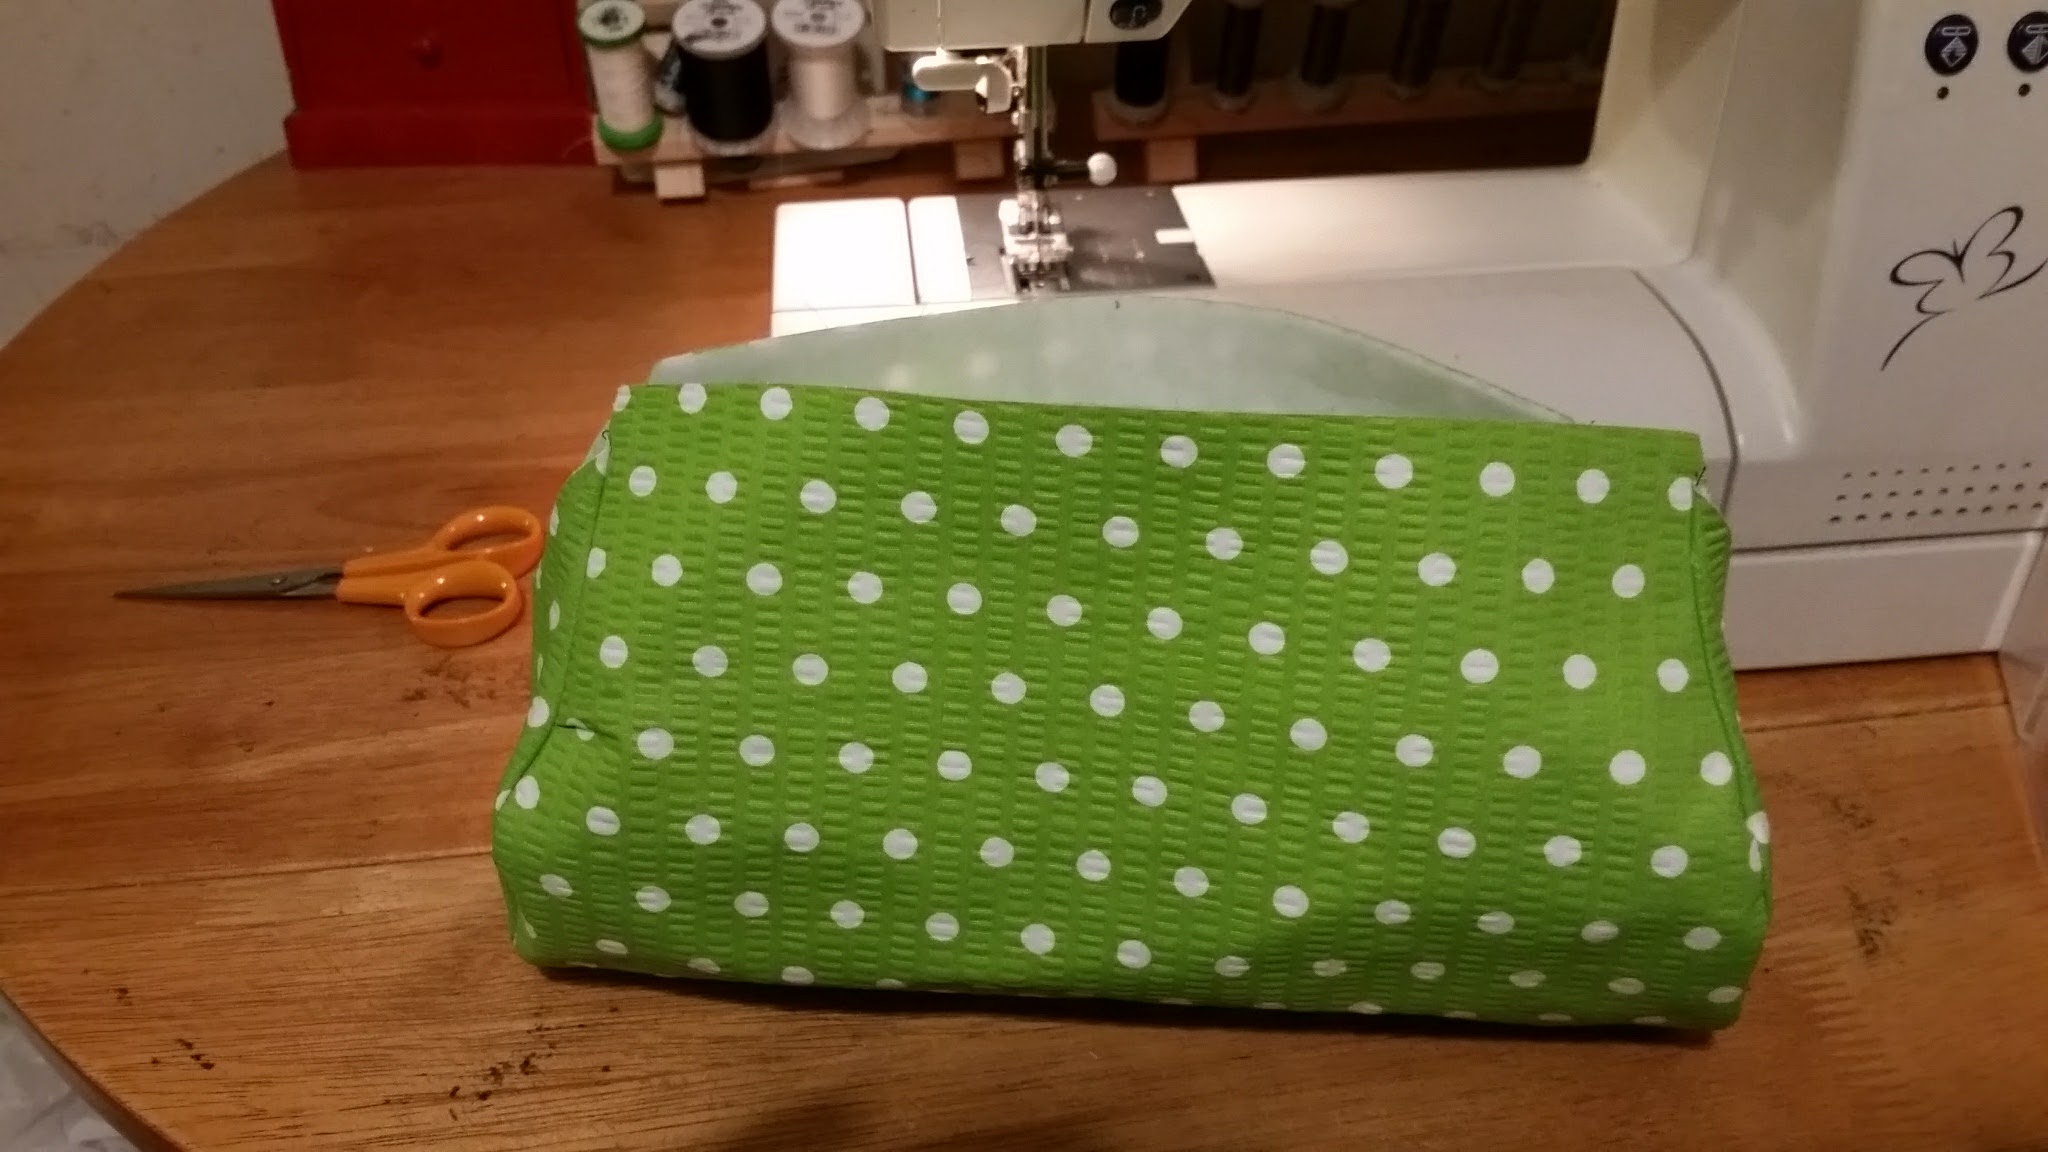
Push the interior into place in all the edges. It should fit just right.
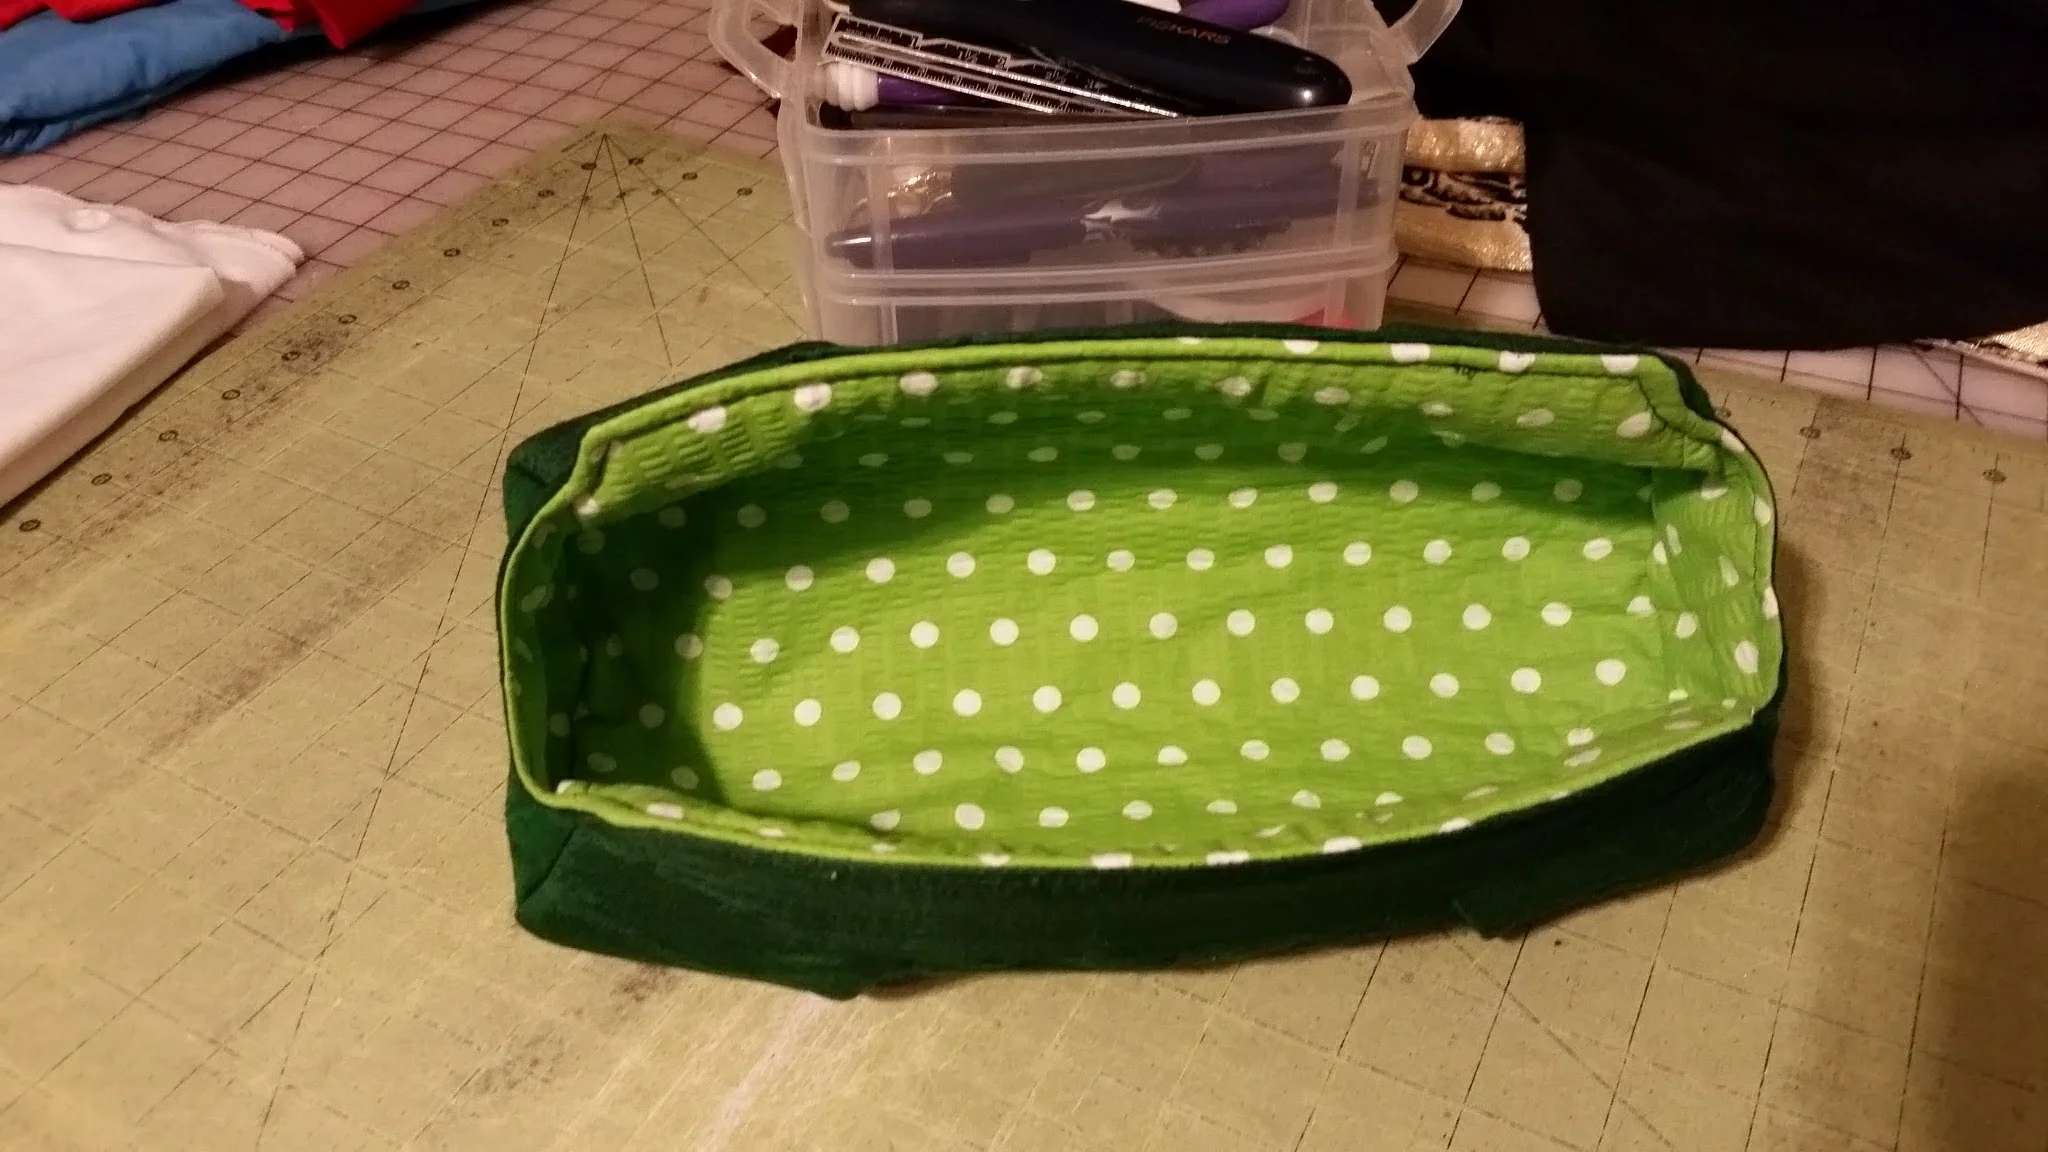
And you are completely done with the sewing! Admire your nearly-finished purse. Tomorrow we will glue or sew it into the frame!
